
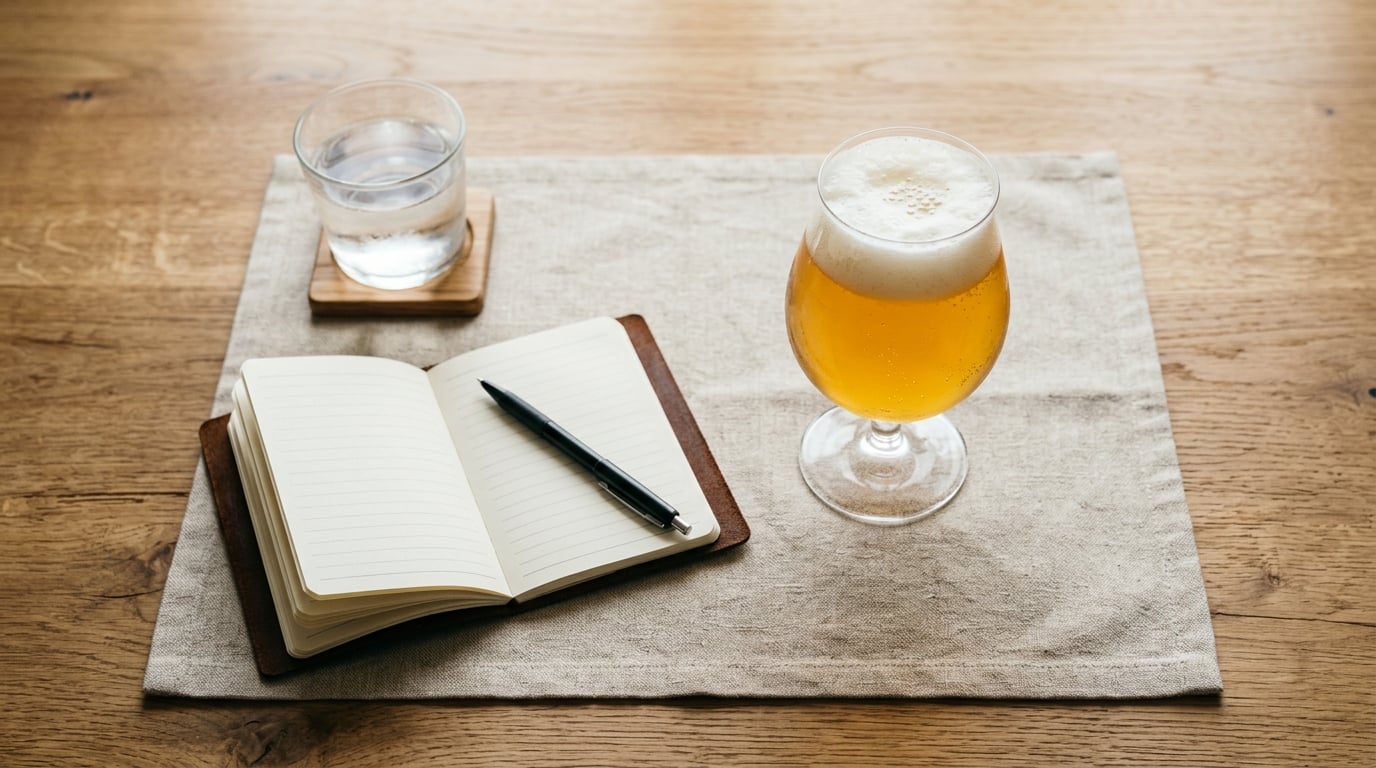
Tasting beer like a pro means running the same short routine every time: pour into a clean glass with room for aroma, look at the beer, smell it short then long, take a small sip, let it sit on your tongue, and say what you smell and taste out loud. It takes about five minutes per beer, costs nothing beyond the beer itself, and works with any lager, ale, or IPA.
You do not need a fancy palate or a certification to do it well. You need a repeatable order of operations and a few words to put your impressions into. Taste is personal and always will be, so nobody is going to tell you that your favourite beer is wrong. What this method gives you is the ability to explain the difference between two beers, remember what you liked, and notice when something tastes wrong instead of just wrong.
What You Need
None of this equipment is expensive, and most of it is already in your kitchen. The point is that each item removes a distraction.
- Glassware. One clean glass per beer is ideal, because residue from a stronger pour will follow you into the next sample. A tulip glass works well for almost anything. A plain tumbler works fine too.
- Two or three samples. Contrasting styles beat similar ones. A pale lager next to a roasted stout teaches you more than two pale lagers.
- Something cold to drink alongside. Still water resets your palate between samples. Sparkling water and dry crackers work as well.
- A tasting sheet. A plain piece of paper is enough. Five fields: appearance, aroma, flavor, mouthfeel, finish.
- Neutral snacks. Salt crackers, plain bread, or unsalted nuts. Strong cheese and chilli deliberately change what you taste next, which is fun but ruins a clean read.
- A refrigerator and a little patience. Most beers want a few minutes out of the fridge before tasting, which the steps below explain.
One practical note before you start. Tasting is about attention, not volume. Taste small amounts, take your time, keep the water coming, and arrange your evening so you are not driving afterwards.
Step-by-Step
Step 1: Choose and Chill Your Beers
Pick styles that differ in an obvious way. A light lager and a dark roast beer, or a pale ale and a hop-heavy IPA, will show you far more than two bottles of the same thing.
Get the samples as fresh as you can and take them out of the refrigerator ten or fifteen minutes before you pour. Beer straight from a cold fridge is muted. The cold suppresses the volatile compounds your nose needs, so cold beer is easy to drink and hard to taste.
Pour in order from lightest to heaviest. Start with the pale, mild beer and finish with the strong or heavily roasted one. If you go the other way, the powerful sample tires your nose and everything after it tastes flat. You will know the order worked if the last beer still surprises you.
Step 2: Pour a Clean Sample
Rinse the glass with cold water and pour it out. Water lingering in the bottom dilutes the sample and flattens everything you taste next.
Tilt the glass about 45 degrees and pour down the inside wall so the beer runs gently rather than splashing. Aim for a small head, not a tall foam cap, and stop with roughly a third of the glass empty. That gap is your aroma space.
Once it settles, glance at it. Clear and bright reads as clean. Hazy and opaque reads as unfiltered or heavily flavored. A dull or flat-looking beer has usually lost its carbonation. Foam that clings in lacy streaks down the glass is a good sign; foam that slides straight off is not.
Step 3: Look, Smell, and Taste Beer Like a Pro
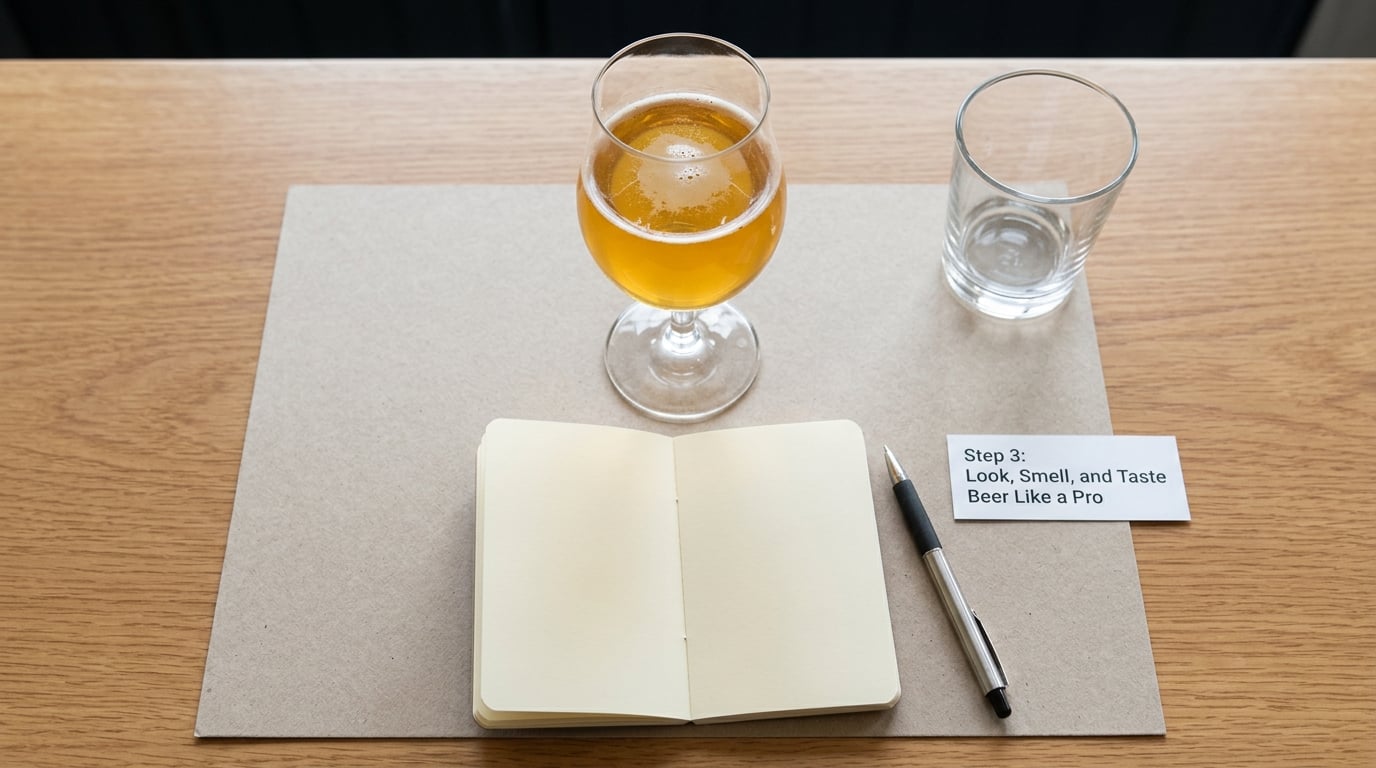
Do the smelling before the drinking, not after. Once beer is in your mouth, your nose is busy and you will miss most of what is there.
Start with a short sniff: nose a few inches above the glass, one gentle inhale. That is your first impression and it is usually the most honest one, before your brain starts hunting for names to match. Then swirl the glass gently to warm the beer and release the trapped aromas, and take a long sniff with your nose close to the rim. The contrast between the two is often where the style shows itself.
Now take a small sip, about the size of a mouthful of coffee. Hold it, do not gulp, and let it sit on your tongue. Notice five things: the aroma that arrives, the flavor, the finish after you swallow, the body or weight, and the carbonation. Then add the retronasal step, which is the one trick that changes everything. Pinch your nose shut, take another sip, swirl it around your mouth, and release your nose while you swallow and exhale. Volatiles that were trapped inside the beer now travel up the back of your throat and into the nasal passage, so fruit, spice, and roasted notes that had gone quiet become obvious.
You will know the sip worked when you can name at least two things and change your mind about one of them between the first and second taste.
Step 4: Build a Useful Flavor Vocabulary
The barrier most beginners hit is not taste, it is language. You can tell you like a beer; describing why is harder. Concrete categories help, and these four cover almost everything.
- Malt and roast. Bread crust, toasted bread, biscuit, caramel, toffee, chocolate, coffee, roasted coffee beans, smoke.
- Hops. Citrus peel, lemon zest, grapefruit, pine, resin, grassy, floral, apricot, mango, passion fruit.
- Yeast and fermentation. Banana, clove, pepper, bubblegum, stone fruit, sour lemon, earthy.
- Body and carbonation. Crisp, dry, silky, oily, airy, thin, watery, flat, spritzy, smooth.
Reach for the closest word you have, and move on. “Grassy and a bit bitter, finishes clean” is a genuinely useful note. “Good” or “bad” is not, because the brewer cannot use it.
Step 5: Retaste, Compare, and Record
Taste each beer twice with a pause in between, and let it warm slightly. Many tasters on the BeerAdvocate community boards say one pour is not enough for a consistent read, which matches what you will notice in practice: the second and third sip usually show more.
Put two samples side by side and ask what changed. That single question does more for your palate than an hour of tasting one beer at a time. Write your notes immediately, while the words are still available.
Step 6: Try Different Glassware and Serving Conditions
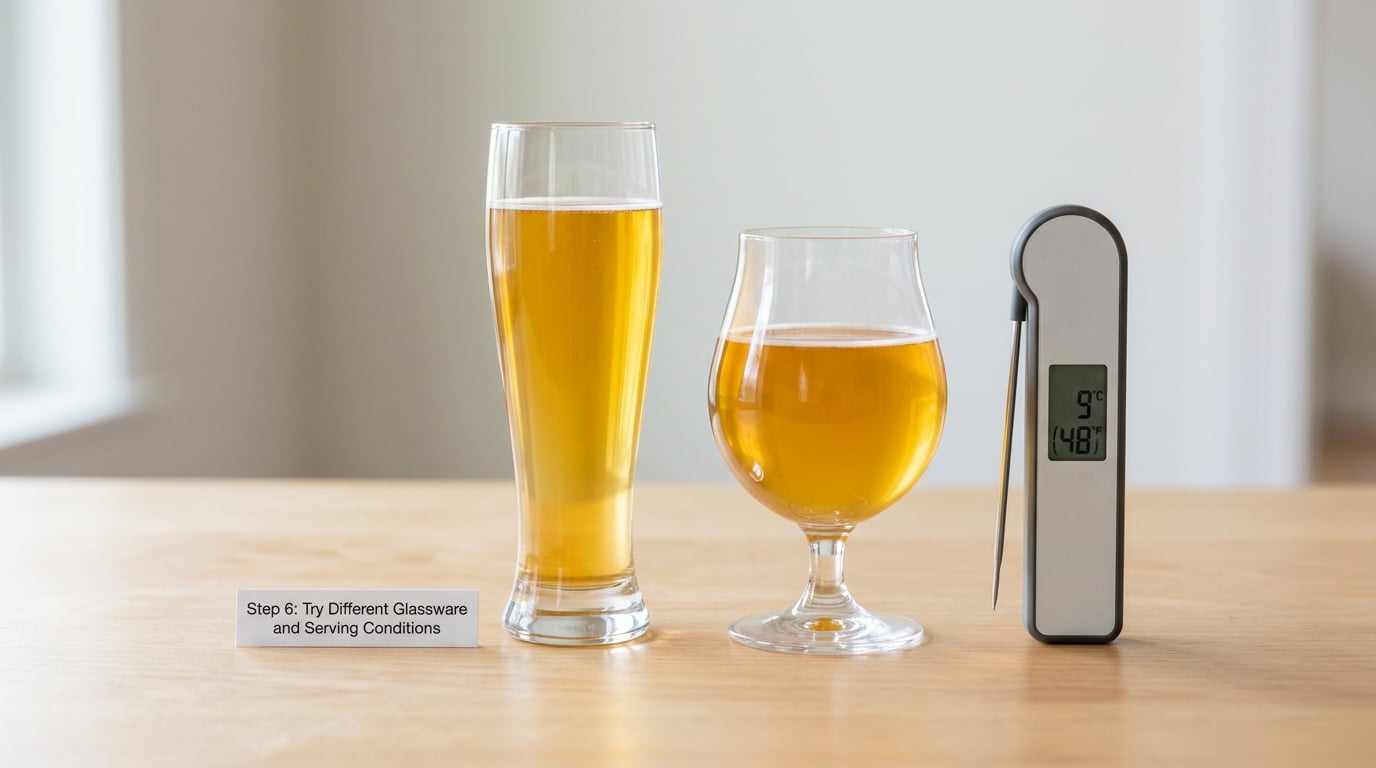
Pour the same beer into two glasses and you will see the difference. A narrow glass concentrates aroma toward your nose and warms quickly in the hand. A wider glass gives you more surface area and more head space, which spreads the aroma thinner but cools slower.
Temperature matters just as much. Pale lagers and pilsners taste cleanest served cold, roughly in the 40s Fahrenheit. Amber ales, brown ales, and anything roasted want to be warmer, often in the 50s, so the darker malt flavors come forward. Serve a stout ice cold and you will mostly taste cold and thin. Pour the same stout at a warmer temperature and the coffee, chocolate, and oak arrive.
Next time you have two beers open, serve one cold and one warmed and write down which you prefer. That single experiment teaches more than any article.
Common Mistakes
Every one of these is easy to fix and each one flattens your read on a beer.
- Serving it straight from the fridge. Fix: let samples sit out for ten to fifteen minutes. Cold mutes aroma, and aroma carries most of what you taste.
- Filling the glass to the top. Fix: leave a third empty. Without head space there is nowhere for aroma to collect.
- Drinking straight from the bottle or can. Fix: always pour. You lose the head, the color, and the ability to swirl.
- Swirling like a cocktail. Fix: a few slow turns. Vigorous swirling knocks out carbonation and warms the beer past where it tastes good.
- Rushing the first sip. Fix: let it sit on your tongue, then swallow and breathe out through your nose.
- Judging a beer as bad because it is bitter. Fix: bitterness is a style feature, not a fault. Ask whether the bitterness is balanced rather than whether it is present.
- Not resetting between samples. Fix: water and a plain cracker between pours. Your palate fatigues faster than you expect, usually after three or four samples.
Add one more that catches experienced drinkers: tasting too many beers in a row. After about five, your ability to judge drops off and you will rate the last one worse than it deserves.
Quick Tips for Better Beer-Tasting Sessions
- Use spotless glassware. A rinsed glass beats a spotless one, because any detergent left behind ruins the next pour.
- Compare similar beers first. Side-by-side tasting of two pale ales trains your palate faster than hopping between unrelated styles.
- Keep still water within reach and drink it between every sample.
- Note the first aroma impression before you look at the style name or the brewery’s description.
- Drink a little and taste a little. The point is attention, not volume.
- Practice with commercial beers you can buy anywhere, then repeat the same style from a different brewery to isolate the difference.
- Smell something neutral like bread or your own wrist between styles to clear your nose.
- Trust aroma as your starting point. It is more reliable than taste, and it arrives before judgement catches up.
A note on confidence, since this is the part nobody mentions. A recurring thread on r/beer is someone who can easily tell whether they like a beer but has no words for why, and worries about sounding like a fraud at the table. That is the normal starting point. Describing a beer is a skill, and everyone at a tasting table is practicing it, including the person who ordered the flight.
Frequently Asked Questions
What is the correct way to taste beer?
Run the steps in a fixed order: rinse the glass, pour down the side leaving about a third empty, look at color and clarity, take a short sniff then swirl and take a long one, sip and hold it on your tongue, pinch your nose and exhale to catch rear-of-mouth aromas, then say what you found out loud. Doing it the same way every time is what turns a casual sip into a real tasting.
Should beer be cold when you taste it?
Cool, not ice cold. Beer straight from a cold fridge suppresses the volatile compounds your nose detects, so it drinks easily but tastes muted. Pull pale lagers and pilsners out about ten minutes ahead, and take fifteen minutes with amber, brown, and stout so their roasted and malty notes come through. A rough guide is the 40s Fahrenheit for pale lagers and the 50s for darker styles.
Do you need a special glass to taste beer?
No. Any clean glass with a stem or a wide bowl works, and a plain tumbler is better than a dirty fancy one. What matters is that you have head space for the aroma and that each beer gets its own rinsed glass. A tulip shape is a nice upgrade because it narrows at the rim and concentrates aroma toward your nose, but it changes nothing fundamental.
How do you describe beer flavors if you are a beginner?
Start by sorting what you notice into four groups: malt and roast, hops, yeast, and body or carbonation. Words like bread crust, caramel, citrus peel, pine, banana, clove, pepper, crisp, and silky cover most beer. Describe intensity too, such as faint or aggressive, and the finish, such as clean, dry, or warming. Naming a rough category correctly is far more useful than reaching for a perfect word.
Should you swallow beer when tasting it?
At home, swallow. The swallow is part of the tasting, because the finish only appears after you swallow and breathe out. Judges and competition tasters spit to stay alert across many samples, which is a practical choice rather than a rule about quality. If you are working through a flight of strong beers, spitting and keeping water handy will let you taste more accurately.
How many beers should you taste in one session?
Four to six samples is the useful ceiling for a casual session, ordered from lightest to heaviest. After that, palate fatigue dulls your senses and your later ratings stop being reliable. Three well-tasted samples with notes beat eight beers downed in order. For a flight at a taproom, pick three, taste slowly, and stop there unless you are genuinely staying for the session.
Conclusion
The whole method comes down to a fixed order, head space in the glass, and honest words. Pick two beers of the same style from different breweries, serve them the same way, and record appearance, aroma, flavor, and finish side by side. That first comparison is where tasting starts to feel like a skill instead of a habit.