
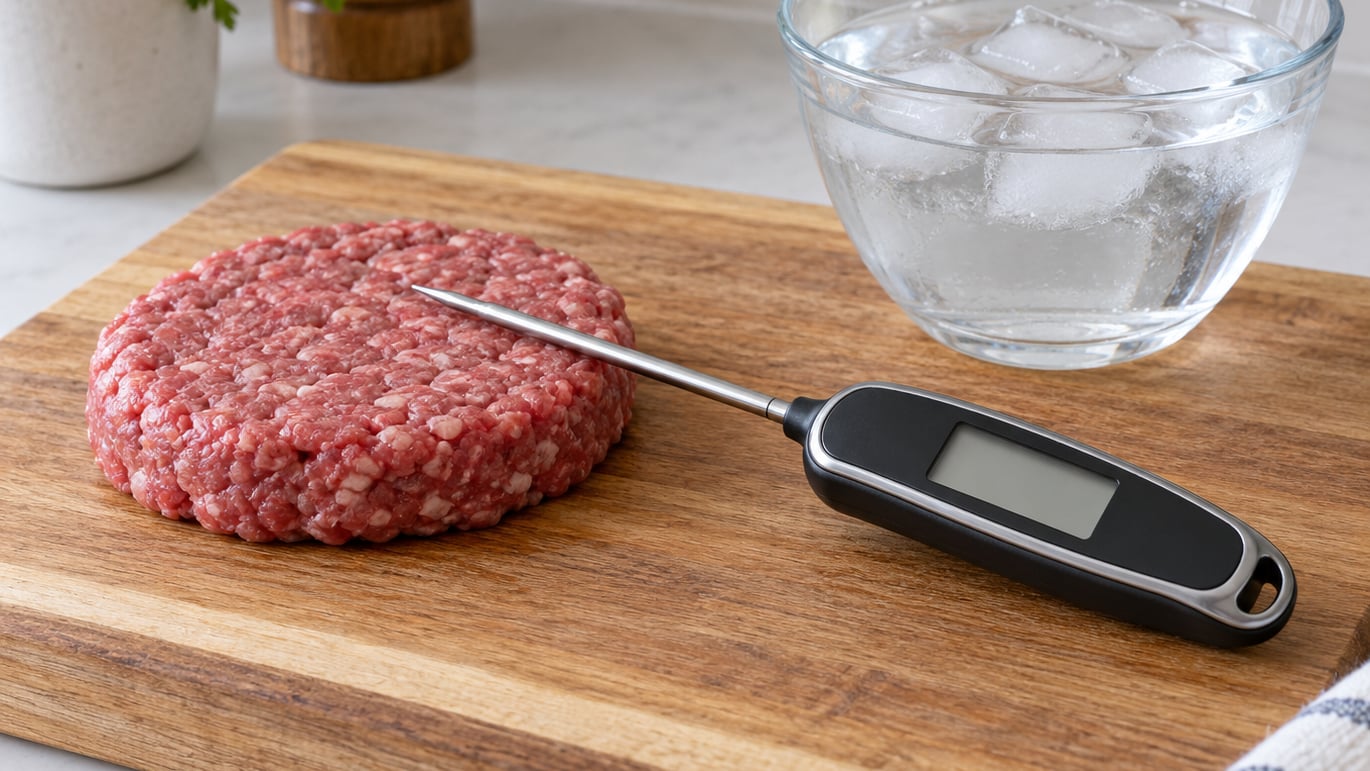
A meat thermometer gives you one number you can trust: the internal temperature at the center of the food. To use a meat thermometer correctly, check the reading in the thickest part of the cut, away from bone, fat and the pan, and wait for the number to stop moving. Hold the probe still for about 10 to 20 seconds, then pull large cuts 5 to 10°F below your target because the meat keeps cooking after it leaves the heat.
That is the whole technique. Most bad steaks and rubbery burgers are not a seasoning problem, they are a temperature problem: pulled too late, measured in the wrong spot, or read from a thermometer that was never checked. Learn where to put the probe and what number to pull for, and you stop cooking by color and start cooking by temperature.
Cooking by temperature also handles the boring safety side. The USDA lists safe minimum internal temperatures because heat is what kills Salmonella and E. coli in meat, and no amount of sear or smoke on the outside changes that. Our food safety rules for grilling meat cover the rest of that side; this guide is about the tool.
Table of Contents
- What You Need
- Step-by-Step: How to Use a Meat Thermometer Correctly
- Step 1: Prepare and Check Your Thermometer
- Step 2: Know Which Temperature You Need
- Step 3: Insert the Probe Into the Thickest Part
- Step 4: Keep the Probe Still and Wait for a Stable Reading
- Step 5: Check More Than One Spot
- Step 6: Account for Carryover Cooking
- Step 7: Clean and Store the Thermometer Properly
- Common Mistakes That Skew a Meat Thermometer Reading
- Frequently Asked Questions
- How deep should I insert a meat thermometer?
- Do you leave the meat thermometer in while cooking?
- What temperature should a burger be cooked to?
- How do I know my thermometer is working properly?
- Why is my meat thermometer reading low?
- Should I pull meat 5 to 10 degrees early?
- Where do I put the thermometer in a prime rib?
- Conclusion
What You Need
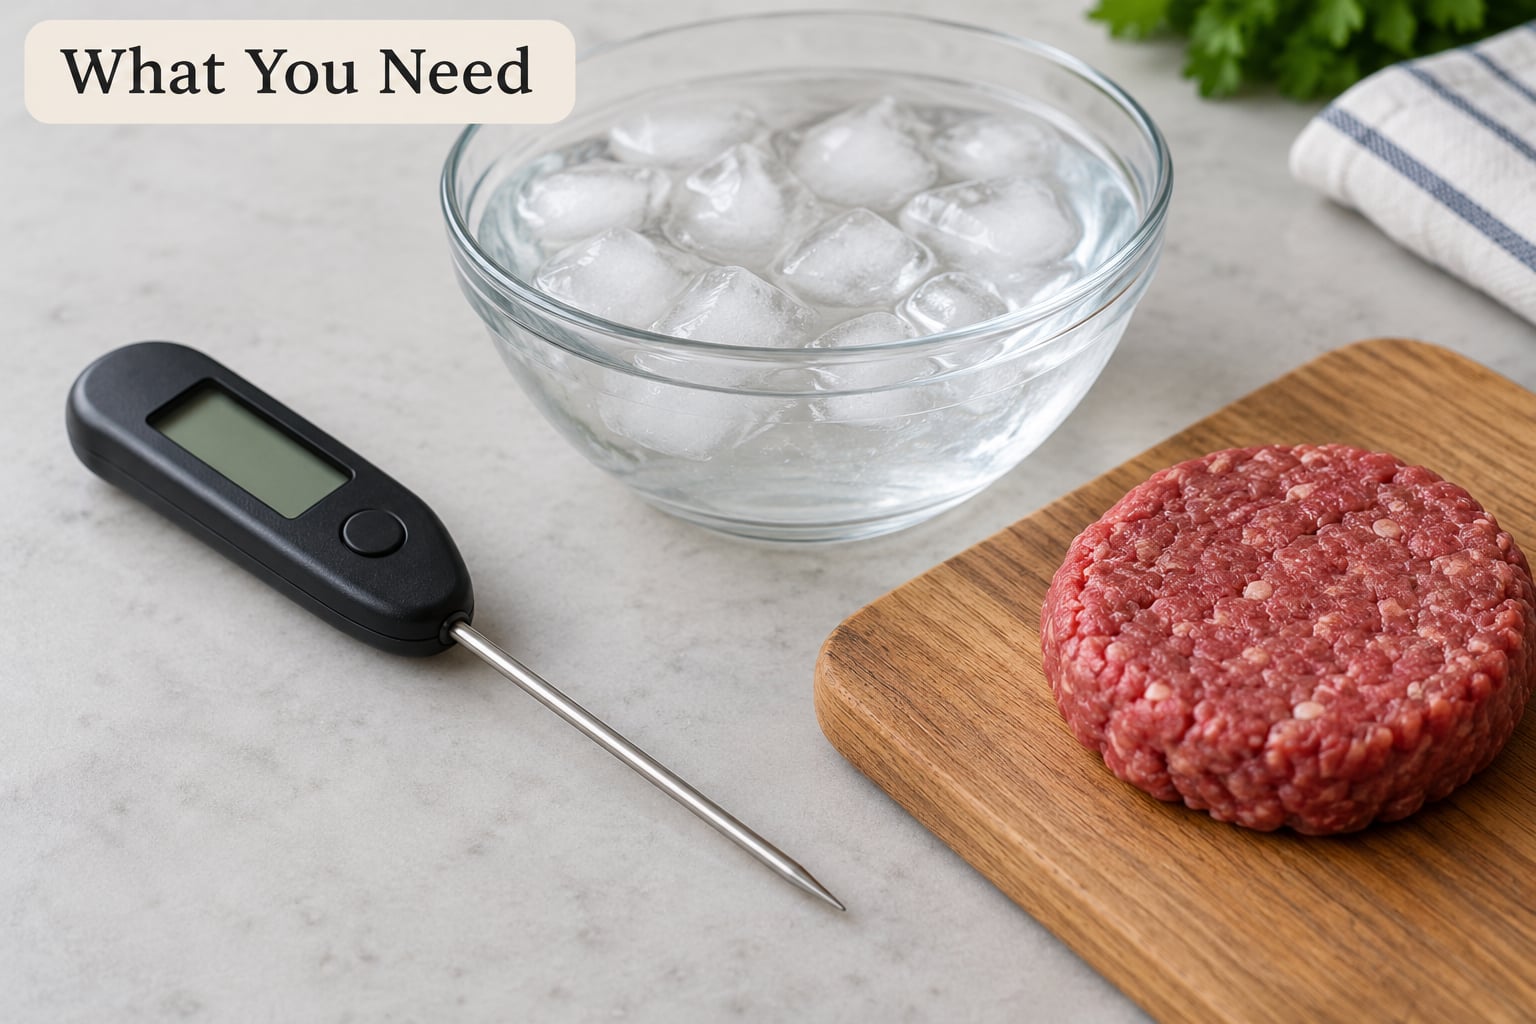
There is really only one tool to buy, but it comes in several forms, and the form changes how you use it.
| Type | How it works | Best for |
|---|---|---|
| Instant-read digital | Stainless probe, readout on the handle, read in seconds and pull back out | Everyday home cooking, checking several cuts at once |
| Leave-in probe | Wire runs from the food to a base unit or phone, reads while the food cooks | Long cooks in a smoker, oven or roaster where you are not standing there |
| Oven-safe programmable | Leave-in probe with a target temperature and a timer or alarm | Hands-off roasts, whole turkey, large primal cuts |
| Dial analog | Needle on a face, no battery, works through the probe and oven door | People who prefer not to charge or trust a screen |
| Pop-up timer | Rises to a set temperature and stays up until reset | One-time use on a whole turkey, nothing finer-grained |
| Wireless remote | Probe and a handheld receiver or Bluetooth app, alerts at a set number | Smoking long enough that you leave the cooker alone |
If you cook burgers more than anything else, an instant-read digital is the one to start with. It costs little, it works on burgers, steaks, chicken and fish, and you can pull it out and use it on the next piece without rewiring anything.
Before the meat goes on, do three things. Wipe the probe with alcohol or wash it in hot soapy water. Check the battery, or risk reading 20 degrees low at the worst moment. And, if you have not tested it in a few months, run the ice water check below, which takes about two minutes and catches most bad units before dinner depends on them.
Patty size matters more than most people expect. An uneven or oversized patty cooks unevenly no matter how good the thermometer is, so measure the thickest part of your ground beef before forming it. Our how much meat per patty size guide has the weights that work.
Step-by-Step: How to Use a Meat Thermometer Correctly
Step 1: Prepare and Check Your Thermometer
Sanitize the probe first, and do it every time. Raw proteins carry bacteria, and the probe goes back in the box after every use. A wipe with a paper towel and hot soapy water, or an alcohol wipe, is enough for a home kitchen.
Then check it. Stir a bowl of ice with a few spoonfuls of water and pack it full, so the reading is 32°F (0°C) right at the surface of the slurry. Put the probe in without touching the bowl or the spoon, and leave it until the number stops. Read 32 to 34°F and the thermometer is fine. Read 30°F or lower and it needs adjusting or replacing.
A second check uses boiling water. Bring a pot of water to a rolling boil, hold the tip in the steam just above the water without touching the bottom, and it should read about 212°F (100°C) at sea level. That test is more accurate because boiling water is a defined point, but ice water is easier to do on a Tuesday night. If your unit is off by more than 2 to 3°F in either test, stop trusting it in meat.
Units that only measure up to 130 or 140°F are cooking thermometers, not general thermometers. Using one of those to calibrate in ice water gives a reading below its range and no useful information.
Step 2: Know Which Temperature You Need
Decide the number before you start cooking, not after. The safe minimums come from the USDA, and a table beats memory, especially when you are working in a hot kitchen with a raw patty in one hand.
| Food | Doneness | Pull temp | Final temp | Rest |
|---|---|---|---|---|
| Beef, pork, lamb, veal steaks and roasts | Rare | 115°F | 120°F | 5 to 10 min |
| Beef, pork, lamb, veal steaks and roasts | Medium rare | 125°F | 130 to 132°F | 5 to 10 min |
| Beef, pork, lamb, veal steaks and roasts | Medium | 135°F | 140 to 143°F | 5 to 10 min |
| Beef, pork, lamb, veal steaks and roasts | Well done | 145°F | 150°F or higher | 5 to 10 min |
| Ground beef, pork or lamb (burgers, sausage, meatloaf) | Safe minimum | 158°F | 160°F | 3 min |
| Chicken or turkey breast | Safe minimum | 160°F | 165°F | 3 min |
| Chicken or turkey thigh | Safe minimum | 160°F | 165°F | 3 min |
| Stuffing, casseroles, reheating leftovers | Safe minimum | 158°F | 165°F | No rest needed |
| Fish and shellfish | Safe minimum | 143°F | 145°F | No rest needed |
| Fin fish, medium | Moist, just opaque | 137°F | 140°F | No rest needed |
| Fin fish, well done | Firm, flakes easily | 142°F | 145°F | No rest needed |
Two numbers in that table drive everything. Poultry is 165°F (74°C), and all ground meat including burgers is 160°F (71°C). Whole cuts of beef, pork, lamb and fish need 145°F (63°C) with a three-minute rest.
Pull temperature is a number only you need, and it is where the difference between a good steak and a great one lives. If your target is medium rare at 130°F, you leave the grill at about 125°F and let the residual heat carry it the rest of the way. On a thick prime rib, the difference is more like 8 to 10°F because there is so much mass in there to hold heat.
Here is the Celsius reference if you cook metric. The conversion is (F minus 32) times 0.555.
| °F | °C | Where it shows up |
|---|---|---|
| 32 | 0 | Ice water calibration |
| 100 | 38 | Water, not a doneness target |
| 125 | 68 | Pull temp for medium rare steak |
| 130 | 54 | Medium rare final |
| 140 | 60 | Medium well, and the older USDA rare baseline for whole cuts |
| 145 | 63 | Safe minimum for whole cuts and fish |
| 160 | 71 | Safe minimum for all ground meat |
| 165 | 74 | Safe minimum for poultry, stuffing and leftovers |
| 212 | 100 | Boiling water calibration |
Step 3: Insert the Probe Into the Thickest Part
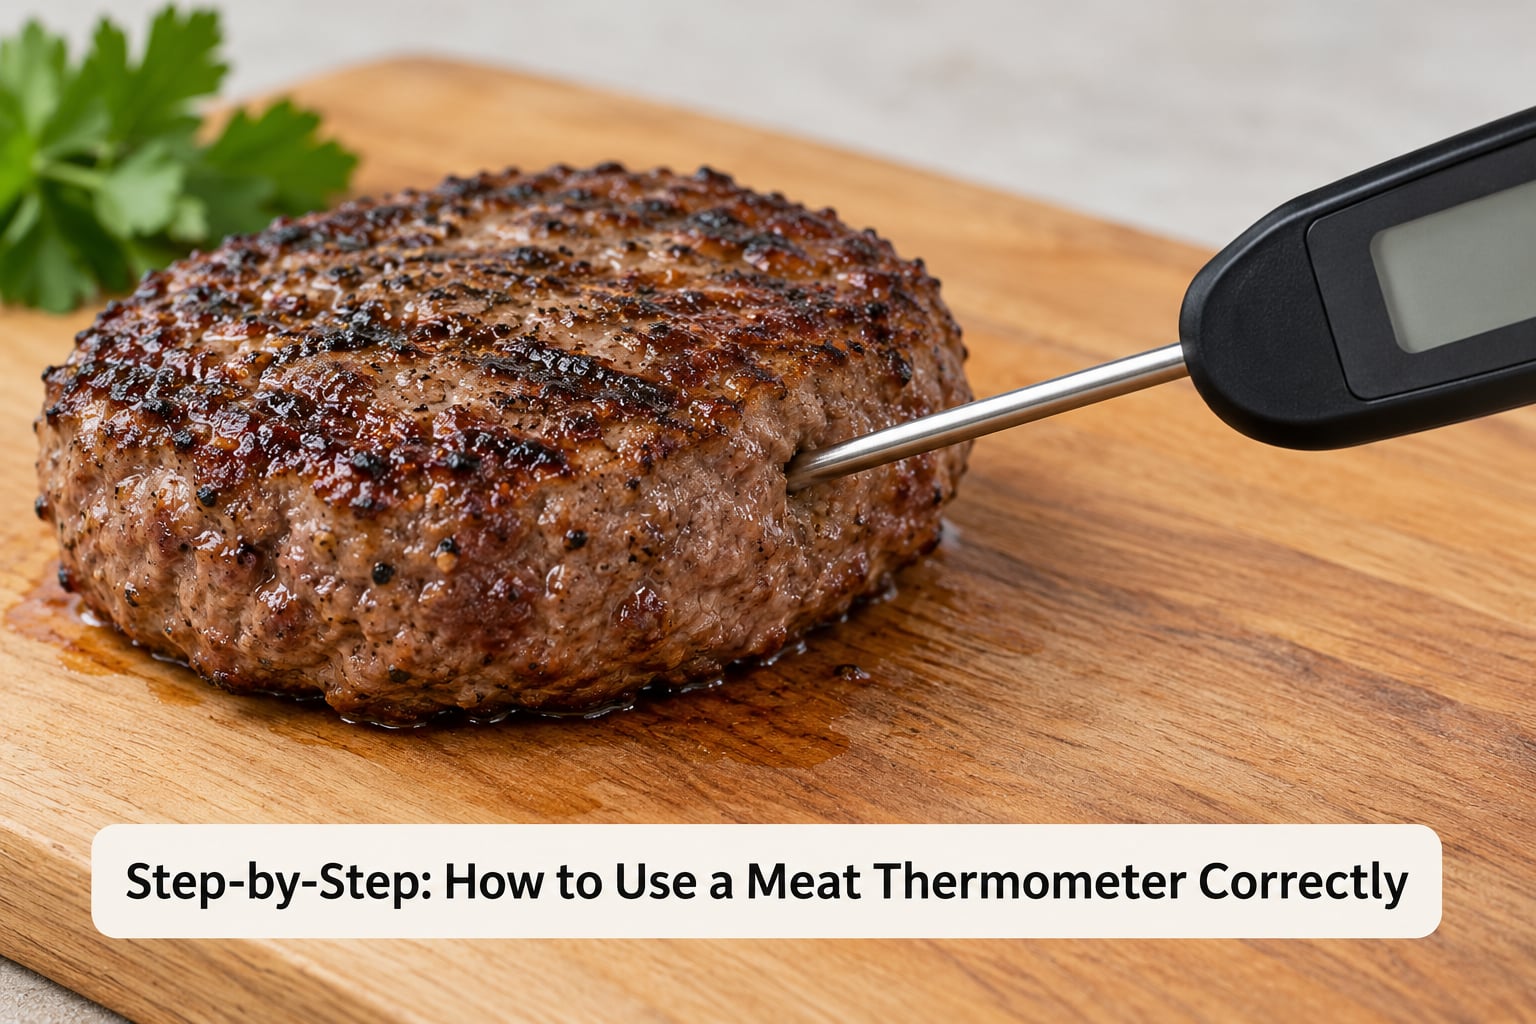
Push the probe into the center of the thickest part of the food. Not the top surface, not near an edge, not the fat cap. The sensing area is usually between 1/2 inch and 2 inches from the tip, so the whole sensing area has to sit inside the food with meat all around it.
Keep the probe away from three things. Bone conducts heat differently from muscle and can read 10 to 20°F high. Fat and gristle are poor conductors and read low. And any contact with the pan, the grill grates, or the wall of a smoker pulls the reading toward the cooking temperature, which is how a probe ends up reading the grill instead of the meat.
For thin cuts, insert from the side. A chicken breast, a burger patty, a pork chop or a salmon fillet will not take a probe straight down from the top without the tip poking out the bottom or exiting through the side anyway. Push in from the narrow end, keep the tip in the center of the thickest section, and the whole sensing area stays in the food.
Wired probes need a little routing. Run the cable so it exits away from the heat source and never rests against the cooker wall; looping it around a pot handle or clipping it to the grate lip keeps the tip in the middle. A probe leaning on a grill wall picks up that wall’s heat, and on a hot smoker the wall is often well past your target number.
Step 4: Keep the Probe Still and Wait for a Stable Reading
Hold the probe still for 10 to 20 seconds after you insert it. A digital readout will climb while the sensor catches up with the surrounding meat, and it can fall too, because the tip starts near the cooler surface and settles into the center. A number that is still changing is not a temperature, it is a transition.
Read it when the last digit holds steady for a few seconds. If the number keeps drifting more than a degree or two, the tip is probably touching bone, fat, or the pan, or the food is thin enough that the probe is reading the air around it.
Thin food needs one more trick, called the overshoot method. Push the tip all the way through the food and out the far side, then pull it back slowly to the center. On the way back you pass through the coldest point in the middle, so the lowest number the display shows is the truest reading you will get.
Step 5: Check More Than One Spot
One reading is a sample, and the sample changes depending on the cut. The thickest part of a steak is not the same thickness as the thin end. The center of a turkey is colder than the leg. Check the places that are slowest to cook.
| Cut | Where the probe goes |
|---|---|
| Steak, chops, cutlets | From the side, into the center of the thickest section |
| Burger patty | Into the middle of the patty at a slight angle, tip in the deepest part, not out the bottom |
| Prime rib roast | Between the ribs in the thickest part of the eye, from the fat cap side; check both ends of the bone, and probe the second rib in from the end because the end rib sits closer to the heat |
| Whole pork loin or beef tenderloin | In the center of the loin, away from the backbone end where the bone sits |
| Chicken or turkey breast | From the side into the thickest part of the breast, close to the breastbone but not touching it |
| Chicken or turkey thigh | Into the thigh, just above the joint, staying off the bone |
| Salmon or other fillet | From the side into the thickest part, staying off the skin line |
| Brisket, pork shoulder, ribs | Leave-in probe in the thickest muscle, away from the bone and the bark |
| Ground beef, sausage, meatballs | Into the center of the thickest piece, not a thin tail end |
| Whole turkey | Leave-in probe in the thickest part of the breast and one in the thigh, away from the wishbone |
Check two or three spots on anything large, irregular, stuffed or frozen at the start. Stuffed meats have a raw filling in the middle and a cooked shell, and a frozen roast has a cold core that a single reading from one end can miss entirely.
Step 6: Account for Carryover Cooking
Carryover cooking is the heat already inside the meat finishing the job after you pull it. A 2-inch steak that leaves the grill at 125°F will sit at 130°F after a five-minute rest. A 6-pound prime rib pulled at 135°F can climb past 145°F in twenty minutes, which is how you end up serving well-done roast to people who asked for medium rare.
So pull early. The rule of thumb is 5°F early for thin cuts under 1.5 inches, and 8 to 10°F early for thick roasts, where the center has more mass to hold heat. Then rest the meat on a board or a plate, loosely tented if you are worried about it cooling too fast, and let it come up to the target you wanted.
Resting does more than even out the temperature. It lets the muscle fibers relax and reabsorb the juice that cooking pushed out, which is why a rested steak slices wetter than one cut straight off the grill. A whole cut wants 5 to 10 minutes, a burger about 3, and a fish fillet does not really need any.
Step 7: Clean and Store the Thermometer Properly
Wipe the probe clean before you put it away, every time. Rinse or wash the probe shaft in hot soapy water, dry it fully, and never run the digital unit or the handle under water unless the manufacturer says it is waterproof. Most handheld instant-read bodies are not sealed, and water gets into the battery compartment and kills the tool.
Do not put the probe through a dishwasher, and do not store a leave-in wire coiled tightly around the base; a tight wrap stresses the strain relief where the cable enters the handle, and that is where probes usually fail first.
Store it somewhere dry, away from the stove and the grill, with the tip protected so it does not get dinged. If it is a wireless model, take the batteries out for long storage, and check them in the spring if you cook outdoors all season.
Common Mistakes That Skew a Meat Thermometer Reading
Measuring against bone. Bone pulls the number up, sometimes by 10 to 20°F, and it is the classic cause of cutting into a pork chop that reads like a shoe. Probe the meat next to the bone, not through it.
Letting the probe touch the pan, the grate or the smoker wall. The sensing area picks up the heat of the cooking environment instead of the food. On a grill holding at 450°F, a probe resting against the grate drifts toward the grate’s temperature rather than the steak’s, and nothing on the display tells you it happened.
Taking the reading too early. The number right after insertion is the sensor warming up. Wait 10 to 20 seconds for the display to hold, and for thin food use the overshoot method to catch the lowest, truest number.
Trusting color, juices or the clear juices trick. Color depends on the cut, the aging, the myoglobin level and the sauce. A well-done steak can still be safe and a rare-looking one can be undercooked. If you want the fallback methods, how to tell when a burger is done without a thermometer covers what those clues are actually worth.
Leaving a pop-up timer in a turkey. Pop-up units are single-use, imprecise, and have almost no thermal mass. They tell you a moment, not a temperature. A leave-in probe with a target temperature does the same job and reports the number you actually want.
Probing the same spot after moving the food. You pull the probe out, shift the patty on the grill and stick it back into the hole you made, which is a channel of lower-temperature juices. Aim somewhere new, or accept that the reading is now a blend.
Not cleaning the probe. Raw to cooked with the same probe is a sanitation problem, and it is also a reason some people first suspect a broken tool and get bad readings on the next piece.
Assuming a reading that is too low is the meat, not the tool. A thermometer that never gets checked drifts. If your ice water test reads 30°F instead of 32°F, add 2° to every cooking number, and if it is off by more than that, replace it.
Frequently Asked Questions
How deep should I insert a meat thermometer?
Insert the probe so the entire sensing area, usually 1/2 inch to 2 inches from the tip, sits inside the food. That means about 1/2 inch for thin items and 2 to 2.5 inches for a thick roast. On thin cuts, push in from the side rather than straight down so the tip stays in the center instead of exiting the bottom.
Do you leave the meat thermometer in while cooking?
With a leave-in or oven-safe probe, yes, that is the point: it reports the temperature as the food cooks and can alert you. With an instant-read, you insert it, take the reading, and pull it back out so you can check the next cut. Leaving an instant-read buried in the food wastes the reading you just took and cooks the handle if the unit is near the coals.
What temperature should a burger be cooked to?
Ground beef is only safe at 160°F (71°C) internal, and burgers are ground meat, so there is no rare zone. Pull the patty at about 158°F and let it finish during a 3-minute rest. Check the thickest part of the patty, not the edge, and remember that an uneven or oversized patty still cooks unevenly no matter how accurate the probe is.
How do I know my thermometer is working properly?
Test it in a well-stirred bowl of ice water. Pack the ice in, stir it, and the reading should hold at 32°F (0°C) or 33°F. A second check is boiling water at 212°F (100°C), which is the more accurate reference point. If the tool is more than 2 to 3°F off in either test, adjust it if the model allows or replace it.
Why is my meat thermometer reading low?
Four usual causes: the probe is not deep enough so part of the sensing area is outside the food, the tip is sitting in fat or gristle which conduct heat poorly, the tip is in the cool center of a frozen piece, or the tool has drifted and needs calibration. Also check that you are not reading a unit whose range tops out near 140°F, because those are cooking thermometers and will not read a hot steak at all.
Should I pull meat 5 to 10 degrees early?
Yes, for large cuts. Heat already in the meat keeps cooking it after you pull it, so a thick roast should come off about 8 to 10°F below your target and a thin steak about 5°F below. Rest it before slicing, and the center will land on the doneness you wanted. Pulling at the final number is the most common reason home roasts come out dry.
Where do I put the thermometer in a prime rib?
Insert the probe between the ribs into the thickest part of the eye, entering from the fat cap side, and keep the tip away from the bone. Skip the end rib, which sits closer to the heat and cooks first, and check the opposite end of the roast too. Probing the second or third rib from the end gives you a reading from the middle of the roast rather than the exposed edge.
Conclusion
Three things do most of the work. Know your target temperature before the meat hits the heat, 160°F for ground meat and 165°F for poultry, and decide your pull number. Sanitize the probe and run the ice water check so you know the tool is telling the truth. Then measure in the thickest part, away from bone, fat and the pan, and hold still until the number stops moving.
Everything after that is restraint: pull 5 to 10°F early, let the carryover finish the job, and rest the meat before you slice it. Do those three things and a good grill becomes a repeatable one, every single time you cook.