
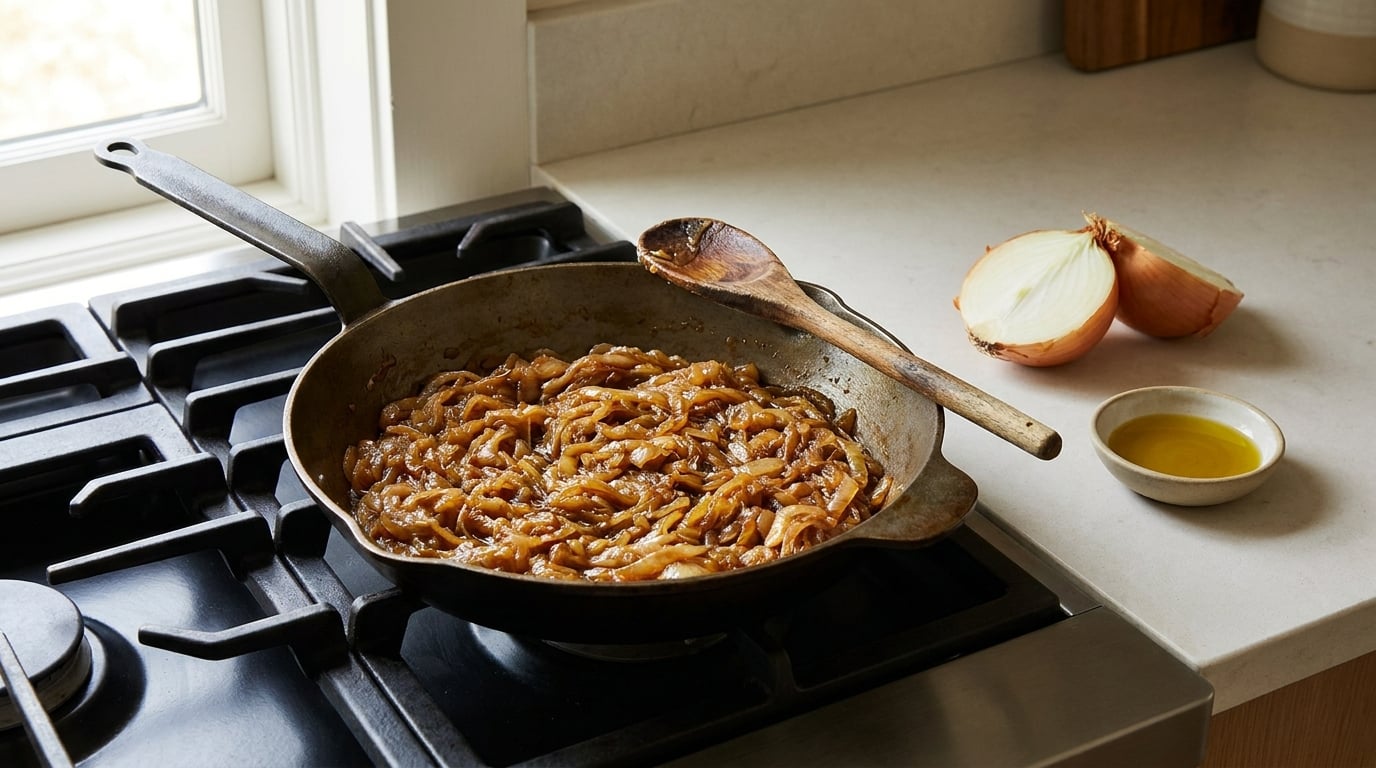
Caramelized onions for burgers come down to three things: slice the onions thin, keep the heat at medium-low, and give it 30 to 45 minutes of uninterrupted cooking. When the slices turn soft, jammy and deep golden brown, they are done. No sugar, no special pan, no chef tricks — just a wide skillet, a little fat and the patience to stir every few minutes.
I make these roughly once a month for burger night, and the first three or four times I rushed it. Higher heat looked faster and gave me black flecks in a pale onion. Learning to sit with a low flame was the whole lesson. Budget 45 minutes of hands-on-plus-stirring time, and treat the last ten of those minutes as untouchable.
What You Need
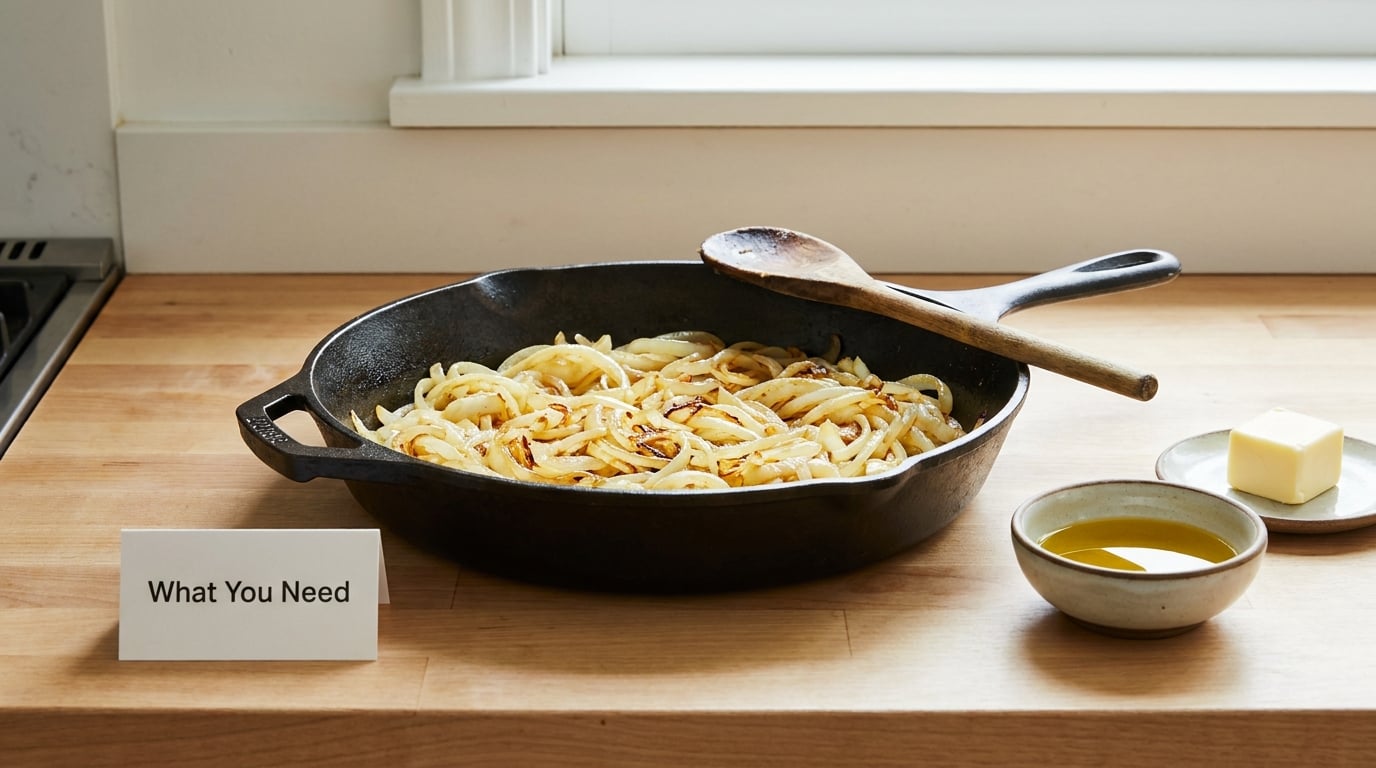
The ingredient list is short enough to memorize, which is why this is a good technique to learn. The equipment matters a little more than people expect: a wide pan is the single biggest lever on both speed and even cooking.
- Onions: 2 large yellow onions (about 1 pound) for four burgers. Vidalia or Walla Walla are sweeter and need less time. See the portion table below for larger batches.
- Fat: 1 tablespoon olive oil plus 1 tablespoon unsalted butter, or 2 tablespoons of just one. The oil raises the smoke point so you can hold heat without the butter scorching.
- Salt: a generous pinch of kosher or sea salt, added as the onions soften, plus a final taste before serving.
- Pan: 12-inch cast iron or heavy stainless skillet. A 10-inch pan works for 3 onions. Avoid nonstick — you want fond building on the bottom, and nonstick is built to prevent exactly that.
- Tool: a wooden spoon or silicone spatula that can scrape the bottom of the pan.
Two large onions sound like a lot of cutting for a burger topping, and you will use a bare spoonful per burger. They shrink by more than half as they cook, so raw volume is not a good way to judge yield.
Here is the batch math I use:
| Burgers served | Onions needed | Raw weight | Approximate cook time |
|---|---|---|---|
| 4 | 2 large yellow | about 1 lb | 30 to 40 minutes |
| 6 | 3 large yellow | about 1.5 lb | 40 to 50 minutes |
| 8 | 4 large yellow | about 2 lb | 50 to 60 minutes |
| 12 | 3 very large sweet onions, halved | about 3 lb | 60 to 75 minutes |
Anything past two pans’ worth of raw onion and you should cook in batches anyway. A crowded pan steams, and steamed onions will never brown.
Step-by-Step: How to Caramelize Onions for Burgers
1. Slice the onions evenly
Peel, trim the root end, cut each onion in half through the root, then slice each half into thin half-moon shapes. Aim for roughly 1/8-inch slices — thin enough to soften and brown at the same rate, thick enough that you still have something to bite into.
Then pull the slices apart into individual layers. Those nested half-moons are the enemy: the outer strands brown while the trapped middle stays raw and wet, which is exactly the uneven result people blame on the pan.
2. Start with oil and butter on medium-low heat
Put the skillet over medium-low, add the olive oil and let it shimmer, then add the butter and swirl it until it melts and stops foaming. Add the onions in a loose layer and spread them out.
If the oil smokes when it hits the pan, turn the heat down. The goal at this stage is gentle, even softening, not browning. Watery onions and hot pan is the recipe for a scorched outside with a raw middle.
3. Cook until the moisture cooks off
Stir every two or three minutes for the first ten minutes or so. The onions will go from opaque white to translucent, then soften and release water, and then the liquid starts to boil away.
Add your pinch of salt here. Salt pulls water out of the cells, which speeds the softening and, more importantly, helps the sugars get moving. The moment the pan looks dry and the onions stop looking wet and shiny, this phase is over. That transition usually lands somewhere between 10 and 20 minutes.
This is the step people skip. Once the onions are translucent and soft, a sudden rush to brown them is what burns the ones touching the metal while the rest stay pale. Do not raise the heat here.
4. Brown and caramelize the onions
Drop the heat to low. Stir every 4 to 5 minutes, and scrape the brown bits off the bottom of the pan back into the onions — that fond is the deepest flavor in the whole dish. If the pan ever looks dangerously dry, add a tablespoon of water and scrape; it will steam off in seconds and rescue the fond before it turns acrid.
Watch for these markers, since the color is the only reliable signal you have:
| Elapsed time | What you see | What is happening | Your next move |
|---|---|---|---|
| 10 minutes | Opaque white, starting to look glossy | Fat coating the onion, heat working inward | Keep stirring, keep heat at medium-low |
| 20 minutes | Translucent, limp, watery in the pan | Cells collapsing, water cooking off | Add the salt, keep the heat low |
| 30 minutes | Soft, dry-looking, pale tan at the edges | Moisture gone, sugars starting to brown | Stir every 4 to 5 minutes, scrape the fond |
| 40 minutes | Deep golden brown, jammy, reduced in volume | Full caramelization, flavors concentrated | Pull it — deeper color is one bad stir away |
Smell is the other cue. When the kitchen turns genuinely sweet and roasted rather than just oniony, you are close. Taste one: if it is only pleasant and not faintly sticky, give it another five minutes.
5. Season and use the onions
Off the heat, taste and add a pinch more salt if needed. Then decide how you want them to behave in the burger.
For a general topping, spread the onions on a plate or a sheet pan and let them cool for a few minutes so the excess moisture evaporates. For a burger sauce, mash them with a spoonful of mayonnaise, aioli, or mustard. A teaspoon of Worcestershire, a splash of balsamic, or a pinch of brown sugar shifts the profile toward sweet-sour or deeper umami, though none of them are required.
Refrigerated in an airtight container, caramelized onions keep about 4 to 5 days, and they are genuinely better on day two. Frozen flat in ice cube trays and transferred to a bag, they hold roughly 2 to 3 months.
Common Mistakes
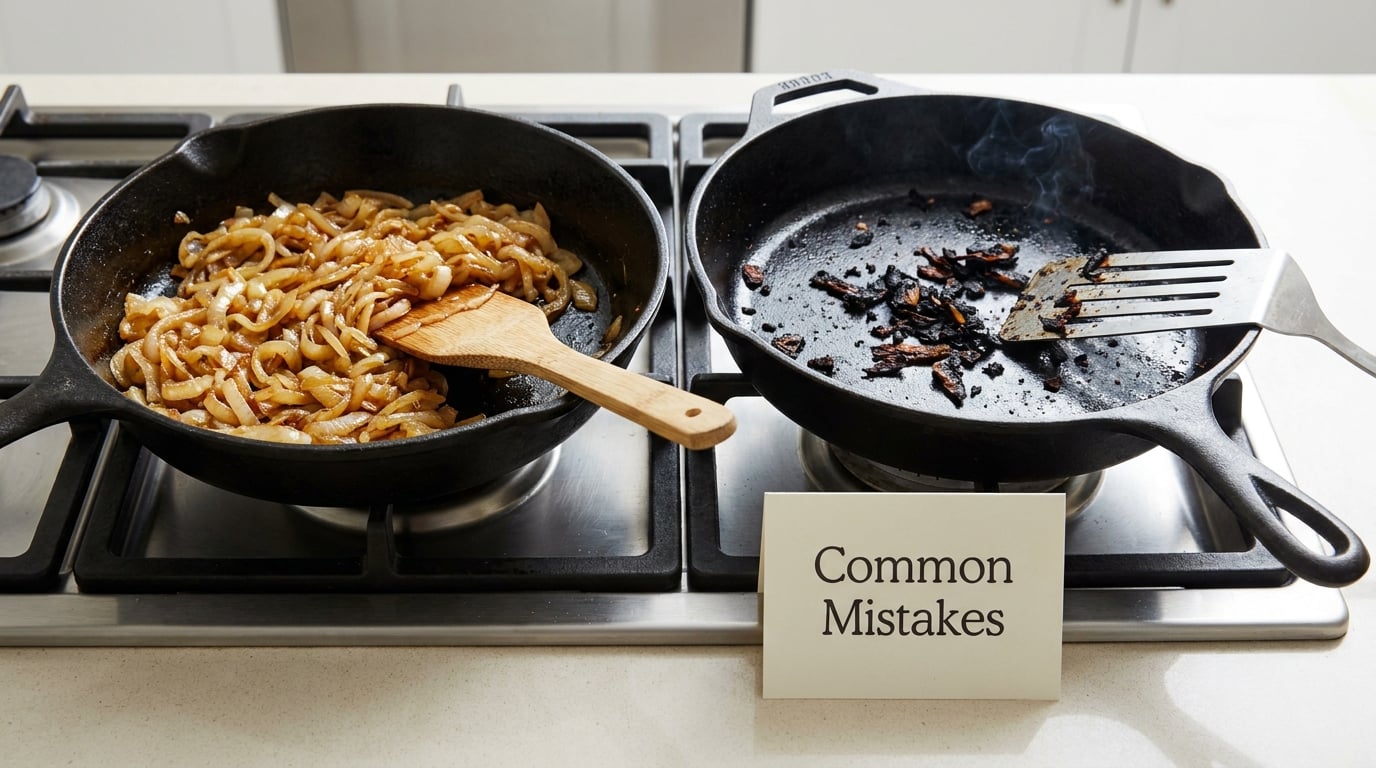
Every failure below traces back to heat, moisture, or crowding. Once you can name which one went wrong, the fix is usually a change of one variable.
Burnt before they softened
The single most reported problem, and the reason the phrase “onions burn before they turn brown” shows up in nearly every forum thread about this. It is a heat problem, not a pan problem. Turn the burner down a notch the moment the onions go translucent, and stir more often through the softening phase so nothing sits long enough to blacken.
Watery onions that never browned
This is crowding or a wet pan. If onions sit in a visible puddle they are boiling, and boiling is the opposite of browning. Spread them across the widest surface you have, cook in batches, and wait for the liquid to disappear before expecting color.
Some pieces black, some still pale
That is uneven slicing, almost every time. Pieces of different thickness have different water contents, so they hit their stages at different moments. Slice thinner, separate the layers, and accept a slightly longer cook for far more even results.
Sticking and a black crust on the pan
You pushed past the fond stage. Fond is brown and aromatic; burnt fond is black and bitter, and once it is black you should stop, discard the burnt material, and restart. Prevention is a pinch of water whenever the pan reads dry, and scraping with a wooden spoon rather than letting it seize.
Burgers that fall apart
Very wet onions leak into the bun. Drain the finished onions in a sieve for five minutes or blot them on a towel, and go slightly darker than feels right while cooking. Deeply caramelized onions have far less free water in them than softly browned ones.
Tips for Consistent Results
Start onions in the same pan you seared the patties in. This is how a lot of restaurant kitchens do it, and no recipe page bothers to explain it. Sear your burgers, remove them, scrape the beef fond into a thin layer of oil, and add your onions straight into the seasoned fat. You get deeper flavor for free and one less pan to wash.
Skip the sugar, and know what baking soda does. A teaspoon of sugar nudges browning along, and a pinch of baking soda raises the pH so the onions soften dramatically faster — that trick comes up often in r/Cooking when someone is in a hurry. Neither is needed for a good result, and the soda can leave a soapy note if you overshoot. A quarter teaspoon, once, is plenty.
Think about how much time you actually have. The complaint that caramelizing takes 45 minutes to two hours is fair. Speeding it up legitimately means more pan surface, thinner slices and lower crowding, not more heat. A lid traps steam and slows browning, so leave it off and stir more often instead.
Plan ahead for larger groups. For a make-ahead batch, r/OnionLovers users cook pounds of onions with a whole stick of butter on low in a slow cooker and portion the result straight into freezer cups. Pressure cookers are less reliable here — several r/instantpot threads describe the saute step stalling and turning into a 50-minute job. A room-temperature start, an overnight fridge rest, or a wide sheet pan in a hot oven all get you closer to a 30-minute version without cheating the method.
Match the onion to the time you have. Sweet onions like Vidalia brown faster and more gently. Red onions hold their color longer, which is nice on a burger with a pale bun. Storage onions from a cool cellar take the full 45 minutes.
Do not cover the pan. Evaporation is what gets you to browning. A lid works against you the whole time.
Once cooked, use the onions well beyond burgers: folded into scrambled eggs, spooned over a baked potato, stirred into pasta with pasta water, or as the base of a quick pan sauce with mustard and a splash of the beef drippings.
Frequently Asked Questions
Which type of onion is best for caramelizing for burgers?
Yellow onions are the best all-round choice: balanced between sweet and savory, and they reach a deep golden brown reliably in 30 to 45 minutes. Sweet onions like Vidalia or Walla Walla brown faster and more gently, so watch them closely and expect 10 to 15 minutes less. Red onions keep their color well but carry more sharp flavor, which some people like against a fatty patty. Avoid pungent storage onions if the batch will sit for days, since the sharpness lingers.
Should I use butter or oil when caramelizing onions?
Use both, which is what most restaurant recipes do. Olive or avocado oil gives you a higher smoke point so the onions do not scorch during the long softening phase, and butter adds nutty richness in the last third of cooking. Oil alone is the safer choice if you are cooking for a large batch on a strong burner. Butter alone browns beautifully but burns quickly, so it needs a gentler flame and closer watching.
Does caramelizing onions mean cooking them covered or uncovered?
Uncovered, always. Browning depends on moisture leaving the pan, and a lid traps that water as steam, which keeps the onions wet and stops color from developing. If your onions are releasing a lot of liquid early on, a brief lid for two or three minutes to soften them faster is fine, but take it off as soon as the pan looks dry and let the browning phase happen uncovered.
Can caramelized onions be made ahead and reheated?
Yes, and they are actually better the next day. Cool them uncovered in a shallow container, then refrigerate covered for up to 4 to 5 days. Reheat in a skillet over medium heat with a splash of water for a few minutes, or microwave in short bursts so they do not turn rubbery. For longer storage, freeze them flat in ice cube trays, then move the cubes to a bag for up to 2 to 3 months.
Why are my caramelized onions burning before they turn brown?
Almost always the heat is too high, and often the onions are crowded. Onions need a long, gentle phase to shed their water before any browning can happen, and high heat scorches the pieces touching the metal long before the rest have softened. Turn the burner down after the onions turn translucent, stir every four to five minutes, use a wide pan, and cook in batches if the layer is thicker than a single layer.
Conclusion
If you do one thing differently, slice the onions evenly and keep the flame at medium-low. Even slices are what let every strand reach golden brown at the same moment, and low heat is what keeps that browning from turning into burning before the water is gone.
Before the onions go on a burger, do one last check: they should be soft and jammy, deep golden brown rather than blond, slightly sticky between your fingers, and dry enough that nothing pools on the bun. If they pass that test, so will the burger.