
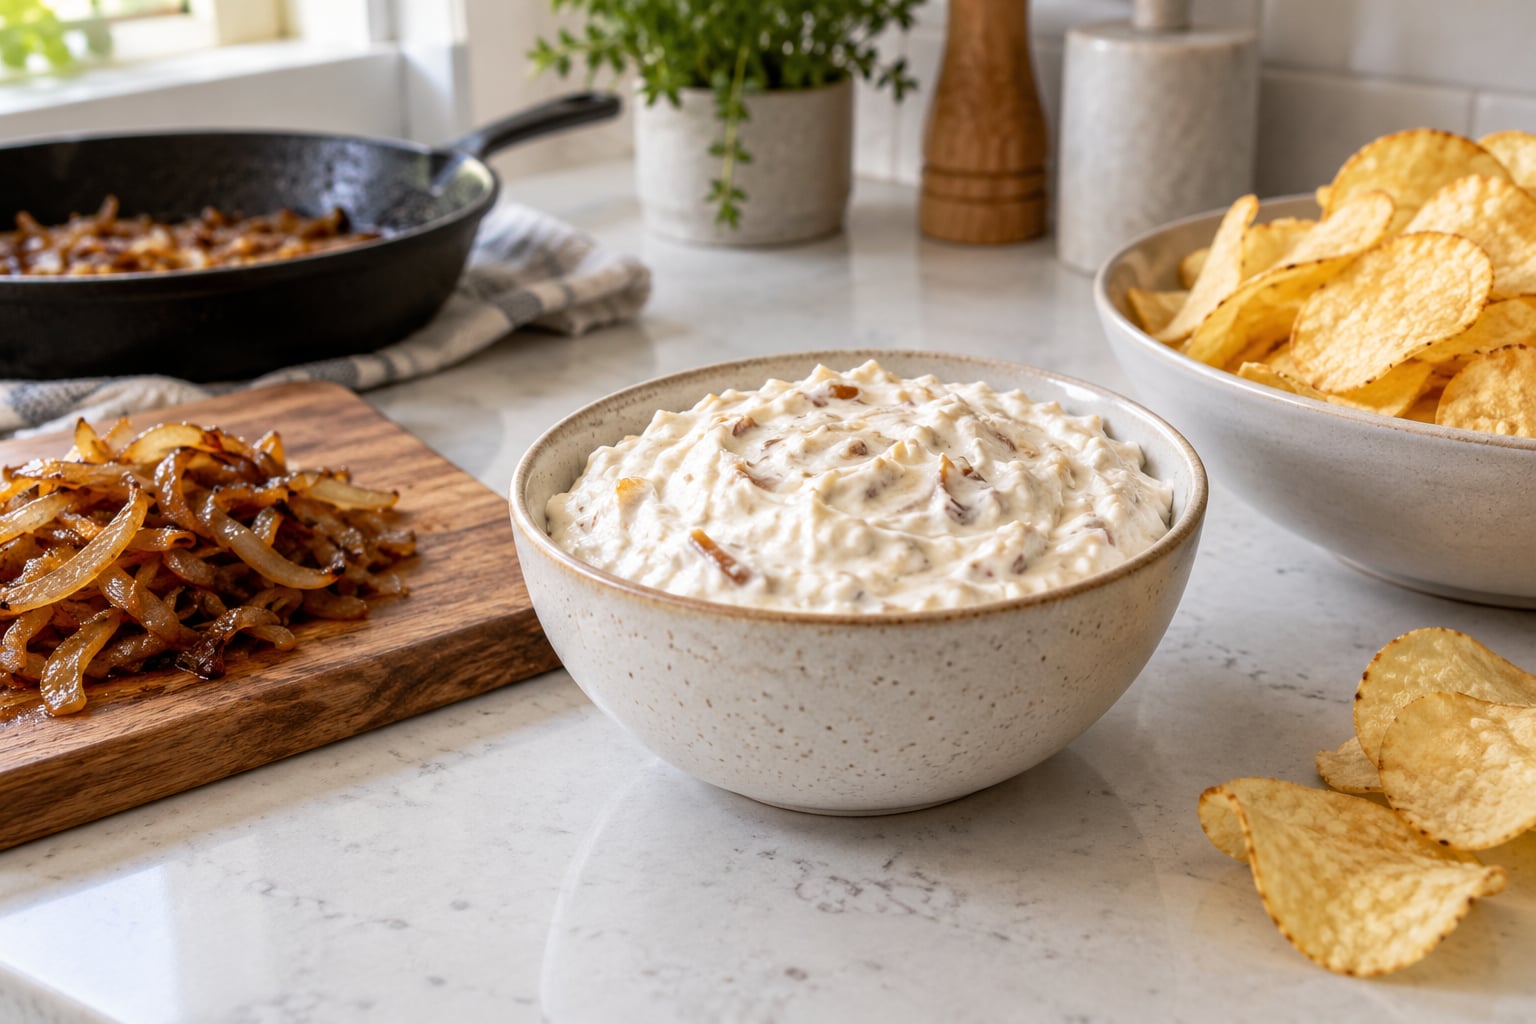
The difference between packet onion dip and the real thing is about 35 minutes of patient cooking. To learn how to make French onion dip from scratch, you slice yellow onions thin, cook them in butter over medium-low heat until they collapse into a deep golden jammy mass, then fold them into a cool base of cream cheese, sour cream, and mayonnaise. Chill it for two hours, taste it again, and adjust the salt. Total time is roughly 50 to 65 minutes, and about 90 percent of that is standing still at the stove.
The reason store-bought mix tastes the way it does is that it skips the part that takes time. Onion soup powder carries salt, dehydrated onion, and flavoring compounds, but it never develops the layered sweetness that slow cooking pulls out of a real onion.
Below is the method I use, with the exact cues for when the onions are actually done rather than just hot enough to eat.
Table of Contents
- What You Need for French Onion Dip
- Step-by-Step: How to Make French Onion Dip From Scratch
- Common Mistakes and Tips for French Onion Dip
- Frequently Asked Questions
- Can I make French onion dip without sour cream?
- How long should French onion dip chill before serving?
- How long does homemade French onion dip last in the refrigerator?
- Can I make French onion dip ahead of time?
- Should French onion dip be served cold or at room temperature?
- Can French onion dip be frozen?
- Conclusion
What You Need for French Onion Dip
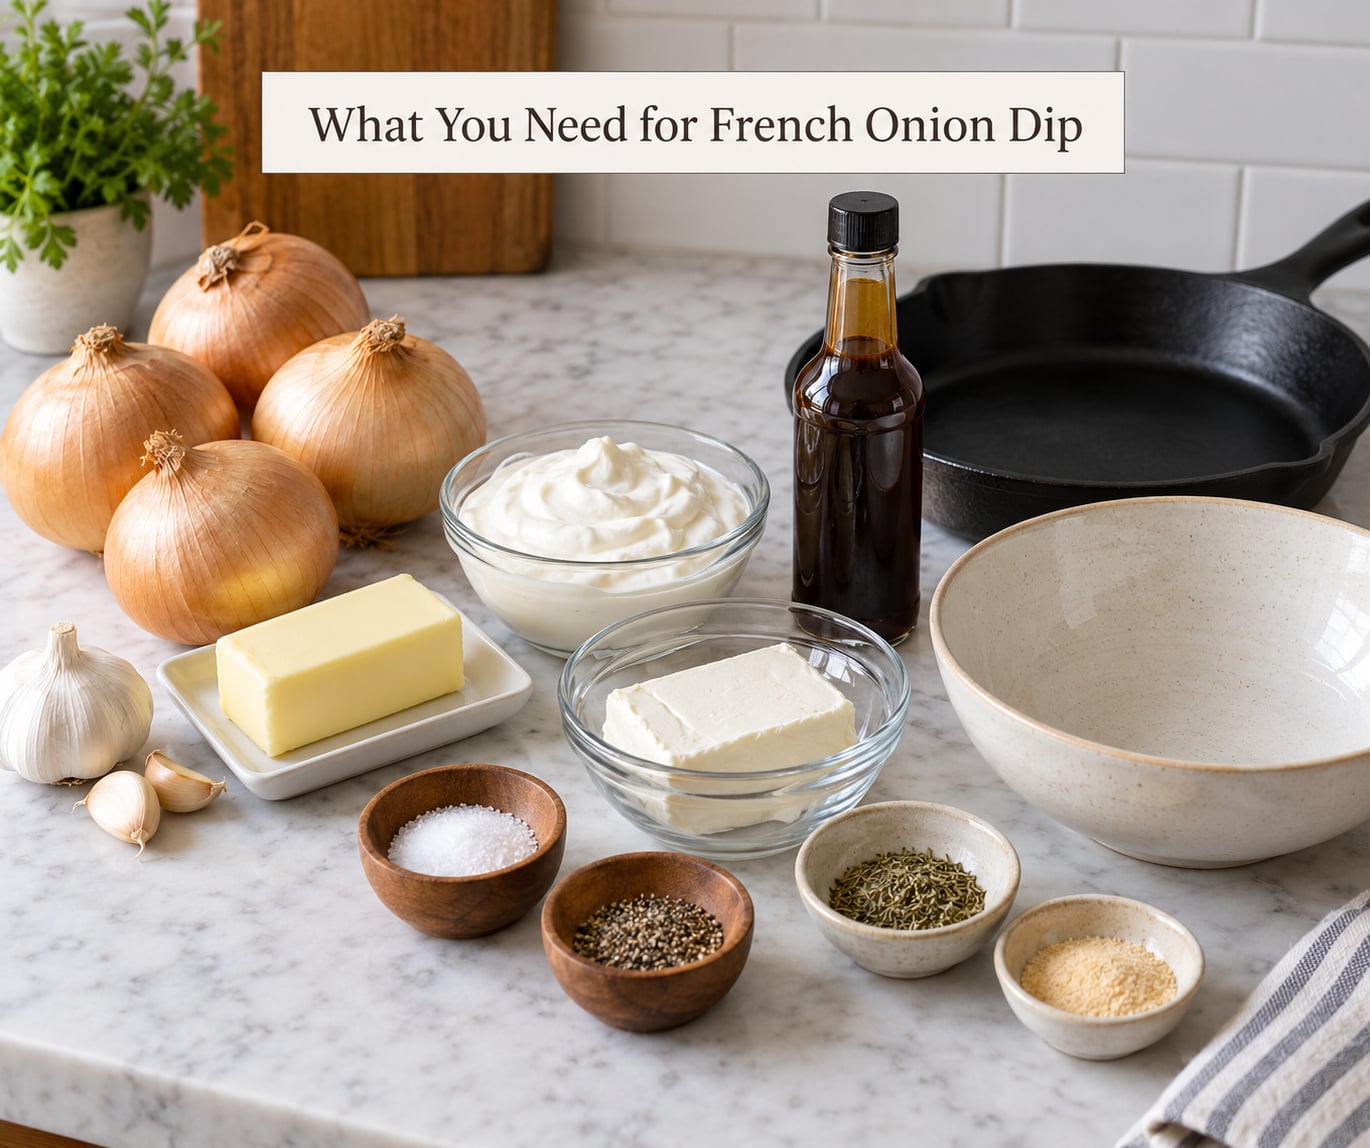
The core list is short enough that you can count on your fingers, and every item is something most kitchens already keep on hand.
- 3 large yellow onions, about 1.5 pounds, halved root to stem and sliced thin
- 2 tablespoons unsalted butter plus 1 tablespoon olive oil
- 8 ounces cream cheese, softened to room temperature
- 1 cup full-fat sour cream
- 1/2 cup mayonnaise
- 1 tablespoon Worcestershire sauce
- 1 teaspoon garlic powder and 1/2 teaspoon onion powder
- 1 teaspoon kosher salt, plus more for tasting, and 1/2 teaspoon black pepper
- 1 teaspoon soy sauce or a small splash of Worcestershire extra, optional but good
- 2 tablespoons chopped chives, for the top
This makes roughly 4 cups of dip, which serves about 16 people as a party appetizer with plenty of dippers. Double it if you are feeding a hungry crowd on game day; the onion part scales in a single wide skillet as long as you do not crowd the pan.
Only one piece of equipment really matters: a wide skillet or Dutch oven, 12 inches or larger. A narrow pan gives you a deep pile of onions that steams in the middle instead of browning, and that is the single most common reason homemade caramelized onions turn out sad and pale.
On regular yogurt versus Greek: Greek works, and it is a common swap, but it is thicker and more acidic, so drain it through a fine sieve for 20 minutes first and pull back the added salt by about half a teaspoon. Plain full-fat yogurt run straight from the container will make the dip thinner and tangier than most people expect from the jar version.
Yellow onions are the default because they balance sweetness with enough bite to stay interesting. Sweet onions and Vidalias melt faster and taste mellower, which works if you want a gentler dip but leaves less room for the Worcestershire to bite. Red onions hold their color nicely but turn muddy once fully caramelized, so I use them only in a mix with yellow.
Optional additions that earn their place: a teaspoon of honey to round out the sweetness, a pinch of cayenne for warmth, or a spoonful of caramelized bacon bits folded in at the end. If you want to go dairy-free, a thick cashew cream blended with lemon juice works in place of the cream cheese and sour cream, with the same seasoning amounts and a little extra lemon at the end.
Step-by-Step: How to Make French Onion Dip From Scratch
Step 1: Slice the Onions Thinly
Halve each onion from stem to root, leave the root intact so the rings hold together, then slice across the grain as thin as you can manage on a steady mandoline or with a sharp knife. Thin slices collapse faster and release moisture in a controlled way instead of steaming themselves into mush.
Pull the rings apart with your fingers before they hit the pan. Clumps are the enemy here: a mound of stuck onion browns on the outside and stays raw in the middle, and it takes much longer to even out. If you are working with a very large batch, do two skillets rather than one deep pile.
Do not salt the onions at this stage. Salt on raw onions pulls water out, and that extra liquid in the pan is exactly the moisture you want to cook off first before browning starts.
Step 2: Caramelize the Onions Slowly
Melt the butter with the olive oil over medium-low heat, add the onions in a single even layer, and stir once so everything is coated. Then leave the pan alone for 5 to 7 minutes. You are not trying to cook the onions fast here; you are trying to drive off water so browning can begin.
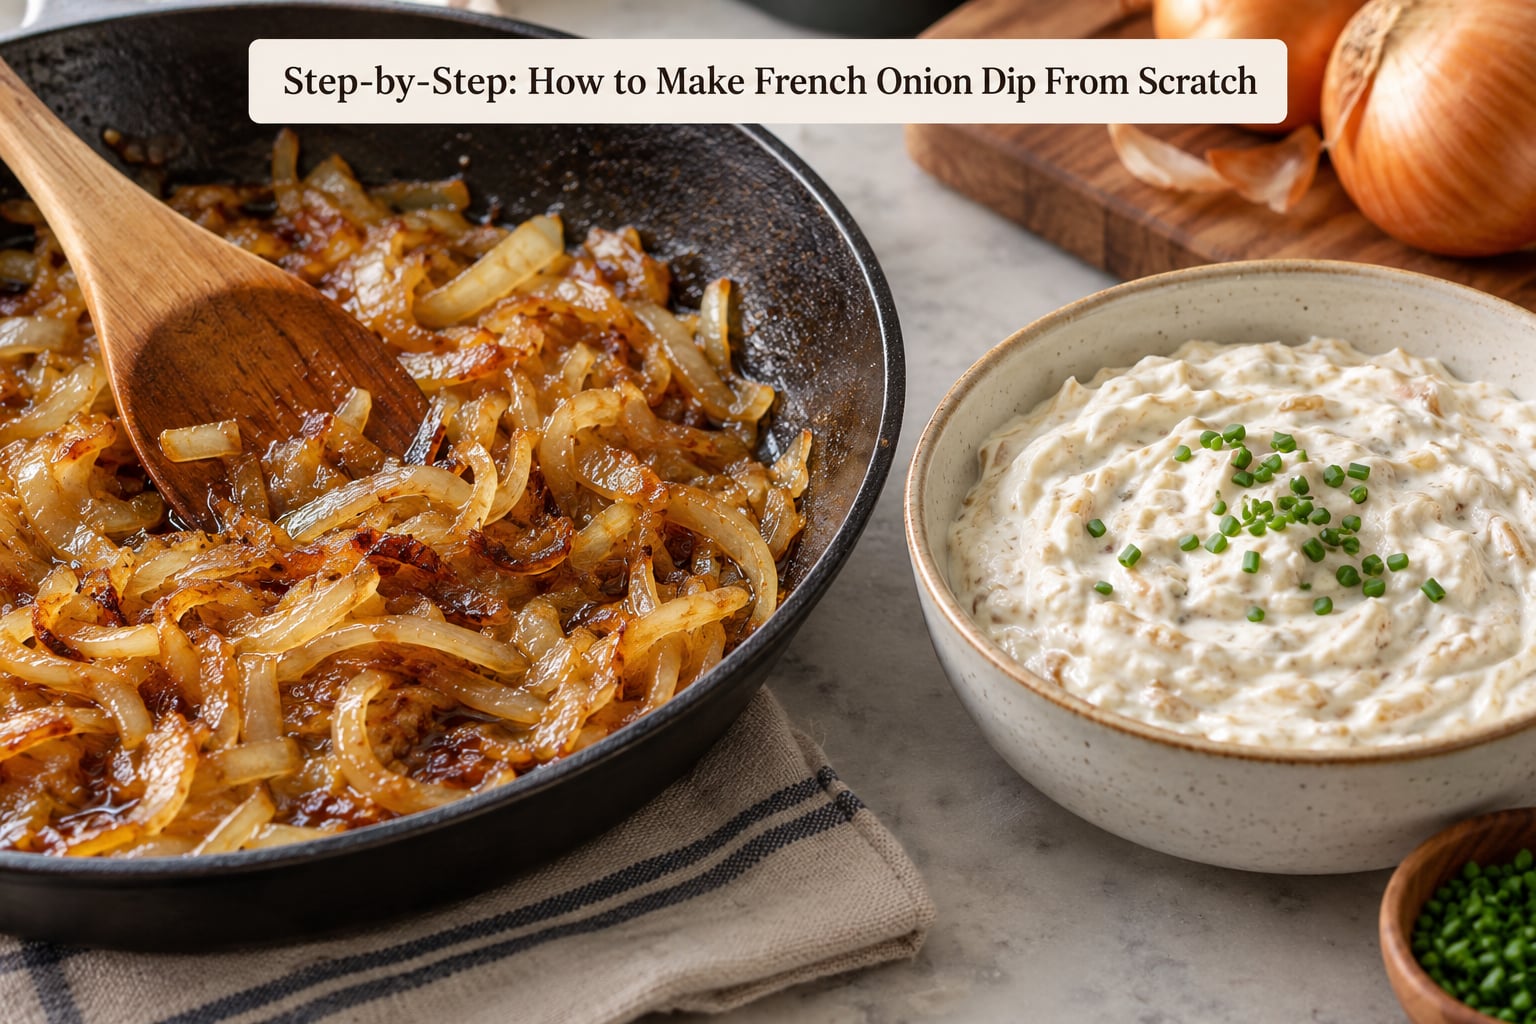
Stir every 3 to 4 minutes after that, scraping the bottom as you go. The visual sequence runs like this: translucent and floppy, then soft and pale gold, then tan, then a genuine copper brown. Most home kitchens land on medium-low rather than medium, and medium is where onions go from golden to scorched in about ninety seconds.
Plan on 30 to 40 minutes total. If the pan bottom looks dry and brown bits are darkening quickly, drop the heat a notch. If there is a lot of liquid still bubbling, be patient; that water has to go before you get flavor.
If you want deeper flavor, add a tablespoon of brown sugar or a teaspoon of honey for the last 10 minutes. Once the color reaches a deep amber and the smell in your kitchen turns sweet rather than sharp, add a quarter cup of water and scrape the fond off the bottom of the pan. That fond is concentrated onion essence and it is worth keeping.
Then take the pan off the heat and let the onions cool for 10 to 15 minutes. Folding hot onions into cold dairy thins the base and makes it grainy, and this is the step that separates a smooth dip from a loose one.
Step 3: Mix the French Onion Dip Base
Before you fold anything in, let the cream cheese, sour cream, and mayonnaise sit on the counter until they all feel about the same temperature. Cold cream cheese will not blend smoothly into a warm base; it breaks into pale lumps that stay visible even after you stir hard. This is the single fix that solves more lumpy dip problems than anything else.
Beat the softened cream cheese alone for about 30 seconds first, scraping the bowl twice, so it goes glossy and smooth before anything else joins it. Add the sour cream and mayonnaise and beat until the mixture is uniform and pourable, roughly the thickness of thick pancake batter. Scrape the bowl and the beaters a second time, because the base clings where the seasoning is about to go.
Stir in the Worcestershire sauce, garlic powder, onion powder, black pepper, and salt. Add the soy sauce if you are using it and mix again until no streaks remain.
Fold in the cooled onions with a spatula, using a cutting and folding motion rather than aggressive stirring. Some texture is the point: strands of onion are what make people think the dip is made from scratch. If you want it perfectly smooth for a sandwich spread, pulse a third of the onions in a food processor first, then fold the rest in for contrast.
Taste it now, before any chilling. You are looking for a three-way balance: sweet from the onions, tang from the dairy and Worcestershire, and a savory edge from the garlic. It should taste slightly under-seasoned at this stage because cold dulls the flavor.
Step 4: Season and Adjust the Flavor
Dip a clean spoon in and taste again with the onions fully distributed. Too flat usually means it needs salt, not more dairy, and a quarter teaspoon at a time fixes it in one or two passes.
Too sharp or too tangy is easier to fix than too mild. Fold in another half cup of sour cream, or a spoonful of cream cheese if you want it thicker, and you are back on track. A squeeze of lemon juice is the opposite fix: half a teaspoon sharpens a flat dip and wakes up the Worcestershire, and a full teaspoon gives you a restaurant-style brightness that works well on heavier burgers.
If the onion flavor reads as harsh and raw rather than sweet, you undercooked it. No amount of dairy hides that, so the correction happens on the stove, not in the bowl.
If the dip is bold enough but feels flat on the finish, a pinch of smoked paprika or a few drops of a vinegar-based hot sauce adds depth without adding heat.
Step 5: Chill Until the Flavor Mellows
Cover and refrigerate for at least 2 hours before serving. Four hours is better and overnight is best. The resting period is not about food safety, since the ingredients are all safe uncooked dairy and vegetables, it is about integration: the onion juices soak into the base and the raw edge of the Worcestershire and garlic rounds off.
The dip thickens noticeably as it chills. If it turns into something you could stand a spoon in, stir in sour cream or a splash of cold water a tablespoon at a time until it scoops cleanly and slowly releases from the spoon.
Keep it in a sealed container in the fridge and eat it within 3 to 4 days. That is the realistic window for a homemade dairy dip like this, and it is shorter than a store-bought jar because there is no pasteurized thickener holding the texture steady. Keep a portion of the cooked onions frozen separately if you might want to make the dip again later.
Step 6: Serve with the Right Pairings
Serve it cold, straight from the refrigerator. It also holds up well at cool room temperature for about 30 minutes on a buffet table, which matters if it is sitting out during a party. Beyond that, take it back to the fridge rather than leaving it at room temperature for hours.
Plain crinkle-cut potato chips are the consensus favorite and the easiest dipper to serve. The ridges hold more dip, and the plain seasoning lets the onion flavor come through instead of competing with it. Toasted baguette rounds or crostini add a crunch that feels more like a party than a couch night.
Vegetables work well and keep the bowl lighter: carrot and cucumber sticks, celery, and bell pepper strips. Raw onion is a surprisingly good dipper too, if you are already fond of the raw flavor.
Beyond chips, this works as a spread on burgers, a sauce for grilled chicken, a topping on a baked potato, or a thin layer in a sandwich. A lot of people stir a spoonful into mac and cheese, which is worth trying. If you are building a burger night, this pairs with how to make jalapeno poppers for burger night, and a thicker crinkle-cut dipper works fine alongside hand cut french fries cooked crispy. For the patty itself, see burgers with breadcrumbs versus without.
Common Mistakes and Tips for French Onion Dip
Almost every disappointing onion dip traces back to heat, temperature, or timing. The fixes are specific and quick to learn.
The onions scorched before they caramelized. Heat was too high or the pan was too crowded. Steam needs somewhere to go; if onions sit in a mound they cook in their own moisture and then catch. Use a wider pan, keep the heat at medium-low, and stir often enough that nothing sticks to the bottom.
The onions came out watery instead of jammy. They were salted early, added to a hot pan, or stirred too frequently in the first ten minutes. Salt draws out water, and constant movement prevents contact with the pan surface. Salt at the end, add onions to a warm pan, then leave them alone in the first stretch.
The onions turned bitter. They cooked past deep amber into dark brown. Bitterness is usually over-browning rather than under-seasoning, and it cannot be stirred out, so start over with fresh onions and pull the pan off the heat at deep gold.
The dip is loose and runs off the chip. Most likely the onions were folded in while still hot, which warmed and loosened the dairy, or the base needed more chill. Cool the onions fully, chill the finished dip, and add cream cheese or sour cream to bring it back.
The cream cheese stayed in lumps. It was too cold, or it was mixed too aggressively into a warm base. Bring the cream cheese to room temperature, beat it on its own first, and let the onions cool before the two meet.
It tastes bland even though the onions are right. Season in layers rather than all at once: salt with the base, taste again after chilling, and finish with a small amount of lemon juice or Worcestershire. Cold food needs more than warm food does.
It did not keep well in the fridge. A dip made with fresh garlic and raw dairy needs refrigeration from the start and should be used within 3 to 4 days. Keep it covered, use clean spoons, and do not leave it out beyond two hours at a party.
A few habits that make repeat batches better. Cooking the onions a day ahead and storing them separately from the base gives you a dip that comes together in five minutes, and many home cooks find that overnight in the fridge the dip tastes noticeably rounder. Freezing plain caramelized onions in a flat bag works well for up to three months; freezing the finished dip tends to split the dairy, so I freeze the onions instead.
For a party timeline: caramelize the onions and chill them the day before, mix and season the base the morning of the event, then give it a final hour in the fridge before guests arrive. Seasoning tastes brighter on the day of, so hold back a little salt.
Frequently Asked Questions
Can I make French onion dip without sour cream?
Yes. Swap sour cream for plain Greek yogurt for a thicker, less tangy result, or use full-fat coconut yogurt for a dairy-free version. You can also go the opposite direction and add extra sour cream to cream cheese and mayonnaise, which makes a lighter, sharper dip. After any swap, taste the finished mix before serving since changing the dairy also changes the salt level and how much Worcestershire it needs.
How long should French onion dip chill before serving?
At least 2 hours in the refrigerator, and 4 hours or overnight tastes better. Chilling gives the onion juices time to soak into the creamy base and rounds off the raw edge of garlic and Worcestershire. The dip also thickens as it rests, so stir it again after chilling and add a splash of cold water or a spoonful of sour cream if it is too stiff.
How long does homemade French onion dip last in the refrigerator?
About 3 to 4 days when kept covered in a sealed container. Because it uses fresh dairy and real onions with no added thickeners, it does not keep as long as a store-bought jar. Keep it at or below 40 degrees, use clean spoons instead of double-dipping, and discard it if it smells off or the texture turns watery.
Can I make French onion dip ahead of time?
Yes, and it improves. Make the caramelized onions up to two days ahead and refrigerate them separately, then mix the base and fold them together the day of the event. Finishing the dip a few hours before serving keeps the texture lively, while mixing it a full day ahead gives the flavors more time to marry. Season lightly when you mix and add a final pinch of salt before serving.
Should French onion dip be served cold or at room temperature?
Cold is the standard, straight from the refrigerator, and that is where the creamy texture is at its best. For a buffet or party table, let it sit out for about 30 minutes so the flavor opens up, then return it to the fridge. Because it contains fresh dairy, do not keep it at room temperature for more than two hours.
Can French onion dip be frozen?
Freeze the caramelized onions rather than the finished dip. Cooked onions freeze well in a flat bag for up to about three months and thaw quickly in a skillet or the fridge. The assembled dip tends to split and turn grainy once frozen and thawed, because the mayonnaise and cream cheese lose their structure. Thaw the onions overnight and mix a fresh base in the morning.
Conclusion
Start with the onions and give them the full 30 to 40 minutes at medium-low. That slow, unbothered cooking is the whole recipe; the dairy base is just a few minutes of stirring. Once the onions hit deep amber, cool them completely, fold them into softened cream cheese, sour cream, and mayonnaise, then chill the dip for at least two hours before serving. Taste it once more cold, adjust the salt and a small squeeze of lemon, and serve it with plain crinkle-cut chips.