
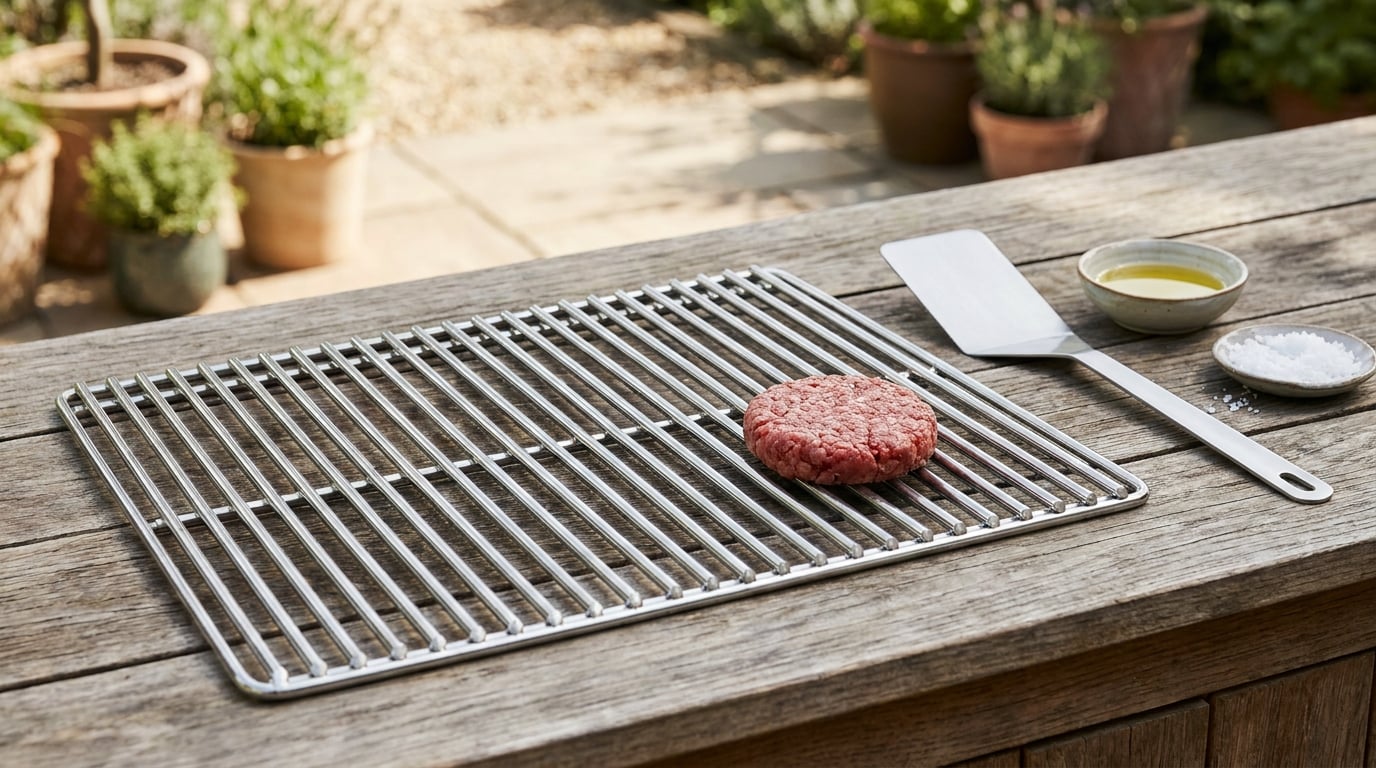
Burger patties stick for four reasons: dirty grates, cold metal, no oil, and flipping too early. Scrub the grates, preheat them to medium-high, wipe on a thin film of high smoke point oil, and then leave the patty alone for two to three minutes before you touch it. That is most of the fix, and the whole prep takes about ten minutes.
I used to pull patties off the grate at the first sign of sizzling, and half of each one would stay behind, glued crust and all. Once I stopped rushing the turn, the sticking mostly disappeared on its own. What follows is the routine I use now, written out so you can follow it the first time without guessing.
What You Need
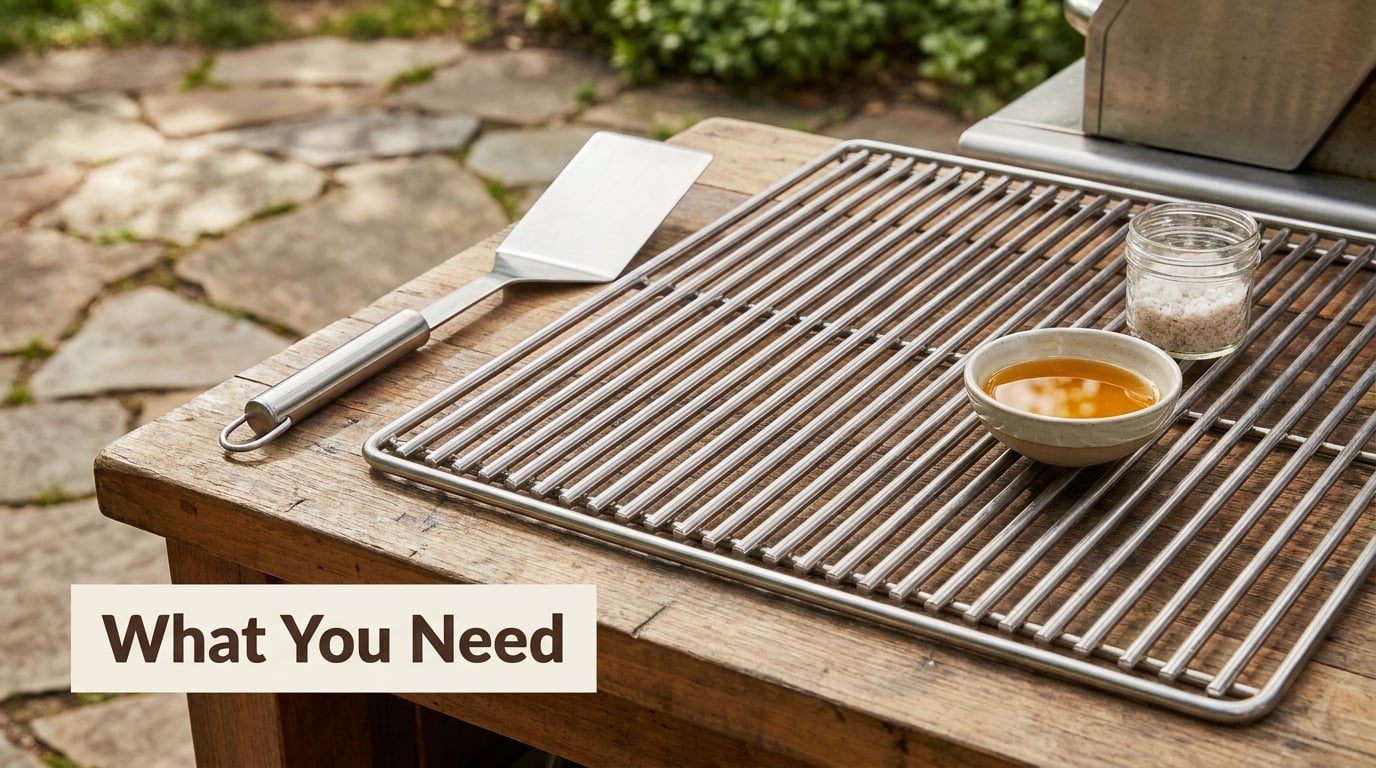
Four things do the real work here. The rest is nice to have but nothing breaks if you skip it.
A stiff bristle grill brush. A stainless bristle brush is the tool for carbonized residue, and it is worth keeping near the grill rather than in a drawer. Brass bristle brushes are gentler and are the better choice on porcelain-coated grates, where a hard stainless brush can scratch the coating. A grill stone is the backup for stubborn black patches that a brush has already softened with a little hot soapy water.
A long-handled flat metal spatula. A thin beveled edge slides under a patty with almost no force. Thicker plastic spatulas are fine for flipping but bad at getting underneath one, which is where most tearing actually starts.
A folded paper towel and a pair of tongs. Fold the towel into a flat pad, clamp it with the tongs, and you have a controllable applicator for oil. A paper towel run over your hands works just as well and gets right into the cracks of the meat.
High smoke point oil and coarse salt. Canola, grapeseed and avocado oils all handle grill temperatures without smoking. Coarse salt is the other half, because salt draws the surface moisture out and helps the crust set fast enough to release.
Two optional items. An infrared thermometer tells you the real grate temperature in a second, which takes the guesswork out of preheating. Parchment paper or a grilling basket is useful when cooking a batch of thin patties, though it takes away the sear marks you get on bare metal.
Step-by-Step
Step 1: Clean and Preheat the Grill
Scrape the grate while it is still warm from the last cook. A stiff brush, a little hot soapy water and a firm back-and-forth motion will lift most of the black carbon in under a minute. Let the grate dry fully before it goes over the heat, because water under the patty is what creates steam and a pale surface instead of a crust.
Preheat for 10 to 15 minutes, aiming for a surface between 350F and 450F (175C to 230C). Carbonized residue is the reason a “clean enough” grill still grabs the meat: burnt fat and sugar are sticky at any temperature. Without an infrared thermometer, drop a drop of water on the grate. It should skitter and vanish in a couple of seconds, not bead up and hiss its way across the bars.
On a gas grill, set the burners to medium-high and put everything in the hotter half of the grate, keeping one side cooler for resting and for moving a patty that is cooking too fast. On charcoal, wait until the coals are ashed over at the edges and glowing under a thin layer of grey. On a flat-top griddle, heat the surface to the point where a drop of water skips across it, which usually takes longer than people expect.
Step 2: Season the Burger at the Right Time
Salt the outside of the patty right before it goes on the grate, not while it sits in the fridge. The salt pulls moisture to the surface within a minute or two, and that moisture boils off fast, leaving behind a dry browned crust that the spatula can slide under.
That crust is the whole game. It comes from the Maillard reaction, the browning between amino acids and sugars at high heat, and it does not exist yet when the patty first touches the grate. A raw, wet surface in contact with metal sticks; a browned, slightly dried surface does not.
Keep sugary seasoning off the meat for the first few minutes. Ketchup, sweet barbecue sauce, brown sugar rubs and pre-marinated patties all caramelize at 400F, and the burnt sugar is another kind of glue. Add sauce at the very end, during the rest, so you get the flavor without the tar.
Step 3: Oil the Grate or the Burger Lightly
Pick one of the two methods rather than doing both. If you oil the grate, wipe it with the paper towel pad until the metal looks faintly shiny and no more. If you oil the patty, run a very light film of oil over the raw surface with your fingers just before placing it.
The layer is meant to be almost invisible. Puddles of oil under a patty flash into flame on a hot grate, and the flare-up leaves carbon spots on the bars, which set up sticking for the next batch.
Avoid olive oil on the grate. It has a lower smoke point than the others, and when it breaks down under grill heat it leaves a gummy polymer film that bonds to the metal. You get smoke, an off flavor that lingers through the burger, and a dirtier grate for next time. Butter belongs on the patty during basting, not on the bars. Aerosol cooking spray is only safe applied to a cool grate, never sprayed toward an open flame or a hot surface, and a paper-towel-and-tongs film does the same job without the propellant.
Step 4: Press and Place the Burgers Carefully
Shape the patties so they hold together: handle the meat gently, make the edges smooth, and keep the thickness even. Loose, ragged patties stick because the torn edges grab the bars, and they fall apart in the spatula for the same reason. This is a forming problem rather than a grill problem, and it shows up most often with beginners who overwork the meat.
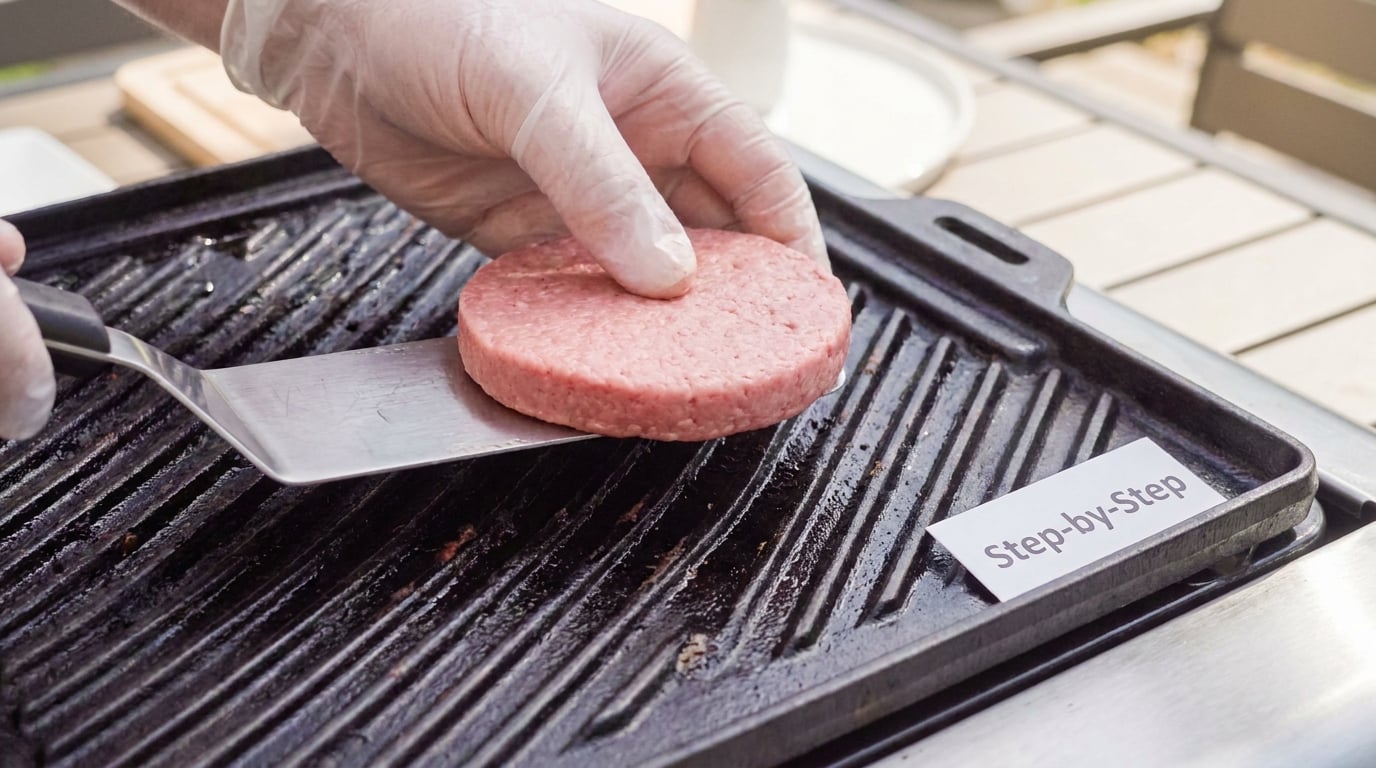
Lower each patty with the flat spatula instead of dropping it from tongs. A patty that hits the grate from a height splatters and spreads out thinner than you wanted. Leave a couple of inches between patties. Crowding drops the surface temperature fast, and once the grate falls under 350F you get steaming instead of browning, which is sticking in slow motion. This is the same reason restaurant griddles cook in small batches rather than loading them full.
Do not press down on the patty once it starts cooking. Every press squeezes juices out through the bottom and gives the meat more surface area in contact with the metal, so it welds harder and dries faster.
Step 5: Flip Only When the Patty Releases
Here is what to do in the moment a patty grabs: nothing, for the first couple of minutes. A thin smash patty needs 2 to 3 minutes untouched. A thick quarter-pound patty needs 3 to 5 minutes per side. Trying to force a turn before that window has passed is the most common reason patties tear in half.
There are three signs that the patty is ready. The edges look set and dark rather than pink and loose. The juices running out of the top have gone from red to clear. And the spatula slides underneath with no resistance at all, just a slight scrape.
If the spatula is fighting you, the patty is not ready yet. Wait another minute rather than levering it up, because forcing the turn is what takes the crust with it. Sticking early is not a problem to solve, it is a signal that the crust has not formed yet. If the patty still resists after the crust has clearly formed, the grate needs more scraping and a fresh coat of oil.
Smash burgers have a separate problem worth naming: they stick to the spatula as well as to the grate. A hot, dry spatula, slid in fast and swung upward in one motion, releases them. Wiping the spatula with a paper towel between patties helps more than most people expect.
Step 6: Check Doneness and Rest the Burger
Check with an instant-read thermometer in the thickest part of the patty, pressing in from the side. The USDA recommends 160F (71C) internal temperature for ground beef. Avoid the habit of cutting into the patty or poking and prodding it, since every puncture bleeds juices and dries the burger out.
Take the patty off the grill when it is a shade under your target, because it keeps cooking on the board. Rest it 3 to 5 minutes. That short pause lets the muscle fibres relax and reabsorb what is left of the juice, which is the difference between a burger that drips and one that feels like sawdust.
Rest the patties on the warm, unused side of the grate rather than on a cold plate if you want the surface to stay crisp. Toppings go on during the rest, and that is also the moment for the barbecue sauce you held back in step 2.
Common Mistakes
Almost every sticking problem falls into one of these buckets, and each has a matching fix.
Grilling on a dirty grate. Old carbon sticks harder than raw meat ever will. Scrub the bars, then scrape them with a flat scraper if there is a black build-up. Season a cast iron grate the same way you would a pan: thin oil, high heat, wipe it off, repeat over several cooks until the metal looks even and matte dark grey rather than rusty and pitted.
Using a cold grill. A cold grate welds the patty on contact and the first attempt to move it tears the meat. Preheat for a full 10 to 15 minutes and confirm the heat with a water drop if you have no thermometer.
Flipping too early. No crust means no release. Give it the full window for its thickness and watch the edges instead of the clock alone.
Pressing down with the spatula. This drives liquid out and doubles the contact area. Cooks do it to flatten a patty; use a press only on a cold, raw patty, or shape the meat better in the first place.
Over-oiling. Heavy oil on the grate ignites, and the flare-up deposits carbonized drippings on the bars. A barely visible film is what you want, reapplied between batches rather than all at once.
Sweet sauce on early. Sugar burns at 400F and becomes tar that holds the meat down and ruins the crust. Sauce goes on after the heat comes down or during the rest.
Crowding the grate. Ten patties dropped on at once drop the surface temperature, and low heat means steaming rather than browning. Cook in batches, or push what you can manage into a two-zone fire and let the cool side catch up.
One more that gets missed: patties that have sat out too long. Cold meat from the fridge is fine and actually firms up faster, but a patty left at room temperature for an hour or more goes slack, and a slack patty sticks and breaks. Grill them cold and straight from the fridge.
Frequently Asked Questions
Do cast iron grill grates stick more than stainless steel?
Cast iron grates hold heat better and cook burgers faster, which is why patties often grab at the first minute if the grate has not been fully preheated. They also build up carbon faster over time. Stainless steel takes a little longer to heat but is far more forgiving, since the surface is usually smoother and cleans up with a bristle brush. A well-seasoned cast iron grate is nearly as forgiving as stainless, and the seasoning layer is what prevents sticking.
Should I oil the burger or the grill grates?
Either works, but pick one rather than doing both heavily. Oiling the grate is more consistent because the film stays where the heat is, and you want a barely visible sheen rather than a wet surface. Oiling the patty directly is convenient when you are grilling on a griddle or in a pan. The common mistake is applying oil to both at once, which leaves the underside sitting in a puddle that steams and steers the patty away from the metal.
Can I use parchment paper on a grill grate?
Yes, and it is a good option for a batch of thin or fragile patties, or for fish and vegetables that would fall through the bars. Cut it to fit the grate and keep it flat so it cannot curl up into a flame. Be aware of what you give up: parchment insulates the meat from direct contact, so you lose the grill marks and the deep browning that gives a burger its crust, and a heavier patty may take longer to cook through.
Why does my frozen burger stick more than a fresh one?
Ice crystals damage the muscle fibres, and when the patty thaws on the grate the damaged protein seizes onto the metal faster and harder. Freezing also pushes moisture to the surface as it cooks, which keeps the patty wet exactly when you want it dry. Thaw it in the fridge overnight if you can, season it only at the last moment, and pat off any surface moisture with a paper towel before it goes on the grate.
Can I use cooking spray on a hot grill?
Do not spray aerosol cooking spray toward a hot grate or an open flame. The propellant ignites before the oil ever reaches the metal, and a canola-based spray is a better option applied to a cool surface, allowed to dry, and only then heated. Most cooks do fine with a high smoke point oil and a paper towel, which covers the grate more evenly and puts no flammable product in the air. Save the spray for griddles and pans, not for open grates.
Conclusion
Four actions, in this order, fix most sticking on your next cookout. Scrub the grates and preheat them to 350F to 450F (175C to 230C) for 10 to 15 minutes. Wipe on a barely visible film of canola, grapeseed or avocado oil. Salt the patty and set it on the grate a moment before it hits. Then leave it alone for 2 to 3 minutes, or 3 to 5 for a thick one, until the edges brown and the spatula slides under without resistance. Everything else is adjustment after that.