
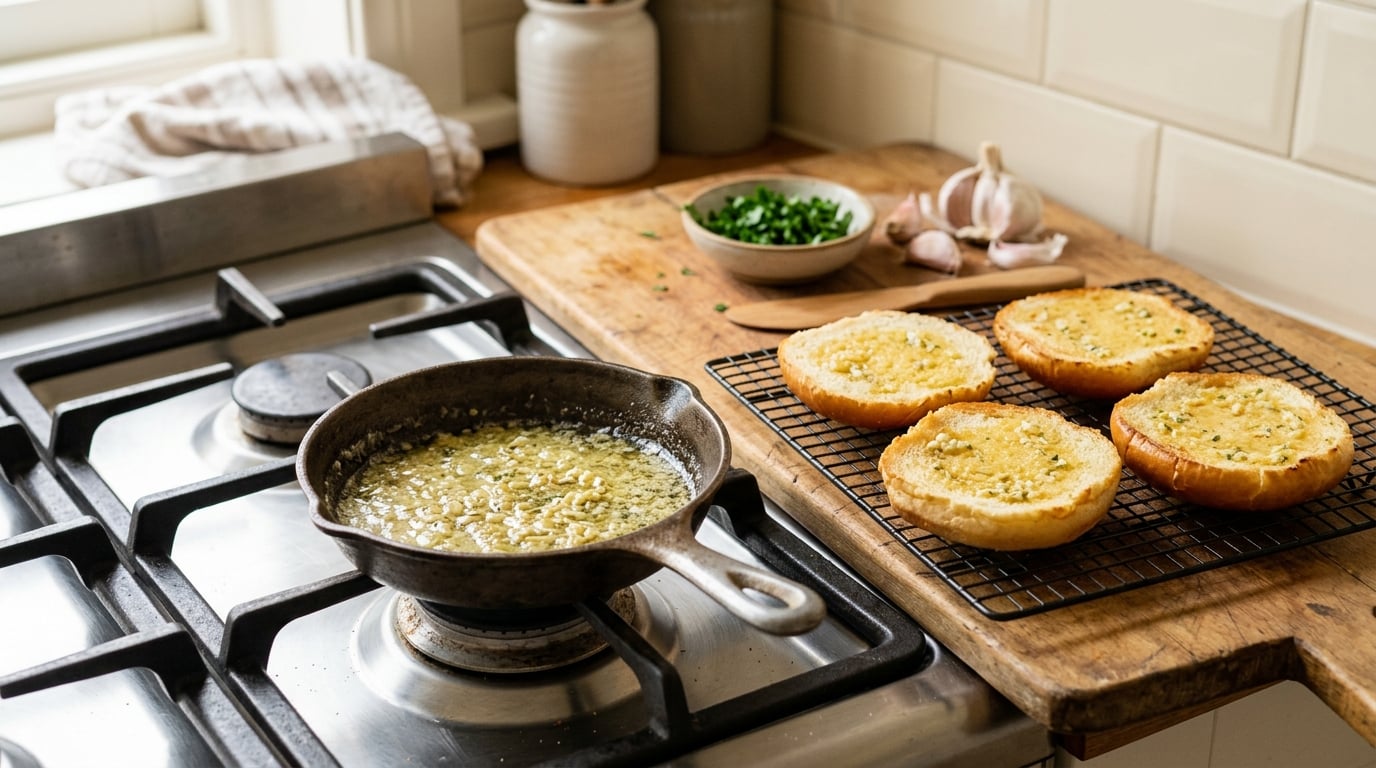
To make garlic butter for burger buns, melt 4 tablespoons of unsalted butter gently in a small skillet, cook 1 tablespoon of minced garlic in it over low heat for 30 to 60 seconds until it smells fragrant and turns pale gold, then brush a thin layer onto the cut faces of the buns and toast them cut side down until crisp. Active time is about 10 minutes.
That stovetop version is the one I use on a weeknight. The butter carries the garlic right into the bread, so the bun itself carries the flavor instead of getting lost between the beef, the cheese, and the sauce. Toast it after brushing, never before, or you are just warming up a plain bun.
How to Make Garlic Butter for Burger Buns: What You Need
One batch of this is enough for four burger buns. The quantities scale cleanly, so a pack of eight or a family burger night is just double the butter and double the garlic.
- 4 tablespoons unsalted butter (60 g) — one half stick. Unsalted gives you control of the salt; see the note below if you only have salted.
- 1 tablespoon minced garlic (about 10 g, 2 to 3 cloves) — fresh, minced fine, under 1/8 inch.
- 1/4 teaspoon fine or kosher salt, plus more to taste.
- 1/4 teaspoon dried herbs or 1 teaspoon chopped fresh parsley, optional but worth it.
- A small skillet, 8 to 10 inch, with a lid or a heat-safe plate to set aside.
- A silicone brush or small spoon for spreading the cut faces.
- A wire rack or plate so the toasted cut faces stay crisp instead of steaming.
Scaling rule: half a tablespoon of garlic butter per bun half. A double burger wants the full tablespoon.
Step-by-Step
The order matters more than the ingredients. Melt the butter first, cook the garlic in it until fragrant, pull it off the heat, brush the cut faces of the buns, then toast. Do not brush the buns and then boil the butter, and do not toast first and brush after — the butter will slide into the cracks and the cut face stays pale.
The finished garlic butter can be used the moment it comes off the heat, or you can let it cool in a shallow dish for a few minutes and spread it when it is warm rather than liquid.
How to Make Garlic Butter for Burger Buns — Step 1: Melt the Butter Gently
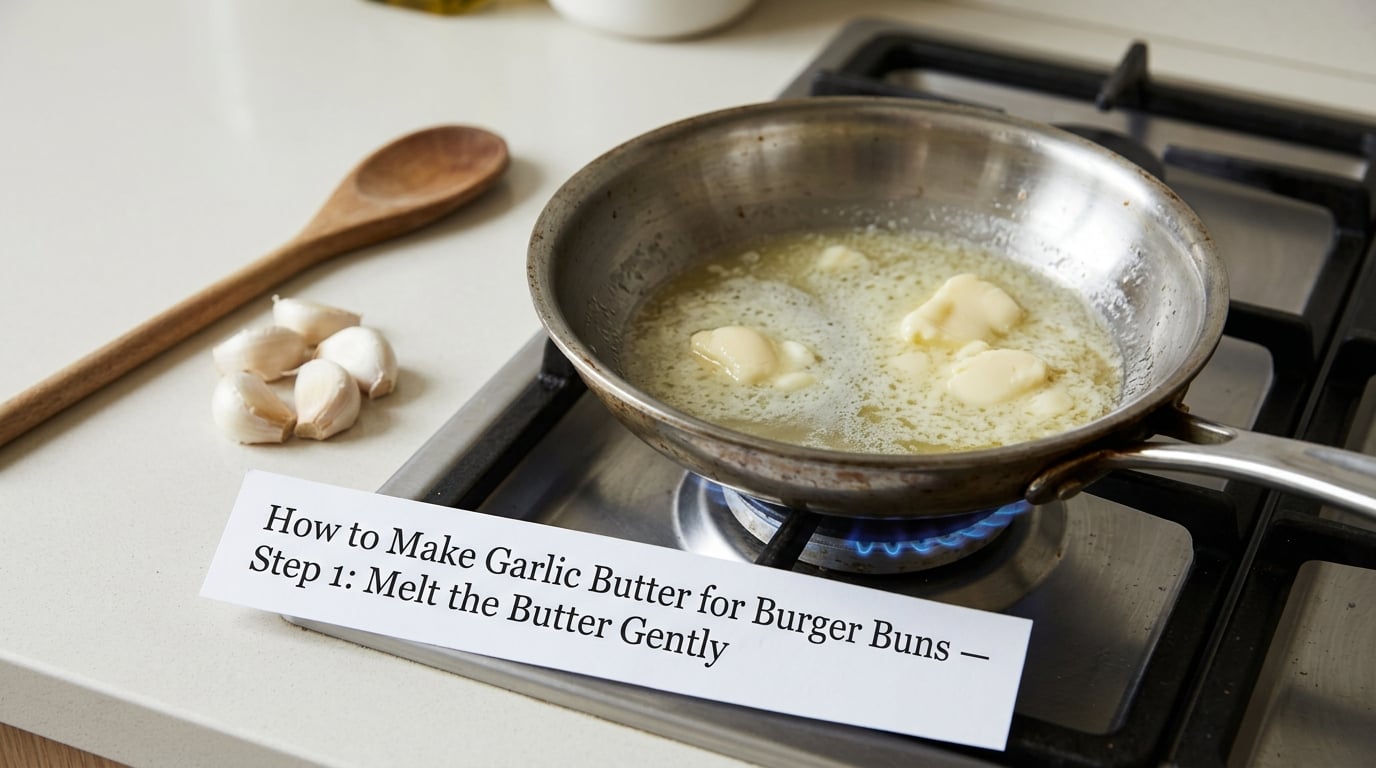
Put the 4 tablespoons of butter in the small skillet over your lowest burner. Let it melt on its own without stirring for the first minute.
You are looking for a pale, quiet pool of liquid butter in the bottom of the pan, with no foam and no browning at the edges. If it is bubbling or sputtering, the heat is too high. Lift the pan off the burner for a few seconds and let it settle.
Low heat protects both ingredients. Butter browns and turns nutty past about 300°F, and garlic scorches in seconds once the fat is hot, and a bitter skillet is the one thing you cannot brush off a bun.
Add the Garlic and Cook Until Aromatic — Step 2
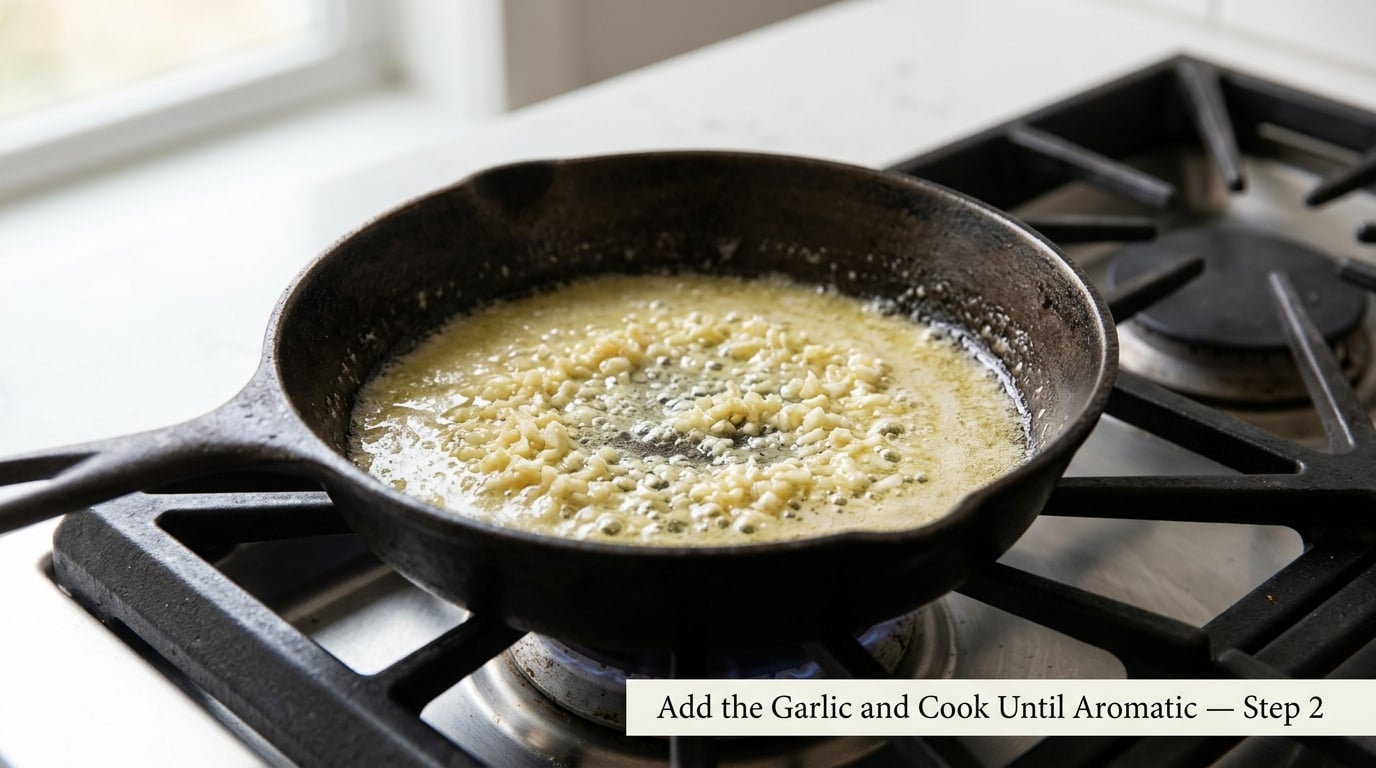
Add the 1 tablespoon of minced garlic and the salt. Stir once so the garlic spreads through the butter instead of sitting in one clump.
Cook for 30 to 60 seconds at that glance. The cues are sound and smell before they are color: a gentle quiet sizzle, a raw-garlic bite that turns sweet, and garlic pieces that go from translucent to pale gold. That pale gold is the endpoint.
If you push past it, the garlic goes bronze and then brown, and the whole batch tastes acrid. Pull the pan off the heat the moment it smells good. Stir in the parsley or dried herbs now, while the butter is still liquid enough to take them.
Brush the Burger Buns Evenly — Step 3
Pour the garlic butter into a heat-safe shallow dish or a small bowl and let it cool for a minute or two. It will set as it cools, and a thick, barely warm paste is far easier to control than a hot liquid.
Split the buns and lay them cut side up on a plate or board. Brush a thin, even layer onto each cut face — about half a tablespoon per half bun. Push the butter right to the edges, because the rim of a bun is the part people actually chew.
Thin is the goal. A heavy coat steams inside the crumb, the bottom turns soft, and the bun tears when you try to lift it. If butter pools in the well of the bun, tip the excess back into the dish.
Toast the Buns and Serve Them Warm — Step 4
Set the buns cut side down in a dry skillet, cut side down on a hot griddle, cut side up on a foil-lined sheet under the broiler, or in a 350°F (175°C) oven for 3 to 5 minutes. The timing runs 1 to 2 minutes in a skillet and 3 to 5 in the oven.
They are done when the cut face is uniformly golden and crisp at the edges, not just colored in patches. Rest them on a wire rack rather than a plate if you are making more than two, because a closed plate traps steam and softens what you just toasted.
Any garlic butter you did not use goes into a covered dish in the refrigerator for 4 to 5 days, or into an ice cube tray and the freezer for up to 3 months. Keep it refrigerated either way, since garlic sitting in fat is the same food-safety situation as garlic-in-oil.
Common Mistakes
Running the burner high. Hot fat browns butter and burns garlic in under a minute. Use the lowest setting your stove has, and if the butter foams, take the pan off the heat for a few seconds.
Waiting for the garlic to brown. It only needs to reach pale gold. Dark brown garlic tastes bitter and will follow the whole bun. Pull it early; the residual heat keeps cooking it for a few seconds after the pan leaves the burner.
Brushing too thickly. Half a tablespoon per half bun is enough. More butter means more steam inside the crumb, which is the soggy bun problem people hit in a toaster oven. If the cut face looks wet rather than glossy, you have gone too far.
Brushing unevenly. Garlic mince that is too coarse gives you one bitter bite in one corner and nothing in the rest. Mince finer than you think you need to, and scrape the mixture off the spoon rather than pouring it.
Overdoing the garlic. Inside a burger, garlic competes with the patty. If the mixture smells aggressive off the spoon, fold in another tablespoon of plain softened butter. Cooked garlic is gentler than raw, so a restrained recipe usually reads as better on the finished bun.
Reusing a scorched skillet. Burned butter residue flavors the next batch no matter how little you use. If the garlic caught, wipe the pan with a paper towel and wipe it again with a butter wrapper. Dark burnt specks are not coming out with a rinse.
A few other things that help. For a 10 or 12 pack of buns, make the base recipe and add a half tablespoon of garlic butter per additional bun half rather than scaling the salt up blindly. Garlic powder works if you are out of fresh: use about 1/4 teaspoon per clove, and stir it into the butter off the heat so it does not scorch. Jarred minced garlic is worth skipping, since it tastes flat and slightly acidic next to fresh.
For a fuller, restaurant-style profile, add 1/2 teaspoon of flaky salt, a bigger handful of parsley, and let the butter sit 10 minutes before brushing so the herbs soften. A pinch of smoked paprika or chipotle in adobo turns it into a burger-house butter that pairs well with a plain patty and nothing else. Skip the add-ins when the burger is loaded with sauce and pickles — the bun should be an anchor, not another voice.
Frequently Asked Questions
Can I make garlic butter for burger buns ahead of time?
Yes. The butter keeps 4 to 5 days covered in the refrigerator, so make it a day or two ahead and refrigerate it. Soften it back to spreading room temperature for 20 to 30 minutes, or warm it briefly in a pan and brush it on hot buns. For longer storage, freeze it in an ice cube tray and move the cubes to a bag, where they keep about 3 months. Always refrigerate garlic butter, even a small batch.
How long does garlic butter last in the refrigerator?
Homemade garlic butter keeps 4 to 5 days in a covered dish in the refrigerator. Garlic is raw and has been mixed into fat, which is the same food-safety setup as garlic-in-oil, so it does not belong on the counter or in a warm pantry. For a full pack of buns, freeze half the batch on a tray so you are not making a new batch every time. If a batch smells sour or fizzy, throw it out.
Can I use dried garlic instead of fresh garlic?
You can, and garlic powder is the easiest swap: use about 1/4 teaspoon per clove, mixed into the warm butter off the heat. Dried garlic flakes are flakier and less predictable, and jarred minced garlic is the one to skip, because it tastes flat and a little sour next to fresh garlic. If you want depth, use a small amount of powder for the body and a little fresh minced garlic on top for the bite.
Should I use salted or unsalted butter for burger buns?
Unsalted butter is the better base because you control the salt, and it is the only version that lets you season to taste. If salted butter is all you have, use it and cut the added salt to a pinch or leave it out entirely, since salted butter already carries roughly a quarter teaspoon of salt per stick. Avoid light or reduced-fat butter, which spreads water into the mix and browns unevenly on the bun.
Can I use garlic butter on other breads or sandwiches?
Yes, and the same batch of garlic butter for burger buns covers most of them. Brush it on cut Italian or French bread and bake at 425°F (220°C) for 10 to 15 minutes for garlic bread, or use it on crostini, toast, and crackers. It works as a basting sauce for smashed patties on the griddle, and a spoonful tossed with hot pasta or melted over a cooked steak is why most cooks make a double batch.
Conclusion
That is the whole method for how to make garlic butter for burger buns: melt 4 tablespoons of unsalted butter over your lowest setting, add 1 tablespoon of finely minced garlic, and give it 30 to 60 seconds until it smells sweet and looks pale gold. No browning, no high heat.
Cool it for a minute, brush a thin even layer onto the cut faces of the buns — about half a tablespoon per half bun — and toast cut side down until the whole face is golden and crisp. Serve warm, and refrigerate whatever is left for up to 4 to 5 days.