
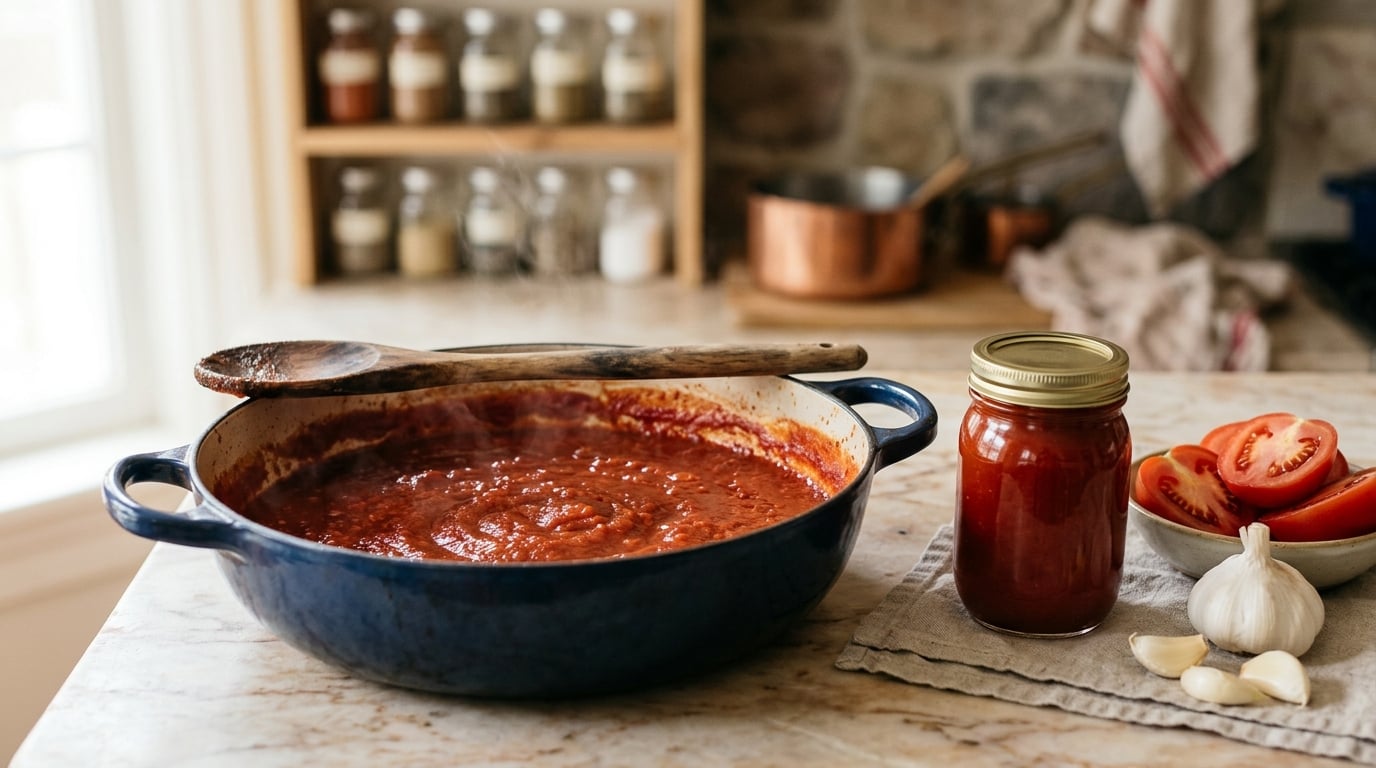
How to make homemade ketchup comes down to one short ingredient list, a pot, and about an hour of simmering. You cook tomatoes with vinegar and sugar until the mixture thickens, then blend or strain it until it pours like the bottle ketchup you grew up with. It tastes brighter and less syrupy than anything from the shelf, and you control the sweet-to-sour ratio with a teaspoon.
There is a faster route if you want ketchup tonight: tomato paste, vinegar, a sweetener and a few spices, mixed cold in five minutes. Same family of flavors, none of the ninety-minute simmer. I use the fast one on a weeknight and the cooked-down version when the garden hands me more tomatoes than I can eat.
What You Need
This recipe makes roughly four cups and takes about 70 minutes, most of it unattended. Everything in the base list earns its spot.
- 4 pounds Roma or San Marzano tomatoes, roughly 12 to 14 medium. Packed in their own juice or water, not sauce.
- 1 large onion, quartered
- 2 garlic cloves, smashed
- 1 cup apple cider vinegar at 5 percent acidity, or distilled white vinegar for a sharper edge
- 1/2 cup granulated or cane sugar, plus more to taste at the end
- 1 tablespoon kosher salt
- 1 teaspoon dry mustard powder
- 1 teaspoon ground cloves and 1/2 teaspoon ground cinnamon, or 1 teaspoon allspice in place of both
- 1/2 teaspoon garlic powder and 1/2 teaspoon onion powder
Four ingredients do the real work. Sugar sets the sweetness, vinegar sets the tang, salt sharpens everything and pushes the tomato flavor forward, and slow cooking sets the thickness. Change one and you change the whole sauce, so taste the vinegar before pouring the whole cup in if you are unsure how tart you want it.
For the five-minute version, you need one 6-ounce can of tomato paste, 1/3 cup apple cider vinegar or balsamic, 2 tablespoons honey or maple syrup, 1 teaspoon each of mustard powder and garlic powder, a pinch of cinnamon or allspice, and salt. That is the whole recipe.
Step-by-Step: How to Make Homemade Ketchup
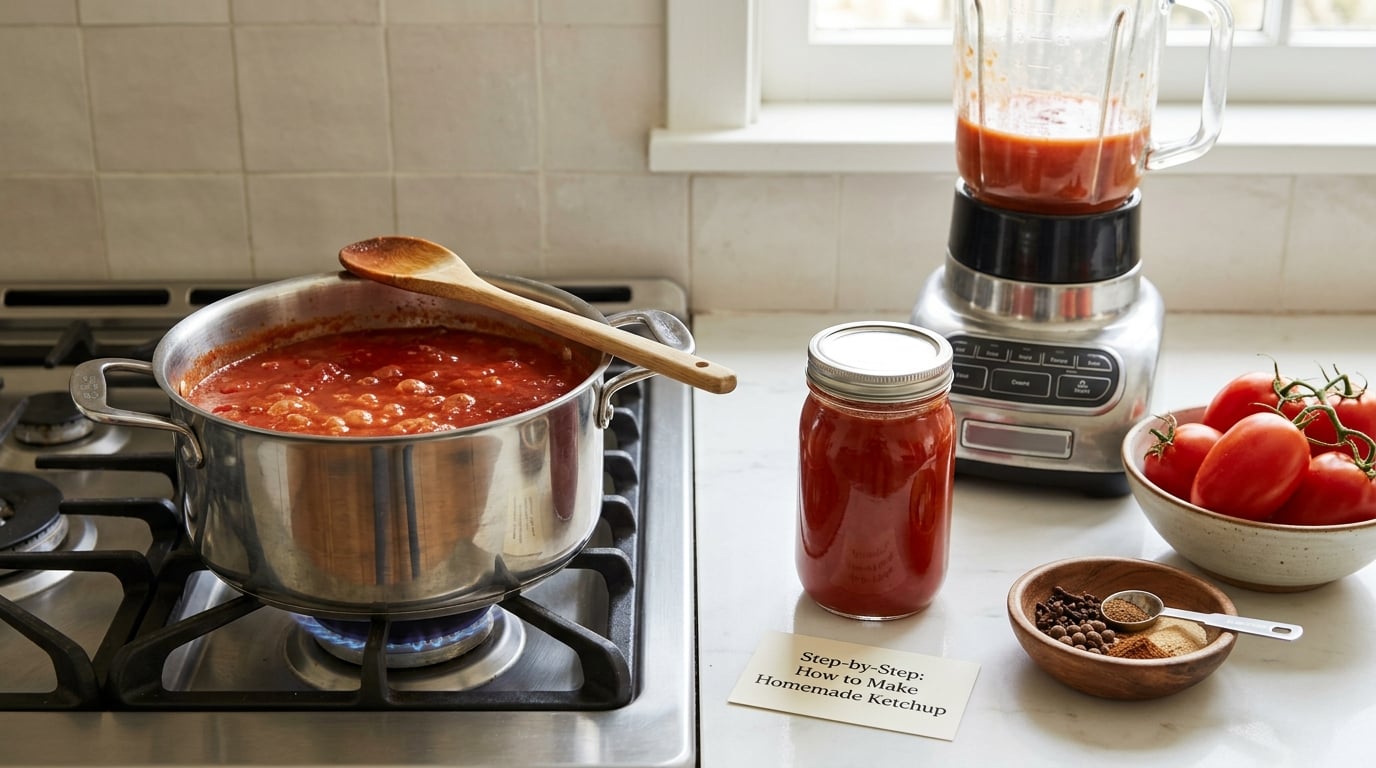
Step 1: Prep the Tomatoes and Aromatics
Wash the tomatoes and cut them into quarters. Skip the peeling. Skins add body, and they soften past recognition once the sauce has simmered for an hour, so peeling an extra ten pounds of tomatoes buys you nothing but time.
If your tomatoes were frozen, use them straight from the freezer. The skins slip off as they thaw, and you can pull out any stragglers with your fingers in the first minute.
Quarter the onion and smash the garlic. Skip the food processor here. Chopped fine onion in a long cook turns to mush, and a couple of quartered wedges later strain out whole leave the sauce with an actual savory note instead of an onion background note.
Step 2: Cook the Tomato Base
Combine the tomatoes, onion, garlic, vinegar, sugar, salt and spices in a wide non-reactive pot. Wide matters more than people expect: more surface area means faster evaporation, and a narrow stockpot can take twice as long to reduce.
Bring it to a boil, then drop the heat to a steady simmer. Stir every few minutes so nothing catches on the bottom, and expect a 10-minute boil followed by 45 to 60 minutes of simmering.
You are looking for a reduction of roughly half the original volume. The sauce should coat the back of a spoon and drag a visible line when you run a finger across it, and the color will darken from pinkish red to a deep brick red as it goes. That color change is your best signal, more reliable than any clock.
Do not rush it with high heat. Scorching is the most common way this recipe goes wrong, and burnt tomato flavors a finished batch no matter how much sugar you throw at it.
Step 3: Blend It Smooth
Fish out the onion wedges and the garlic cloves, then cool the mixture for ten minutes so it stops steaming hard.
An immersion blender in the pot is fastest and keeps the mess contained. A countertop blender gives a silkier result, and a food mill gives you control: the coarse screen leaves a rustic texture with some seed and skin in it, the fine screen strains nearly everything out.
If you blend hot sauce in a countertop blender, work in batches with the lid on and a towel over the top, and never fill it more than halfway. Hot sauce expands fast and will find the seam.
Step 4: Season and Thicken Your Homemade Ketchup
Taste now, because the flavors sharpen as the sauce cools. Most first batches need more acid than the cook expects.
If it is too sweet, add vinegar a teaspoon at a time and stir. A pinch of salt also helps, since salt makes sweetness read as tomato rather than candy. If it is too sharp, a teaspoon of sugar fixes it in the same direction.
If it is thinner than you like, return it to a simmer for another 10 to 20 minutes with the lid off. Thickening only happens through evaporation, so no amount of stirring will get you there. If it is already thick, a splash of water or a little extra vinegar loosens it back to a pourable consistency, which matters for a squeeze bottle.
Once the seasoning is right, funnel it into sterilized jars. Leave about a quarter inch of headspace and wipe the rims clean with a damp paper towel before screwing the flat band on until just finger tight.
Step 5: Cool and Store
Refrigerate the jars until they are fully cold before you taste them, then treat them as a refrigerated condiment. Plan to use homemade ketchup from the fridge within two weeks, which is the conservative window most canners work to.
Freezing works better than most people expect. Leave a half inch of headspace in a freezer-safe container, or pour it into silicone ice cube trays and pop the frozen cubes into a zip bag as single servings.
For pantry storage, use a tested canning recipe. Do not improvise ratios for canning: the tomato, onion, pepper and vinegar proportions in a published tested recipe are there because the acidity has been measured, and ketchup has a history of botulism risk that guessing around is not worth. If a jar has a bubble that is actively pressing, leaking, has no vacuum seal, or shows fuzz, discard it.
Do You Have to Peel Tomatoes?
No. The skins soften completely during a long cook, and a food mill removes the ones you do not want. Peeling first mainly adds fifteen minutes of prep. The one exception is a short-cook recipe using fresh diced tomatoes, where the skins stay noticeably waxy.
Common Mistakes When Making Homemade Ketchup
- Too sweet. The single most reported complaint, and the fix is straightforward: add vinegar a teaspoon at a time, add a pinch of salt, or stir in a tablespoon of lemon juice. Next time, cut the sugar by a third. Most published canning recipes use amounts written for long storage, which taste cloying on a burger.
- Too thin. Simmer longer, uncovered, and stir often. Thickening is evaporation and nothing else. A teaspoon of cornstarch slurry works in a pinch, but it dulls the tomato flavor and is not suitable for canning.
- Too sharp. Sugar, one teaspoon at a time, and let it dissolve fully. If the vinegar is aggressive, a tablespoon of tomato paste stirred in softens the edge without making it flat.
- Seeds and skins. Pass it through a fine-mesh sieve or the fine screen of a food mill, or blend longer than feels necessary. Thirty extra seconds in a blender is the whole fix.
- Burnt on the bottom. Use a wider pot, stir every few minutes, and keep the heat low enough that the surface barely bubbles. If a batch has scorched, the flavor is not recoverable.
- Too thick to squeeze. Stir in a little water or extra vinegar until it runs off the spoon in a ribbon. Thick ketchup also rehydrates as it sits, so give it a stir before serving.
Tips for Better Homemade Ketchup
For a burger ketchup that tastes like the bottle stuff, bump the vinegar to 1 1/4 cups, drop the sugar to a third of a cup, and add 1 teaspoon smoked paprika. Tomato-forward and sharp beats sweet for most burgers.
For smoky ketchup, add 2 teaspoons smoked paprika and a pinch of cayenne in the last 10 minutes of cooking, so the smoke flavor stays distinct instead of turning dusty.
For spicy ketchup, start with 1 teaspoon red pepper flakes in the pot. Crushed red pepper is duller than flakes, and a split habanero added whole for the last 20 minutes gives a clean heat you can taste but cannot see. Fish the pepper out before jarring.
For a lower-sugar version, use 1/4 cup sugar and let a couple of finely minced Medjool dates dissolve in the warm sauce at the end, or drop sweetener by a third and lean on the vinegar. Cutting sugar is safe for refrigerated and frozen batches. If you plan to can it, keep the sugar at the tested level.
For BBQ sauce and sloppy joe sauce, this recipe is the base. Simmer it down another 10 minutes, add 1/3 cup brown sugar, 1 tablespoon Worcestershire-style sauce, 1 teaspoon smoked paprika and 1 cup of the cooking liquid from your barbecue meat, then simmer until it coats a spoon.
Whatever you change, taste at the end rather than trusting the original numbers. Ketchup is genuinely forgiving, and most of the range between good and great is decided in the last five minutes over the pot.
Frequently Asked Questions
What tomatoes are best for making ketchup?
Roma and San Marzano tomatoes are the best choice because they have a high ratio of flesh to water, so the sauce thickens with less cooking. Cherry tomatoes on their own are too watery and need very long reduction times. Under-ripe tomatoes make a more acidic ketchup, which is useful if you want less sugar. Vine-ripened tomatoes give the most rounded flavor.
Is homemade ketchup worth the time compared with store-bought?
It depends on what you are after. The five-minute tomato paste version takes almost no time and beats store-bought on ingredient quality. The from-scratch recipe takes about ninety minutes of mostly unattended simmering and gives a fresher, less syrupy result. Many people make it as a base for barbecue sauce and sloppy joe sauce, which stretches the batch further than dipping alone.
How long does homemade ketchup last in the refrigerator?
Plan on two weeks refrigerated, and keep the jars sealed and dated so you know when you made them. Freezer containers hold for nine months to a year. Discard a batch that smells fermented or vinegary beyond what you intended, shows fuzz, or has swollen or leaking lids. When in doubt, throw it out rather than taste it.
How long should I water bath can homemade ketchup?
Process time comes from a tested recipe, not from this page. A tested ketchup recipe generally calls for 10 to 15 minutes in a boiling water bath, and you add one minute for each 1,000 feet above 1,000 feet of altitude. Above 6,000 feet, use a pressure canner following the tested recipe instead. Never improvise the proportions if you intend to can it.
Why is my homemade ketchup so much sweeter than I expected?
Most published canning recipes include sugar at a level meant for long shelf storage, which tastes much sweeter than what you want on a hot dog. Add vinegar a teaspoon at a time and stir, or add a pinch of salt to make the sweetness read as tomato. For your next batch, cut the sugar by a third and let the vinegar do more of the work.
Can I freeze homemade ketchup?
Yes, and it freezes well because the high acid and sugar content protect the texture. Leave a half inch of headspace in a freezer-safe container, or freeze it in silicone ice cube trays and transfer the frozen cubes to a bag. Thaw in the fridge overnight and stir before use, since the sauce thickens noticeably as it freezes.
Where to Start
If you have no tomatoes and no patience tonight, mix tomato paste, vinegar, honey, mustard powder, garlic powder and a pinch of allspice. It lands in a squeeze bottle in five minutes and it is the version most people end up making most often.
If you have a freezer bag of diced garden tomatoes begging for a purpose, cook the full recipe. Skins come off the frozen tomatoes as they thaw, and after an hour of simmering you will have a bright, thick ketchup that tastes like tomatoes instead of corn syrup. Store it in the fridge, freeze the extra, and skip canning unless you are working from a tested recipe with the right equipment for your altitude.