
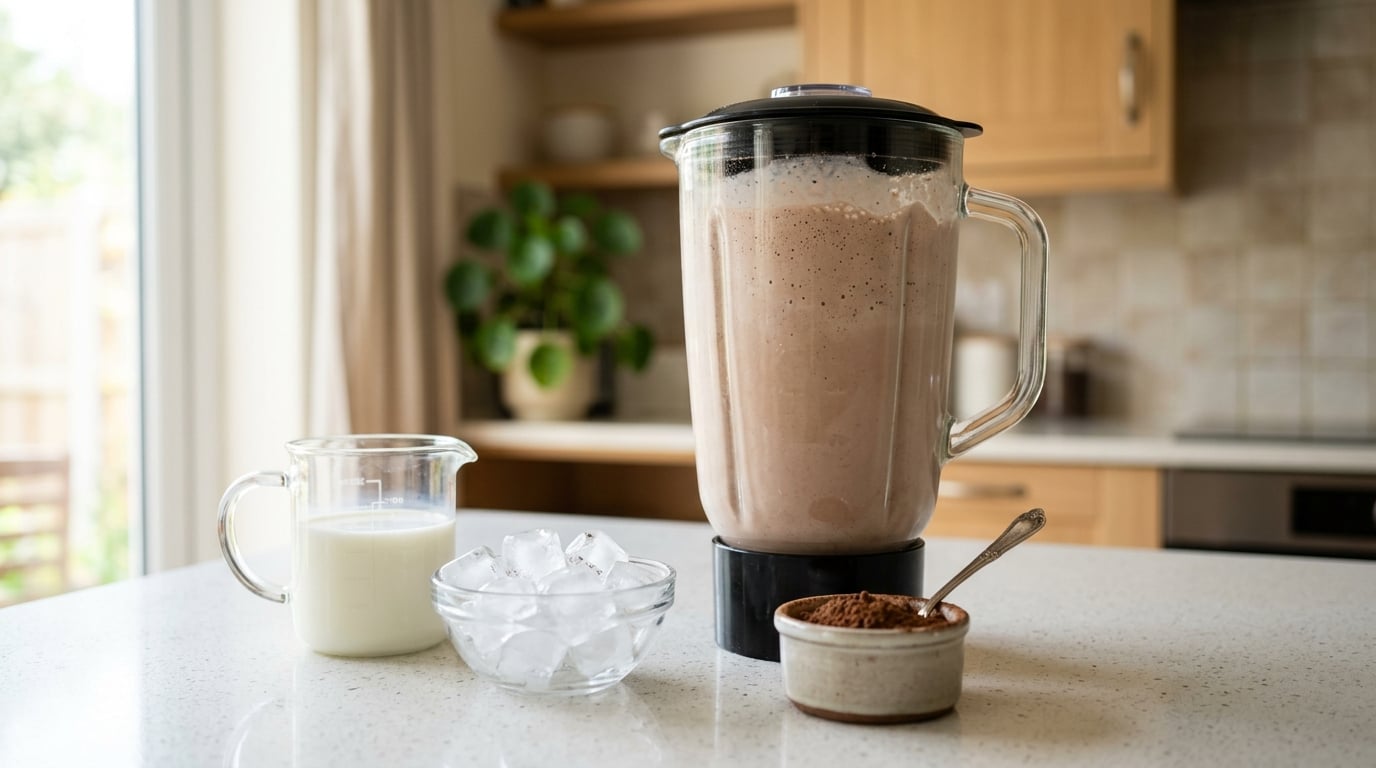
Yes. A milkshake is just something cold, thick and sweet, and none of that depends on a machine churning ice cream for twenty minutes. If you want to know how to make a milkshake without an ice cream maker, the whole thing comes down to cold fat plus solids plus a brief, careful blend. Ten minutes, one blender jar, and a shake with a spoon standing up in it.
The ice cream maker association is really a twentieth-century diner thing. Long before machines, drinks were mixed by hand in a glass with a spoon. What ice cream does for thickness is contribute frozen water, milk fat, sugar solids and a little air, and you can replace each of those with something cheaper and faster.
This guide covers what to put in the jar, the order to put it in, how to pulse rather than blast, and what to do when the result is thin, icy or foamy. Metric and imperial both, because cups lie.
What You Need
You need about ten minutes of active time, and the only equipment that really helps is something that chops and aerates. A countertop blender of 1.5 litres (about 6 cups) is ideal, since the headroom matters more than the wattage.
A stick blender in a tall glass or a mason jar works nearly as well. A whisk, a hand mixer, or even a fork in a jar will get you a drink, though chunkier.
Liquid base. Whole milk straight from the fridge, 240 to 360 ml (1 to 1.5 cups), is the base that carries the most flavor. Skim milk tastes thinner no matter what you add, and room-temperature milk blends to a thinner drink because it has no chill to hold the structure.
Frozen component. This is the part people get wrong. Ordinary ice cubes dilute a shake because they melt into water as you blend. Freeze the milk itself instead: pour cold milk into ice cube trays and freeze for 4 to 6 hours, then use 8 to 10 of those cubes. A frozen banana, sliced into coins and frozen 3 to 4 hours, is the other reliable option, and frozen berries work the same way.
Thickener. You only need one. Heavy cream at 60 ml (a quarter cup) is the best all-rounder, because its fat whips slightly as it blends and mimics what ice cream was doing. Greek yogurt, a full-fat coconut cream, or 3 tablespoons of instant pudding mix each do the job differently, and the ranking is covered below.
Flavor and sweetness. Cocoa powder, nut butter, fruit purée, malted milk powder, a shot of espresso, a splash of vanilla, or crushed biscuits. Sweeten lightly to start. You can always add more sugar at the end, and you cannot take it back.
Everything sits in one shop for dairy-free drinkers. Barista-style oat milk and full-fat coconut cream behave almost identically to dairy, and a quarter teaspoon of xanthan gum in any plant milk fixes the thinness that almond and rice milks usually bring. For a lower-sugar version, skip the syrups and lean on a very ripe banana for body and sweetness, then add a teaspoon of honey or maple only if it needs it.
Step-by-Step: How to Make a Milkshake Without an Ice Cream Maker
1. Choose a thick, milky base
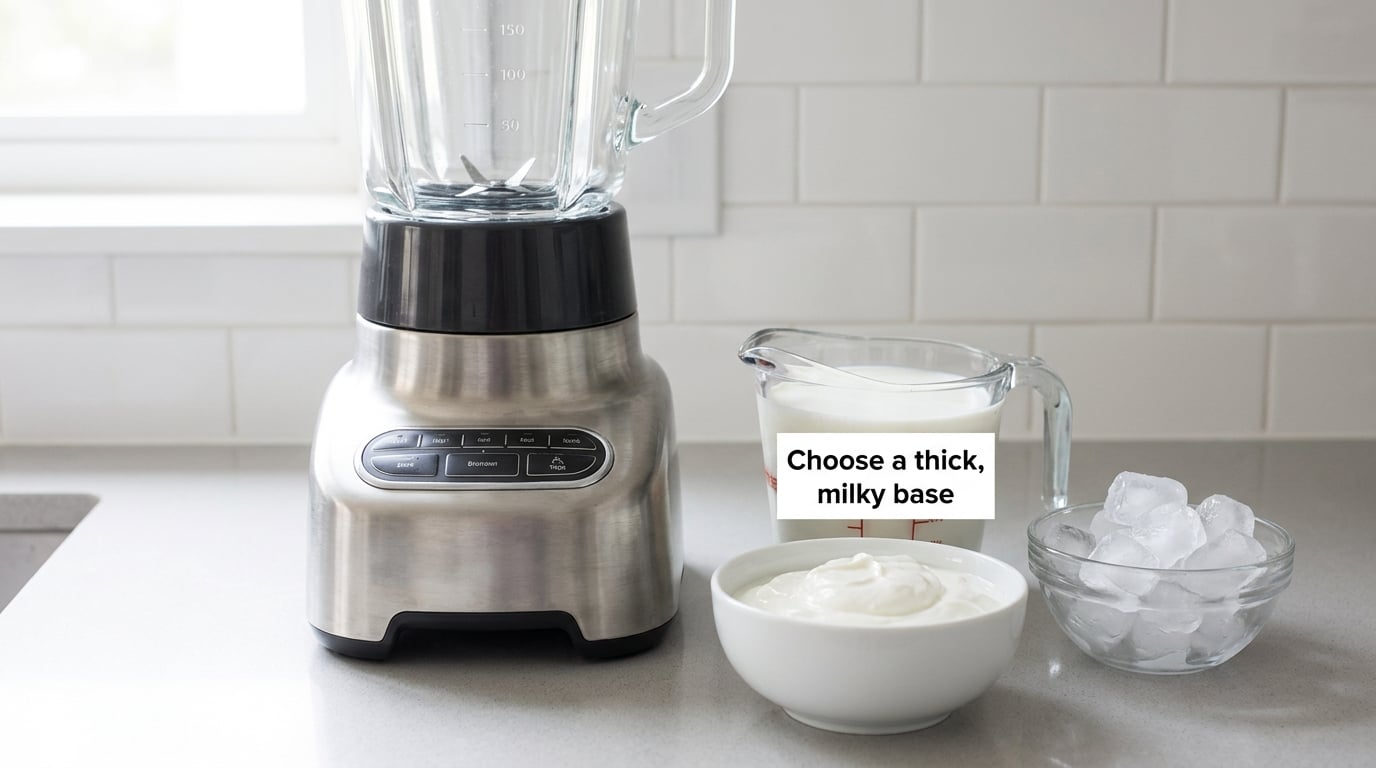
Start with less liquid than feels right. 240 ml (1 cup) of whole milk for a 400 ml serve is the sweet spot, and 180 ml (three-quarters cup) gives you a genuinely spoon-standing shake.
Yogurt changes the character rather than the thickness. Half a cup of plain Greek yogurt replaces a quarter cup of the milk and adds protein, a tang, and enough extra fat to make the blend creamier. Live-culture yogurt or a sweetened one will make the drink taste like a smoothie, so go plain and add your own sugar.
How you know it worked: the base should already look like thin cream before the blender ever starts. If it looks like ordinary milk in a jug, add a quarter cup more yogurt or cream now rather than after blending.
2. Add flavor, sweetness, and body
There are two kinds of flavoring: the ones that taste sweet on their own, and the ones that need sugar with them. Cocoa powder, malted milk powder, matcha and espresso are in the second group, so pair them with sugar, honey or maple. Fruit purée, sweetened condensed milk, ice cream-style syrups and nut butter are in the first group and do their own sweetening.
Two tablespoons of cocoa powder with two tablespoons of sugar and a pinch of salt is a solid chocolate base. The salt is not optional in my opinion, because it takes the edge off cocoa’s bitterness and makes the whole drink taste more like chocolate rather than just brown.
For body, add 2 tablespoons of nut butter, 3 tablespoons of oats, or 2 tablespoons of a neutral thickener like cornstarch. Nut butter does two jobs, fat and sugar, and a tablespoon of it will do more for thickness than three tablespoons of syrup.
How you know it worked: the dry ingredients should disappear into the liquid without sitting on the surface. If cocoa powder is floating in a skin, it is not mixed in, and it will taste dusty in the finished glass.
3. Add ice or another frozen ingredient
Drop the frozen milk cubes or banana coins in last, on top of everything else, and put the lid on before you start. Small pieces matter. A blender chops ice by throwing it at the blades, and a large cube simply spins and knocks around rather than being cut down.
If you are using plain ice cubes, use no more than 6 and add them in two batches. Fill the jar no more than halfway with frozen things, or the first spin will just force ice back into the lid. Freezer burn on the inside of your jar is a real and avoidable outcome.
Frozen fruit beats ice for creaminess because the fruit breaks down into its own pectin and sugars, not water. Half a banana adds body and sweetness at the same time, so you can often cut the sugar entirely when it is very ripe.
How you know it worked: you should have to scrape down the sides twice. If the blades spin freely and the mixture is already moving like a drink, you have too much liquid in there.
4. Blend in short pulses
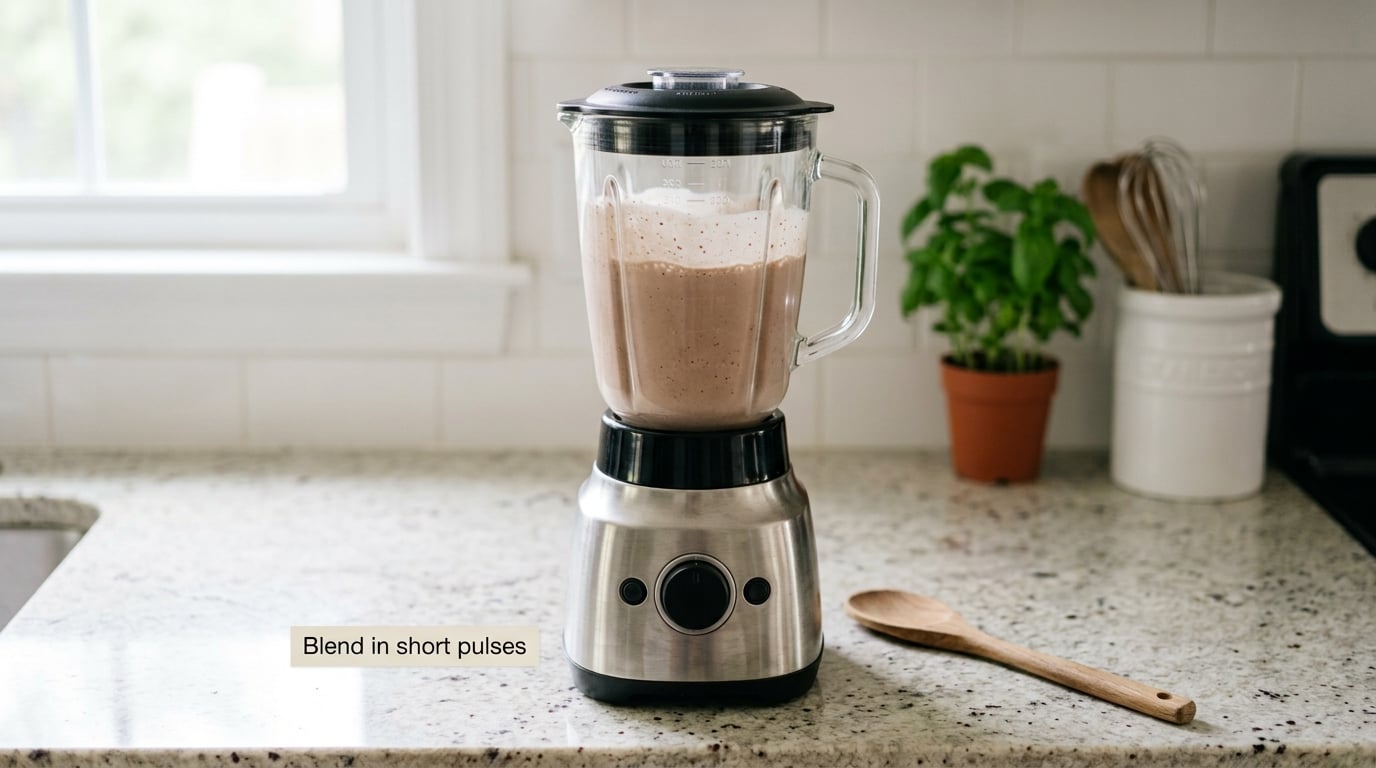
Low speed, one to two seconds, off. Repeat. The goal is chopping and chilling, not emulsifying air into the mixture, and a continuous 30-second blast is exactly how you end up with a frothy, eggy-tasting drink that sits flat in the glass.
Scrape the sides down with a silicone spatula between pulses, add 1 to 2 tablespoons of cold milk if the mixture will not move, then carry on. Total blending time for one large shake is usually 15 to 25 seconds of actual spinning. More than that and you are aerating it.
Over-blended shakes taste eggy because the fat in the milk is being whipped into tiny bubbles that stay suspended. A few bubbles are what makes it taste like a shake rather than a drink, but a lot of them make it taste like meringue.
How you know it worked: the mixture should have the texture of soft-serve when you turn the jar, and it should mound slightly instead of pouring flat. If it pours like a smoothie, the base was too wet and no amount of blending fixes it.
5. Adjust, taste, and serve immediately
Taste before you serve. Too sweet is unrecoverable, so most people should start at half the sugar they think they want. Too thin gets fixed in the jar with a spoonful of yogurt, cream or more frozen fruit and ten more seconds of pulsing. Too thick, which is the easier mistake, gets fixed with 15 ml (1 tablespoon) of cold milk at a time.
Chill the glass in the freezer for 10 minutes before you pour. A cold glass buys you about five extra minutes before the shake starts to loosen, and it is the single detail that separates a diner shake from a kitchen one. Skip the whipped cream tower with a thin shake, because the contrast is obvious.
Pour down the side of the glass, add a straw, and drink it within fifteen minutes. This is a short-lived drink, and it separates quickly at room temperature.
Common Mistakes
Almost every failed homemade shake is one of five things. Most people hit at least two at once, which is why they add more ice and end up with more water.
The shake is thin and watery. You used too much liquid, or your ice melted during blending. Freeze the milk itself, cut the liquid by a quarter, and add a real thickener. Blending longer does not thicken anything; it only warms the drink.
The mixture is pasty and will not move. Too much thickener, usually cornstarch or nut butter, with not enough liquid. Add cold milk a tablespoon at a time and pulse. Cornstarch also needs time and heat to thicken properly, so in a cold shake it mostly acts as a body builder rather than a gel, which is why a spoonful is plenty.
There are ice chips in the glass. Small cubes, a fuller jar, more power, and shorter bursts. A weak blender cannot chop ice, and no amount of waiting will change that. Crushing the ice in a sealed bag with a rolling pin, or blending the milk cubes for 10 seconds on their own before anything else goes in, both work around a low-powered machine.
The flavor is weak. Usually too much milk, not too little cocoa. Halve the liquid, double the flavoring, and add a pinch of salt or a shot of espresso. Espresso does not taste like coffee in a chocolate shake, it just makes the chocolate taste like chocolate.
The shake separates or goes watery at the bottom. Emulsion broke, usually from the sugar dissolving. Shake it hard in the sealed jar for ten seconds, or whisk it back together. Setting it in the fridge for 15 minutes firms it up enough to drink.
It is all foam. You over-blended. Air is the only thing you can add once it is in there. Start again, and this time use pulses with a 30-second rest between batches of ice.
On safety: a blended dairy drink is perishable. Do not leave it out for more than two hours, keep the jar and glass cold, and use the leftovers within two days, sooner if you added fresh fruit. If you are making a malt-style shake with raw egg, use pasteurized eggs and follow the same rule, since the egg is the ingredient that worries nutritionists.
For making ahead, freeze the finished shake in a sealed container rather than a glass, and eat it within about two months. Straight from the freezer it is closer to ice cream than to a drink, so let it sit 10 minutes before scooping. Nobody expects diner consistency after a freezer trip.
Frequently Asked Questions
Can you make a milkshake without an ice cream maker?
Yes, and most people get better results than the machine gives them. Freeze your milk in ice cube trays, blend it with whole milk, a flavoring and a thickener such as heavy cream or pudding mix, then pulse for 15 to 25 seconds. The ice cream maker is doing two jobs, freezing a base and churning air into it, and a blender handles both in a fraction of the time.
Is a milkshake just ice cream and milk blended?
That is the diner definition, but it is not the only way. What makes a drink a milkshake is that it is cold, thick, sweet and aerated enough to drink through a straw. Frozen fruit, frozen milk cubes, heavy cream, Greek yogurt and pudding mix all supply the structure that ice cream would have, so a shake with no ice cream in it at all still tastes and pours like one.
Can a milkshake be made without a blender?
Yes. Put 240 ml of whole milk, 3 tablespoons of sweetened condensed milk, a tablespoon of cocoa or your flavoring, and 6 to 8 ice cubes in a sealed jar with a tight lid. Shake it hard for 30 to 45 seconds with one hand braced on the counter, then strain through a sieve if you want it perfectly smooth. It is thinner than a blender version and takes more effort, but it works.
What is the best thickener for milkshakes?
Heavy cream is the best all-rounder, because the fat whips slightly as it blends and it adds dairy flavor at the same time. Greek yogurt is second for a tangier, higher-protein shake, and instant pudding mix is the best choice when you want one ingredient to do both jobs of thickening and flavoring. Cornstarch adds body without much flavor but wants more liquid to work properly.
Why is my milkshake so liquidy?
Three causes account for nearly every thin shake. First, ordinary ice cubes melted into the drink as you blended, so freeze the milk itself. Second, the base was too wet, so cut the liquid by a quarter cup. Third, the drink has no fat in it, so add heavy cream, Greek yogurt or nut butter. Blending longer makes a thin shake warmer and thinner, not thicker.
Can you use sweetened condensed milk instead of ice cream?
Yes, and it is a very good substitute. Three tablespoons thicken and sweeten a shake in one move, which makes it a natural fit for a no-blender jar. Whisked, it does not whip into foam the way cream does, it simply becomes a smooth, glossy, syrupy base, so treat it as a thickener rather than an aerator. It is also the easiest dairy-free swap if you pair it with coconut cream.
Conclusion
The method is short enough to remember: cold milk and your flavorings go in first, the frozen milk or fruit goes in last, and you pulse in short bursts until it mounds like soft-serve. Thickness comes from fat and frozen solids, not from more ice or a longer blend, and that is the part almost everybody gets backwards.
Start with a plain chocolate or vanilla version using 1 cup of whole milk, 8 frozen milk cubes and 2 tablespoons of heavy cream. Taste it, then change one thing at a time, because once you know which knob you turned you can build your own. And freeze a tray of milk cubes tonight, because the next time you want a shake at short notice, that tray is the whole trick.