
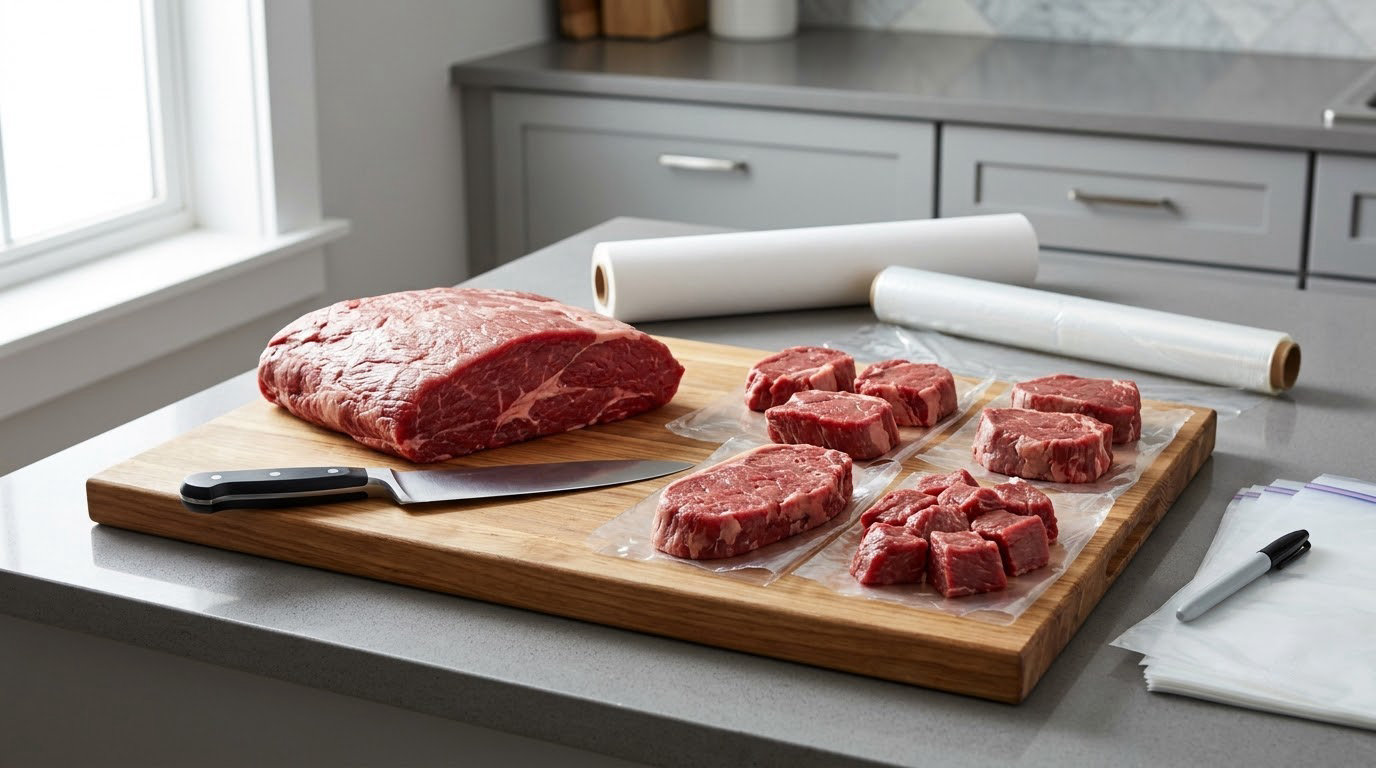
If you have ever worked out how to buy meat in bulk and portion it, you already know the two halves of the job are completely different. The buying side is numbers: cost per pound, pounds per cubic foot, and how many meals your household will actually eat. The portioning side is an hour at the counter with a scale, a bag, and a marker, and it is the part that decides whether you end up with a freezer full of usable dinners or a stack of forgotten bricks.
Get those two right and buying in bulk stops being a gamble. This guide walks through the whole process: sizing the order before you pay, choosing cuts that suit burgers, checking the meat while it is still in the case, dividing it into equal portions, and labeling everything so you can cook from the freezer without a scavenger hunt. Most people can do the whole thing in an afternoon, and the tools are ordinary kitchen ones.
What You Need
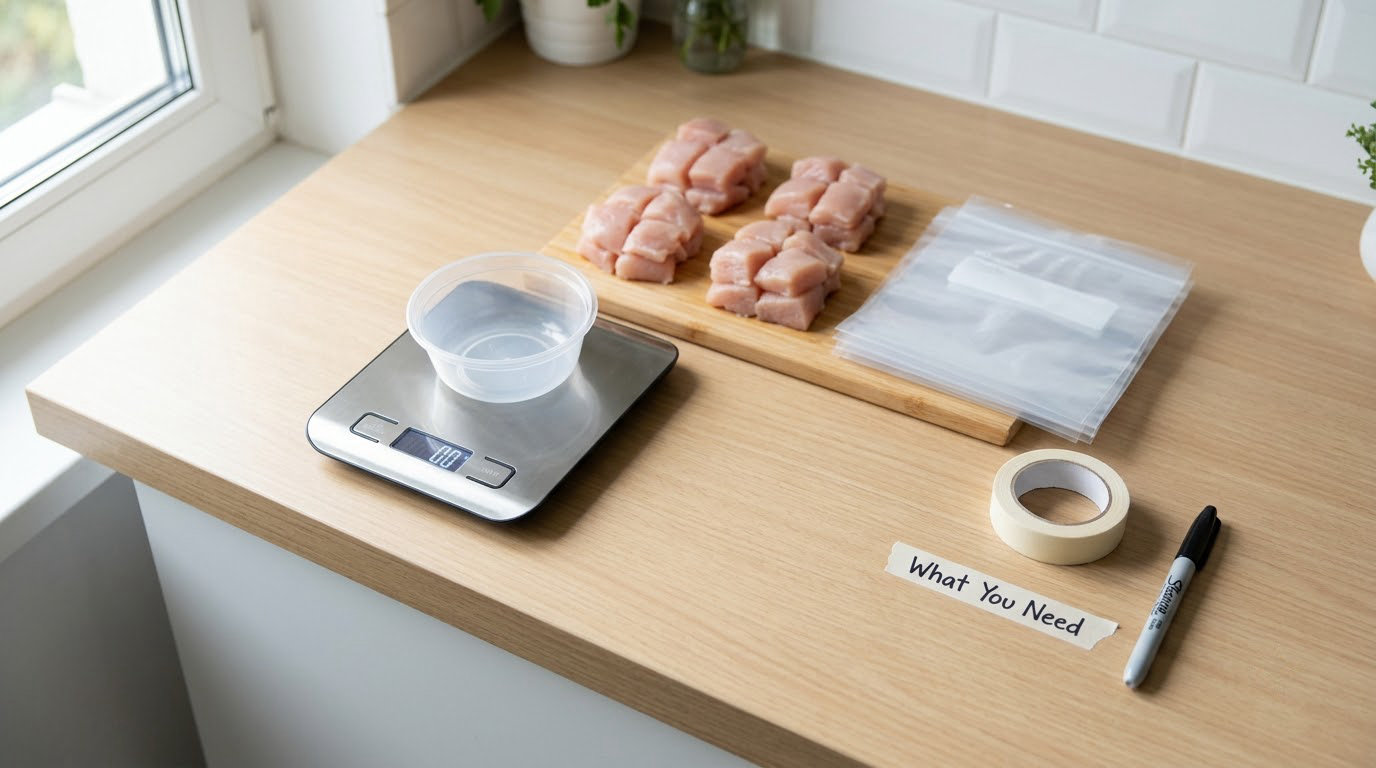
A digital scale is the one tool that changes how you buy. It turns a guess into a number, and every other item on this list is cheap. Without a scale you are portioning by eye, and eyeballed patties are why some cook on while the rest stay raw.
- A digital kitchen scale that reads to at least one decimal place. A postal scale works for whole packages; a kitchen scale is easier for portioning.
- A separate cutting board, ideally a second one you use only for raw meat, plus a sharp knife and a sheet pan or platter for landing the finished portions.
- Freezer-safe bags or rolls sized for a single meal. Quart bags handle a one-pound portion or a small pack of ground meat with room to lay flat.
- A vacuum sealer, if you have one. It is not required, and bags plus a firm press and a marker work fine.
- Labels and a permanent marker. Masking tape stuck to the flat side of a bag survives freezer temperatures better than most paper stickers.
- A free hand and about an hour. Portioning a bulk bird takes roughly an hour for most people, and a 40-pound case of beef takes longer.
Free up the coldest part of the freezer before you start buying, not after. If you are going to lay packs flat and stack them like files, the surface area you need is already claimed before the first bag goes in.
Step-by-Step: How to Buy Meat in Bulk and Portion It
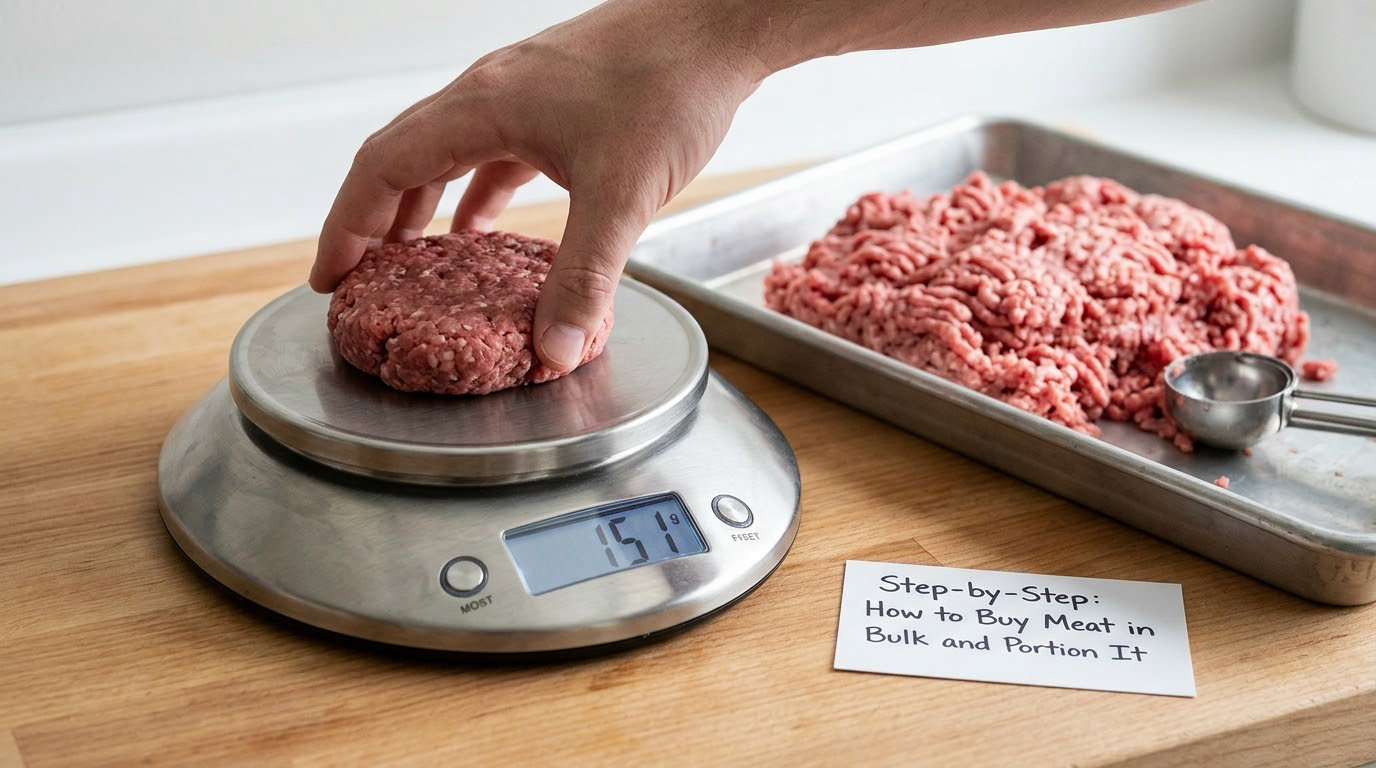
The order matters. Calculate the quantity, compare the cuts, inspect the meat, divide it, then package and store. Skipping the first step is how people end up with 200 pounds and a freezer that holds 40.
Set a budget and calculate the quantity
Start with meals, not pounds. A pound of raw meat yields roughly three servings at a 4-ounce portion, or two larger servings at 6 ounces. Multiply the number of meat-based meals your household eats in a month by the portion weight, then divide by three to get pounds.
A family of four eating eight meat dinners a week eats about 32 servings a week. At 4 ounces per serving that is roughly 10 to 11 pounds a week, so 40 to 45 pounds a month. Singles and couples should cut that dramatically, and a single person buying a 40-pound case is how bulk buying gets a bad reputation.
| Household | Meat meals per week | Recommended portion | Pounds per week | Starter bulk buy |
|---|---|---|---|---|
| 1 person | 4 | 3 to 4 oz | 1.5 to 2 | 10 to 20 lb box |
| Couple | 6 | 4 oz | 3 to 4 | 20 to 40 lb box |
| Family of four | 8 | 4 oz | 10 to 11 | 40 to 60 lb |
| Family of six | 10 | 4 to 6 oz | 20 to 25 | 80 to 100 lb |
Then subtract what you will eat before the meat is a month old, and add about 10 percent for trim, bone, and freezer burn. Nobody finishes a bulk buy down to the last ounce, and building that cushion in beats planning a failure.
Freezer capacity is the hard limit. Two published rules line up closely: one meat co-op uses about 35 to 40 pounds of meat per cubic foot, and the Ohio Beef Council figure works out to about 2.25 cubic feet per 50 pounds, or 4.5 cubic feet per 100. Plan on the more conservative number. A 200-pound order needs roughly 5 to 6 cubic feet, which is a real chest freezer rather than a small garage unit. Lay packs flat and stack them, and a single layer of quart bags gives you a stack you can pull one piece from instead of chipping at a frozen brick.
Veterans on r/Frugal repeat a simple rule about price: a share only makes sense if the per-pound number is genuinely lower than what the same cut costs in the case at the grocery store, and buying in single-digit cost per pound for bulk beef is the threshold most of them use. Above that, the bulk route costs money instead of saving it. There is no shame in starting with a 20-pound case of boneless chicken thighs and learning the workflow there.
Compare cuts, grind, and package size
For burgers, the grind matters more than the label on the tray. An 80/20 blend is the standard for a juicy backyard burger, and it is what most people mean when they say ground beef. Eighty/ten is leaner and firmer, ninety/ten is a decent burger with less drip, and anything past that starts tasting dry unless you compensate.
Chuck and sirloin are the classic blend because they add flavor and fat for less per pound than a similar pre-ground case. Brisket is the fat-and-flavor workhorse, and it does double duty for smoking. If a case is sold as a whole cut rather than pre-ground, buying it whole and grinding or chopping it at home usually costs less per pound than the pre-ground version of the same cut.
Compare on cost per pound, never on the package price. A 20-pound case that is cheaper in total than a 10-pound case can be the more expensive meat once you divide. The same warning applies to a big pack of drumsticks sold against a small pack of thighs. Write the per-pound number next to each option before you commit.
Check the meat before you buy it
Check three things and move on: color, odor, and package integrity. Fresh beef should be pinkish to bright red, pork pale pink to rose, and poultry pale pink with no green or yellow cast. Ground beef should be a uniform pinkish red with no gray or purple patches, since color separation usually means the surface has been handled.
Ground meat should smell fresh and clean. Anything sour, ammonia-like, or faintly off means it goes back. A sealed package that is torn, puffed with air, or leaking belongs on the counter, not in your basket, and any package where you can see ice crystals has thawed and refrozen at some point on the way here.
Read the use-by date and figure out how long that really is. Check the case for a flash-frozen stamp or telltale frost, since meat that was frozen quickly at the plant and never thawed holds quality longer. If you are buying from a counter rather than a case, the person cutting it should be happy to answer where the animal came from and how it was handled.
Treat ground meat with more care than whole cuts because grinding spreads surface bacteria through the whole batch. Cook ground meat to 160 degrees, whole cuts to 145 degrees, and poultry to 165 degrees, and do not rinse raw meat before cooking. When you get bulk meat home, get it into the cold within two hours.
Weigh and divide the meat into portions
Portioning is a division problem, and the scale does the hard part. Put an empty bag or a piece of parchment on the scale, tare it, and add meat until you hit your target weight. A 4-ounce patty is one-third of a 12-ounce portion, and a pound of 80/20 gives you eight 2-ounce balls, which becomes four 4-ounce patties or two 8-ounce patties.
Patty weight is a serving decision, not a rule. Thin patties pressed hard on a ripping-hot flat top for a smash burger run 2 to 3 ounces and cook in well under two minutes. Thicker patties for a backyard grill or a cast iron skillet sit between 4 and 6 ounces, and 8 ounces is a restaurant-sized burger. If you want to compare the math more closely, our How Much Meat per Burger Patty? Size Guide breaks down what each weight does on the grill.
For roasts and whole cuts, portion by meal rather than by ounce. A 3-pound pork shoulder becomes four to six 8-ounce servings depending on how thick you slice, and a package of chicken thighs that serves four people becomes two bags of two thighs each. Steak people generally cook one to two per person, so a four-ounce steak packed in twos covers a dinner for two.
Trim as you go and keep an eye on the clock rather than aiming for identical sizes. A little variance is fine, and a portion that is off by a quarter ounce will not ruin dinner. The same goes for patties you form by hand instead of weighing: they will cook evenly enough as long as you keep thickness in the same neighborhood and press them to the same diameter.
One alternative worth knowing about, and it comes up a lot on r/ZeroWaste, is skipping pre-portioning entirely. Keep the meat in one bag in the freezer and scoop it with a fixed measuring cup at cook time, which saves you a stack of bags and the upfront hour. It works well if you measure carefully and cook the same cut often. Pre-portioning wins when you are cooking several cuts, feeding people with different appetites, or want to pull one bag and thaw it overnight.
Label, wrap, and refrigerate or freeze promptly
Label every single portion with four things: the cut, the date, the weight or patty count, and the use-by date. A bag that says “beef” in February tells you nothing in July. Write the date you froze it and the date you should cook it by, and put the label on the flat side of the bag so you can read it while it sits in a stack.
Seal before you freeze. Vacuum-sealing cold meat straight from the counter gives you the best protection, and if your sealer struggles with fresh meat, chill the portions for 20 minutes first, which firms them up. If you do not own a sealer, squeeze the air out of a freezer bag, press it flat with your hands, and double the seal by pressing across the whole width.
Freeze flat. A bag lying flat freezes faster, loses less moisture, and stacks with the packs above it. Curled or balled-up meat takes longer to freeze through, which costs you quality and blocks the stack. Once everything is solid, file the packs upright and pull from the front.
| Cut | Best quality in a freezer bag | Vacuum sealed | Thaw in the fridge first |
|---|---|---|---|
| Steaks, chops, roasts | 12 to 24 months | 12 to 24 months | 12 to 24 hours |
| Ground beef, ground pork | 3 to 4 months | 3 to 4 months | 12 to 24 hours |
| Chicken and turkey pieces | 9 to 12 months | 9 to 12 months | 12 to 24 hours |
| Bacon and cured pork | 1 to 2 months | 2 to 3 months | Use from frozen |
| Whole poultry and large roasts | Up to 12 months | Up to 12 months | 24 to 48 hours |
You will see vendor pages claiming ground beef stays good 3 to 6 months and beef 12 to 24. The USDA figures above are the conservative ones to plan by, and the honest version is that vacuum sealing protects texture and moisture, not safety. Food that has gone bad does not become safe again because the bag was sealed.
Thaw in the refrigerator, on a plate set low on the bottom shelf, and never on the counter. Thawed in the fridge, raw meat can be refrozen without cooking, though you lose some quality, so refreeze only what you will not cook. Meat that has sat in the danger zone above 40 degrees for more than two hours goes in the trash. Refrigerator storage runs 1 to 2 days for raw beef, pork, and poultry, so treat the fridge as a short buffer, not a second freezer.
Common Mistakes
Most of these are recoverable, and all of them are common enough that you will probably recognize two or three.
- Comparing package price instead of cost per pound. Fix: divide the price by the weight on every option before deciding. This is the single mistake that makes bulk buying cost more money than it saves.
- Buying cuts you cannot cook. Fix: request a cut sheet from your farmer or processor and ask what each cut is good for before you commit. A share packed with unfamiliar cuts is where the “all bacon pig” joke comes from.
- Overloading the freezer. Fix: measure it first, apply 35 to 40 pounds per cubic foot, and buy to fit. A full freezer also runs warmer and costs more to keep cold.
- Portioning by eye. Fix: put the scale on the counter and use it for the first ten portions. You will notice how far off your guesses were.
- Skipping the label or the date. Fix: date every bag before it goes in the freezer, and adopt a first-in-first-out habit. Older meat in front, newer behind.
- Thawing and refreezing on the counter. Fix: thaw in the fridge, plan a night ahead, and only refreeze what thawed there.
- Leaving raw meat above 40 degrees too long. Fix: two hours for a counter, one hour if it is above 90 degrees outside, and get bulk meat into the cold fast. Portion and freeze the same day you bring it home.
One more habit that pays off: freeze what you will eat soonest in the most accessible spot, and push the long roasts to the back. A month of weeknight meals in the front of the chest freezer means you never have to dig for dinner.
Frequently Asked Questions
Is buying meat in bulk worth it?
It is worth it when the cost per pound is meaningfully below your grocery store price and you have freezer space plus a plan for breaking it down. Buyers on r/Frugal use a single-digit cost per pound for bulk beef as their threshold. It is not worth it for a single person, a small freezer, or a household that does not cook most days, because the leftovers quietly undo the savings.
Is it cheaper to buy meat in bulk and freeze it?
Usually, yes, but only past a break-even point that depends on the cut and your local prices. Freezing costs you nothing but power, and the real expense is spoilage. Buy whole cuts rather than pre-portioned, freeze promptly, and cook it in order. If your total cost per pound is not clearly lower than the case at the grocery store, the freezer space is better spent on something else.
How much does 100 lbs of beef cost?
It depends entirely on how you buy it, and that is the number to nail down before ordering. A farm share, a warehouse club case, a local butcher, and a subscription box all quote differently, and farm shares often add a processing fee on top of the per-pound price. Ask for the per-pound figure and the packaged weight you should expect, then compare that against what the same cut costs in the grocery case.
How big of a freezer for 200 lbs of meat?
Plan on about 5 to 6 cubic feet. The common rule of thumb is 35 to 40 pounds per cubic foot, and the Ohio Beef Council figure works out to 2.25 cubic feet per 50 pounds, which is 4.5 cubic feet per 100. A 15 to 20 cubic foot chest freezer is a realistic home for a 200-pound order, and you need room above the meat for airflow.
Should I freeze meat before vacuum sealing it?
No, seal it first. Vacuum-sealing cold meat straight from the counter gives the best freeze protection, since the sealer removes air that causes freezer burn. If your machine struggles with fresh meat, chill the portions for about 20 minutes to firm them up, then seal and freeze. The exception is a double seal, which is used commercially and is not something you can easily do at home.
How long will vacuum sealed meat stay good in a freezer?
Vacuum sealing improves texture and moisture, not the safety window. Plan on 12 to 24 months for steaks, chops, and roasts, 9 to 12 months for poultry pieces, and 3 to 4 months for ground beef and ground pork, per USDA guidance. Vendor pages that quote 3 to 6 months for ground meat are more generous than you need. Always label with the date you froze it and the date to cook it by.
Conclusion
Start with three numbers: the cost per pound, the pounds your household actually eats in a month, and the cubic feet your freezer can hold. Buy to the smallest of those. Then do the boring part the same afternoon you bring it home, because portioning and labeling is what turns a bulk purchase into dinners instead of ice. If you are new to this, a 20 to 40 pound case is the cheapest lesson and it teaches the whole workflow end to end.