
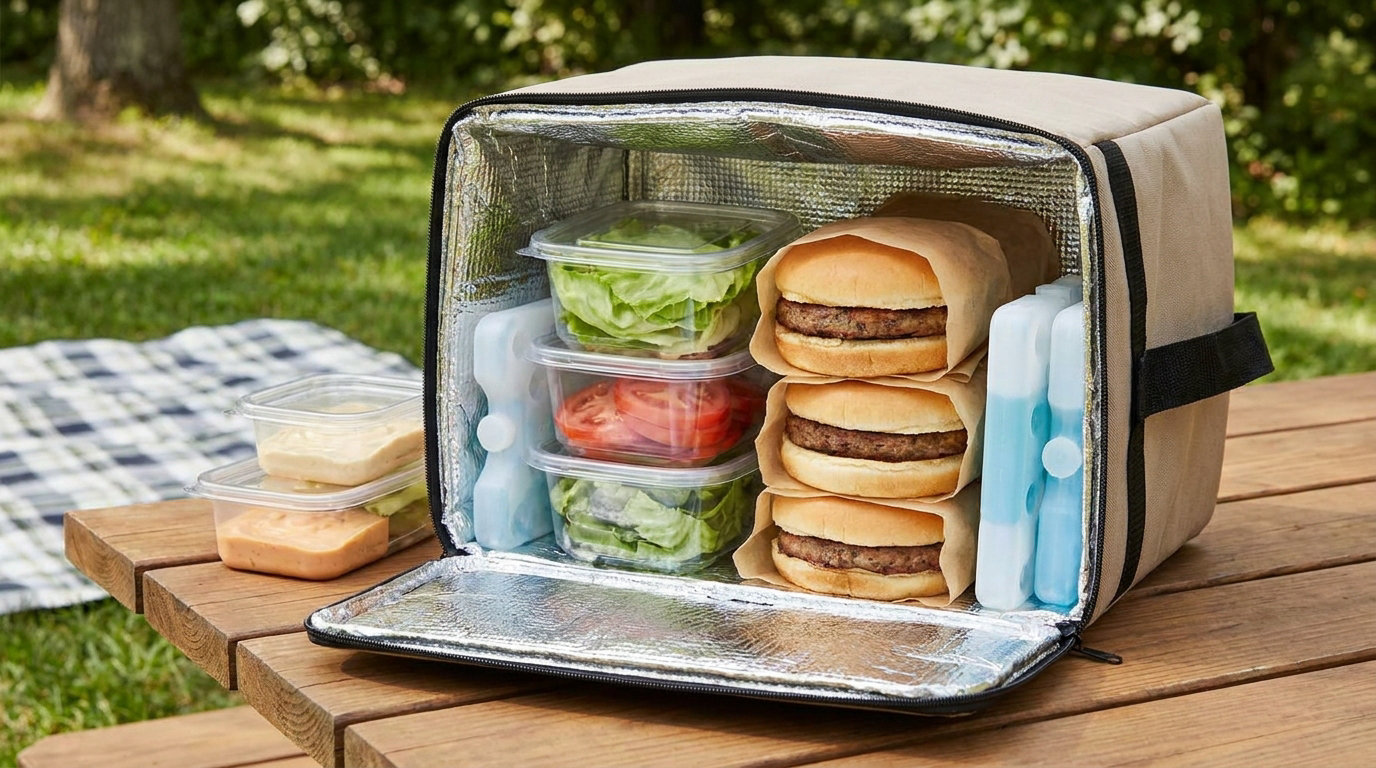
To pack burgers for a picnic safely, cook ground beef to 160°F (71°C) and keep it at 40°F (4°C) or below in an insulated cooler with frozen gel packs until serving. Never leave it in the 40°F-140°F danger zone longer than 2 hours, or 1 hour when it is above 90°F (32°C) outside.
Ground beef is the riskiest thing most picnics carry. Bacteria live throughout the meat, not just on the surface, so a patty that looks and smells fine can still make someone sick. The whole job is controlling time and temperature, and the boring gear list below is what makes that possible.
The method takes about 20 minutes of active work once the burgers are cooked. Difficulty is low; the only real skill is knowing whether you are hot-holding or cold-holding before you start packing.
Table of Contents
- What You Need
- Step-by-Step: How to Pack Burgers for a Picnic Safely
- Common Mistakes
- Frequently Asked Questions
- Should I assemble burgers before leaving for the picnic?
- How long can cooked burgers sit out at a picnic?
- Should I use ice or dry ice for picnic burgers?
- How do I transport burgers that are already hot?
- Can I keep ground beef cold in a picnic basket with no cooler?
- Do I put ice packs on top or the bottom of the cooler?
- Conclusion
What You Need
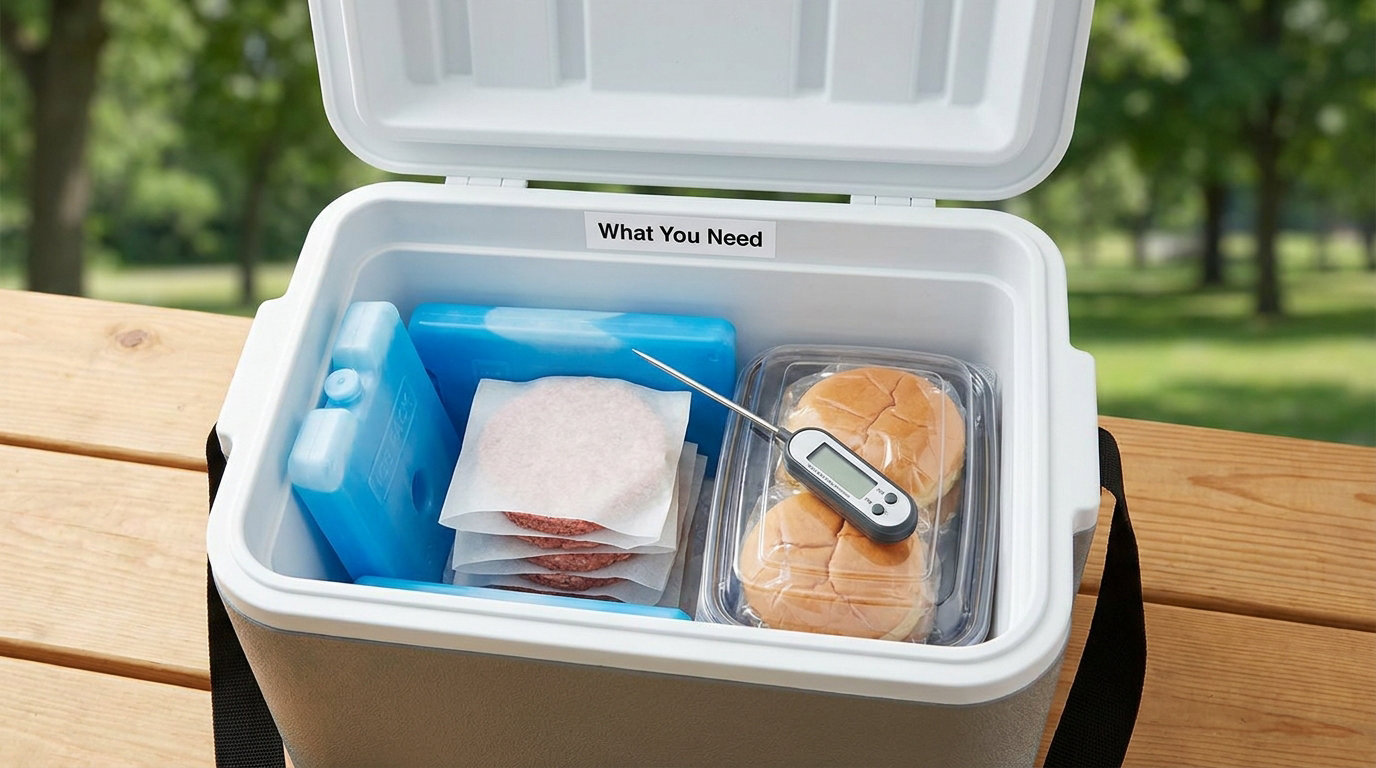
None of this is exotic. If you are missing two or three items, a simple workaround usually works.
- Insulated cooler or insulated bag. A soft-sided bag is fine for a two-hour trip. A hard cooler holds temperature far better in July.
- Ice and frozen gel packs. Blocks of ice melt slower than cubes, so if you have both, use the blocks around the food.
- Instant-read food thermometer. This is the single most useful item here. Guessing doneness is how people get sick.
- Parchment paper or a parchment-lined container. Plain wax paper works, but parchment handles heat and moisture better.
- Small rigid container for toppings. Lettuce, tomato, pickles and onions need to travel in their own box, not on the patty.
- Leak-proof bag or container for raw patties. Freezer bags doubled inside a rigid tub work well if raw meat is going.
- Separate serving utensils. One set for raw meat, one clean set for the cooked patties. Washed, never reused between the two.
- Hand sanitizer and paper towels. Most picnic sites have no running water.
- Umbrella or canopy. Direct sun on a closed cooler raises the internal temperature fast.
Step-by-Step: How to Pack Burgers for a Picnic Safely
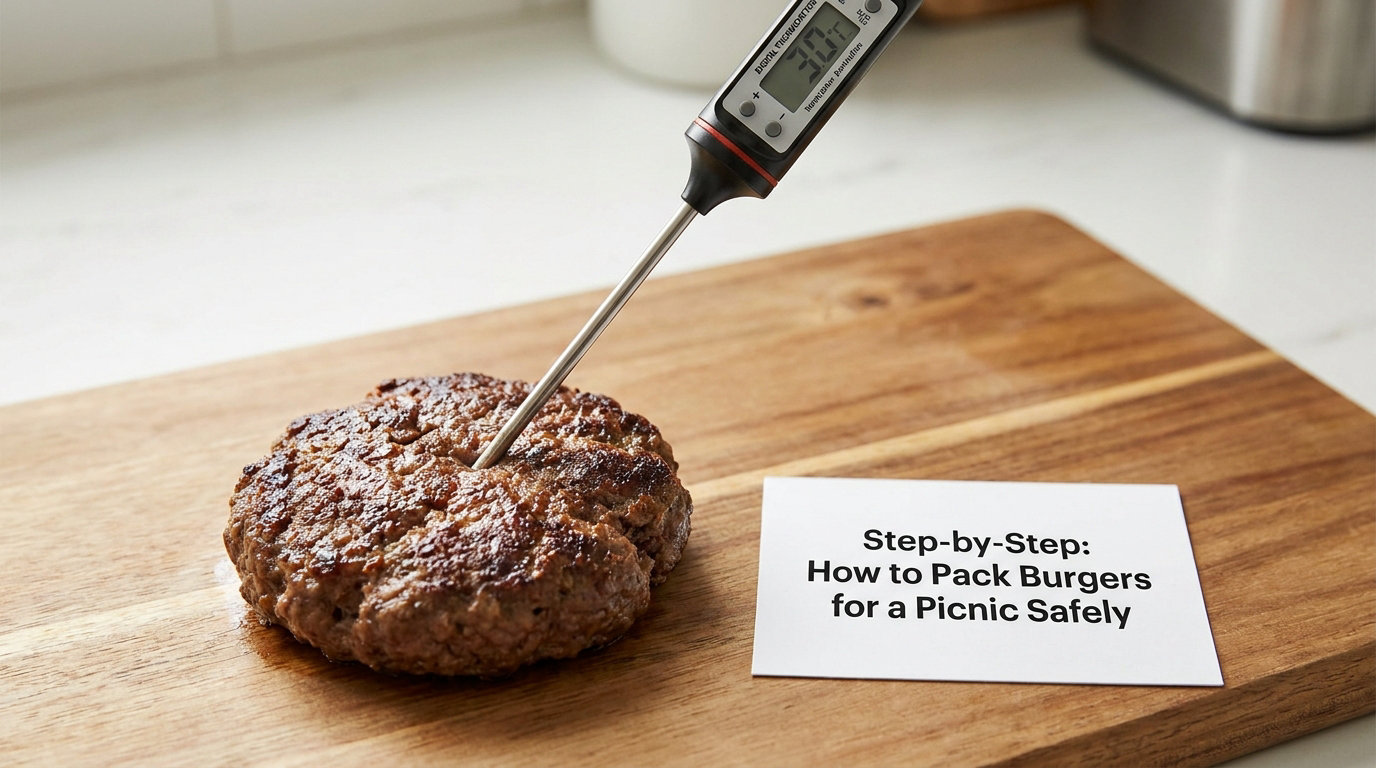
1. Cook the Burgers to a Safe Internal Temperature
Push the thermometer into the thickest part of the patty, away from the bone or the edge, and cook ground beef to 160°F (71°C). USDA and FDA both list that as the safe minimum internal temperature for ground meat.
Color is not doneness. A patty can look pink in the middle and still be undercooked, and a well-done burger can still be pink after resting. Read the thermometer.
Rest the patties a few minutes before wrapping so the juices settle and the burger holds together. A two-hour-plus transport is easier on patties that have rested ten minutes.
How do you know it worked? The thermometer reads 160°F or higher at the center of the thickest patty, and pressing it back shows no resistance.
2. Choose Hot or Cold Transport Based on the Trip
Cold-holding is the default and the safer option. Cool the patties first, then bury them in ice or frozen gel packs inside the cooler and keep everything at 40°F (4°C) or below.
Hot-holding works for a short trip. Preheat an insulated thermos or large food jar with boiling water, empty it, and add the wrapped patties. Keep them at 140°F (60°C) or above. If you cannot hold that temperature, treat the trip as a cold trip instead.
Never pack patties straight off the grill into a sealed container. Condensation forms, the bun goes soggy, and the meat sits in warm moisture while you travel.
A quick rule for cold trips: pre-chill the cooler with a bag of ice overnight, load cold patties last, and add fresh gel packs on top. Check with the thermometer again when you arrive.
3. Protect the Buns, Cheese, and Toppings
This is where most packed burgers fail, and it is a texture problem more than a safety one. A fully assembled burger sits for two hours and the bottom bun turns into a sponge.
Wrap the buns separately from the patties. Stack them with parchment or a paper towel between each one, put them in a rigid container, and close the lid. A paper towel layer absorbs condensation from the tomatoes and prevents a wet bottom bun.
Keep every wet ingredient in its own small container. Lettuce, tomato, onion, pickles and grilled onions all release liquid. Mayo and sauce belong in leak-proof cups you tear open at the table, not spread on the patty.
Cheese slices go in with the patties if you are cold-holding, since cheese is a perishable dairy product. Shredded cheese and cold toppings travel better in a separate container.
Pack condiments in a small box of their own so a leaked ketchup bottle does not soak through the parchment and onto the food.
4. Pack in Layers and Keep Cold Items Together
Load in reverse order of use. Anything you will grab first goes on top, and the things that go bad fastest sit closest to the ice.
Start with gel packs and bags of ice at the bottom and around the sides. Lay the parchment-wrapped patties in the next layer, then the buns in their container on top. Raw patties, if you are grilling at the site, go in a leak-proof bag in the lowest layer, separated from everything ready to eat.
Do not stack warm patties directly on top of each other in a sealed tub. Steam and trapped heat warm the middle patties and the ones at the bottom cool slower than you think. A single layer, or two with parchment between, is faster and safer.
Keep drinks in a second cooler if you can. Every time somebody cracks a water bottle in the food cooler, the temperature inside climbs.
Close the lid and leave it closed until serving. A cooler opened every twenty minutes can lose its chill within a couple of hours, and kids are the usual culprits.
5. Label, Load, and Check the Picnic Setup
Label each container so nobody at the site has to guess: cooked patties, bun tops, wet toppings, raw patties use first. Tape a small strip of masking tape and a marker; it takes a minute and prevents a raw burger being handed to a kid.
Transport the cooler in the air-conditioned passenger area of the vehicle, not the trunk or truck bed. A parked car heats up fast even with the windows cracked, and a picnic table in full sun is not a refrigerator.
Put the cooler in the shade under a canopy, on a blanket or a folding table rather than bare grass. A folded towel under it slows heat transfer from the ground.
When you arrive, check the temperature before anyone eats. If the patties are cold-holding, they should be at 40°F or below. If a patty is above that and has been out more than the window allows, discard it rather than serving it and hoping.
Set up a clean serving surface with a separate platter and tongs for the cooked patties. Nothing that touched raw meat goes back on the serving plate.
Common Mistakes
Assembling burgers before you leave. The bun steams, the sauce soaks through, and the whole thing is a mess by the second hour. Fix: pack components separately and let people build at the table. It takes thirty seconds per burger and the result is noticeably better.
A cooler with too little ice. Half a bag of loose cubes will not hold a temperature for a warm afternoon. Fix: fill the cooler at least a third to a half full of ice or gel packs, and keep cold items against them rather than floating in the middle.
Sealing warm patties into a container. Trapped heat plus condensation creates exactly the warm, damp environment bacteria like. Fix: cool the patties uncovered on a rack first, then wrap and pack.
Overpacking a small bag. Crushed buns and a slow release of cold air make things worse. Fix: pack fewer patties than you think you need, use a bigger container for the buns, and leave room for the ice to sit against the food.
Treating a parked car or a picnic table as a refrigerator. A car interior climbs fast in summer, and a table in direct sun cooks the cooler from below. Fix: keep the cooler in shade, out of the sun, and open it as rarely as possible.
Starting the two-hour clock too early. The clock begins when the food leaves temperature control at the picnic site, not when you cooked at home. Food that stayed at 40°F or below the whole trip has not used any of that window.
One reminder to keep in your head: cold at 40°F or below, hot at 140°F or above, ground beef cooked to 160°F, and no more than 2 hours out, or 1 hour above 90°F. When in doubt, throw it out.
Frequently Asked Questions
Should I assemble burgers before leaving for the picnic?
No. Pack the patties, buns, cheese and toppings separately and let people build at the table. An assembled burger collects condensation inside the bun for the whole trip, so the bottom half turns wet and the toppings wilt. Separate packing also keeps raw and cooked components apart, which makes the serving cleaner and faster.
How long can cooked burgers sit out at a picnic?
Two hours total, and that window starts when the patties leave temperature control at the picnic site rather than when you cooked them. If the outdoor temperature is above 90°F, the limit drops to one hour. Food sitting in the sun or in a hot vehicle counts as being in the danger zone, so move the cooler into the shade and reset the clock when you open it.
Should I use ice or dry ice for picnic burgers?
Regular ice or frozen gel packs are the right choice for burgers, packed in sealed bags or a leak-proof container so meltwater never touches the food. Dry ice is unnecessary and needs ventilation around the food, so it is better suited to frozen items in a well-ventilated vehicle. If a dry ice cooler is your only option, wrap the burgers in several layers and keep the container partly open.
How do I transport burgers that are already hot?
Two workable routes. Cold-hold them: cool the patties, wrap them in parchment and bury them in gel packs inside a cooler at 40°F or below. Hot-hold them: preheat an insulated thermos with boiling water, empty it, add the wrapped patties, and keep them at 140°F or above. That method only works for short trips with a thermometer check.
Can I keep ground beef cold in a picnic basket with no cooler?
You can, but only for a short outing. Use several frozen gel packs inside a well-insulated basket, keep the patties sealed in a leak-proof bag touching the packs, and expect roughly two to three hours of safe window in mild weather. In heat above 90°F, treat a basket without real ice as a one-hour limit and cook on site instead.
Do I put ice packs on top or the bottom of the cooler?
Both, and more ice than most people think. Put a layer of ice or gel packs on the bottom and along the sides, then the cold food against them, and finish with another layer on top so the whole interior is surrounded. The most perishable items should be in the coldest spot, which is usually the bottom when the cooler is only partly full.
Conclusion
Cook the patties to 160°F, decide whether you are hot-holding or cold-holding, then pack the meat separate from the buns and the wet toppings. That decision is the whole job; everything else is gear and shade.
Safe temperature control beats a beautifully assembled burger every time. If you are packing burgers for a picnic safely, keep them cold, keep the container closed, and let people build their own at the table.
Reviewed for accuracy in 2026 against USDA and FDA guidance on ground meat temperatures and picnic food safety.