
How to keep a food journal for cooking notes comes down to one habit: write the same seven fields after every cook, then read that entry before you make the dish again. It takes about two minutes, and a plain spiral notebook is enough to start.
A food journal is a running record of what you cooked, what you changed from the original recipe, and how it turned out. That is a different thing from a calorie or macro diary, which tracks intake for health reasons and tends to die in three weeks because it turns every meal into homework.
I have kept one on and off for about six years, and the current one is a cheap notebook shoved next to the stove. What keeps it alive is boring: fixed fields, short entries, and reading the previous page before cooking the same dish again.
What You Need
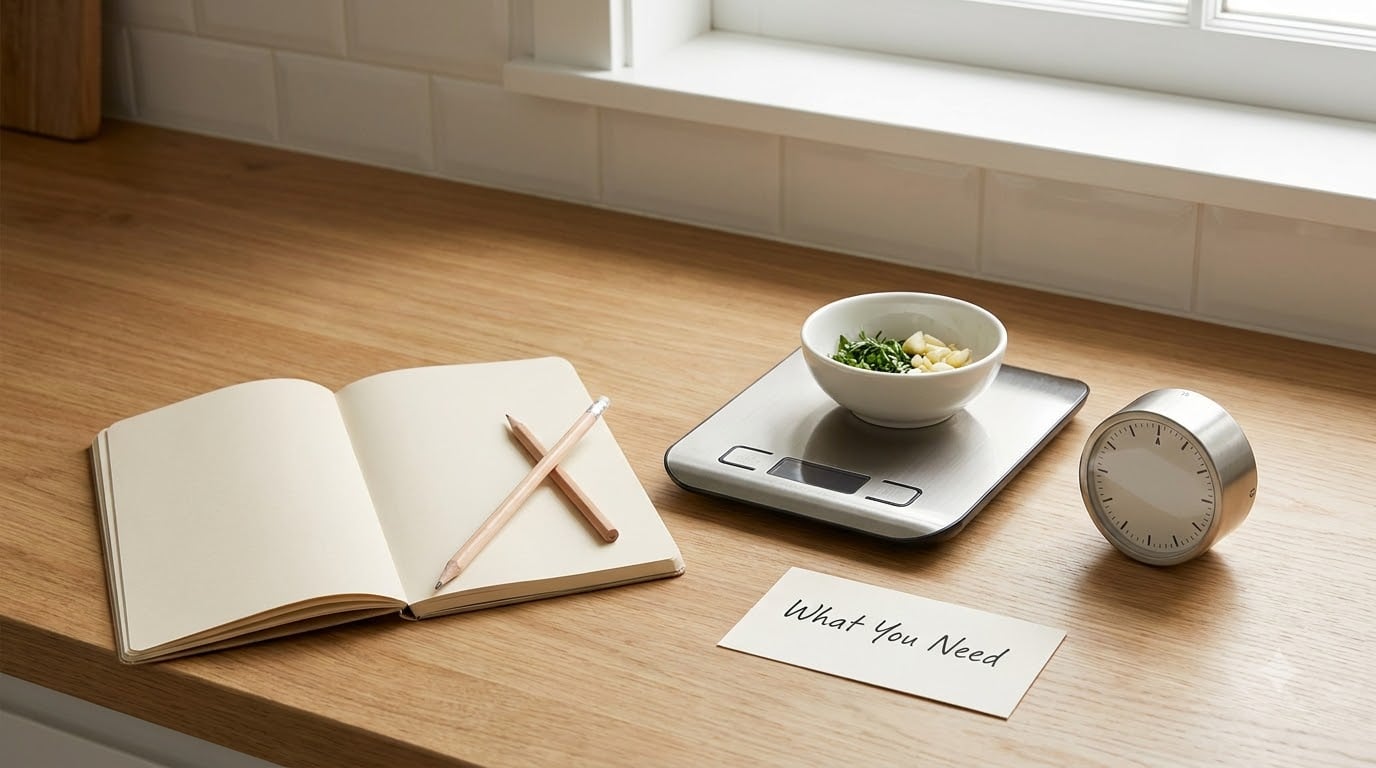
Three things get you started, and everything else is optional.
- A notebook or a document. Any cheap spiral notebook works. Lined paper is fine if you write prose, dot grid if you like sketching pan arrangements, and a phone notes app if your hands are wet most of the time.
- One place for the original recipe. A cookbook, a recipe card, or a single note with the ingredient list. You need the starting point so you can record what you changed.
- A timer, and a thermometer if you cook meat often. Most cooking notes failures are actually timing or temperature failures.
Two optional tools pay for themselves quickly: a kitchen scale, because volume measurements are the biggest source of repeatability problems, and a probe thermometer, because guessing doneness is how you end up with dry chicken.
Where the notebook lives matters more than which one you pick. It needs to be within arm’s reach of the cooking area, not in a drawer in another room.
Step-by-Step
1. Decide What You Want to Track
Pick one narrow purpose before you write anything. “Improve my smashed burger” or “stop over-salting weeknight chicken” works. “Record all my cooking” does not, and it is why most journals die in a month.
Write your purpose on the first page of the journal. When a cook happens that does not serve the purpose, skip the entry. Skipping is allowed, and treating it as a failure is the fastest way to quit.
2. Set Up a Consistent Entry Format
Use the same seven fields every time. Consistency is what makes entries comparable later, and comparability is the entire point.
- Date — day, month, year. Do not skip this; it is how you find the entry again.
- Dish and source — what you cooked and where the recipe came from.
- Changes made — every substitution and adjustment, with amounts.
- Conditions — pan, oven or grill temperature, cook times, batch size.
- Result — one rating and one sentence on flavor, texture and doneness.
- Notes for next time — the single change you will make next cook.
- Photo reference — a photo on your phone, named after the dish, so you can match it later.
Write the seven field labels on the inside cover as a permanent template. Copy that layout into your notes app if you are typing, so every entry looks the same at a glance.
3. Write Notes While You Cook
Capture observations as they happen, not from memory later. A two-minute note during cooking beats a ten-minute reconstruction afterwards, because by then you have already blended three cooks into one.
Record substitutions the second you make them, with quantities: “used 300g Greek yogurt for half the buttermilk.” Write temperatures and times as they read, not as estimates at the end.
For meat, log the internal temperature rather than the appearance. Ground meat reaches a safe 160°F (71°C), poultry 165°F (74°C), and whole cuts and fish 145°F (63°C). On a grill, write the grate setup too, since direct versus indirect heat changes everything.
Grill notes are where a cooking journal pays off fastest. Burner positions, charcoal type, lid on or off, and how long you rested the patties are the details you will never reconstruct correctly from memory. If you are chasing flatter burgers, how to keep burgers from puffing up in the middle is worth reading before your next cook, then logging what you actually changed.
4. Record the Result Immediately
Write the result within a few minutes of serving, while the dish is still in front of you. Describe flavor, texture, appearance and portion in one sentence each, then rate it.
A five-point scale works well if you stay honest about the middle: 1 is inedible, 3 is fine but forgettable, 5 is one you want to repeat within a fortnight.
Add storage notes the same day, using standard safe limits: refrigerate perishables at 40°F (4°C) or below and use refrigerated leftovers within three to four days, freeze anything older. Note the date so you can check it later instead of guessing from smell.
5. Review Entries Before Cooking Again
Before you re-cook a dish, read its last entry and its “Notes for next time” line. This is the step that separates a journal from a diary, and it is the one people skip most.
Change one deliberate variable at a time. Adjust the salt, or the grill temperature, or the rest time, but not all three, because then you have learned nothing you can repeat.
After three or four entries on the same dish, write a clean final version in the front of the journal. That version becomes the recipe you actually cook, and the earlier entries stay as the record of how you got there.
6. Keep the Journal Useful, Not Perfect
Cap entries at two or three minutes. If yours runs longer, you are writing narrative instead of notes, and the extra words will not be read.
Review the last ten entries once a week, even when nothing went wrong. Patterns hide in the boring weeks: the same substitution three times running, the same dish abandoned every time you cook it on a Sunday.
Back it up. Photograph the notebook pages into a folder on your phone or cloud storage once a month, and keep the digital copy in a separate app or document so you have one searchable home for everything.
Merge duplicates instead of starting fresh. When a recipe has five entries, consolidate the best one into a single card and keep the rest as a dated appendix.
Common Mistakes
Vague entries. “Good!” tells you nothing six weeks later. Write what made it good: seared edges, less acid, twenty minutes less braising.
Logging only the successes. Failures are the highest-value entries you will keep. Write down the collapsed sponge cake and what you think caused it, because you will make it again.
Over-detailing. Transcribing the whole recipe turns the entry into homework. Record the changes and the conditions, not the untouched parts.
Skipping context. An entry that reads “cut butter, added yogurt” without the dish name or the date is unusable a month later.
Never reviewing. Writing without reading is a diary, not a system. If you never re-open the notebook, the whole exercise is wasted effort.
Buying a new notebook instead of using the old one. A fresh, pretty journal is the most common form of procrastination in this hobby. Finish the one you have before starting anything else.
Trying to log every meal from day one. Start with one cook a week. Build to one per day only after the habit has survived a month.
Frequently Asked Questions
Should I keep a food journal on paper or in an app?
Paper wins when you cook with wet or greasy hands, because a phone stays usable and a notebook does not. An app wins for search: you can find any dish by name in seconds, and photos attach automatically. A hybrid is the common answer: paper while cooking, a photo of the page uploaded the same night.
What do you actually track in a cooking journal?
Seven fields cover almost everything: date, dish and recipe source, changes made, cooking conditions, a result rating, one note for next time, and a photo reference. Add temperature and time for anything cooked on a grill or in the oven. Leave out calories unless tracking them is your actual goal.
How long should a food journal entry take?
Two or three minutes, written while you cook and finished within a few minutes of serving. If an entry takes longer than that, it is probably narrative rather than notes. The goal is a page you will actually re-read before the next cook of that dish.
How do you stay consistent when you keep forgetting?
Attach the note to an existing routine, such as while the oven preheats or while the coffee brews. Set a two-minute minimum so a bad entry still counts, and start with one cook a week rather than every meal. Missing a day is fine, missing three weeks is how journals end.
How do I handle a recipe I tweak every single time?
Write down what you changed each cook, then after three or four attempts promote the best version to a clean final recipe at the front of the journal. Keep the earlier dated entries as the background record. That gives you one repeatable version without losing the experiments.
What should I do with a journal I abandoned last year?
Read the last ten entries before writing anything new, because the pattern of why you stopped is usually right there. Then start a fresh section rather than a fresh notebook, with a single stated purpose on the first page. Old entries still work as a reference even if they were messy.
Conclusion
Start with one cook you already make often, and write the seven fields tonight or after your next dinner. Read that entry the next time you make the dish, change one thing, and write it again.
That is the whole method behind how to keep a food journal for cooking notes: fixed fields, short entries, and a review habit. Consistency matters far more than neat notation, so keep it small enough that you never skip it.