
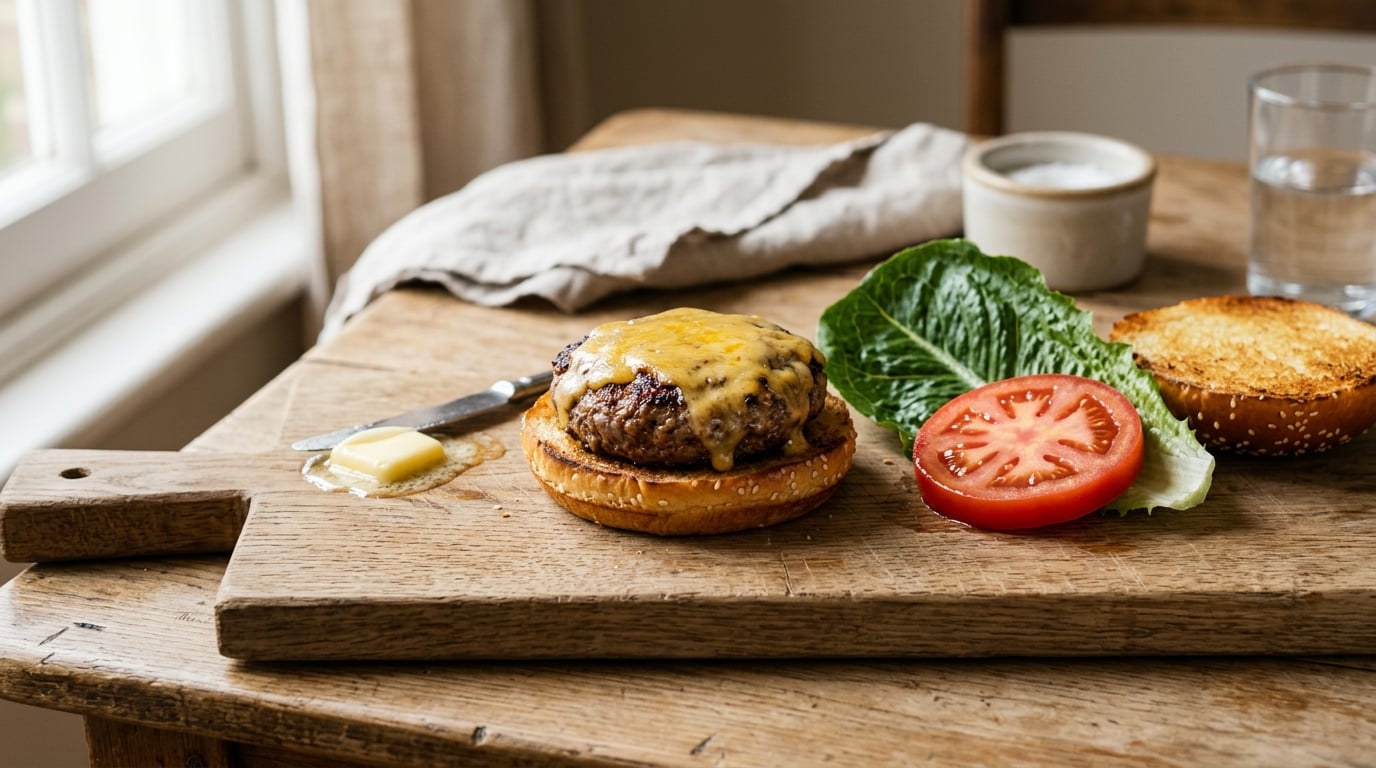
To keep burger buns from getting soggy, toast the cut sides until they are golden, spread a thin layer of butter or mayonnaise on the bottom bun, rest the patty for four to five minutes, and put wet toppings in the middle of the stack instead of on the bread. Together those four moves fix almost every soggy bottom bun.
It takes under ten extra minutes and most of it is unattended rest time. The whole thing comes down to two physics problems: bread drinks liquid, and hot bread breathes steam. Once you understand that, the fixes stop being folklore and start being obvious.
Nobody plans a soggy burger. You toast the bun, cook the patty, add the toppings, and then the bottom half collapses into paste before you have taken the second bite. The bun stops holding weight, the patty slides out sideways, and you end up eating the last two thirds of a sandwich with your hands.
That failure is almost always one of four things: a bun that never got a toasted crust, a fat-free bread surface, a patty that went straight from the grill into the stack, or a wet topping parked directly on the heel. Fix those and the burger holds together from first bite to last.
Table of Contents
- What You Need to Keep Burger Buns From Getting Soggy
- Step-by-Step: Keep Burger Buns Crisp
- Common Mistakes
- Frequently Asked Questions
- What type of burger bun is least likely to get soggy?
- Should I toast burger buns before adding the patty?
- How do I keep sauces from making the bottom bun soggy?
- Does wrapping a burger in foil prevent the bun from getting soggy?
- Can I assemble burger buns ahead of time?
- How do I keep a burger crisp when serving it later?
What You Need to Keep Burger Buns From Getting Soggy
You do not need special equipment. You need a heat source that can brown bread quickly, a fat to seal the cut face, a rack or a few minutes of patience, and the discipline to keep parts separate until serving.
- A heavy skillet, griddle or flat-top grill. Direct contact browns a bun in under a minute. A nonstick pan works, but cast iron gives you the fastest, evenest crust.
- A fat for the cut faces. Butter, mayonnaise, olive oil, bacon grease, or the melted cheese that drips off the patty. All of them repel water; they differ in how they brown and how they taste.
- A paper towel or clean cloth. For patting tomato, onion and pickles dry. This is the least glamorous item on the list and one of the most effective.
- A wire cooling rack. Only relevant if you bake buns yourself, and it is the single biggest upgrade a home baker can make.
- An instant-read thermometer. Resting time only works if the patty is properly cooked first, and you cannot judge that by squeezing.
- A whole lettuce leaf or slice of cheese. A physical barrier between the bread and anything wet. Serious pit cookers run this as a double barrier: fat on the bun, lettuce on top of the fat.
On bun choice, density beats decoration. A sturdy potato or potato-style bun holds up to moisture far better than a thin, soft, overly sweet roll. Brioche is delicious and it drinks water quickly, so it wants the most aggressive toasting of anything in the bread aisle. Sesame and ciabatta-style buns sit in the middle: decent structure, cut faces that brown well.
Gluten-free and low-carb buns absorb water faster than wheat buns because there is less gluten structure holding the crumb together. They also tend to have a drier, more cakelike interior that takes sauce badly. Toast them harder, use a thinner fat layer, and keep wet toppings in the middle where they can only damage one leaf of bread instead of the whole heel.
Step-by-Step: Keep Burger Buns Crisp
1. Choose buns that can handle moisture
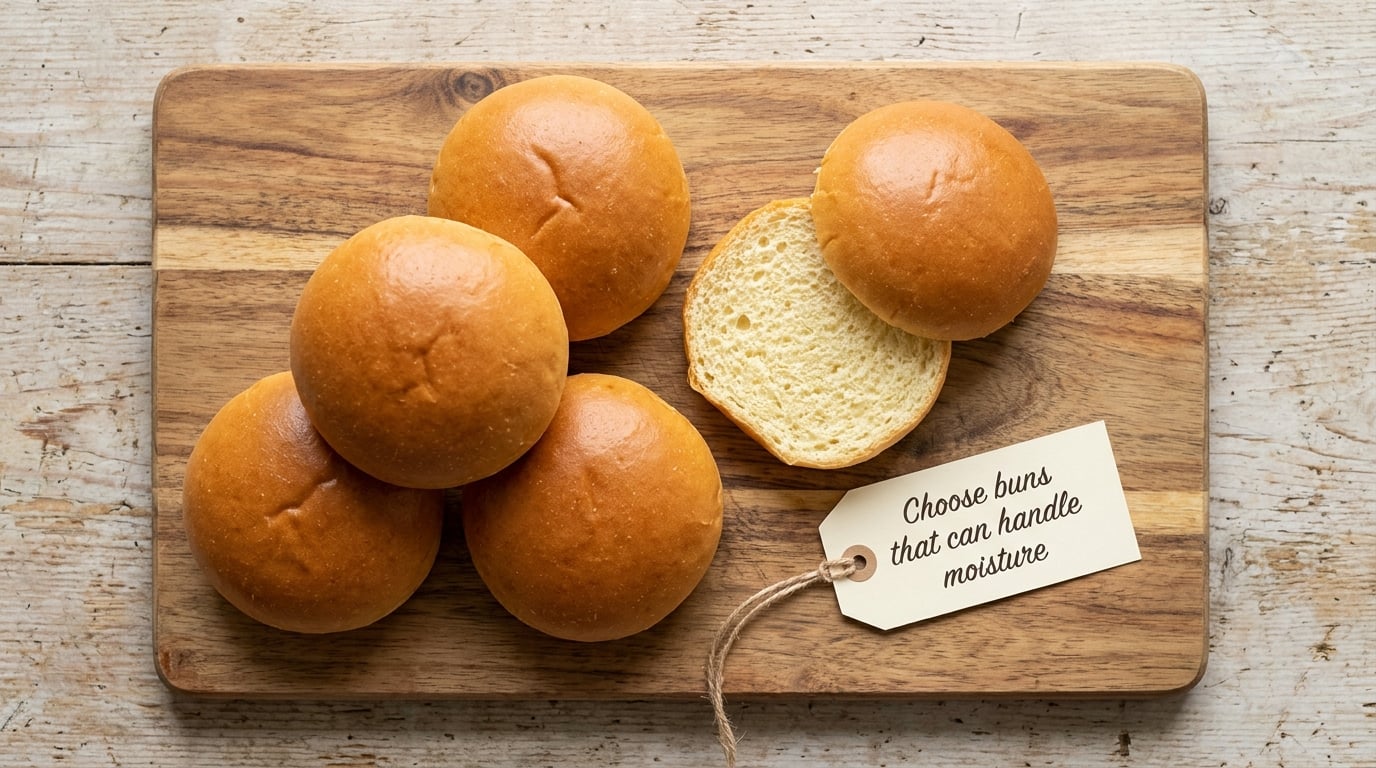
Sturdy buns resist sogginess better than soft ones, and you can tell before you buy. Press the heel with your thumb: it should spring back slowly and feel dense rather than compress like a sponge. If the crumb is already gummy or the bun tears into a paste when you slice it, put it back.
Slightly stale buns are actually good here. A day-old bun toasts up more predictably than a brand-new soft one, which is why many home cooks buy buns a day early on purpose.
2. Toast the cut faces until the edges turn gold
Toasting is the single highest-value move in the whole process, and here is why it works. Bread is mostly starch and water. Heat drives off surface moisture, melts the surface starch, and lets it set back into a dry, glassy crust. That crust is hydrophobic, meaning water rolls off it instead of soaking in. You are not just browning it for flavour, you are sealing it against liquid.
Toast both cut faces, cut side down, in a lightly buttered or greased pan. Press them down for the first fifteen seconds so the whole face makes contact. You are done when the edges look gold and the center still has a little give, roughly two minutes total for a single burger. Push it past that and the bun goes brittle, which trades one problem for another.
| Surface | Heat | Time per side | Done when |
|---|---|---|---|
| Cast iron skillet | Medium-high | 45 to 60 seconds | Edges gold, faint smoke from the fat |
| Flat-top grill | Medium-high | 30 to 45 seconds | Cut face mottled brown, edges darker |
| Broiler | High, 6 inches from the element | 1 to 2 minutes, watch constantly | Cut face blistered and browned |
| Oven at 200 F | Low, door cracked | 4 to 6 minutes, cut side up | Cut surface dry and lightly golden |
| Toaster oven | Medium | 90 seconds to 2 minutes | Cut face crisp, no pale patches |
| Air fryer | 375 F | 2 to 3 minutes, cut side up | Cut face firm, crown not dried out |
Broiler and air fryer are the two that punish inattention. Both brown from the top down, so the crown dries out and cracks while the cut face is still pale. Move your attention to the cut face, not the top.
3. Limit wet toppings and balance the filling
Watery vegetables, pickle brine and heavy sauce are what turn a slow sogginess into an instant one. The fix is not to cut them out. Pat them dry, use them in controlled portions, and put them where they damage the least.
Pat a sliced tomato firmly between two paper towels until the towel takes on a wet patch. Do the same with onion and with pickle slices. It takes ten seconds per ingredient and removes enough free water to make a real difference, because that water is going straight into the bread whether you want it there or not.
Thin sauces spread everywhere; thick sauces stay where you put them. A mayonnaise or a thick burger sauce on the bottom bun behaves like glue in reverse, a seal rather than a leak. Ketchup and mustard run, so use a thinner layer of those and keep them mid-stack.
4. Salt the patty and cook it to 160 F
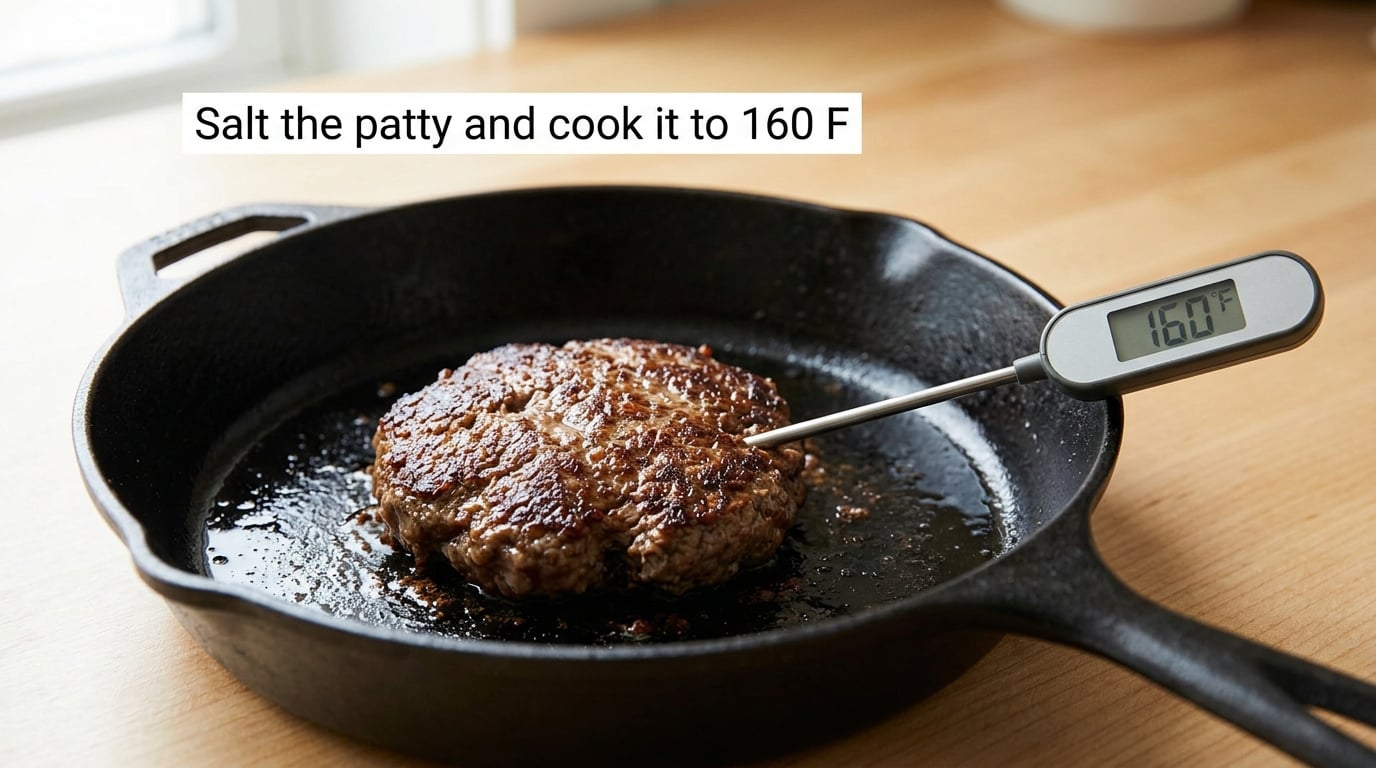
Season the patty on both sides with salt and pepper right before it hits the heat. Salt early, cook it to a 160 F center temperature for food safety with an instant-read thermometer, then do not overcook it.
That last part is the technique, not the safety rule. Ground beef that cooks past medium goes tight and dry, and dry meat pushes liquid out rather than holding it. A patty seared hard, flipped once, and pulled the moment the thermometer reads 160 F keeps noticeably more juice in the pan. That is less juice available to soak your bun, and a juicier burger is a better burger anyway.
Rest the patty four to five minutes on a rack or a board, not on a plate. Resting lets the muscle fibres relax and reabsorb the juices they squeezed out during cooking, so fewer juices run off when you cut into it. Grill-focused cooks on r/grilling treat the rest as non-negotiable, and they cook onions on the same flat top while they wait, which is a good use of the gap.
5. Melt cheese directly on the hot patty
Drop the cheese on the patty in the pan, not on the bread. Let it melt from residual heat, drape it over the edges, and slide the whole thing onto the bun.
Cheese melted against meat forms a thin membrane that slows moisture moving downward, and it gives you a fat layer for free. Melt the same slice on top of the patty and you get flavor and a barrier in one move. Melting it directly on the bottom bun instead puts you back to slow saturation, because the cheese sits in direct contact with bread and bread drinks through it.
6. Add sauces just before eating
Sauce applied ten minutes early has ten minutes to soak in. Sauce applied in the thirty seconds before the first bite barely touches the crumb.
Put a thin layer on the patty or the crown, keep the generous amount mid-stack, and if you are serving a group, pass the sauce at the table instead of pre-saucing individual burgers. If you must build ahead, hold components separately and stack to order.
7. Stack for immediate serving and eat quickly
Assemble in this order, from the top down. Dry items and wet items alternate so the moisture is trapped in the middle of the burger instead of at the bottom, where bread has to fight it alone.
- Crown, toasted cut side up. Any sauce here touches only the cut face you just sealed.
- Sauce or mayo, thin layer. A fat coat on the cut face of the crown.
- Dry toppings first: lettuce, tomato, onion, pickles, or a fried egg.
- The patty with melted cheese, juices running in every direction.
- Second dry layer: another lettuce leaf or cheese slice as a barrier, which is the double-barrier move pit cookers on the BBQ Brethren forums describe in detail.
- Wet toppings here: pickles, extra sauce, anything briny or juicy.
- Heel, toasted cut side up, thin fat layer on the face.
Then serve immediately. A closed burger traps its own steam, and that steam condenses on the inside of the crown and softens it from within. A wrapped or boxed burger sitting for twenty minutes is a warm, damp environment, which is exactly the wrong one. If you have to hold them, hold the components and build at the last moment, or keep them in a single layer in an open container, never stacked and never wrapped in foil or parchment.
Common Mistakes
These are the habits that reliably produce a soggy hamburger bun, and what to do instead of each one.
- Saucing both halves of the bun. A wet bottom bun plus a wet top bun means the burger has nowhere to put its liquid. Put sauce on the patty or on the crown only, and use a thin layer on the heel.
- Toasting too early. Buns toasted ten minutes ahead reabsorb moisture from the air and from the warm patty’s steam, going soft before anyone takes a bite. Toast last, after the patty is rested and ready to stack.
- Wet pickles and tomatoes placed low. Brine and tomato water sitting directly on the heel soak straight through it. Move them mid-stack where a lettuce leaf or cheese slice stands between them and the bread.
- Adding cold, wet produce straight from the fridge. Cold ingredients drop the temperature of the stack, and condensation forms on anything cold meeting a warm surface. Let refrigerated toppings sit out for ten minutes, and pat them dry.
- Assembling the patty straight off the grill. No rest means the fibres are still tight and every bite squeezes out more juice. Four to five minutes on a rack cuts that dramatically.
- Skipping the fat entirely. An unbuttered, untoasted cut face is a sponge with a crust of nothing. A thin film of butter, mayo, oil or bacon grease is what makes the bread water-repellent.
- Letting buns sit in their own steam. Buns go soggy before you cook anything. Close the bag loosely or leave the twist tie off, keep them on a rack or a board, and do not put the whole loaf back in a sealed plastic bag while the buns are still warm.
- Baking buns and cooling them on the baking sheet. Steam escapes under the crust and softens it from the inside. A wire rack is the fix, and it is the standard advice from home bakers on r/Breadit for the same reason. Allow a full second rise too, since an under-proofed bun bakes up dense and holds moisture differently.
A few situational notes. For smash burgers, toast the bun on the same griddle right after the patty comes off, so the press is still hot and the crust sets in seconds. For a crowd, toast in batches and hold them cut side up on a rack in a single layer rather than stacking them in a towel, where the trapped steam softens the underside of every bun in the pile. For takeout, delivered burgers arrive damp from the packaging itself, so open the bag, separate the halves, and stand them cut side up for a couple of minutes before eating. For a bun that has already gone soft, split it, butter the insides, and warm it cut side down on a hot pan; the crust comes back in about a minute, which is the same revival home bakers on discusscooking.com use for day-old buns.
Frequently Asked Questions
What type of burger bun is least likely to get soggy?
Dense, sturdy buns hold up best. A potato or potato-style bun is the most forgiving because its sturdier crumb resists water and its slightly sweet finish does not go cloying when it absorbs sauce. Brioche is the most likely to get soggy, since its higher fat and sugar content soak up liquid quickly, so it needs the most aggressive toasting. Gluten-free and low-carb buns also drink fast, because less gluten structure means a crumb that gives up liquid easily.
Should I toast burger buns before adding the patty?
Yes, and toast them last, right before assembly. Toasting melts and sets the surface starch into a dry crust that resists water, and it is the step that most reliably prevents a soggy bottom bun. Toast after the patty has rested so the bun does not sit cooling for ten minutes and reabsorb moisture. Ninety seconds to two minutes per cut side on medium-high heat is enough; go further and the bun turns brittle and cracks.
How do I keep sauces from making the bottom bun soggy?
Keep sauce off the heel entirely, use a thin rather than a generous layer, and add it in the final seconds before eating. A thicker sauce such as mayonnaise or a burger sauce behaves as a seal on a toasted cut face, while ketchup and mustard run and should go mid-stack. Never sauce both halves of the bun, since that leaves the bread nowhere to put its liquid. A lettuce leaf or cheese slice on the heel adds one more layer of protection.
Does wrapping a burger in foil prevent the bun from getting soggy?
No, it usually does the opposite. Foil and paper wrap seal in the steam the burger is giving off, and that steam condenses on the inside of the bun, softening it from within. Store or hold burgers in a single layer in an open container, and keep the components separate until serving time if there is any delay. A foil wrap is fine for keeping heat in during a short transport, but it is a poor choice for anything beyond a few minutes.
Can I assemble burger buns ahead of time?
You can prepare ahead, but not fully assemble. Toast the buns, cook and rest the patties, and prep the toppings separately, then stack everything in the last minute before serving. A burger that has been sitting assembled for more than a few minutes is already losing the texture you built. If you must build ahead for a party, keep the patties on a rack in a single layer, hold the buns cut side up, and do the stacking yourself at the table.
How do I keep a burger crisp when serving it later?
Do not build it early, and do not wrap it. Hold the toasted buns cut side up in a single layer on a rack, keep the patties separate, and pass the sauce at the table. Steam is the enemy, so anything sealed, stacked or wrapped traps it. If a burger has to travel more than a few minutes, a vented paper container is better than foil or a clamshell box, and reassemble or re-toast on arrival if the bun has softened at all.
Start with the toast. Cut faces down on a hot pan, fat on the surface, gold at the edges and still a little springy in the middle. Everything else in this guide is a supporting move: rest the patty four to five minutes, keep wet toppings in the middle, sauce at the last second, and serve right away. Do those five things and the bottom bun still holds when you pick it up.