
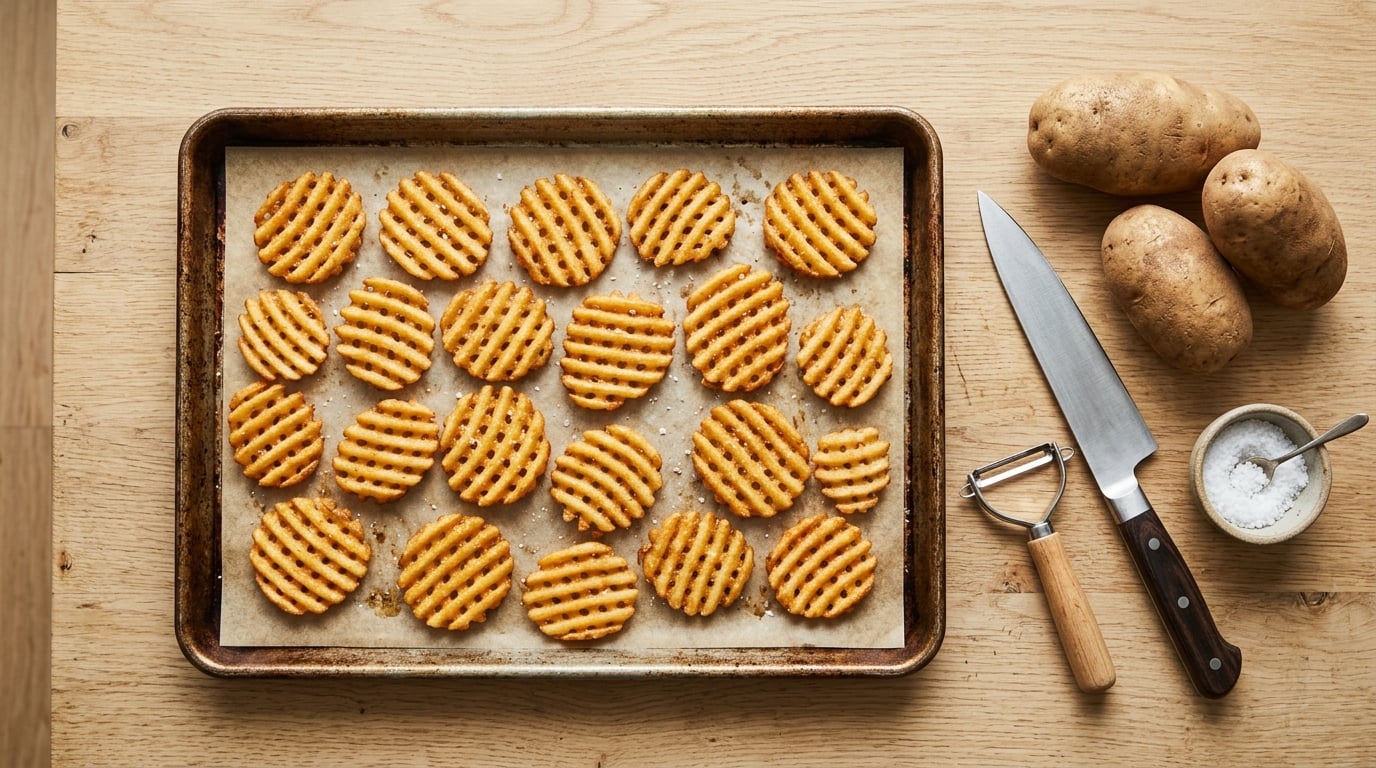
You do not need a waffle blade, a mandoline, or a countertop fryer. Slice a russet potato about 1/4 inch thick with a sharp chef’s knife, turn the potato a quarter turn so the first cuts run the other way, slice again, and the two crossing sets of lines turn into the waffle lattice. Soak the slices in cold water for 30 minutes, dry them well, spread them in a single layer on a hot baking sheet, and bake at 425F for 25 to 30 minutes. Forty minutes of prep, most of it hands-off, and you get the cross-section the restaurant version has.
Learning how to make waffle fries without a special cutter comes down to one motion: the quarter turn. The tool is secondary, which is why this method works in a kitchen with nothing but a knife and a sheet pan. I have made it with a chef’s knife, a serrated knife, and a dull-ish paring knife, and the only real difference is how long the cutting takes.
What You Need to Make Waffle Fries Without a Special Cutter
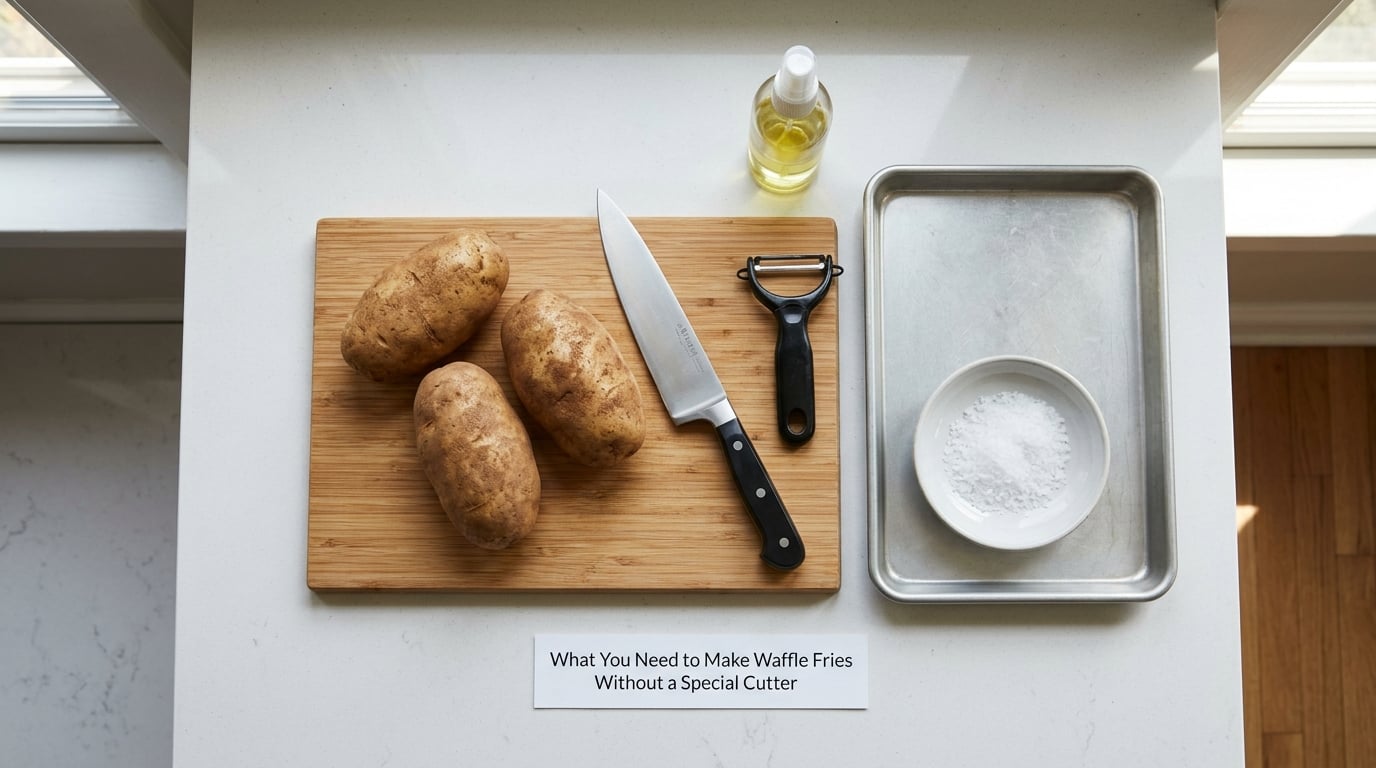
Most of what you need is already in a drawer. Here is the short list, and then what to do if you want to skip a piece of it.
Tools
- A sharp chef’s knife or a serrated knife. Serrated works well for russets because it sails through the skin, and it gives you the ridged edge a crinkle cutter would. A plain straight chef’s knife gives cleaner, flatter squares. A dull knife is the one thing you do not want, because it crushes the potato and squeezes out starch before you even soak it.
- A vegetable peeler if you want bare lattice with no skin, or leave the skin on for color and easier handling. Either works.
- A large cutting board, ideally dampened underneath so the potato does not slide. A folded damp towel under the board is the cheapest fix for the most common cutting accident.
- A rimmed baking sheet, ideally with a little space underneath for air circulation. Parchment works and keeps salt from sticking; a bare preheated metal sheet crisps the bottom edges harder.
- Paper towels or a salad spinner for drying. This is the step people skip and then wonder why their fries are limp.
- Optional: a waffle iron, a crinkle cutter, a box grater, or a mandoline. All of these can make waffle-shaped potato, and the sections below cover what each one changes.
If you have no mandoline, a crinkle cutter, or a waffle iron at all, a plain knife does everything. The lattice comes from geometry, not from a special blade.
Ingredients
- 2 large russet potatoes (about 1 pound total), scrubbed and unpeeled or peeled
- 1 tablespoon coarse salt or seasoned salt
- 1 tablespoon neutral oil such as avocado, canola, or vegetable oil, or cooking spray
- Optional: 1 teaspoon smoked paprika, 1/2 teaspoon garlic powder, 1/2 teaspoon black pepper, or 1 teaspoon chopped fresh rosemary
- Optional: a squeeze of lemon or a splash of vinegar for the soak water
Russets are the right call. Their high starch content is what gives you a fluffy interior under a crisp shell, and their thick skin holds the lattice together while the slices cook. Yukon Golds work but stay waxy and need a shorter bake; sweet potatoes caramelize faster, so pull them about 5 minutes early.
One safety note before you start. A potato is round and slippery and it is exactly the shape that rolls under a blade. Curl your fingertips in, let the flat side of the blade ride against your knuckles, and move slowly on the crosswise cuts. A mandoline is faster and that is the real trade.
Step-by-Step
1. Preheat and set up
Heat the oven to 425F and put the empty baking sheet inside to heat with it. A sheet that goes into a cold oven is why baked fries so often come out pale and soft on the bottom. While it heats, wash your potatoes and dry them completely. A wet potato slips and a wet potato steams.
2. Cut the first set of slices
Stand the potato on its end. Slice it into planks about 1/4 inch thick, cutting straight down through the whole potato each time. For a medium russet, that is usually 4 to 5 slices. Keep them together as a stack and do not separate them yet. Aim for even thickness, and if a slice comes out paper thin, eat it and move on rather than trying to make it fit the stack.
3. Turn the potato a quarter turn
Rotate the remaining potato 90 degrees, so the faces you just cut now sit flat against the cutting board. Make a second set of cuts roughly 1/4 inch apart directly on top of the first. These crosswise cuts are what create the squares. Do not slice all the way through; stop when the knife meets the board and the existing slits guide the blade.
4. Separate and size
The potato falls apart into connected lattices. Flex each one gently between your fingers and break the last stubborn bridges along the cuts. If the pieces are too long to fit on your sheet, cut them into two sections rather than making the cuts thinner, because thin slices are the number one reason waffle fries turn into chips.
5. Soak for 30 minutes
Submerge the lattices in cold water. The water turns cloudy as it pulls starch off the cut surfaces, and that starch is exactly what turns to paste and glues the pieces soft in the oven. Thirty minutes is the sweet spot. Twenty is better than none; an hour or more costs you some flavor.
6. Dry and season
Drain, then pat every piece dry with paper towels, including the crevices in the lattice. A wet fry is a steamed fry. Toss with the oil or spray both sides lightly, and season with salt. Season now, not after baking, because salt applied to a hot surface mostly falls off. Smoked paprika and rosemary go on at this stage too; anything sugary burns fast, so keep sugar out of the mix.
7. Bake
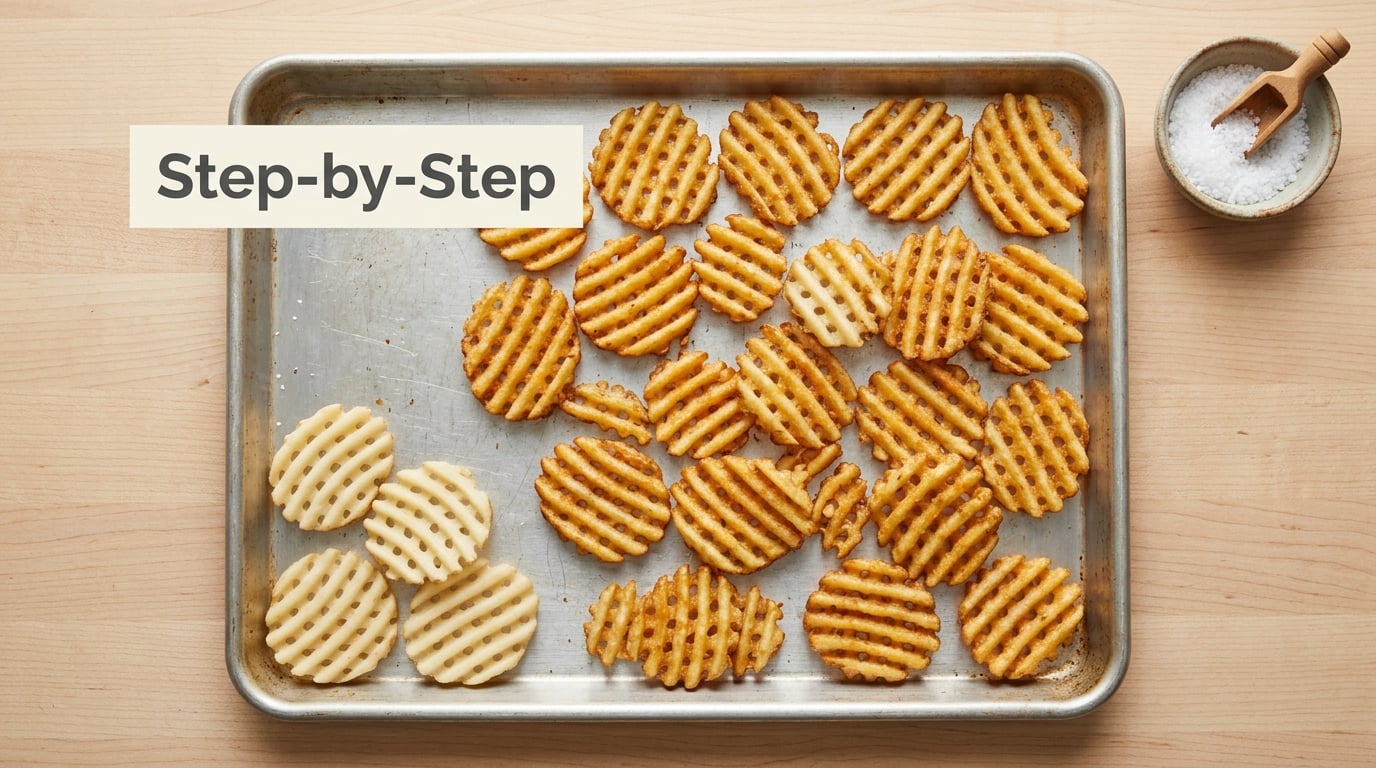
Pull the hot sheet out, lay the fries on it in a single layer with a finger’s width between pieces, and put it back immediately. Crowding drops the sheet temperature and the fries steam instead of crisp. Bake 25 to 30 minutes, flipping once at the 18-minute mark. Start checking at 22 minutes. They are done when the raised squares are deep golden brown, the edges look dry and rigid rather than rubbery, and a lifted piece sounds hollow when you tap it.
8. Air fryer option
If you want to skip the oven entirely, an air fryer is the fastest route and needs no oil. Spray the pieces lightly, set them in a single layer at 400F, and cook 12 to 15 minutes, shaking the basket at 8 minutes. They cook faster than they do in the oven because of the moving air, so check early. Crowding the basket is the one thing that ruins an air fryer batch; do it in two rounds rather than one.
9. Season and serve straight away
Tip the hot fries onto a plate, add a second pinch of salt, and eat them within a few minutes. Waffle fries are at their best the moment they leave the oven or the fryer, and their texture drops fast after that.
How to Cut the Waffle Pattern Without a Special Cutter
Cut the lattice in two passes, not one. First slice the potato lengthwise into 1/4 inch planks. Then rotate the potato a quarter turn and score across those planks, again about 1/4 inch apart, cutting only until the knife meets the board. The second set of cuts intersects the first, and the block falls into connected grids of squares.
Two things go wrong here. If you cut all the way through on the second pass, you get a pile of loose sticks with no lattice, because there is nothing left to hold the squares together. If your slices are thinner than about 1/8 inch, the squares have so little potato inside them that they curl, blister, and break into chips during the bake. For a visual reference, a 1/4 inch slice is roughly the thickness of a quarter, or about half the width of the potato itself.
Finger position matters more than any other detail. On the first pass you can use a claw grip with curled fingertips. On the second pass, turn the potato so the cut faces are under the knife and your fingertips are behind the blade, then let the flat of the blade ride your knuckles as you push. A wet board is the other safety measure that costs nothing.
On a serrated knife, the blade does the crinkle work for you: each slit gets a ridged edge, and after the second pass those ridges cross. With a straight-edged knife you still get a true waffle grid, just with clean square edges rather than wavy ones.
How to Keep the Fries Crisp and Separate
Crispness comes down to three things: remove the starch, remove the surface water, and give every piece its own space on a hot surface. Soak for 30 minutes in cold water, then dry thoroughly. Skipping the soak is survivable, skipping the drying is not, because surface water has to boil off before the potato can start crisping and that steam softens the shell.
Overlap is the second killer. Fries touching each other trap steam, and a waffle lattice has more edge area than a straight fry, which means it steams faster if you crowd it. Leave real gaps and, if a batch is too big, use two sheet pans set on different oven racks.
Oil or spray matters less than people think, but it helps the salt stick and speeds up browning on the raised squares. Keep it light, and preheat the sheet before the fries go on. Do not season with anything sugary until the last two minutes, or use a broiler finish for a minute or two to flash-crisp the top.
Keep the lattices connected through the soak, the drain, and the sheet. Once they hit hot oil or a hot pan, the starch at the cut edges sets and holds the squares. Loosen stuck pieces with a thin spatula rather than pulling them apart with your fingers, which tears the edges that are trying to crisp.
Common Mistakes
They come out as thin chips. You cut under 1/8 inch, or you used a mandoline set too thin. Cut thicker, around 1/4 inch, and check the potato’s width before you start. A potato narrower than 1 inch is better turned into a thick fry than a waffle.
No lattice, just ridged sticks. You either forgot the quarter turn, or you cut all the way through on the second pass. A crinkle cutter used on its own makes ridges, not a grid. The turn and the partial cut are what make it a waffle.
Fries are soggy and pale. Usually undried surface water, a cold sheet pan, or a crowded pan. Dry harder, preheat the sheet, and space the pieces out.
Uneven browning, dark edges, pale centers. The pieces vary in thickness, or the oven is crowding them. Sort by thickness, put the thickest on the lower rack, and flip halfway. If the edges darken before the centers cook, drop to 400F and add 5 minutes.
Sticking to the sheet. You skipped the oil or spray, or the sheet was not hot enough to start the browning immediately. Either add parchment, which costs you a little bottom crisp, or preheat the sheet for 10 full minutes.
Seasoning tastes flat or falls off. You salted before the fries were dry, or you salted after they came out of the oven, when the surface was too oily to hold it. Salt after drying and before baking, then finish with a light pinch on the hot plate.
A few finishing notes. A squeeze of lemon or a splash of vinegar in the soak water keeps the cut faces brighter and helps the surface dry faster. Save a few pieces unseasoned if kids are eating them. And to reheat later, spread them on a sheet at 425F for 8 to 10 minutes rather than using a microwave, which steams them and leaves the lattice limp.
If you want the restaurant texture exactly, the trick that is hard to copy at home is the double fry. Cut and soak as above, par-fry at 350F for 4 minutes, drain and chill for 30 minutes, then fry again at 375F for 2 to 3 minutes. That is the process behind the fries Chick-fil-A ships, and it is why a frozen bag of waffle fries can come out crisp while a fresh batch from the oven does not.
For leftovers, cool the fries on a wire rack, then refrigerate them in a single layer in a sealed container for up to 3 or 4 days. Never store them warm, and never microwave them. If you are keeping them longer, freeze in a single layer on a tray first, then bag them so they do not stick together.
Frequently Asked Questions
Can I cut waffle fries with a regular knife?
Yes, and it is the method most home cooks use. Slice the potato lengthwise into 1/4 inch planks, rotate it a quarter turn, then score crosswise at the same spacing, cutting only until the knife meets the board. The block breaks into connected squares on its own. A serrated knife adds a crinkle edge as it goes; a straight chef’s knife gives cleaner square edges. Keep your fingertips curled and let the flat of the blade ride your knuckles on the second pass.
Will a vegetable peeler make waffle fries?
A peeler cannot produce a lattice, but it does help with prep. Peeling the potatoes first gives you a cleaner lattice with no skin edges, and it stops the pieces from tearing as you separate them. Leave the skin on if you want color and more uniform cooking, since thin skin crisps well. A box grater is a different tool entirely: shred the peeled potato and press it into a waffle iron for loose, irregular waffle fries rather than a clean grid.
Should waffle fries be soaked before cooking?
Yes, 30 minutes in cold water is the single step that most improves the result. The water pulls starch off the freshly cut surfaces, and that starch is what turns gummy and glues the pieces soft in a hot oven. Add a splash of vinegar or a squeeze of lemon to keep the cut faces bright. After soaking, dry every piece thoroughly with paper towels. Surface water has to evaporate before the potato can start crisping, and the trapped steam softens the shell while that happens.
What is the best potato for waffle fries?
Russets. Their high starch content gives you a fluffy interior under a crisp exterior, and the thicker skin holds the lattice together through the soak and the bake. Yukon Golds cook faster but stay waxy in the middle, so shorten the bake by about 5 minutes. Sweet potatoes work well and caramelize quickly, so pull them at the 20-minute mark and watch the sugar closely. Whichever potato you use, scrub it well and cut to about 1/4 inch.
How do I keep reheated waffle fries from going soggy?
Skip the microwave, which adds moisture and steams the lattice until it is limp. Spread the fries in a single layer on a baking sheet and heat at 425F for 8 to 10 minutes, turning once, until they are hot and the edges sound crisp again. An air fryer at 400F for 5 to 6 minutes does the same job faster. Store them in a single layer in a sealed container in the fridge for up to 3 or 4 days, and never seal them while they are still warm.
Can I make waffle fries in an air fryer?
Yes, and it takes about half the time of the oven. Lightly spray the pieces and lay them in a single layer at 400F. Cook 12 to 15 minutes, shaking the basket at the 8-minute mark, and check a couple of minutes early since they darken fast. You do not need oil, but a light spray helps the salt stick. The one rule is to not crowd the basket; if the pieces touch, they steam and the lattice never crisps, so cook in two rounds instead.
Start With the Quarter Turn
If you only do one thing, turn the potato a quarter turn after the first set of slices. That single rotation is the difference between waffle fries and plain ridged ones, and it costs you nothing but the four seconds it takes. Cut 1/4 inch planks, rotate, score across, soak 30 minutes, dry hard, and bake at 425F on a preheated sheet in a single layer for 25 to 30 minutes. The rest is seasoning.
That is the whole answer to how to make waffle fries without a special cutter. No waffle blade, no mandoline, no fryer. A sharp knife, a quarter turn, and a hot sheet pan will get you most of the way to the restaurant version.