
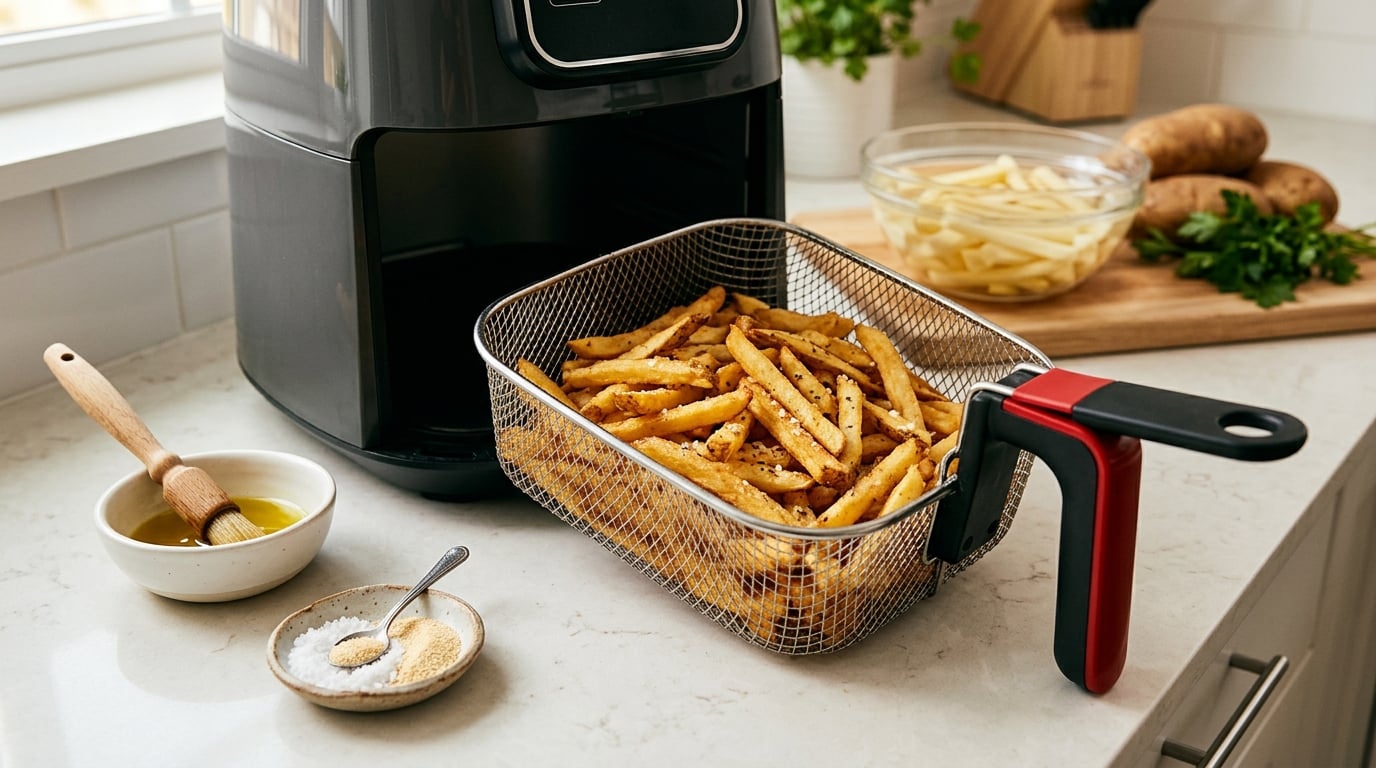
To make fries in an air fryer crispy, cut the potatoes into sticks of even thickness, soak them to pull off the surface starch, dry them completely, then cook them in a single uncrowded layer at 400°F (200°C) for 12 to 15 minutes with a shake halfway through and a short high-heat finish. That takes about 25 minutes start to finish and is honestly easier than deep-frying.
The reason most air fryer fries come out limp is not the appliance. It is moisture. An air fryer has no bath of oil to buffer the potato, so every drop of water on the surface turns to steam and holds the exterior soft. Remove the water, remove the starch, give the hot air room to reach every stick, and the fries crisp the same way oven-roasted potatoes do.
I have made this a few dozen times now, and the batches that turn out well share the same three details: the cuts are the same thickness, the fries are bone dry before they go in, and the basket is not packed. Everything else is adjustable. Those three are not.
Air fryers also run hotter and cook faster than a conventional oven, so an oven temperature is not automatically a safe starting point here. Treat the numbers below as a baseline and adjust after one batch.
What You Need
You need very little. Two medium russet potatoes make roughly two generous side servings, and the whole thing turns around in half an hour.
- Potatoes: 2 to 3 medium russet or Idaho potatoes for about 1 pound of fries. Yukon gold works and gives a creamier centre, but russet has more starch and crisps harder.
- Oil: 1 to 2 tablespoons of a high-smoke-point oil such as avocado or canola. Olive oil also works and adds flavour, though it browns faster, so watch it closely in the final minutes.
- Salt: kosher salt or flaky salt for finishing, plus any seasoning you like. Garlic powder, onion powder and paprika are the easy defaults.
- Optional cornstarch: 1 tablespoon for a crunchier shell. This is a real step, not a gimmick, and it is covered in more detail below.
- Optional water for soaking: a bowl or pot large enough to submerge the cut sticks.
For tools, a mandoline or a crinkle cutter gives you sticks of consistent thickness far faster than a knife, and consistency is the whole game. A colander, a clean kitchen towel or paper towel, and your air fryer basket complete the setup.
A higher-capacity model helps if you are feeding more than two people, because you can cook a proper single layer in one round. It is not required. A small basket is fine, you just cook more batches and keep finished ones warm in a low oven.
Skip the parchment liner. It blocks moving air around the fries, and a light mist of nonstick spray on an empty basket solves the sticking problem that liners are usually bought for.
Step-by-Step: How to Make Fries in an Air Fryer Crispy
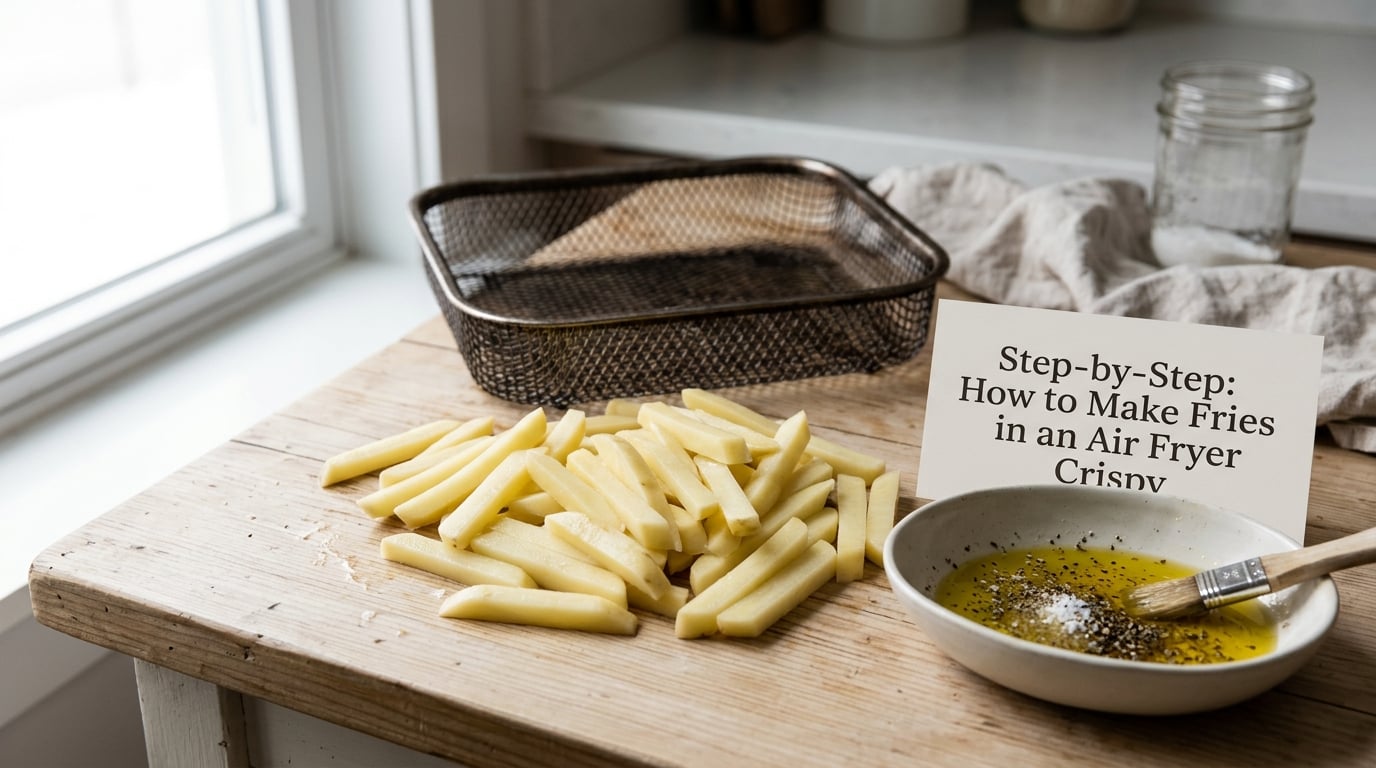
1. Cut the Potatoes Into Even Sticks
Cut the potatoes lengthwise into quarters, then cut each quarter into sticks about a quarter inch thick and 3 to 4 inches long. If your fryer is small, a half inch is safer than a quarter inch because thin sticks brown before the thick ones cook through.
The doneness cue here is visual rather than timed: every stick should be roughly the same width as the others. When they cook together, the thin ones finish first and go dark while the fat ones are still pale, which is exactly the uneven result people complain about. A mandoline is worth the wash.
Next, soak the sticks in cold water for 15 to 30 minutes, or run them under cold water for a couple of minutes until the water runs clearer. The water turns milky as it pulls starch off the cut surfaces. That starch is what turns gummy in the hot basket, so pulling it off now is the single highest-value step in the whole method.
Cold water is the right default. Hot water is a legitimate alternative that softens the outer layer of the potato slightly, which some cooks pair with a short parboil to mimic a double fry, but it is a variation on the theme rather than a requirement. If you like, add a teaspoon of baking soda to the soak or parboil water to move more starch to the surface, then rinse the sticks well under cold water so no soda taste carries through.
2. Dry and Season the Fries
Drain the soaked sticks and dry them thoroughly. Spread them on a clean towel, roll and blot, then spread them again with a fresh section of the towel if they still feel damp. This is the step people rush and it is the step that decides the batch.
Moisture is the enemy of crisp. Wet fries spend the early minutes boiling rather than browning, and the steam gets trapped in the basket where there is no fan to carry it away. Dry fries hit browning temperature within a minute or two.
Once they are dry, work in this order. Dust with 1 tablespoon of cornstarch if you want maximum crunch, then drizzle with the oil and toss until every stick looks lightly coated, then season with salt and your choice of garlic powder, onion powder, paprika or a premade blend.
Cornstarch before oil is the sequence that works best, because the oil spreads and adheres better on the dry starch film. The cornstarch forms a thin crust that browns hard, which is the closest an air fryer gets to the shatter of a deep fryer.
If you skip the cornstarch, you still get good fries, just with a softer shell. Either way, a light coat is right. Pooled oil at the bottom of the basket is oil you have wasted and it makes the fries greasy rather than crisp.
3. Air-Fry the Fries at a High Temperature to Get Them Crispy
Preheat the air fryer to 400°F (200°C) for 3 to 5 minutes. Skipping the preheat is a common shortcut and it costs you colour on the first minute of cooking, which is exactly the minute that sets the exterior.
Lightly mist the empty basket with nonstick spray, lay the fries down in one uncrowded layer, and cook at 400°F for 12 to 15 minutes. Smaller fryers and thicker cuts need closer to 15; roomier baskets and quarter inch sticks often finish in 12.
You can see and hear the single-layer rule matter. Fries that touch each other sit in trapped warm vapour, so the contact points stay pale and soft while the exposed ends brown. Two loose layers is a reasonable compromise if you need the volume, but never press them down and never pile them.
If your fryer runs hot, drop to 375°F (190°C) and add a few minutes. If it runs cool or you are using an oven with an air-fry setting, go the other way and lean on the finish pass in step 5. Published cook times transfer badly between models, which is why so many people read a recipe and end up with pale fries anyway.
4. Shake the Basket and Check the Texture
At the halfway mark, pull the basket out and shake it, or use a pair of tongs to turn the fries so the underside faces up. Do this more than once if the batch is small and crowded, since the fries in the middle of the basket get less moving air than those along the edge.
Judge doneness by colour and sound rather than the clock alone. The fries should be deep golden brown, and when you move them in the basket you should hear a faint crackle and scrape rather than a dull thud. Pale fries with no browning at all need more heat or more time. Browned ends with a pale middle mean the cuts were too thick or too uneven.
The squeeze test settles it. Break one open. The inside should be fluffy and cooked through, with no raw, dense or wet core in the centre. If the middle is still firm, give the batch another 2 to 3 minutes and check again.
5. Finish with a Final High-Heat Crisp
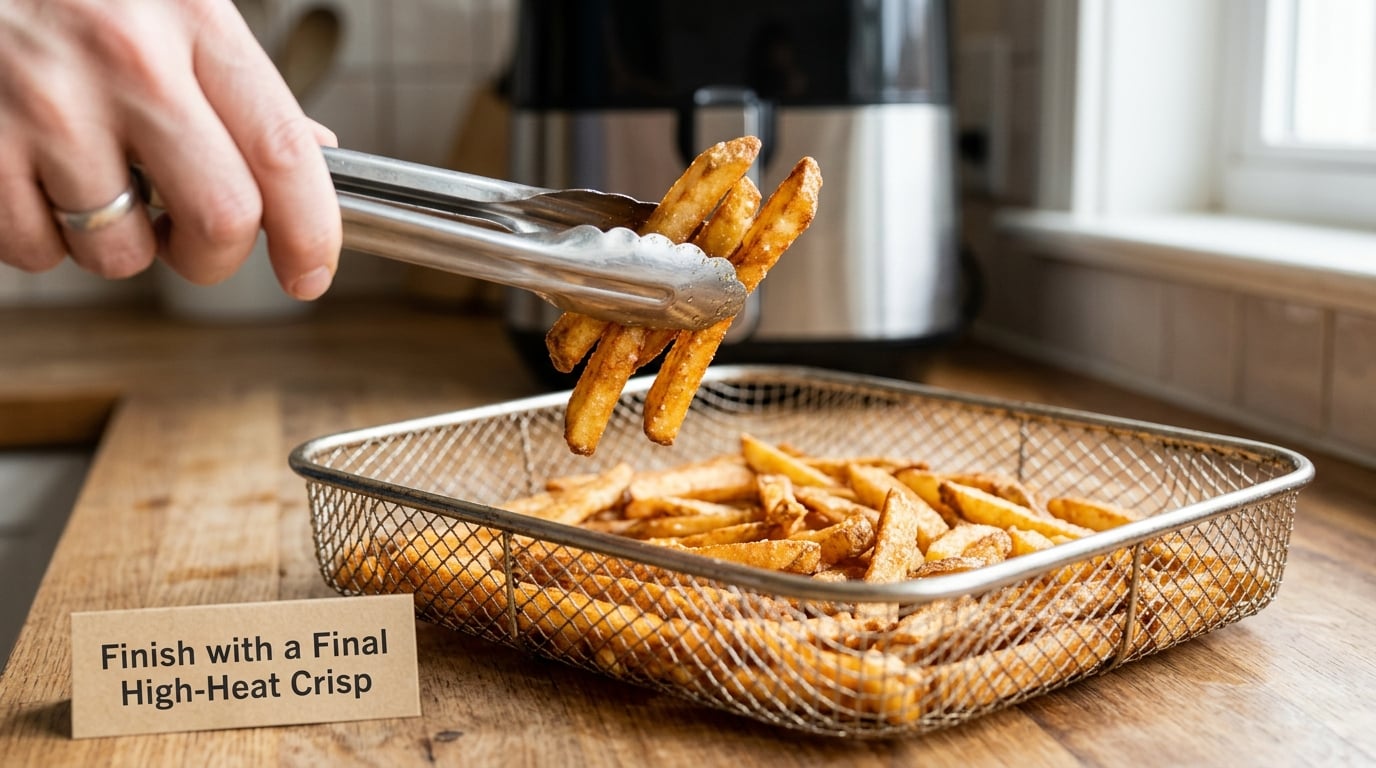
Turn the fryer to its highest setting, usually 425°F (220°C) or the max temperature your model allows, and give the fries 1 to 3 more minutes while you watch them constantly. This short finish pass drives off the last of the surface moisture and hardens the shell.
Stop the moment they look done. The carryover cooking from the basket finishes the job, so fries that look pale as you pull them are usually right on time and fries that look dark are already past it. Pull them the moment the colour is even and the sound is crisp.
Salt them now, while they are still hot, so the flakes adhere instead of dissolving. Serve straight from the basket within a couple of minutes. Air fryer fries lose their crunch faster than oven fries because there is so little residual moisture in them to hold on to.
Common Mistakes: Why Air Fryer Fries Go Soft
Almost every soft-fries complaint traces back to water, starch, crowding or heat. Work through these seven symptoms and you will usually find your problem in under a minute.
- Fries are pale and limp. They were not dry enough after soaking, or the basket was crowded so steam could not escape. Dry the fries more thoroughly and cook in a single layer with space between the sticks.
- Soft in the middle, brown at the ends. Sticks were cut to different thicknesses, or they were too thick for the cook time. Cut everything to the same width and aim for a quarter inch, then add 2 to 3 minutes for thicker cuts.
- Fries stick to the basket. Too little oil on the surface, or the basket was loaded without spray onto a hot surface. Mist the empty basket with nonstick spray, give the fries a thin oil coat, and shake at the halfway mark.
- Edges burn before the centres cook. The temperature is too high for the cut size, or the basket sits too close to the element. Drop to 375°F and extend the time; in an oven air-fry setting move the tray to the middle rack.
- Fries are gummy rather than crisp. Surface starch was never washed off. Soak 15 to 30 minutes in cold water until the water runs clear, then rinse and dry.
- Fries taste greasy. Too much oil, or oil pooled in the basket. Cut the oil back to 1 tablespoon for two potatoes and toss until every stick is just lightly coated.
- Crisp outside but raw in the middle. Crowding reduced the airflow, or the batch was cut too large. Cook a smaller batch and cut a little smaller.
When you are cooking several batches, the first one goes cold while the last one cooks. Solve it by heating your oven to 200°F (95°C) with a baking sheet inside, then moving each finished batch to the sheet. Ten minutes in there keeps them crisp enough to eat alongside the last round.
For leftovers, let the fries cool completely before storing them in an airtight container, and skip the fridge if you can eat them within a day. To bring them back, put them in the basket in a single layer at 350°F (175°C) for 3 to 5 minutes. A short 400°F blast for 1 to 2 minutes is even better for a last-minute recrisp, and putting all of them in together at the end is the fastest way to get everything hot and evenly crisp for serving.
Frozen fries need a shorter, gentler treatment than fresh-cut ones. Cook them straight from the freezer at 400°F for 10 to 15 minutes, shaking at 6 to 8 minutes, with a light spray of oil over the top before they go in. Skip the soak, skip the cornstarch, and check them a minute early since the thinner coatings brown fast.
One more note on appliance type. A paddle-style fryer such as the ActiFry has no temperature control and no basket to shake, so it runs cooler and needs a full 40 to 45 minutes for four potatoes. An oven with an air-fry setting has a much larger cavity, so run it about 25°F (15°C) hotter than a basket fryer and use the middle rack rather than the top one.
Frequently Asked Questions
Should I soak potatoes before making air-fryer fries?
Soaking is not strictly required, but it is the step that most reliably turns soft fries into crisp ones. Soaking the cut sticks in cold water for 15 to 30 minutes pulls starch off the cut surface, and that starch is what turns gummy in a hot basket. Rinse the sticks afterwards, then dry them thoroughly. If you skip the soak, dry the potatoes carefully and add a tablespoon of cornstarch for a crunchier result.
Do air-fryer fries need oil?
A small amount does a lot of work. One to two tablespoons of a high-smoke-point oil such as avocado or canola gives you a browned, seasoned exterior instead of a dry one, and it carries seasoning so it sticks. You can cook with no oil at all, but expect a softer shell and a more steamed result. Spray the basket lightly and mist the fries if you want to cut the oil back without dropping it entirely.
What temperature is best for crispy air-fryer fries?
400°F (200°C) is the best starting point for most basket air fryers, with 12 to 15 minutes for a single layer of quarter inch sticks. High heat is what browns the surface quickly before the moisture inside can turn to steam. If your model runs hot, drop to 375°F (190°C) and add a few minutes. Finish with one to three minutes at your fryer’s highest setting for the hardest crunch.
Why are my air-fryer fries soft?
Check four things in order: were the fries completely dry after soaking, were they in a single uncrowded layer, did you shake or turn them at the halfway mark, and was the temperature high enough. Wet surfaces and crowded baskets are the two most common causes, and together they account for most soft batches. Cutting all the sticks to the same thickness also matters, because thin pieces brown while thick ones are still raw.
Can I make frozen fries in an air fryer without thawing them?
Yes, and thawing actually works against you here. Thawed fries absorb moisture from the air and go limp before they hit the basket. Cook them straight from the freezer at 400°F (200°C) for 10 to 15 minutes, shaking the basket partway through, with a light spray of oil over the top first. Check them a minute early, because the thin factory coating browns faster than a home-cut potato.
How do I reheat air-fryer fries so they stay crispy?
Reheat them in the air fryer rather than a microwave. Spread the fries in a single layer at 350°F (175°C) for 3 to 5 minutes, or blast them at 400°F for 1 to 2 minutes if they only need a quick recrisp. A microwave heats the water inside the fries first and leaves the exterior rubbery, which is the opposite of what you want. Let the fries cool fully before storing, and salt them again after reheating.
Conclusion
If you do only two things, cut every stick to the same thickness and dry them completely after soaking. Those two fix more soft-fry batches than any temperature setting will.
From there, cook at 400°F for 12 to 15 minutes in a single layer, shake at the halfway mark, and finish hot and fast. Then adjust for your own fryer. Models differ enough that a batch that needs 11 minutes in one will need 15 in another, and so do your stick size and how full the basket is. Judge the colour, listen for the crackle, break one open, and the timing writes itself after the first or second try.