
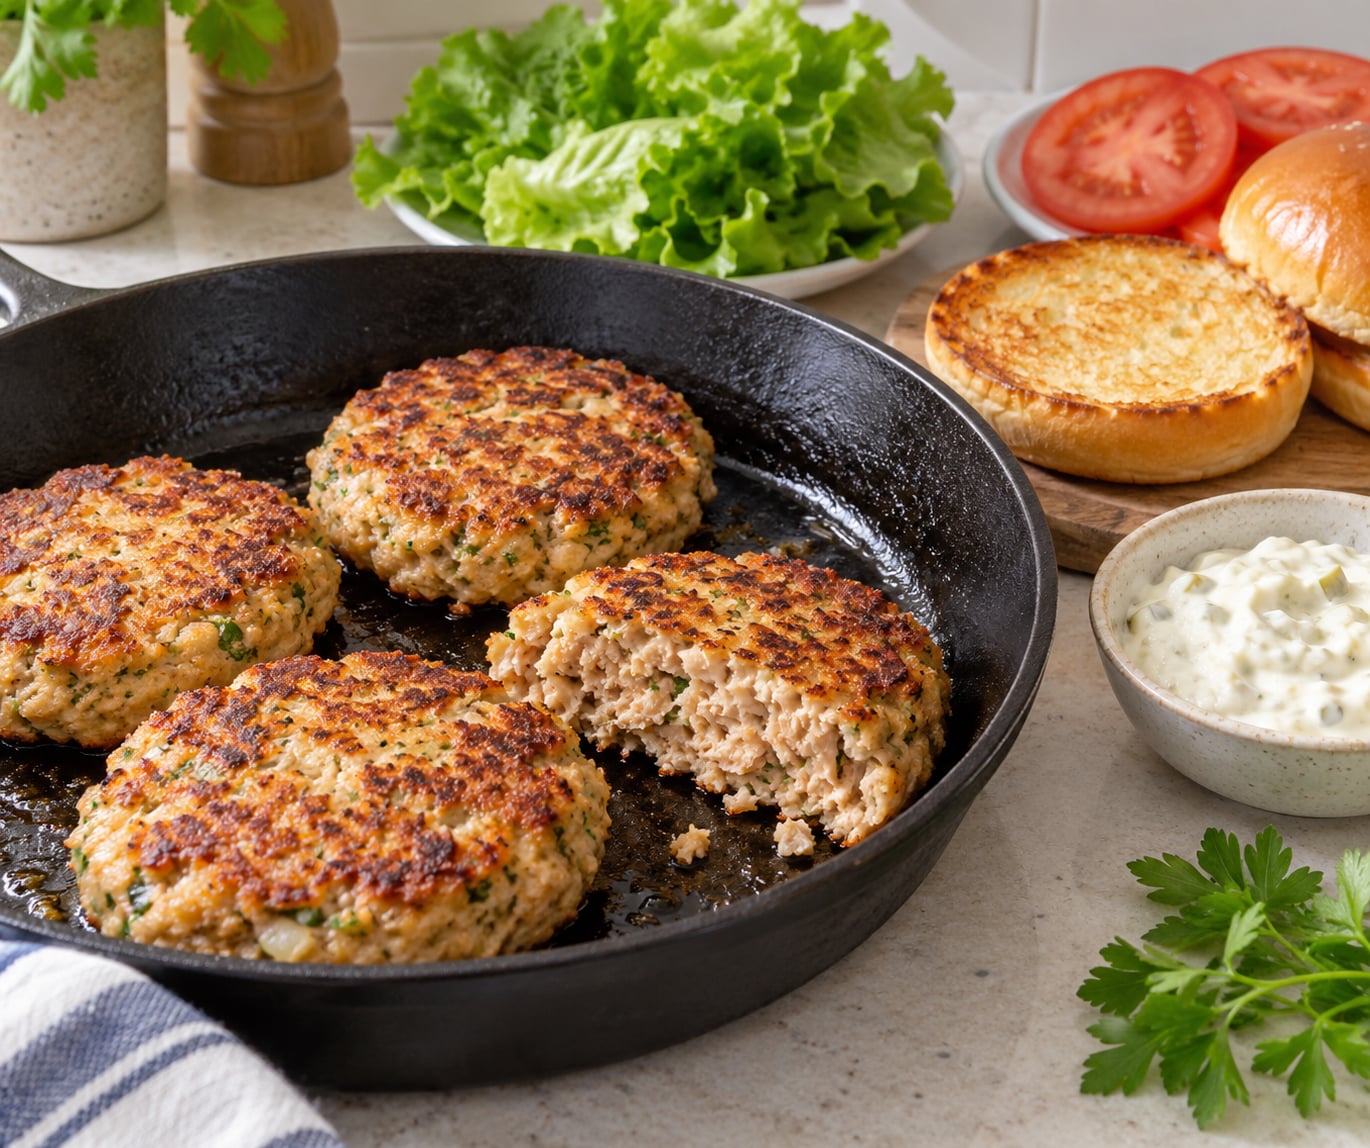
To make tuna burgers, drain two 5-ounce cans of tuna in water, mix them with one beaten egg and about half a cup of panko, season, then pan-fry or bake until deeply golden. From the counter to the bun takes about 20 minutes, and the egg plus the crumbs are what keep the patty in one piece instead of in your spatula.
Tuna in water is the pantry shortcut worth leaning into. It cooks faster than beef, holds more protein per bite, and there is nothing raw to worry about. The whole thing leans on three ingredients: canned tuna, egg, and breadcrumbs.
What You Need
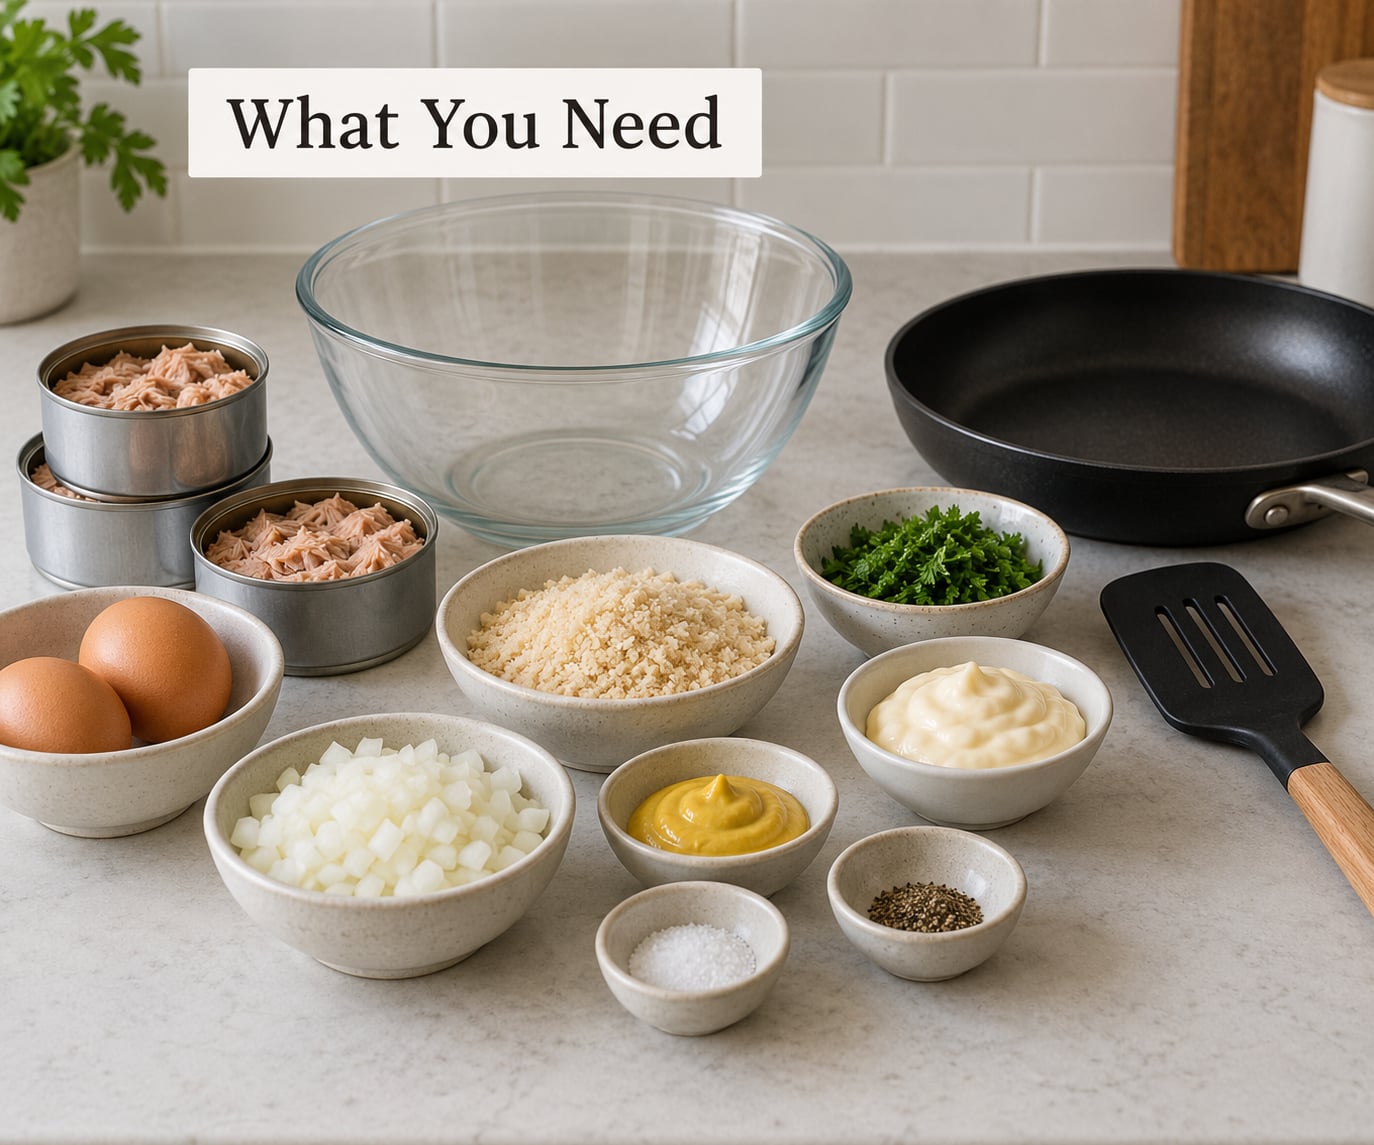
This makes four burgers, roughly 100 grams of drained tuna per patty. Read the list once and you can shop for it with nothing else on the list.
- Two 5-ounce cans tuna in water, drained. Albacore or chunk light both work; solid white is the mildest, chunk light is the most affordable.
- 1 large egg, beaten. The egg is the primary binder, and it is the reason the patty survives the flip.
- 1/2 cup panko or plain breadcrumbs, plus up to 2 more tablespoons if your mixture still feels loose.
- 2 tablespoons mayonnaise. Adds moisture and fat, which cuts the fishiness and keeps the center tender.
- 1 small shallot or 1/4 cup finely diced onion, chopped small enough that you barely notice it.
- 1 teaspoon Dijon or yellow mustard, for a little acid and depth.
- 1 tablespoon lemon juice. Brightness is what makes canned tuna taste deliberate rather than out of the tin.
- 1 teaspoon garlic powder, 1/2 teaspoon black pepper, and salt to taste.
Worth adding if you have them: a tablespoon of chopped fresh parsley, a stalk of finely diced celery for crunch, a dash of Worcestershire sauce, or hot sauce. Optional extras, all of them pantry staples.
Tools that matter
- A nonstick skillet with a heavy base. Cast iron works too, but you need more oil.
- A wide spatula with a thin edge. A slotted turner that flexes is what gets under a patty without tearing it.
- A colander or fine sieve for draining, plus a fork for flaking.
- A wire rack over a baking sheet if you want to cook a batch in the oven. Parchment alone steams the underside and dulls the crust.
- An instant-read thermometer if you cook a lot. Push the tip into the thickest part of a patty.
One more piece of equipment earns its space: a flat baking sheet and a wire rack. It costs almost nothing, and it is the difference between a seared crust and a steamed one when you are cooking four patties at once. If you would rather build out a burger menu beyond this recipe, how to make veggie burgers from scratch follows the same shape with a plant-based base.
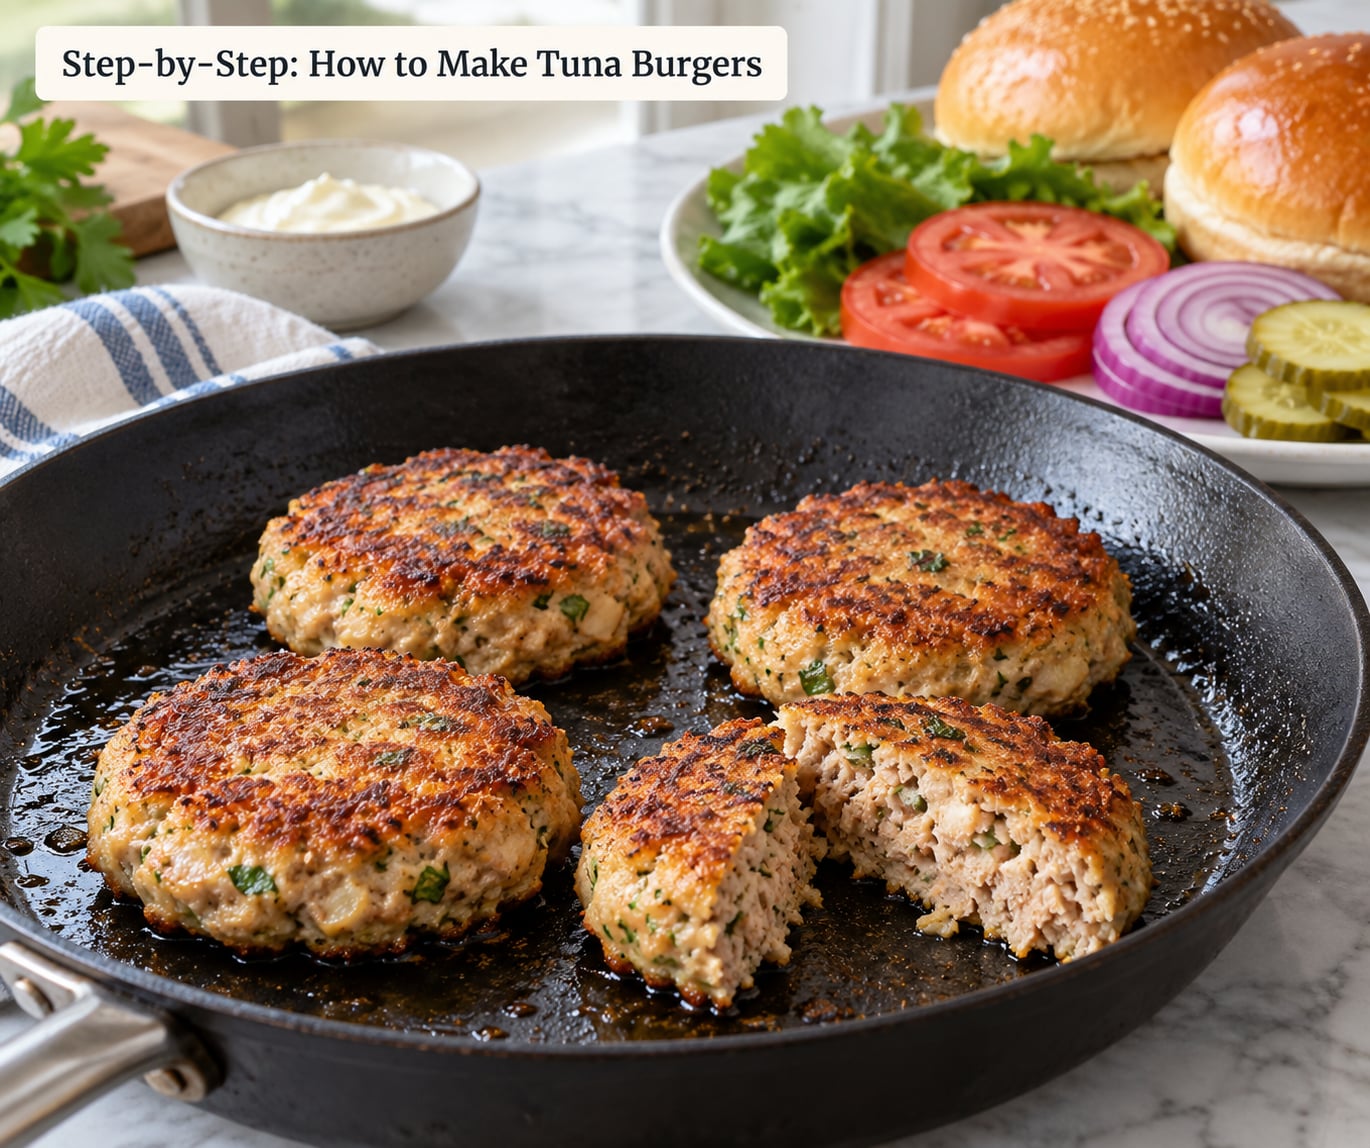
Step-by-Step: How to Make Tuna Burgers
Read the whole method once, then work it in order. The order matters more than any single ingredient: drain, mix lightly, chill, shape, cook.
How to Mix the Tuna Burger Mixture
- Drain the tuna properly. Tip both cans into a fine sieve over the sink and press down on the fish with the back of a spoon for a full 30 seconds. Discard the liquid. Skim any pink or dark grey areas off the top; they are the main source of a fishy taste.
- Flake it in the bowl. Break the tuna up with a fork until there are no solid blocks left, only flakes roughly the size of a lentil. Big chunks give you lumpy patties that cook unevenly.
- Add the wet ingredients. Pour in the beaten egg, the mayonnaise, the mustard, and the lemon juice. Stir just until everything looks evenly damp.
- Add the binder a spoonful at a time. Stir in 1/2 cup panko and mix with a light hand. Squeeze a spoonful firmly in your palm: it should hold its shape and feel damp, not wet. If it smears or water pools at the bottom of the bowl, add another tablespoon of crumbs. If it crumbles before you squeeze, you went too far.
- Season, then stop mixing. Add the garlic powder, black pepper, salt, and any optional extras. Stir five or six times, no more.
Overmixing is the mistake that turns a juicy tuna burger into a bouncy, rubbery puck. Gluten in the flour and breadcrumbs starts tightening up the moment you work the mixture, and it never relaxes again. Gentle mixing and a firm hand give you a patty that is tender in the center and still holds a bun.
Cover the bowl and refrigerate for 20 to 30 minutes before you shape. That chill firms up the tuna fat and gives the egg time to set around the flakes, so the patties hold their shape in the pan and you can handle them without wearing half of them.
How to Shape the Patties
- Wet your hands. Tuna mixture sticks to dry fingers, and that is half of why patties tear.
- Divide the chilled mixture into four equal portions and roll each one into a loose ball first. Equal weights are what make the four patties cook at the same rate.
- Flatten each ball into a patty about 1/2 inch thick and 3 inches wide. Thinner than that and the middle dries before the edges brown; much thicker and the outside burns before the center is done.
- Press the center of each patty with your thumb to make a shallow dimple about a quarter inch deep. The center is the last part to cook, and the dimple keeps it from staying raw.
- Pat the surface flat and firm. Loose, puffy patties puff up and then fall apart, so compact the mixture with the palm of your hand until it looks dense and slightly moist.
If the mixture crumbles as you shape it, it needs more binder or more egg. Add a tablespoon of panko, knead it through, and wait five minutes before trying again.
How to Cook Them Until Golden and Hot
Skillet, medium-low heat. Heat 2 tablespoons of oil in a nonstick skillet over medium-low. Add the patties and cook undisturbed for 3 to 4 minutes, until the underside is golden and releases on its own when you nudge it with the spatula. Flip once, cook 3 to 4 minutes more, and take them off while the second side still looks a shade underdone; carryover finishes them.
Medium-low is the whole trick. Hot enough and the thin edges scorch before the thick center cooks, which is the usual reason a tuna burger is burnt outside and cold in the middle.
Oven, 400 F. Heat the oven to 400 F (205 C). Set patties on a rack over a lined baking sheet and bake 18 to 22 minutes, flipping once at the halfway mark, until golden and firm. They will not brown as deeply as a skillet patty, so many cooks broil them for the last 60 to 90 seconds to wake the crust up.
Air fryer, 400 F. Lightly spray the patties with oil, arrange in a single layer with space between them, and air-fry at 400 F for 10 to 12 minutes, flipping at 6 minutes.
Grill, medium-hot. Oil the grates so the patties do not weld to them, then cook over medium-hot for about 3 to 4 minutes per side, pressing once with a spatula for grill marks. Lift one corner with a spatula and check underneath after 3 minutes; if it is holding, it is ready.
Doneness. Sear the patty thickest part and look for a firm, opaque center with no translucent tuna color left. For an instant-read thermometer, aim for 165 F (74 C) inside the thickest part, matching the safe minimum internal temperature for ground seafood mixtures. Rest the patties on a rack for 2 minutes so the juice settles instead of running out onto the plate.
Toast your buns in the same pan during that rest. Two minutes in the tuna fat leaves the bread golden and lightly seasoned without extra butter.
Common Mistakes
The patties fall apart when you flip them
Almost always three things at once: the mixture was too wet, it was never chilled, or the spatula was too thick. Press the drained tuna hard for 30 seconds, chill 20 to 30 minutes, and use a thin-edged spatula that slides all the way under the patty before you lift.
You ended up with a soggy patty
That is a draining problem, not a mixing problem. Press the tuna in a sieve until you are certain the water is gone, and add breadcrumbs in small increments until a squeezed spoonful holds. Extra panko costs you nothing; a wet patty costs you the dinner.
The patties are dry and crumbly
You added too much dry material. The fix is moisture: work in another tablespoon of mayonnaise or sour cream, or a second egg. A mixture that falls apart in your hands when you squeeze it needs fat and egg, not more crumbs.
The edges burn before the center cooks
Drop the heat to medium-low, and press a shallow dimple in the middle of each patty before it hits the pan. If your pan is thin and heats fast, cook two batches rather than crowding the skillet. A crowded pan drops its temperature, and you end up grey instead of golden.
It tastes like it came straight from the can
Add lemon, add acid, and cut the cooking time. A tablespoon of lemon juice plus the Dijon balances the sweet, metallic note in old tuna, and so does removing the dark and pink bits before mixing. Skipping the salt does not help; underseasoned food tastes flatter, not milder.
They stick to the pan
Let the pan heat before the oil goes in, then let the oil shimmer before the patties go on. Also move them once only after the underside has set for the full 3 to 4 minutes. Sliding a patty across hot metal before a crust forms is what tears it and leaves it stuck.
A few habits make the result repeatable. Weigh the drained tuna, not the can weight, so a wet can and a dry one produce the same patties. Weigh your breadcrumbs for the same reason. Keep all four patties the same thickness, cook in batches, and taste one spoonful of the raw mixture before you shape. If it is bland before cooking, it will not taste better afterward.
Frequently Asked Questions
Can you make a burger out of canned tuna?
Yes, and most people find it easier than a beef burger. Drain two 5-ounce cans of tuna in water, mix in one beaten egg and half a cup of panko, add lemon juice, garlic powder, salt and pepper, then chill the mixture for 20 minutes. Shape four patties about half an inch thick and pan-fry them for 3 to 4 minutes per side over medium-low heat.
What is the best binder for tuna patties?
Egg first, breadcrumbs second. The egg does most of the holding work; the crumbs absorb moisture and give the patty a crust you can actually hear. Start at about a quarter cup of panko per 5-ounce can of tuna and add more by the spoonful until a squeezed sample holds together. Cornstarch and oat flour also work, but they brown less evenly.
How do I stop tuna patties from falling apart?
Four things matter. Drain the tuna until no liquid comes out, add enough binder that a squeezed spoonful holds without smearing, chill the mixture 20 to 30 minutes before shaping, and make patties half an inch thick rather than thinner. When you flip, use a thin-edged spatula that slides completely under the patty, and wait the full 3 to 4 minutes so the underside sets before it moves.
What can I use instead of breadcrumbs in tuna burgers?
You have several choices. Finely crushed saltine crackers give a lighter, crispier crumb. Almond flour works well and keeps the patties gluten-free, with a nuttier flavor and a softer crust. Oat flour adds bulk and fiber, while a tablespoon of cornflour binds without any grain at all. The egg stays in all of these; it is doing the structural work you cannot remove.
How long do tuna patties last in the fridge?
Cooked tuna patties keep for three to four days in the refrigerator when stored in an airtight container on a shelf, not in the door. Raw shaped patties can be chilled for up to 24 hours before cooking, though the mixture is firmer straight from the fridge. Cooked patties will not keep their crust if you reheat them in a microwave, so warm them in a hot oven or a dry skillet.
Can I freeze tuna patties?
Yes, and they freeze better than most burgers. Freeze the patties after shaping and before cooking, laid in a single layer on a tray, then move them to a bag or container once solid. They keep for two to three months that way. Cook from frozen in a hot skillet with a little more oil, giving each side 4 to 5 minutes rather than the usual 3 to 4.
Conclusion
Four things decide whether a tuna burger comes out well: drain the tuna hard, bind it without overmixing, chill before you shape, and cook at medium-low until the crust is golden and the center reaches 165 F. Follow those and you get a patty that crunches on the outside and stays moist in the middle.
Start with the base recipe this week, using two cans, one egg and half a cup of panko. Once that four-patty version is on repeat, swap the lemon juice for curry powder or Worcestershire and you have a second burger that never touches the same recipe twice.
Build the rest of the plate while the patties rest. A sharp, drained coleslaw for burgers cuts the richness of the tuna, and if you like the seasoning in the patty itself, low sodium burger techniques show how to keep a burger savory without leaning on the salt shaker.