
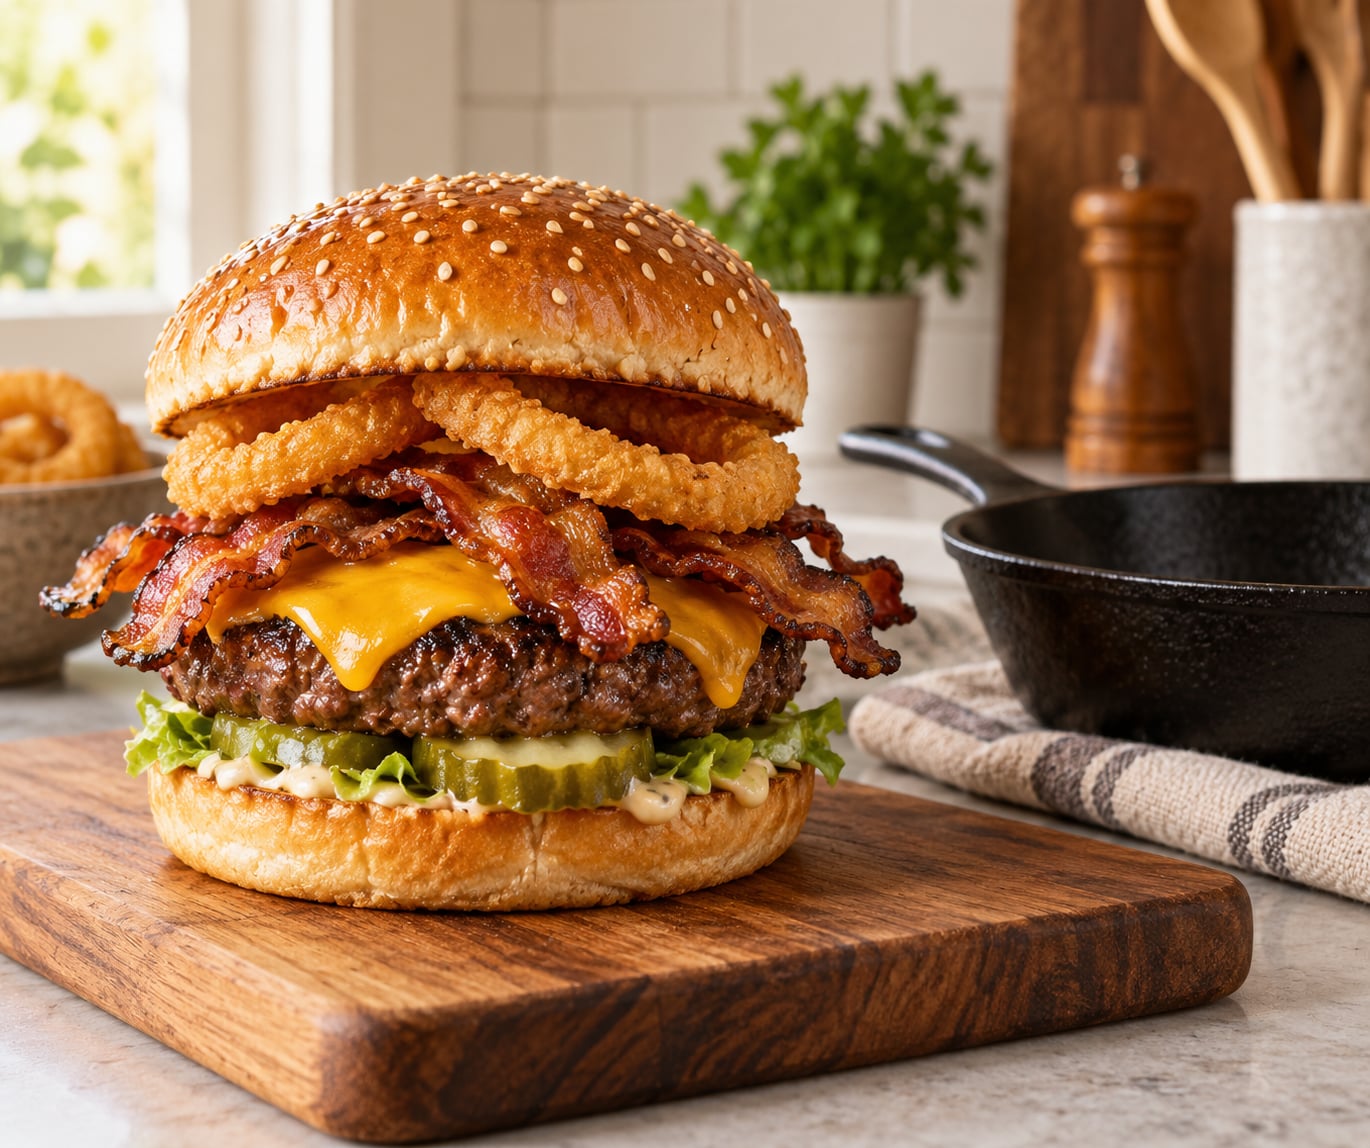
A western bacon cheeseburger is a beef patty with melted American cheese, crisp bacon, onion rings and hickory barbecue sauce on a toasted sesame bun, and the whole thing comes together in about 30 minutes at home. The trick that separates a good one from a fast food knockoff is the order you build it in. Get the sauce, the sear and the bun right and you will not need a drive-thru for this one again.
Learning how to make a western bacon cheeseburger is mostly about timing four things: the bacon, the sauce, the patty and the bun. Cook them in the wrong order and the bottom bun soaks through while the bacon goes limp. Cook them in the right order and the rings stay crunchy, the cheese melts clean and the whole thing holds together for the last bite.
The recipe below makes one burger. Double everything for two, or scroll down for the single, double and junior sizes. Difficulty is easy, and if you have never made a burger patty before, the step on not squeezing the meat is the one that fixes most problems.
Table of Contents
- What You Need for a Western Bacon Cheeseburger
- How to Make a Western Bacon Cheeseburger Step by Step
- Step 1: Mix the sauce and let the beef sit out
- Step 2: Cook the bacon first, and drain it properly
- Step 3: Cook the onion rings
- Step 4: Shape the patty without overworking it
- Step 5: Sear the patty hard, then melt the cheese on
- Step 6: Check the temperature and rest the patty
- Step 7: Toast the buns
- Step 8: Assemble the burger for the best texture
- Common Mistakes and How to Fix Them
- Cooking Methods: Grill, Griddle or Cast Iron
- Make-Ahead Tips and Variations
A single, double and junior version all come from the same base recipe. A junior uses about 4 ounces of beef, one strip of bacon, one slice of cheese and two onion rings on a slider bun. A double uses two 4-ounce patties, two slices of cheese and six to eight strips of bacon, which needs a sturdy bun and a wider spatula.
For make-ahead work, shape the patties and freeze them on a sheet pan until firm, then bag them. They cook from frozen on a hot griddle without thawing and hold their shape better than patties formed the same day. Keep the sauce mixed in a jar in the fridge and cook the bacon and patties fresh, since those are the parts that suffer most from sitting.
Store a cooked burger in the fridge for up to two days and reheat the patty in a skillet rather than a microwave, which keeps the crust from turning rubbery. Reheat the bun separately. Skip the onion rings on leftovers and add fresh ones if you have them.
Frequently Asked Questions
- What ground beef is best for a western bacon cheeseburger?
- Should I cook the bacon before making the burger patty?
- What cheese works best for a Western bacon cheeseburger?
- How do I keep the burger from getting soggy?
- How do I know when a burger patty is fully cooked?
- Can I make a western bacon cheeseburger ahead of time?
- Conclusion
What You Need for a Western Bacon Cheeseburger
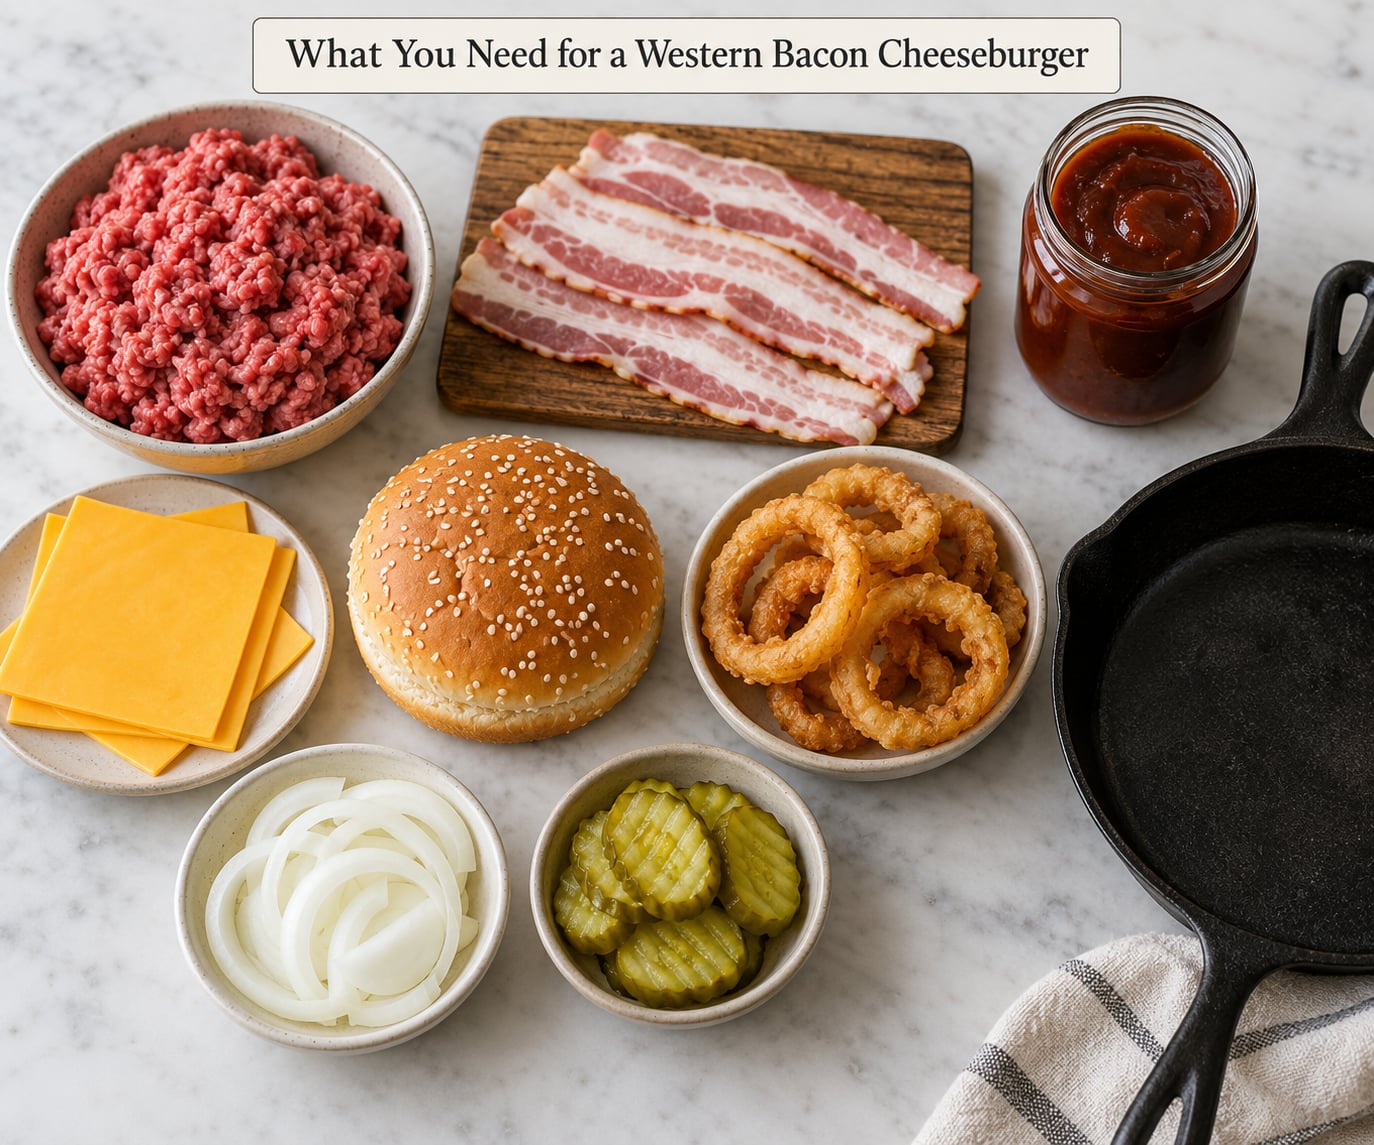
Here is the short version of what goes on the burger. A single 80/20 beef patty, four strips of bacon, one or two slices of American cheese, three or four onion rings, hickory barbecue sauce, a toasted sesame seed bun, and pickles or diced onion if you like. Salt and pepper are not optional.
Ingredients for one burger
- 6 ounces 80/20 ground chuck, chilled
- Kosher salt and coarse ground black pepper
- 4 strips thick-cut bacon
- 1 to 2 slices American cheese (or cheddar, Swiss or pepper jack)
- 3 or 4 frozen onion rings, or a handful of quick-pickled onion rings
- About 3 tablespoons hickory barbecue sauce, divided
- 1 sesame seed bun or brioche bun
- Butter or oil for the pan
- Optional: dill pickle slices, diced onion, lettuce, a spoonful of mayo
The beef is where most copycat attempts go wrong. Restaurant patties taste better because they are pressed thin and seared hard, not because of any seasoning blend. Coarse 80/20 chuck gives you enough fat to stay juicy on a hot pan. If you only have lean ground beef, ask the butcher for a chuck blend or add a spoonful of olive oil to the mix.
American cheese is the traditional pick because it melts smooth and salty, which is exactly what a hickory sauce burger needs. Good melting cheddar works too, and it adds a sharper edge. Swiss is the sleeper option if you want something less sweet.
For sauce, a hickory barbecue sauce with a short ingredient list tastes more like the drive-thru version than a thick, molasses-heavy bottle. If you want the closest store-bought match, hickory smoke brands are the usual answer among home cooks, and tangier sauces work better when the beef is fatty.
Equipment that makes it easier
- A cast-iron skillet or flat griddle, preheated until it smokes lightly
- An instant-read thermometer, pushed into the thickest part of the patty
- A wire rack set over a sheet pan, so bacon and patties drain instead of steaming
- A wide spatula thin enough to slide under a bun
- A small bowl for the sauce and a brush or the back of a spoon for the buns
None of that is specialized equipment. A hot skillet and a cheap thermometer will get you most of the way, and the thermometer is the one thing worth buying. It turns a guess about doneness into a reading.
If you want a solid baseline cheeseburger technique that transfers to any burger, our guide to how to make a diner style cheeseburger covers the press, the sear and the rest in more detail. The western version adds bacon and sauce, but the patty work is identical.
How to Make a Western Bacon Cheeseburger Step by Step
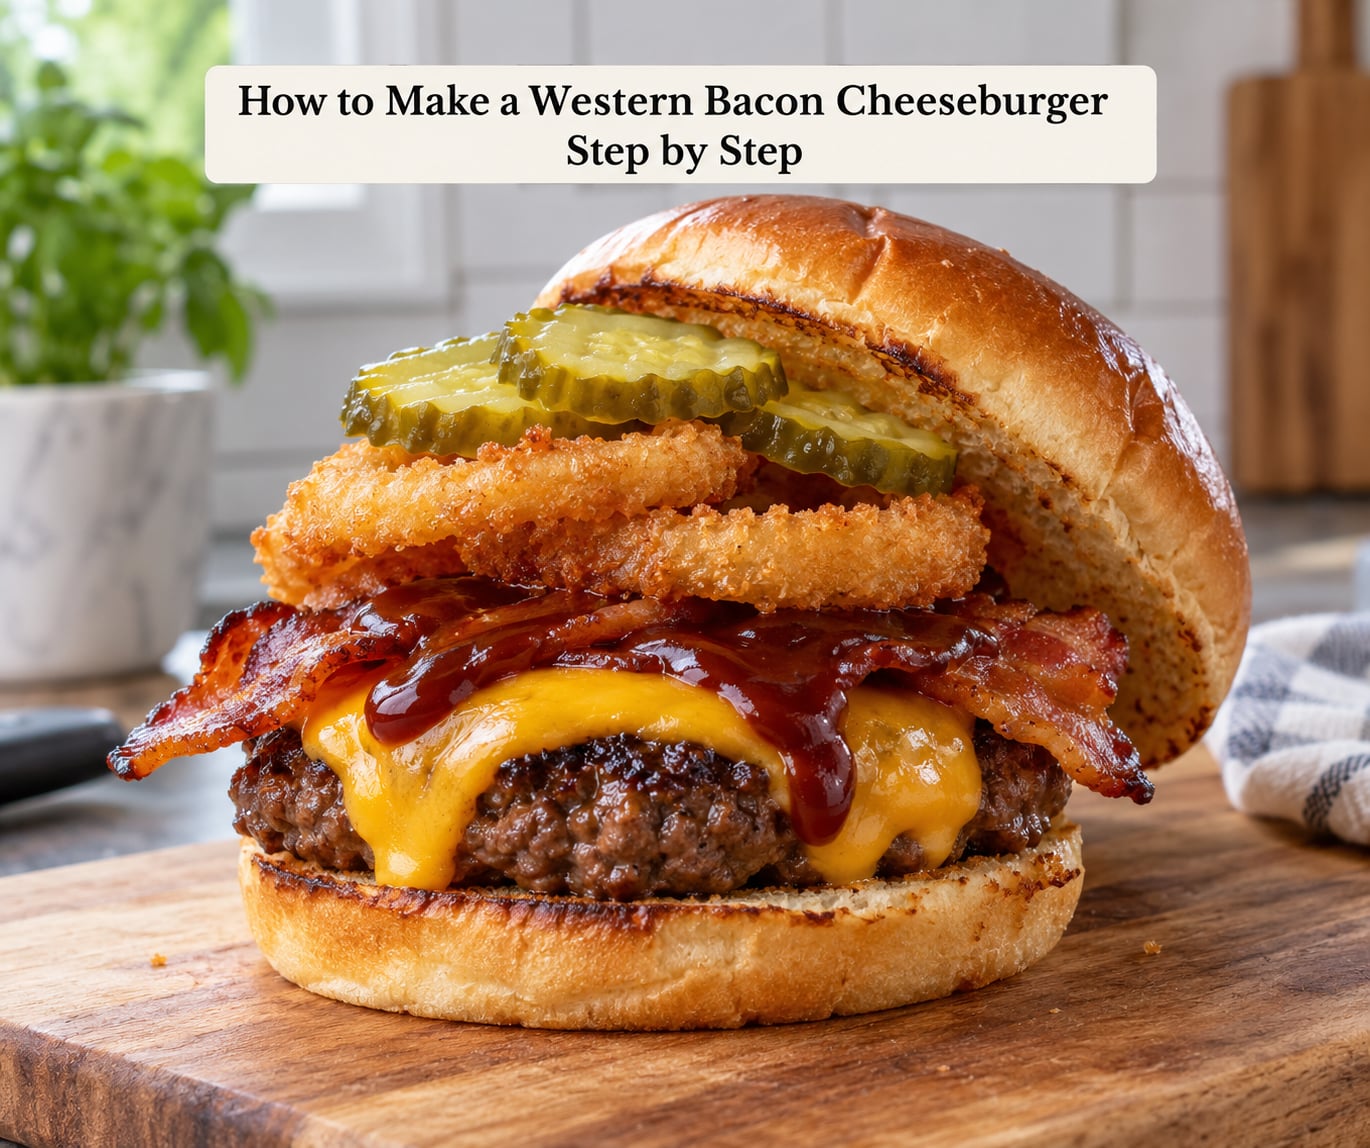
Work in this order: mix the sauce, start the bacon, cook the onion rings, then the patties, then toast the buns last. Everything finishes within a few minutes of each other, so the burger gets assembled hot.
Step 1: Mix the sauce and let the beef sit out
Stir together 2 tablespoons of barbecue sauce with a teaspoon of yellow mustard, a teaspoon of pickle relish or pickle brine, and a small splash of apple cider vinegar. Taste it. It should read sweet, then sharp, then a little salty. That balance is what keeps a barbecue sauce burger from tasting like a candy-coated patty.
Take the beef out of the fridge about 10 minutes before you cook it. Meat straight from cold sears unevenly, and the outside burns before the middle catches up. Room temperature beef hits a hot pan with far more crust.
Step 2: Cook the bacon first, and drain it properly
Bacon goes in before the patty because it cooks fast and finishes fast. Set a large skillet over medium heat and lay in the strips without crowding them. Let them render slowly for 6 to 8 minutes, flipping once, until the fat has run out and the edges are crisp and brown. Thin supermarket bacon finishes closer to 5 minutes, thick-cut bacon takes 8 to 10.
Move the bacon to a paper towel or a wire rack, not a pile on a plate. Stacked bacon steams itself soft, and the whole point is that it stays crisp while the patty cooks.
Step 3: Cook the onion rings
Frozen onion rings are the fast route. Air fry them at 400°F for 6 to 8 minutes with a light spray of oil, shaking the basket twice, or bake them on a preheated sheet pan at 425°F for 10 to 12 minutes. Both methods give you a ring that stays crunchy inside a wet burger, which a soggy ring never will.
If you have time and a deep fryer, the better method is the double fry that serious home cooks use: cook the rings at 325°F for about 90 seconds, rest them on a rack for 10 minutes, then fry them again at 375°F for 45 to 60 seconds. The rest period lets the onion layers set, and the second fry drives off the last of the moisture.
Step 4: Shape the patty without overworking it
Do not squeeze the beef. That is the one habit that turns a good burger into a dry, rubbery one.
Pull 6 ounces off the roll and gently press it into a disc about 5 inches wide, which is wider than the bun. Wider is deliberate. Patties shrink as they cook, and a patty the same size as the bun shrinks into a smaller-than-bun puck by the time it hits the plate.
Make a shallow indentation in the center with your thumb, about a quarter inch deep. This stops the patty from doming as it cooks, so the underside and top brown at the same rate. Keep the edges a little thicker than the middle, but do not roll the meat into a meatball.
Go easy on the seasoning at this stage. Salt it lightly on both sides just before it hits the pan, and add the pepper after the first flip when the surface is wet enough to hold it.
Step 5: Sear the patty hard, then melt the cheese on
Heat a cast-iron skillet over high heat until a drop of water skates across it. Add a small knob of butter or a slick of oil. Lay the patty down and leave it alone for 3 to 4 minutes, until the underside is dark brown and releases from the pan on its own.
If it sticks, it is not ready to flip. Wait another 30 seconds. When it releases cleanly, flip it, season the second side, and cook for another 2 to 4 minutes depending on the thickness you like.
Drop the cheese on during the last 30 to 60 seconds of cooking. American cheese needs no heat at all, but it melts faster and looks better when it starts melting before you pull the patty. The edges will drape over the sides, which is the look you want.
Step 6: Check the temperature and rest the patty
Push the thermometer into the thickest part of the patty, avoiding the cheese. Ground beef is safe at 160°F internal, per USDA guidance, and most home cooks pull between 130°F and 150°F, where carryover cooking during the rest finishes the job.
- 130°F to 135°F: rare, very pink center
- 135°F to 145°F: medium, still juicy, the most common target for a burger like this
- 145°F to 155°F: medium well, firmer texture
- 160°F and above: well done, USDA minimum for ground beef
Rest the patty on a wire rack for 3 to 5 minutes. Those minutes matter more than people expect. Resting keeps the juice inside the meat instead of letting it run out the moment you cut into it, and it gives you time to toast the buns.
Step 7: Toast the buns
Cut the bun in half and lay both cut faces down in the bacon grease left in the skillet, or in butter. Toast for 30 to 60 seconds until the cut side is golden and the bread smells nutty rather than raw. A toasted bun is structurally firmer, which matters when you are about to stack six layers on it.
Spread a thin layer of sauce on both cut faces while they are still hot. The sauce goes on the bread, not the patty. It seasons the bun, it does not soak straight through it, and it keeps the wet ingredients off the bread for a layer.
Step 8: Assemble the burger for the best texture
Stack it in this order and the burger holds together through the last bite:
- Bottom bun with a thin layer of sauce
- Three or four onion rings, laid flat so they cannot roll out
- The patty with melted cheese
- Four strips of bacon, criss-crossed or folded
- A spoonful of pickles or diced onion
- Top bun with the last of the sauce
The onion rings go directly on the bottom bun, under the patty, so the patty weighs them down and stops them from shifting. The bacon goes on top of the hot patty, where it stays crisp. Put the pickles above the bacon rather than under it, so their brine does not drip through and soften the bread.
Assemble and eat right away. This is not a burger that improves while it sits, and it is not a burger to wrap and take on the go.
Common Mistakes and How to Fix Them
Most disappointing western bacon cheeseburgers trace back to one of six things. Here is what went wrong and what to change.
The patty came out dry or overcooked
Two causes: lean meat, and a pan that was not hot enough. Overcooked beef tightens up and squeezes out the fat that was keeping it moist. Cook it less, and take it off the heat at 145°F for a medium result. Letting the patty sit 3 to 5 minutes after cooking brings the internal temperature up without more pan time.
The bacon was chewy or burned
Chewy bacon is bacon that rendered but did not crisp, usually because the strips were crowded or the heat was too low. Give each strip its own space over medium heat and wait for the fat to run clear. Burned bacon is the opposite error: high heat with no attention. Medium heat, one flip, and pull it the moment the edges brown.
For a different bacon treatment entirely, how to make candied bacon uses a sugar rub and low heat, which is a good move if you are already using a sweet sauce and want the sweetness concentrated in the bacon instead.
The cheese did not melt evenly
Cheese that sits on a patty pulled off the heat often never fully melts, because the patty was already cooling. Add the cheese during the last 30 seconds of cooking and leave the pan on the heat until the edges drape. Thin slices melt faster than thick deli rounds, so if you are buying cheese for this, pick thin.
The bottom bun went soggy
Too much sauce, applied too early, directly on the bread. Use about 2 tablespoons on the bottom bun, spread to the edges, and assemble within a couple of minutes. Piling wet toppings on top of a heavily sauced bun guarantees a soggy base. Toast the bun until genuinely golden, and skip the sauce on the bottom entirely if you like crunch more than tang.
The onion rings went soft in the burger
The rings went on too early, or they were frozen and cold in the center when you assembled. Fry or bake them so they are hot and fully crisp, drain on a rack, and put them on the burger last. The patty and bacon going on top will steam the rings if they sit uncovered for minutes, so build in the last 60 seconds before serving.
The sauce was bland or overpowering
Bland barbecue sauce is usually underseasoned rather than missing. Mix in a pinch of salt and a splash of vinegar before it ever touches the bun. Overpowering sauce means too much of it: drop to 2 tablespoons per burger, and make sure the beef was salted. Salted beef plus hickory sauce needs nothing extra.
The burger fell apart on the first bite
A wet bottom bun and a tall stack are the usual reasons. Two fixes do most of the work: keep the stack flat by laying the onion rings flat rather than leaning them, and use a wider bun than the patty so the edges hang over and hold the sides together. A thin, crisp patty also holds better than a thick, overcooked one.
Cooking Methods: Grill, Griddle or Cast Iron
Any of the three works, and the difference is mostly about heat control. A grill gives you the smoke and char flavor and dries the patty faster, so pull it a touch earlier. A flat griddle heats evenly across the whole surface, which makes it easier to cook bacon, patties and buns at the same time. Cast iron is the most forgiving for a first attempt, because it holds heat steady instead of spiking.
Whichever you use, the rule is the same: get it hot before the beef goes down, give the patty room, and use a thermometer.
Make-Ahead Tips and Variations
A single, double and junior version all come from the same base recipe. A junior uses about 4 ounces of beef, one strip of bacon, one slice of cheese and two onion rings on a slider bun. A double uses two 4-ounce patties, two slices of cheese and six to eight strips of bacon, which needs a sturdy bun and a wider spatula.
For make-ahead work, shape the patties and freeze them on a sheet pan until firm, then bag them. They cook from frozen on a hot griddle without thawing and hold their shape better than patties formed the same day. Keep the sauce mixed in a jar in the fridge and cook the bacon and patties fresh, since those are the parts that suffer most from sitting.
Store a cooked burger in the fridge for up to two days and reheat the patty in a skillet rather than a microwave, which keeps the crust from turning rubbery. Reheat the bun separately. Skip the onion rings on leftovers and add fresh ones if you have them.
Frequently Asked Questions
What ground beef is best for a western bacon cheeseburger?
An 80/20 ground chuck blend is the best choice, and the fat content matters more than the brand. The fat keeps the patty juicy at the high heat you need for a proper sear. If your grocery store only carries lean beef, ask the butcher for a chuck blend or add a spoonful of olive oil to lean ground beef before shaping. Avoid ground sirloin and 93 percent lean for this burger.
Should I cook the bacon before making the burger patty?
Yes, always cook the bacon first. It renders fat and browns in 6 to 8 minutes, which is faster than a thick patty, so cooking it first means it is finished and draining on a rack by the time your beef needs to come off the heat. That keeps the strips crisp instead of soft, because they never sit in the pan or under the cheese while you finish the patty.
What cheese works best for a Western bacon cheeseburger?
American cheese is the traditional and most reliable option, because its emulsified texture melts evenly and its saltiness balances a sweet hickory barbecue sauce. Cheddar melts well and adds a sharper flavor, Swiss is milder, and pepper jack adds a little heat. Buy thin slices rather than thick deli rounds, since thin cheese melts in under a minute on a hot patty.
How do I keep the burger from getting soggy?
Use about 2 tablespoons of sauce per burger, spread on the toasted bun rather than poured onto the patty, and assemble within a couple of minutes of toasting. Toast the cut faces until genuinely golden so the bread is firmer. Add crisp toppings last, keep pickles above the bacon so their brine does not run down, and serve immediately rather than letting the burger sit.
How do I know when a burger patty is fully cooked?
Use an instant-read thermometer in the thickest part of the patty, away from the cheese. USDA guidance puts ground beef at 160°F for safety, but most home cooks pull between 135°F and 150°F and let carryover cooking finish the job during a 3 to 5 minute rest. If the patty releases from the pan cleanly and the juices run clear on the surface, it is close to done.
Can I make a western bacon cheeseburger ahead of time?
Partly. Shape raw patties and freeze them on a sheet pan until firm, then bag them and cook from frozen on a hot griddle, which is when frozen patties actually help because they hold their shape better. Mix the sauce ahead and keep it refrigerated. Cook the bacon and assemble the burger fresh, since a fully built western bacon cheeseburger goes soft fast.
Conclusion
Start with the bacon and the sauce. Both take minutes, both need to be ready before the beef, and both get worse if they wait. Then shape a loose 5-inch patty with a thumb indent, hit a preheated cast-iron skillet hard for 3 to 4 minutes a side, add the cheese for the last 30 seconds, and pull it at 145°F.
Toast the bun in the bacon fat while the patty rests, spread a thin layer of sauce on both faces, and build it in this order: sauce, onion rings, patty, cheese, bacon, pickles, top bun. Eat it right away. That is the whole recipe for how to make a western bacon cheeseburger at home, and it comes out with a crisp bun, a juicy beef center, melted cheese and bacon that is still crunchy when you take the first bite.
Once you have the burger down, the pairing matters as much as the build. Our picks for what beer goes with a bacon cheeseburger lean toward hoppier styles that cut through the hickory sauce.