
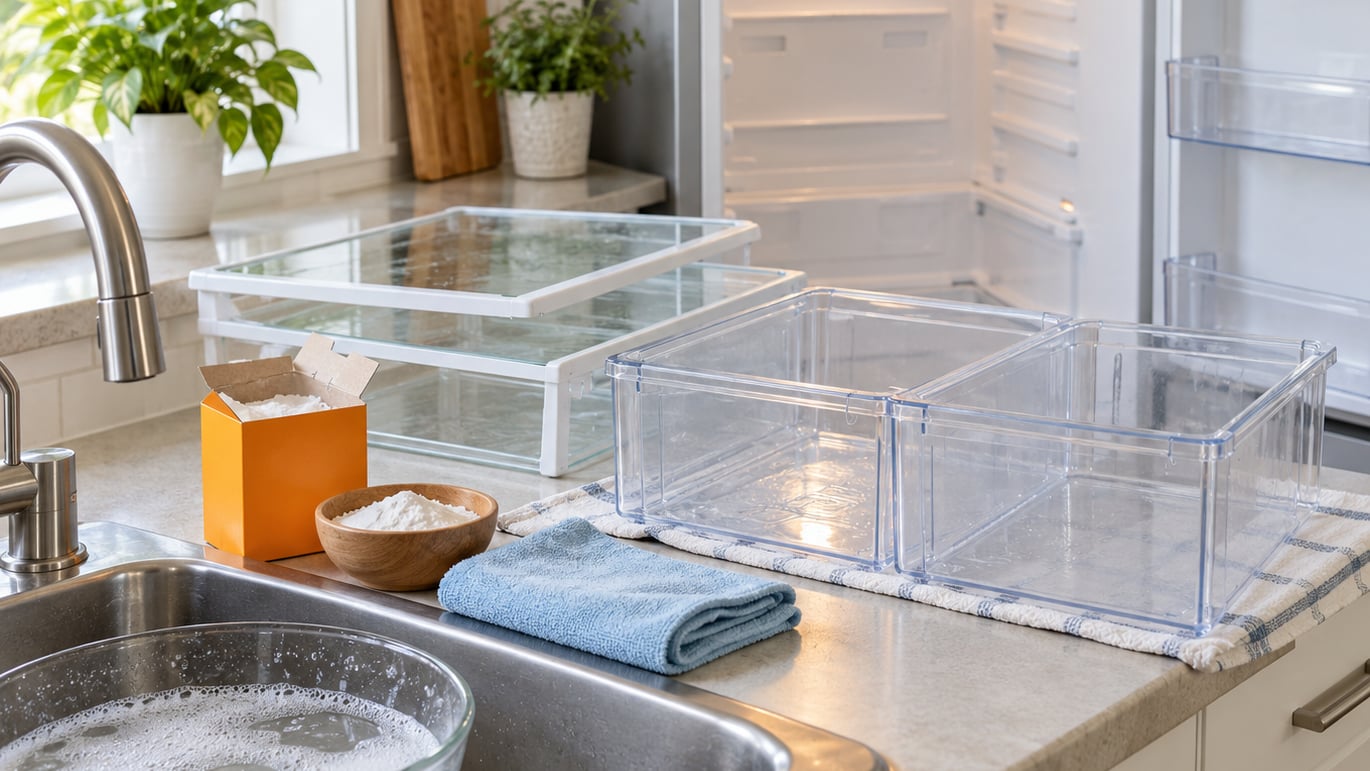
To clean a refrigerator, empty it into coolers, unplug it, wash the shelves and drawers in warm soapy water, wipe every interior surface from top to bottom, scrub the door seals, vacuum the coils behind and underneath, then dry and reload. A full clean takes 2 to 4 hours for most people, but you can spread it over a day.
Most of that time is waiting, not scrubbing. The actual wiping takes about 30 minutes once you have coolers out and a sink full of warm water.
Do it before it smells. Grease film on the shelves, a grimy door gasket and a slop of dried milk in the back corner are the things that turn a fridge into a science project, and none of them clean themselves out.
Last updated in 2026. Our method follows the approach the CDC and the American Cleaning Institute recommend, with the extra details appliance technicians give that most instruction pages skip.
Table of Contents
- What You Need
- Step-by-Step: How to Clean a Refrigerator
- Step 1: Prepare and Empty the Refrigerator
- Step 2: Clean the Interior Shelves, Walls and Drawers
- Step 3: Remove Spills and Sticky Buildup
- Step 4: Clean the Door Seals and Handles
- Step 5: Clean Behind and Under the Refrigerator
- Step 6: Dry, Reload and Keep It Up to Date
- How Often to Clean a Refrigerator
- Step 7: Common Mistakes
- Frequently Asked Questions
- How often should I clean the inside of my refrigerator?
- Is it safe to clean refrigerator shelves with dish soap?
- How do I remove a bad smell from my refrigerator?
- Can I use bleach to clean the inside of my refrigerator?
- How do I clean spills behind removable shelves?
- What temperature should my refrigerator stay at?
- Conclusion
What You Need
The best thing to clean the inside of a refrigerator with is warm water and a few drops of dish soap. It cuts grease, rinses clean with no residue, and it is what the CDC guidance leads with.
Beyond that, add a vinegar solution for stubborn residue, baking soda for odor, and a damp cloth for the surfaces you will touch with food every day. A non-scouring sponge matters more than most people expect, since the green scrubby side is what scratches plastic shelves and dulls stainless steel.
Gather everything before you open the fridge door. Once you have an empty compartment and a cooler full of ice, you do not want to be hunting for a toothbrush with your hands wet and cold.
- Dish soap and warm water in a bowl or spray bottle for the main wash.
- White vinegar mixed one-to-one with water for dried-on spills, grease film and yellow stains.
- Baking soda in an open box for odor control, plus a spoonful for scrubbing.
- Non-scouring sponge and a microfiber cloth for surfaces food touches.
- Old toothbrush or cotton swab for the door gasket, hinges and shelf tracks.
- Coil brush or a narrow vacuum hose for the condenser coils.
- Paper towels or shelf liners to catch drips and make the next clean faster.
- Coolers with ice plus food containers to protect perishables.
- Optional: fragrance-free disinfecting wipes, a coil brush, furniture sliders and a refrigerator thermometer.
Which cleaner to use where
Each cleaner has a job. Using the wrong one is how people scratch a shelf or dull a door finish and then blame the fridge.
| Cleaner | Dilution | Best for | Avoid on |
|---|---|---|---|
| Dish soap and warm water | A few drops per bowl of water | Shelves, drawers, walls, general interior grease | Nothing in the interior |
| White vinegar | One part vinegar to one part water | Dried milk, juice rings, grease film, mineral residue | Undiluted, on seals and stainless trim |
| Baking soda | Dry powder or a thick paste | Odors, set-in stains, scrubbing baked-on residue | Nothing, it is safe on every surface |
| Disinfecting wipes | Ready to use, fragrance-free | High-touch areas like handles and door shelves | Dry, coated plastic, light switches |
| Bleach | One tablespoon per gallon of water | Emergency situations, such as a spoiled-food incident | Routine use, food-contact surfaces at full strength |
What not to clean a fridge with
A few products cause real damage and are not worth the risk. Most of them are in someone’s kitchen right now.
- Bleach on food-contact surfaces. Household bleach sprayed straight on shelves leaves a residue people put food on. If you use it at all, dilute it heavily, wipe with a second clean damp cloth, and never mix it with vinegar or ammonia.
- Abrasive sponges and scouring powder. They scratch plastic shelves and leave fine grooves that hold more grime next time.
- Undiluted vinegar. Straight vinegar on a long soak etches stainless finishes and degrades rubber door seals. Dilute it one-to-one.
- Degreasers and oven cleaners on stainless steel. They leave a dull film that does not wipe off easily.
- Hot water on cold glass shelves. Thermal shock cracks tempered glass. Let the shelves reach room temperature first.
- Metal blades or sharp scrapers on plastic liners, which scratch and create crevices for bacteria.
Step-by-Step: How to Clean a Refrigerator
The first thing you should do when cleaning a fridge is empty it completely and keep the perishables cold. Take out anything expired or leaking first, since spoiled food is the source of most of the smell you will be fighting later.
Most people want to unplug the unit and use the manufacturer’s fast-cool or super-cool setting if the manual has one. Here is the tradeoff in plain terms:
- Unplug it. The safest full method, and the only way to clean the back coils properly. Food has to go into coolers, and the fridge takes several hours to get back to 41°F afterward.
- Leave it running and work in sections. Clean one area in five minutes, close the door, and let the fridge recover for 30 minutes before moving on. Good for a moderate mess or a hot day when you cannot keep food cold for long.
Whichever route you take, keep total food-out time under two hours. Anything that is perishable and sits out past that, especially above 90°F outside, goes in the trash rather than back into the fridge.
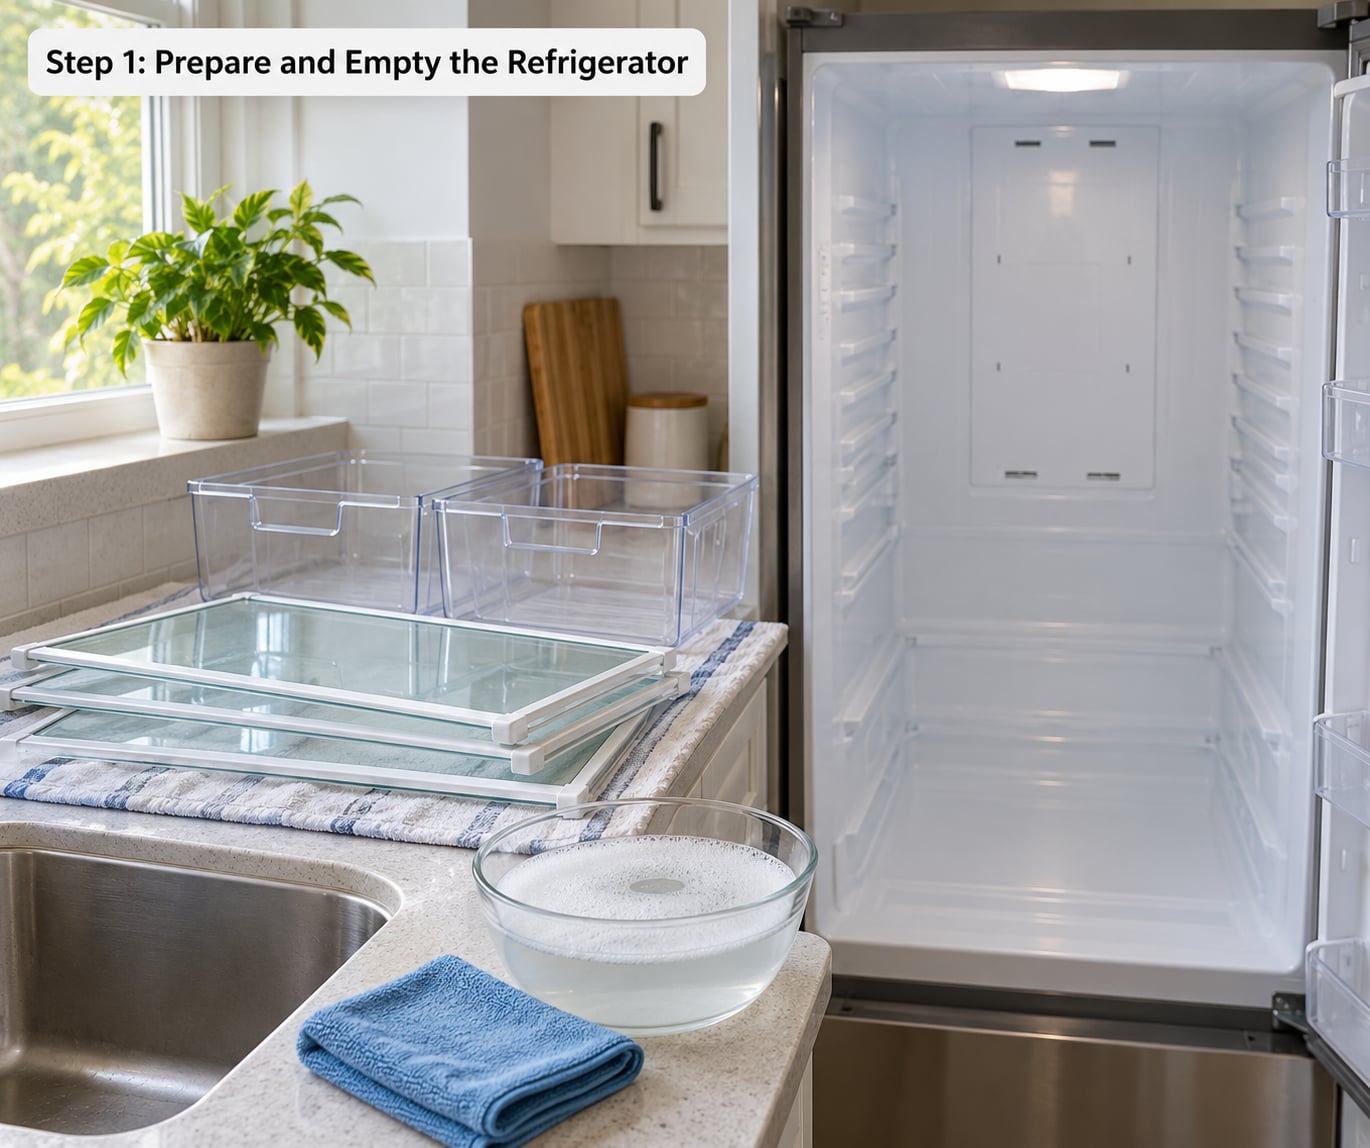
Step 1: Prepare and Empty the Refrigerator
Work from the food side. Pull everything onto a counter, sort it as you go and discard anything past its date, leaking, slimy or already smelling off. Wipe down the outside of each container before it goes into a cooler, because a crumb-smeared jar can undo your work later.
Open a cooler, add ice and cold water, and transfer the perishables in small batches. Frozen items can stack outside in a cooler with no ice, since they hold their own cold for a while. The freezer compartment can usually be left closed and cold if you are only doing the fresh food side.
Once everything is out, pull the refrigerator forward and unplug it. If you are only cleaning the fresh food compartment and the mess is minor, unplugging is still worth the two minutes, because it removes any risk of a wet cloth near the light and controls.
Step 2: Clean the Interior Shelves, Walls and Drawers
Take out the glass shelves, drawers and bins you can remove. Let them sit until they feel close to room temperature, then wash them in warm soapy water in the sink or the tub, and rinse with a clean damp cloth to remove soap film.
Wash glass shelves by hand rather than in the dishwasher. Dishwasher detergent and heat are a bad combination for tempered glass, and one cycle of heat can be enough to craze it.
While the shelves soak for 20 to 30 minutes, wipe the fixed surfaces: the walls, the ceiling, the back panel and the floor of the compartment. Start at the top and work down, since gravity moves the grime you knock loose onto whatever is below.
Use a damp cloth, not a dripping one. Wring it out well, and keep clear of the light fixture, control panel and any exposed electrical parts. A cotton swab gets into the shelf tracks and the corners where the ice maker housing meets the wall.
How you know it worked: the surface should feel tacky-free and cool rather than greasy. Run a clean dry paper towel over a wall panel and it should come away clear.
Step 3: Remove Spills and Sticky Buildup
Dried milk, juice and sauces go on in layers, and warm soapy water alone often just smears them. For anything set-in, make a paste of baking soda and a little water, spread it on the spot, and wait 15 to 30 minutes before scrubbing with a non-scouring sponge.
For grease film on plastic and glass, use the one-to-one vinegar solution. The acid breaks down the film that soap slides off, and it lifts the yellow tint left behind by years of condensation. Keep it off the door gasket and off stainless trim.
On metal shelving, scrub with the grain of the steel rather than across it. Circular or cross-grain scrubbing is what leaves the hazy swirl marks people blame on hard water.
Clean spills behind removable shelves by lifting each shelf straight up, not tilting it forward, and wiping the rear wall and the shelf rails in the same pass. A folded paper towel works well in the narrow channel behind the shelf edge.
Step 4: Clean the Door Seals and Handles
The rubber door gasket is the most-skipped part of the job and the most common home of mold. Wipe it with warm soapy water using a toothbrush or cotton swab along the fold, then follow with a cloth dampened with the vinegar solution.
Check the seal while you are there. Close the door on a sheet of paper and pull; if the paper slides out with no resistance, the gasket is losing its grip and cold air is leaking into the compartment around the clock. That raises energy use and stresses the compressor.
Wipe the door shelves and bins while you are there, and check the underside of them for the sticky residue that collects from bottles and jars. Take the handles and hinge covers down too, since they are the most-touched surfaces in the kitchen after the door itself.
If you see black or green speckling along the gasket, that is mold. Clean it as above, then dry it fully. If the mold comes back within a few weeks, the gasket is probably split and needs replacing rather than more scrubbing.
If your fridge has a water and ice dispenser, follow the manual’s cleaning procedure rather than improvising. Most manufacturers want the water filter changed on a schedule and the tray removed and washed separately, and pushing liquid into the chute yourself can push contamination further in.
Step 5: Clean Behind and Under the Refrigerator
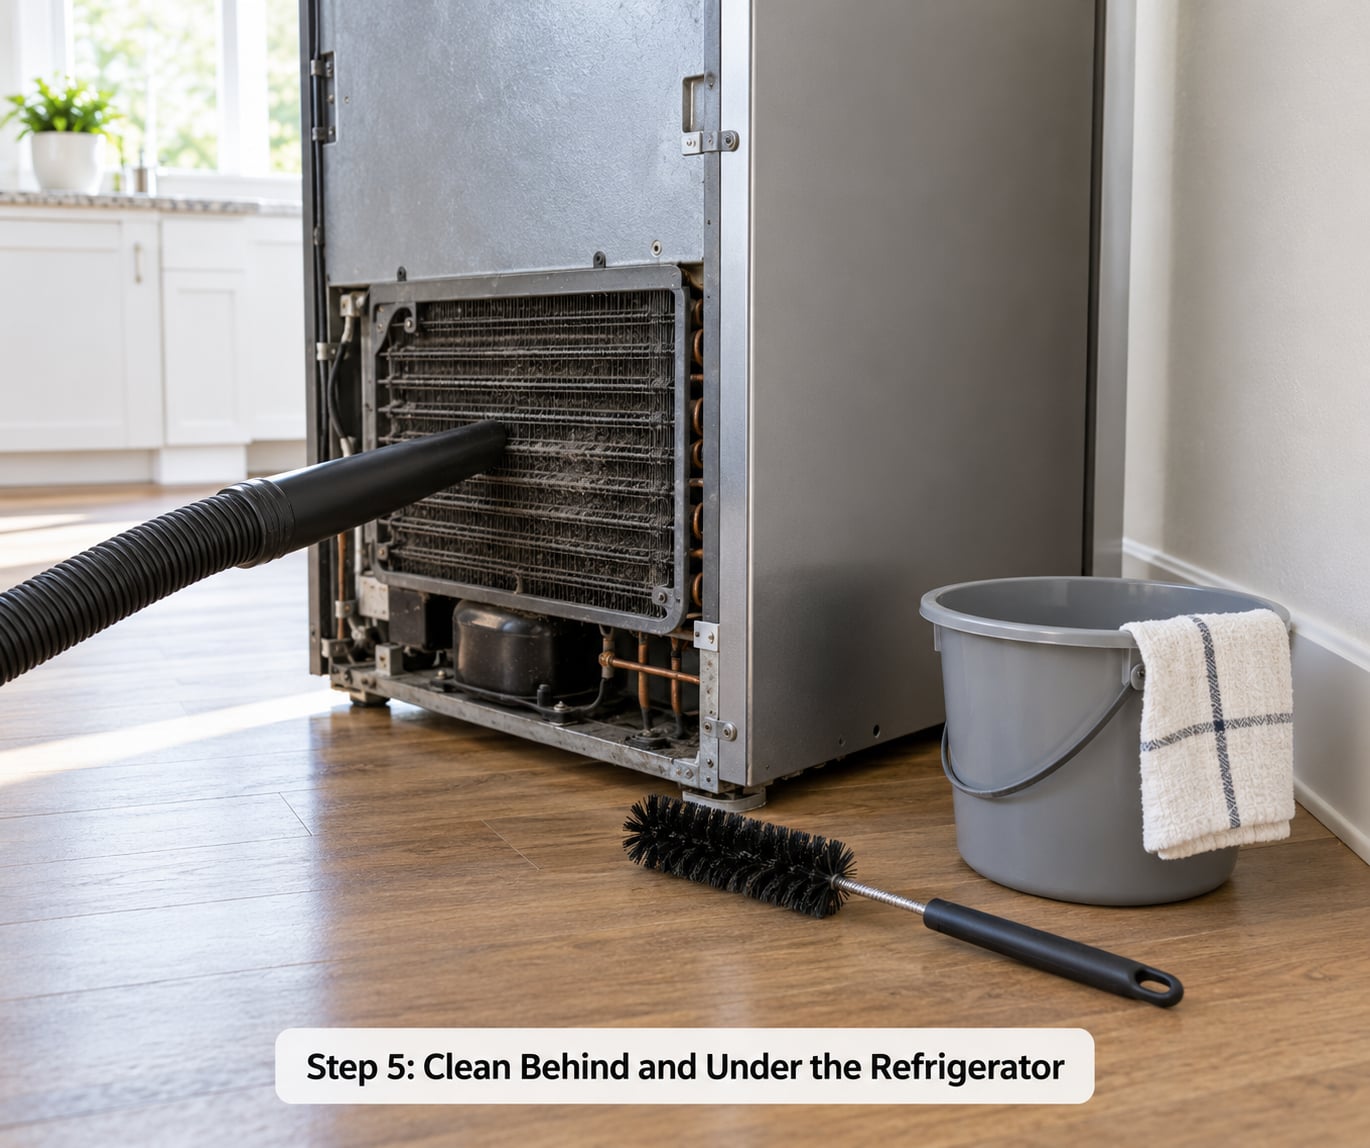
Dust on the condenser coils makes the compressor work harder and use more energy. Once the fridge is unplugged and pulled out, vacuum the coils with a narrow hose attachment or brush them gently with a coil brush, following the direction of the wires rather than against it.
Many models hide the coils behind a vent cover or kick plate at the bottom front. Pull that off first, then vacuum the exposed coils behind it. Do not bend the wire coating; it is easy to cut and hard to notice.
While the fridge is out, check the floor underneath for dried spills and crumbs that have been collecting for months, and look for the power cord or water line to make sure nothing is kinked or dripping. If the fridge is on a water line, use a bucket under the connection before you move it.
Check the drain pan too. It usually sits under the crisper area and collects the condensation that drips off the evaporator coil. Lift it out, empty it, wash it and pour a little warm soapy water down the drain hole to clear it. A clogged drain pan is one of the most common reasons a clean fridge still smells bad, and almost nobody cleans it.
Push the fridge back, align it level, and give the door a good shove to confirm the gasket is sealing along the whole frame. Wipe the floor where it sat before you put anything back down there.
Step 6: Dry, Reload and Keep It Up to Date
Everything goes back in bone dry. Put the shelves back last so the damp parts can dry in place, leave the door open for an hour or two if you can, and wipe down any surface you missed on the way in.
Watch the temperature before you reload. A fridge thermometer is worth more than the dial on the door, because most built-in dials are decorative. Wait until the compartment is at or below 41°F, and use the fast-cool setting if your manual has one.
Then load it back with raw meat and seafood on the bottom shelf where a leak cannot drip onto produce, dairy above that, and vegetables in the crisper drawers. A fridge full of food cools down much faster than an empty one.
Line the shelves before you put anything back. A roll of inexpensive shelf liner or a few folded paper towels catches drips and crumbs, so you toss the liner instead of scrubbing the shelf next time. The shelves stay cleaner, and the whole job gets shorter every month after.
How Often to Clean a Refrigerator
Most people clean only when something smells, which works out to roughly twice a year. A small routine beats a big one you dread. Put the weekly purge on the same day you take out the trash, and the deep clean on the first warm weekend of the season.
| Task | How often | Time it takes |
|---|---|---|
| Check for expired food, leaks and spills | Weekly | 5 minutes |
| Wipe shelves, door shelves and handles | Monthly | 15 minutes |
| Wash shelves and drawers, scrub the door gasket, empty the drain pan | Every 3 months | 45 minutes |
| Vacuum the condenser coils and the floor behind the fridge | Twice a year | 20 minutes |
| Replace the box of baking soda | Every 3 months | 1 minute |
Two events override the calendar. The first is a power outage, where anything that warms above 41°F for more than two hours goes in the trash, followed by a full clean and a day with the door standing open. The second is a spoiled-food incident, where the smell sticks in the seals and drain pan long after the offending container is gone.
Step 7: Common Mistakes
A few mistakes cause almost all of the complaints people have about fridge cleaning. Each one has a straightforward fix.
- Wiping with a dripping cloth. Water gets into the light housing and control panel. Damp is enough; wring the cloth out properly.
- Washing cold glass shelves in warm water. Let them warm up first, or they crack.
- Spraying bleach on interior walls. It is a poor deodorizer and leaves a film where food sits. Use it diluted and only for an actual contamination event.
- Leaving the fridge open the whole job. Warm, humid air floods in and the compressor works harder. Work in five-minute bursts if you are not unplugging it.
- Skipping the door seals. Mold hides in the gasket fold and the smell comes back within weeks.
- Reloading before everything is dry. Trapped moisture is how a clean fridge grows mold again within a month.
- Leaving food out for three hours because the cleaning took longer than planned. Past two hours, perishable food goes in the trash.
- Using ammonia near a window or running a fan while using bleach-based products. Never mix the two.
Frequently Asked Questions
How often should I clean the inside of my refrigerator?
A weekly purge and a quick spill check keep a refrigerator manageable, a monthly shelf wash keeps grease from building up, and a full deep clean every three months handles the parts you skip. Wipe the door seals and handles monthly, and vacuum the condenser coils twice a year. More often never hurts, but the monthly shelf wash is the step that actually prevents odor.
Is it safe to clean refrigerator shelves with dish soap?
Yes. Warm water with a few drops of dish soap is the recommended way to wash refrigerator shelves and drawers. Wash glass shelves by hand and let cold glass reach room temperature first, because heat shock cracks it. Rinse with a clean damp cloth so no soap film remains, dry completely, and put food back only when everything is fully dry.
How do I remove a bad smell from my refrigerator?
Start by removing every food item and discarding anything spoiled, leaking or questionable. Clean the door gasket, wash the shelves and drawers, and empty and scrub the drain pan under the crisper area. Then leave the empty compartment open for 24 hours with a box of baking soda on the bottom shelf. If the smell returns within weeks, look for hidden residue in the seals and drain rather than trying stronger chemicals.
Can I use bleach to clean the inside of my refrigerator?
For routine cleaning, use a diluted bleach solution only as a last resort, such as after a spoiled-food incident. Mix about one tablespoon of unscented bleach per gallon of water, apply it to a cloth rather than the surface, and wipe with a second clean damp cloth so no residue remains on food-contact areas. Never mix bleach with vinegar, ammonia or other cleaners, and keep the room ventilated.
How do I clean spills behind removable shelves?
Lift the shelf straight up instead of tilting it forward, which keeps the rear wall and the shelf rails exposed. Wipe the back panel and the rails with a cloth dampened with warm soapy water, and run a folded paper towel along the narrow channel behind the shelf edge. Do the same on the freezer side, where spills often freeze before anyone notices them.
What temperature should my refrigerator stay at?
Keep the fresh food compartment at or below 41°F, which is the safe storage temperature for perishables. The freezer should sit at 0°F. A cheap refrigerator thermometer is more reliable than the dial on the door, since many built-in dials are inaccurate. After a deep clean, wait until the compartment is back at 41°F before putting food back in.
Conclusion
How to clean a refrigerator comes down to five things: empty it into coolers, unplug it, wash the removable parts, wipe every surface top to bottom, and dry everything before the food goes back in. The parts most people skip, the door seals and the drain pan, are also the two most likely to bring the smell back.
Start with the easy part. Pull everything out, throw away what is expired or leaking, gather warm soapy water and a couple of clean towels, and give yourself an afternoon. The whole job feels far smaller once the food is already sitting in a cooler and you are just wiping surfaces down.
Once it is clean, keep it that way with a monthly shelf wash and a box of baking soda on the bottom shelf. If you fry a lot and deal with grease and smells in the kitchen, our guide to cleaning a kitchen after frying covers the surrounding surfaces. If you run any shared equipment, read what to look for in a clean restaurant kitchen, and if you process meat at home, our step-by-step guide to cleaning a meat grinder handles the equipment food safety rules really start with.