
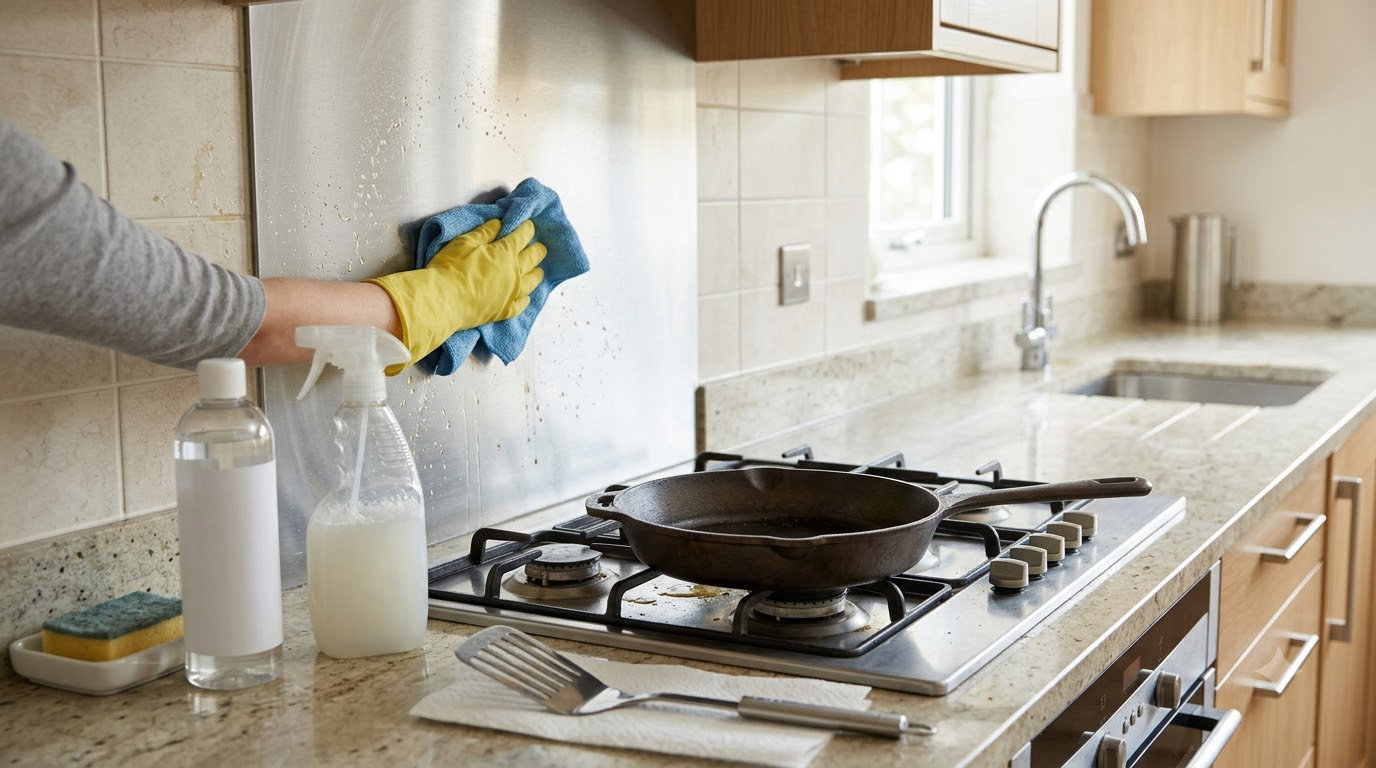
Here is the short version of how to clean a kitchen after frying: let the oil cool completely, then work top-down with warm soapy water and a degreaser, starting at the backsplash and walls and finishing on the floor. Handle the used oil separately so it never reaches the drain. Do the whole thing while the surfaces are still warm and it takes about 15 minutes.
I fry a few times a month, and the mess is never in the pan. It is on the wall behind the burner, on the cabinet doors, and in the air of the whole room. Anyone who has wiped down a counter and still found the house smelling like a diner the next morning knows the same thing: surface wiping is not the job. The job is a sequence.
The order matters more than the products you own. Oil cools into a sticky film, then sets, so grease you deal with in the first twenty minutes wipes off and grease you deal with tomorrow needs a degreaser and elbow grease. Here is the sequence that works, plus what to skip entirely.
Table of Contents
- What You Need
- How to Clean a Kitchen After Frying Step by Step
- Common Mistakes
- Frequently Asked Questions
- How long should I wait before cleaning up after frying?
- Can I pour used frying oil down the drain?
- How do I remove greasy residue from a stovetop?
- What is the best way to get rid of frying odors in the kitchen?
- Can I wash a frying pan immediately after cooking?
- How should I dispose of oil and greasy paper towels?
- Conclusion
What You Need
None of this requires a specialty kit. Gather these before you turn the burner off, because half of them need to be within reach while the oil is still hot.
- Heavy-duty kitchen degreaser. Most cheap sprays are diluted dish soap. Check the label: if it says degreaser and it lathers up thick, it will shift the film. You need one for the vertical surfaces, especially the backsplash and upper cabinets.
- Warm water, dish soap, and a non-abrasive sponge. This is your default. It handles light films on counters, cabinet faces and stovetop glass better than anything stronger, and it will not scratch anything.
- Baking soda. Dry baking soda scours the stovetop and grout. Mixed to a paste with water, it lifts set-on grease without the abrasion of a scouring pad. It is also the gentler option for nonstick and stainless.
- White vinegar. A cup simmering in water handles odors, not grease. Do not mix vinegar with bleach, ever, and skip vinegar on cast iron.
- Paper towels and a microfiber cloth. Paper towels blot the loose film first so you are not grinding grease into the surface. Microfiber picks up what blotting leaves behind.
- A strainer or fine sieve, plus a heat-safe jar with a lid. You need both to store oil you plan to reuse and to seal oil you are throwing away.
- Heavy gloves and tongs. Useful for clearing debris near burners and for handling a basket or spider that sat in hot oil.
- A box fan or a window screen. If your exhaust fan is weak, moving air is the single biggest thing you can do for the smell.
How to Clean a Kitchen After Frying Step by Step
The correct order is: cool everything down safely, deal with the used oil, wipe the walls and vertical surfaces, clean the counters and stovetop, wash the pans and tools, then finish with the floor and the air in the room. Working top-down stops you from re-soiling a clean counter with a greasy cloth, and working warm stops the grease from setting.
How to Clean a Kitchen After Frying: Start With Safety
Turn off the burner and leave the pan exactly where it is. Hot oil moved in a full pan splashes, and a splash of 350 F oil causes a real burn. Give shallow oil in a skillet 20 to 30 minutes to reach room temperature; a deep pot of oil takes longer. You can tell it is ready when it no longer shimmers, ripples, or moves when you nudge the handle.
Keep kids and pets out of the kitchen while you do this, not just while you cook. A hot pan of oil and a curious eight-year-old is the accident I hear about most often, and it is not worth the speed you save.
Know the fire drill before you start, in case it happens. If frying oil catches fire, turn off the heat, slide a metal lid or baking sheet over the pan to cut off the oxygen, and throw on baking soda. Never use water. Ever. Water spreads burning oil across the counter in seconds. Keep a Class K or ABC rated extinguisher within reach, and call the fire department if you cannot control it in under a minute.
Step 2: Remove and Store the Used Oil
Once the oil is cool, pour or scoop it into a heat-safe container. A turkey baster works nicely for small amounts. Never pour used frying oil down the sink: it solidifies inside the pipes, combines with soap to form a waxy plug, and the fix costs far more than the oil you threw away.
If you want to reuse it, strain it through a fine sieve into a heat-safe jar, label it with the date, and keep it in the fridge. Strain out the burnt bits and food particles, because those are what make reused oil go bitter fast. A strainer of oil through a sieve is the entire process; there is no better method, and storing it warm on the counter is how it goes rancid.
If you are done with it, seal it in a lidded container or a sealed bag and put it in the outdoor trash. Many grocery stores and household hazardous waste sites accept used cooking oil for recycling, and local rules vary, so check your city or county guidance. Oily paper towels get folded, double-bagged, and binned too.
Step 3: Wipe Down Greasy Surfaces
Blot the loose grease with paper towels first. This single step prevents most of the scrubbing people complain about, because you are lifting the film rather than grinding it. Then work the walls, backsplash, and cabinet faces with warm soapy water or a degreaser sprayed onto a cloth, never straight onto the wall above food.
Different surfaces want different tools. On tile, keep the work at the surface and clean grout with a soft brush and a baking soda paste, since soaking grout lets water and cleaner wick underneath. On painted drywall, test a small hidden spot first and stay with mild dish soap. On a textured or popcorn ceiling, saturate rather than scrub, because pressure embeds grease deeper into the texture. Stainless steel takes a degreaser well, but skip the acid.
Countertops get the same treatment after the walls. Work in small sections and finish with a dry microfiber cloth, since a damp surface streaks and a dry one shows you the film is gone.
Step 4: Clean the Frying Equipment
Do not put a hot pan under the tap. Thermal shock warps thin metal and kills the seasoning on cast iron, and hot oil meeting cold water spatters across the stove you already cleaned. Once the oil is out, fill the pan with hot water, add a squirt of dish soap, and let it sit 10 minutes while you do the counters.
Cast iron, nonstick, and stainless each have their own rule. Cast iron gets hot water, a stiff brush or chain scrubber, and a thin coat of oil dried on the burner. Nonstick gets warm water, a soft sponge, and no abrasive at all, because baking soda and scouring pads strip the coating. Stainless gets hot soapy water and a baking soda paste for stubborn spots, or fine steel wool if you do not mind the scratching.
To strip a pan that has taken on burnt-on oil, simmer water with a spoon of baking soda in it for ten minutes, then pour it out and scrub the softened layer. It comes off far more easily than dried carbon, and you avoid taking grease to the sink with a wad of steel wool.
Step 5: Clean the Floor and Eliminate Odors
Sweep or vacuum crumbs and debris before you mop. Any food particle left underfoot turns into a slip hazard, and it holds oil onto the floor as you mop around it. Mop with warm water and a few drops of dish soap, then follow with a clean mop and plain water so no film is left behind. Any splatter on baseboards or the toe kick gets a damp cloth and the same degreaser.
For the smell, move air first. Open windows and doors, run the exhaust fan, and set a box fan in a doorway pointing outside. Then simmer a cup of white vinegar in a pot of water for an hour, or simmer water with a few lemon peels in it. One caterer I read about keeps a pot of vinegar water going whenever she cooks for a crowd, and it works for the same reason.
The smell also lives in fabric, not just on counters. Anything that was in the room absorbs it: curtains, upholstery, dish towels, and the shirts of whoever cooked. Wash them on the warm cycle and dry them outdoors, and do not leave them sitting.
What does not work is worth saying plainly. A bowl of baking soda or activated charcoal left out overnight will not clear an active fried-food smell. Testing at Serious Eats found both absorb odor slowly over time rather than removing it, so they are a slow background job, not a fix. Candles mask a smell for the ten seconds they burn and add their own to the room.
Common Mistakes
Almost every post-fry cleanup problem I hear about comes down to one of these.
- Pouring oil down the drain. It cools, solidifies, sticks to pipe walls, and mixes with soap into a clog. Cool it, strain it, store it or seal it in the trash.
- Cleaning while the oil is hot. It burns you and it spatters. Wait until the oil is at room temperature, then move it.
- Skipping the backsplash, cabinet doors, and ceiling. That aerosolized film is usually the sticky surface people are feeling under their fingers. Blot and degrease the vertical surfaces, not just the counter.
- Using the wrong cleaner on the wrong material. Abrasive baking soda paste and scouring pads destroy nonstick, acids strip cast iron seasoning, and soaking grout drives water and cleaner underneath. Match the product to the surface.
- Leaving oily towels and trash on the counter. Soaked rags hold heat and can self-ignite, and trash attracts pests the same night. Double-bag it and take it straight out.
- Ignoring the hood filter and the room. A saturated range hood filter recirculates grease back into the kitchen. Take the filter out, soak it in hot soapy water, and let it dry fully.
- Washing everything with the same cloth. One greasy rag used on the walls then the counter spreads the film around and makes the kitchen look dirtier than before. Use separate cloths, and toss the greasy one in the wash.
- Believing the candle or baking soda bowl. Both are background noise at best. Moving air and washing fabric are what actually clear a fried-food smell.
Frequently Asked Questions
How long should I wait before cleaning up after frying?
Wait until the burner is off and the oil is at room temperature with no shimmer or ripple, usually 20 to 30 minutes for a shallow skillet and longer for a deep pot. Wipe the walls, backsplash and counters while they are still warm, since warm grease wipes off easily. Only the oil itself needs to cool fully before you move it.
Can I pour used frying oil down the drain?
No. Used oil cools, solidifies, and sticks to the inside of pipes, where it combines with soap and dish detergent to form a waxy clog. Cool it, strain it, then either store it in a sealed jar for reuse or seal it in a lidded container and put it in the outdoor trash. Many grocery stores and household hazardous waste sites also accept used oil.
How do I remove greasy residue from a stovetop?
Blot first, then wash. Paper towels lift the loose film so you are not grinding it into the surface. Then use warm water with a few drops of dish soap and a non-abrasive sponge, working around the burner grates, which usually go in the sink or dishwasher. For set-on grease, use a baking soda paste and let it sit five minutes before scrubbing.
What is the best way to get rid of frying odors in the kitchen?
Move the air. Open windows and doors, run the exhaust fan, and set a box fan in a doorway pointing outside. Then simmer a cup of white vinegar, or water with lemon peels, for about an hour. Odor also settles into curtains, upholstery and clothing, so wash those on a warm cycle. A bowl of baking soda left overnight will not clear an active smell.
Can I wash a frying pan immediately after cooking?
Not while the oil is hot. Cold water on a hot pan causes thermal shock, which warps thin metal and damages cast iron seasoning, and the steam can spatter hot oil. Let the oil cool and pour it off first, then fill the pan with hot soapy water and let it soak for ten minutes before you scrub.
How should I dispose of oil and greasy paper towels?
Let the oil cool, strain it if you want to reuse it, and otherwise seal it in a lidded container or sealed bag for the outdoor trash. Fold greasy paper towels, double-bag them, and put them in the bin the same night. Never put oily towels in a pile on the counter, since soaked rags hold heat and can catch fire on their own.
Conclusion
The order is the whole trick. Let the oil cool so nothing gets burned or spilled, handle that oil so it never reaches the drain, then work from the backsplash and walls down through the counters and stovetop to the pans and tools. Finish on the floor, move air through the room, and wash anything fabric that sat in it. Last check before you leave: no hot oil left out, no oily rags on the counter, no grease film on your hands of a cleanup you will have to redo tomorrow.