
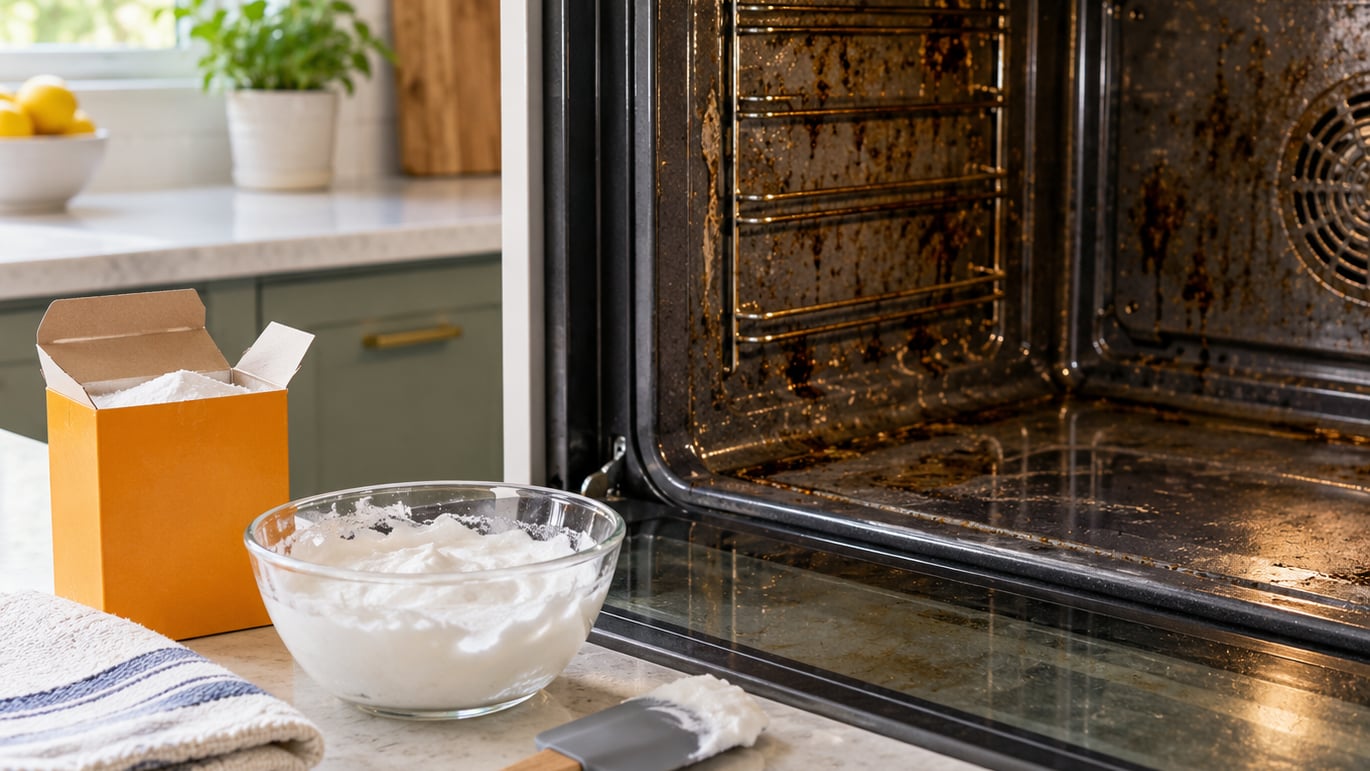
Yes, baking soda works. You make a thick paste of baking soda and water, spread it over the greasy surfaces, let it sit so the mild alkalinity and fine crystals loosen the baked-on grease, then wipe it away with a damp cloth. On a lightly soiled oven the whole job takes about 30 minutes. On a bad one, the paste works overnight while you sleep.
That matters more than it sounds. Grease that builds up on oven walls and racks starts to smoke, steams your food with an off odor, and makes the oven run hotter than it should. Baking soda gets that layer off without the corrosive alkalis in commercial oven cleaner, so there are no fumes and nothing to rinse out.
The one thing it will not do is erase glass that has been etched by years of heat. Nobody’s paste fixes that. Everything else, with a bit of dwell time, comes up surprisingly well.
We have run this method on both a gas range with exposed broil elements and a wall oven with a fan, and the difference every time is the same: paste that is allowed to dry on the surface does far more work than paste that is wiped off early.
Table of Contents
- What You Need
- Step-by-Step: How to Clean an Oven with Baking Soda
- Step 1: Turn Off and Cool the Oven Completely (5 minutes, no effort)
- Step 2: Remove and Protect the Racks (5 minutes, easy)
- Step 3: Mix the Baking Soda Cleaning Paste (3 minutes, easy)
- Step 4: Apply the Paste to Greasy Areas (10 minutes, easy)
- Step 5: Let the Baking Soda Loosen the Grease (15-20 minutes, or 8-12 hours)
- Step 6: Scrape and Wipe Away the Baking Soda Residue (10 minutes, easy)
- Step 7: Clean the Racks and Door Glass (10 minutes active, plus soaking)
- Step 8: Dry and Reassemble the Oven (10 minutes, easy)
- Common Mistakes When You Clean an Oven with Baking Soda
- Frequently Asked Questions
- Conclusion
What You Need
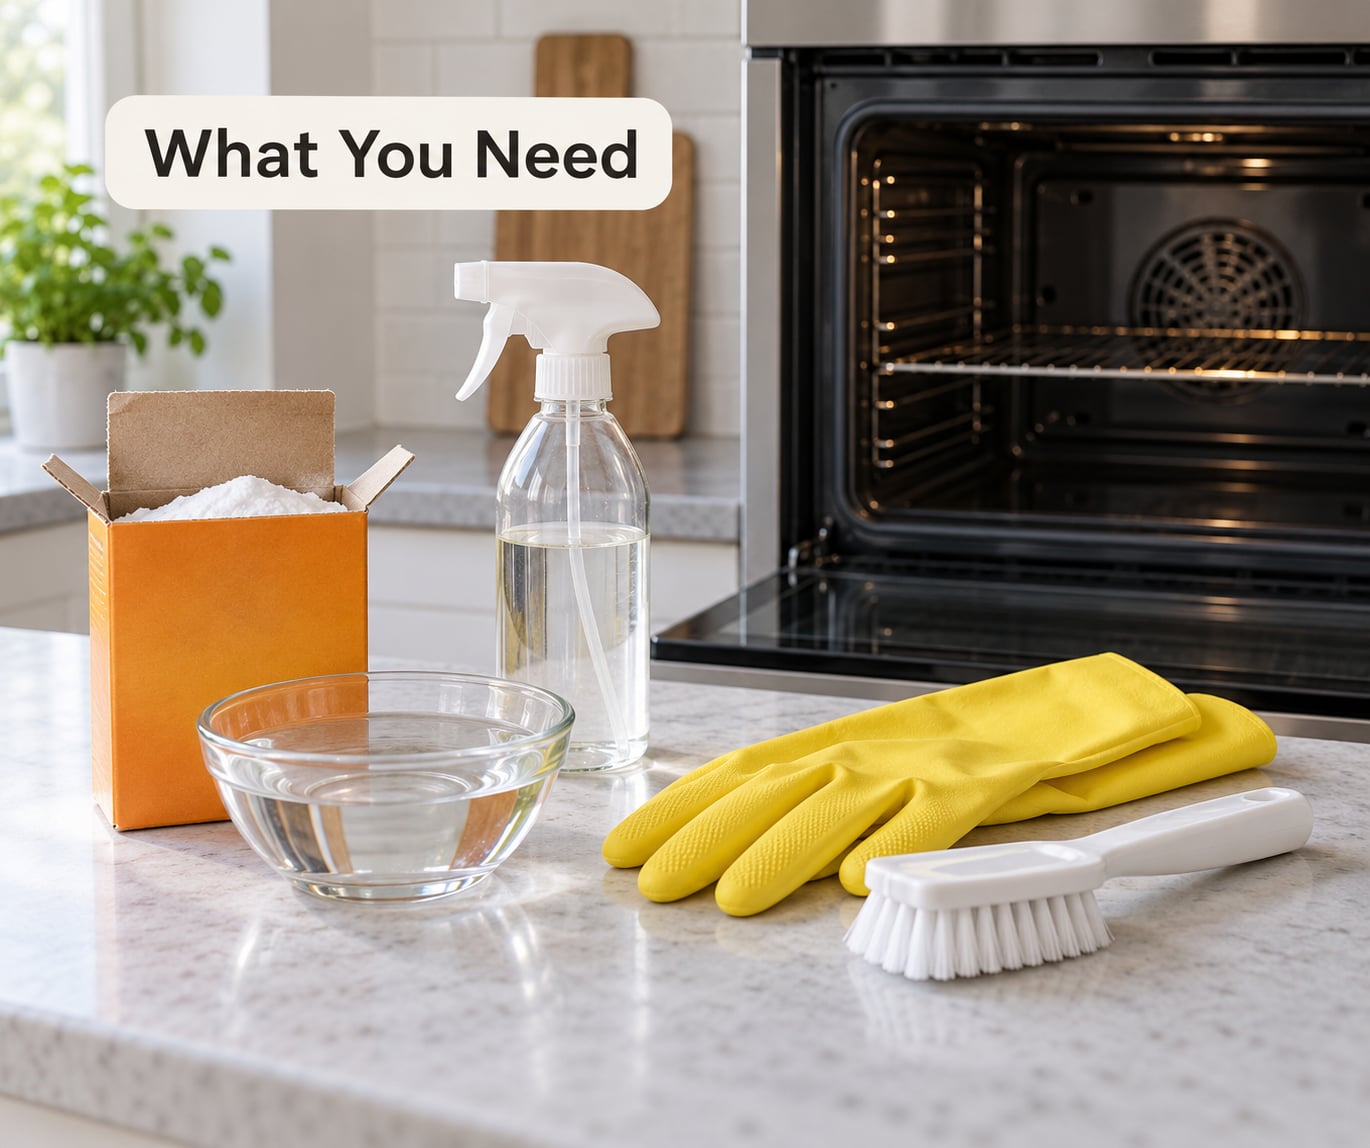
Everything here is cheap and most of it is already in a kitchen cupboard. Quantities are for a standard 30-inch freestanding oven; double them for a wall oven or a large range.
- Baking soda — 1 to 2 cups for a light clean, or about a pound (454 g) for a badly soiled oven overnight.
- Water — just a few tablespoons, added gradually.
- White vinegar — half a cup in a spray bottle. Optional, and only for the foaming finish pass.
- A small bowl and a spoon or whisk for mixing.
- A rubber spatula, plastic scraper or old plastic card for spreading. Never metal.
- A stiff nylon brush or a plastic pan scrubber for the oven floor and corners.
- Two microfiber cloths or damp paper towels, one for dirty water and one for the final dry wipe.
- Rubber gloves if you have sensitive skin.
- An old towel or sheet to lay under the racks wherever you soak them.
Skip the foil, the wire wool and the metal paint scraper. Those are the three tools that turn a cleaning job into a repair bill.
Step-by-Step: How to Clean an Oven with Baking Soda
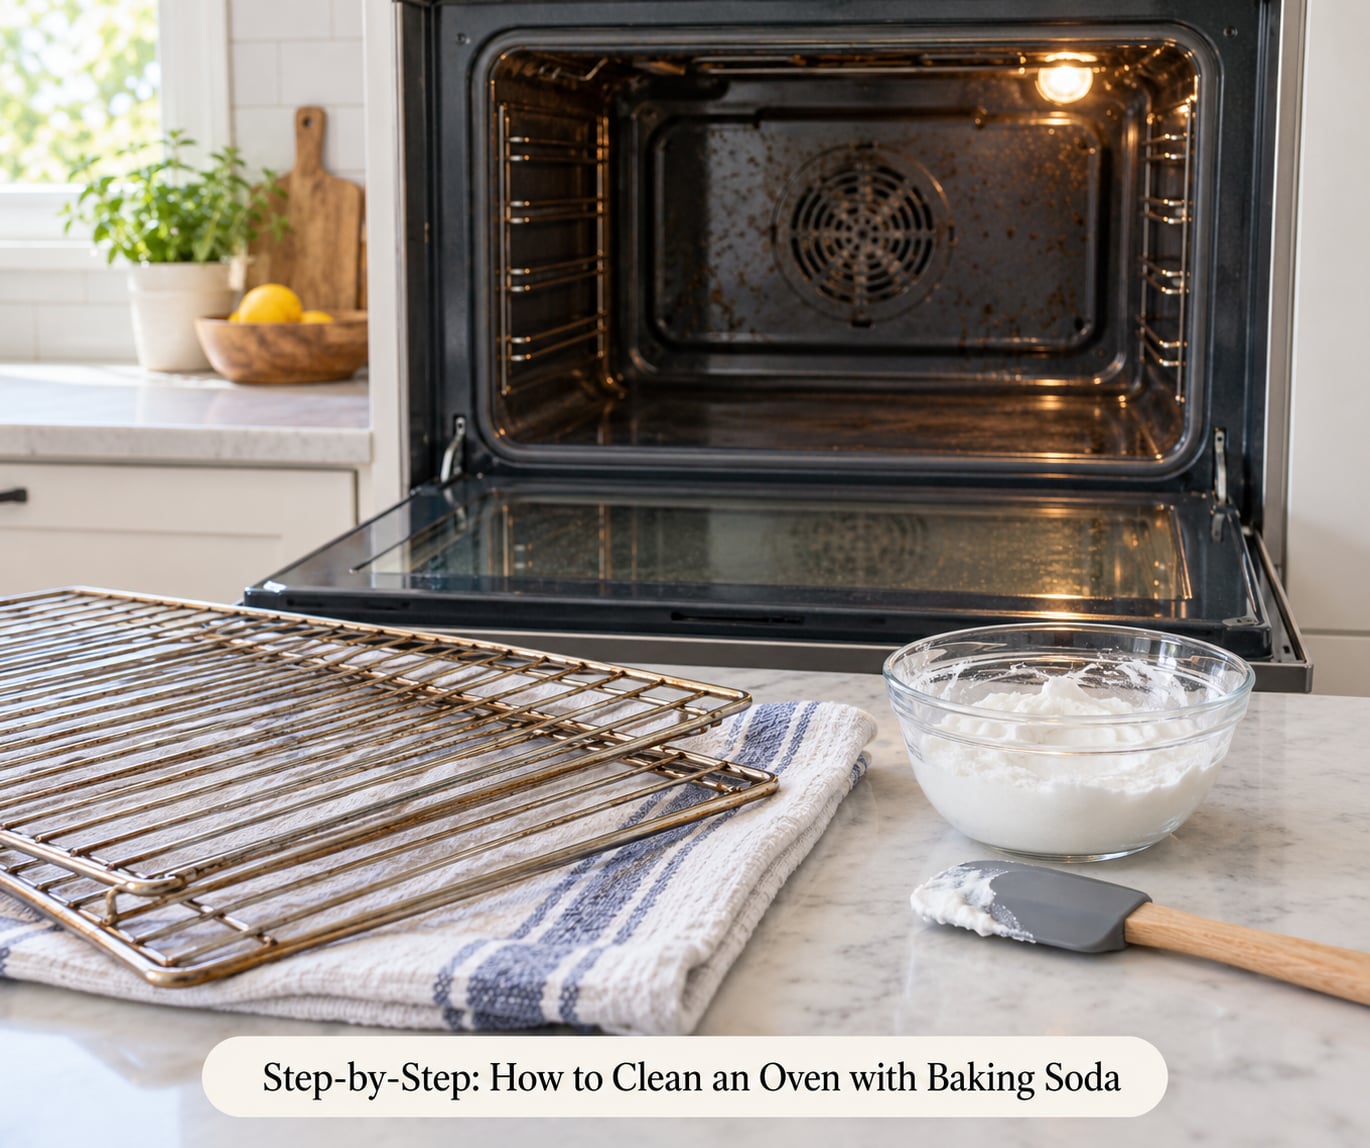
Budget around 30 minutes of active time for the whole method. The waiting is passive, so the clock that matters is the drying time in Step 5.
Step 1: Turn Off and Cool the Oven Completely (5 minutes, no effort)
Switch the oven off at the wall or the control panel and leave the door open until it is cool enough to put a bare hand inside. A supposedly cold oven can still hold enough heat to turn damp paste into steam, and water near a live element is a real hazard.
Check the checkpoint: if you cannot hold the back of your hand on the oven floor for a few seconds without flinching, it is not cool enough yet. Baking soda paste goes on a cold oven every time. This is also the moment to plan your cleanup around the rest of the kitchen, since deep-frying splatter builds up fast and you may want to clean the kitchen after frying on the same afternoon.
Step 2: Remove and Protect the Racks (5 minutes, easy)
Pull out the wire racks, the broiler pan and the drip tray. Most racks can be washed later in hot soapy water, but check your manual first, because a few manufacturers coat the rack tines with a non-stick or PTFE finish that a stiff brush will strip.
Lay everything on a folded towel or a folded newspaper on top of the counter, never directly on a surface that scratches. If you plan to soak the racks in a bathtub later, put a towel in the tub first. That habit exists because somebody learned it the hard way, and racked enamel does not repair.
Checkpoint: you can see the bare oven floor and all four corners with nothing in the way.
Step 3: Mix the Baking Soda Cleaning Paste (3 minutes, easy)
Put 1 cup (about 240 g) of baking soda in a bowl and add water a spoonful at a time, stirring until it holds together. For a light clean, roughly 3 tablespoons of water is enough. For a heavy overnight job, use the full pound of soda with only 2 tablespoons of water and a tablespoon of coarse salt, which makes the paste grittier and slightly more aggressive.
The test is simple: scoop some onto a spoon and turn the spoon over. A paste that slides off in a slow ribbon is too runny and will run down the oven walls into the door channel. A paste that holds its shape and only droops at the edge is right. It should feel like thick cake icing, not like a pourable glaze.
Checkpoint: the paste stays put on a tilted spoon for a few seconds.
Step 4: Apply the Paste to Greasy Areas (10 minutes, easy)
Dab the paste onto the oven floor first, then spread it up the walls and around the door seal with the plastic spatula or your gloved fingers. A thin even coat about the thickness of thick paint is all you need. Thick blobs dry out before the grease underneath does, so they just flake off later.
Work around, not on, the heating elements, the temperature probe, the convection fan cover and any gas ports. Keep the paste a couple of inches clear of bare element coils. That is not about acidity, it is about moisture sitting against a part that gets extremely hot, and a wet conductive paste around a live element or a terminal is a genuine electrical concern rather than a theoretical one.
Some ovens have a self-cleaning liner, usually a blue or grey coating inside the cavity. Check your owner’s manual. If it tells you to avoid abrasives or alkaline cleaners, stick to water and a mild dish soap on that liner and clean around it. Baking soda is a mild abrasive, which is normally fine, but the manual wins.
Checkpoint: greasy walls, floor and door-seal area are covered, and every element and port is clear.
Step 5: Let the Baking Soda Loosen the Grease (15-20 minutes, or 8-12 hours)
This is the step people rush, and rushing it is why the method gets a bad reputation. Baking soda works by staying in contact with the grease long enough to neutralize it and to let the water soften the dried layer. Twenty minutes does the job on a light oven. Overnight does it on a bad one.
Close the oven door so the moisture stays with the paste rather than evaporating into the kitchen. If you leave the paste for more than an hour, mist the coated surfaces lightly with water so it does not harden into a rock. You are re-wetting, not rinsing.
Checkpoint: the paste has gone from damp cream to a dry, chalky crust that flakes off in sheets when you scrape it, and the exposed enamel looks clean and dull rather than greasy. If the paste is still wet and smearing, give it more time. If it hardens but the grease is still there, the layer was thicker than baking soda can lift, which is your cue for the heavier method or a follow-up pass.
One honest warning: halfway through a long sit, the paste often turns dark grey or black and slightly gooey. That is the soda carrying lifted grease out of the enamel, not a failure. Scrape it off and use a clean cloth for the final pass rather than folding the dirty layer back over clean enamel.
Step 6: Scrape and Wipe Away the Baking Soda Residue (10 minutes, easy)
Take the plastic scraper or an old plastic card and push the dried paste toward the door, then scoop it into a bin liner. Never use a metal blade, a razor scraper or the edge of a spatula, because those scratch enamel and once scratched, grease collects in the scratch permanently.
This is the point in how to clean an oven with baking soda where most people stop too early. Vacuum up the loose powder with a dry cloth or a soft brush, then wipe the whole cavity with a clean damp microfiber cloth, turning it often. Get into the rear corners and the door channel with a damp cloth wrapped around your finger or an old toothbrush.
Run a bare hand along the enamel. If it feels slick anywhere, wipe that spot again. Every trace of soda has to go, because leftover powder will smoke and smell on the next bake, which is a far worse smell than the one you just cleaned.
Step 7: Clean the Racks and Door Glass (10 minutes active, plus soaking)
For the racks, fill a tub or the sink bottom with very hot water, add a squirt of dish soap, submerge the racks, and leave them 2 to 4 hours. Then work the blackened spots with a stiff nylon brush and more hot soapy water. Rinse and dry completely before they go back in, because a wet rack in a warm oven rusts.
For the door glass, first check the manufacturer’s guidance, because tempered glass on some ranges has a special coated inner panel. Where paste is allowed, spread a fresh thin layer directly onto the inside of the glass, leave it 30 minutes, then wipe with a microfiber cloth in small circles. A cloth with a little of the soaking solution and a plastic scrubber works on the back-bar area that holds the rack stops. If the glass is etched or permanently cloudy from heat, no cleaner will fix it; the etching is in the glass itself.
Optional finishing pass: mist the interior lightly with plain white vinegar and leave the door shut for 30 minutes. It fizzes on whatever soda is still present and lifts the last film. Never combine the vinegar with the paste in a bowl first. Vinegar is an acid and baking soda is a base; mixed together they turn into salt water and carbon dioxide, which foams once and then stops degreasing anything.
Checkpoint: bare enamel is matte and dry to the touch, racks are satin rather than black, and glass is clear where it was clear before.
Step 8: Dry and Reassemble the Oven (10 minutes, easy)
Leave the door open for 20 minutes or so so the cavity dries out completely, then slide the racks and the drip tray back in. Nothing has to be reassembled in a particular order, but the drip tray goes in first so it sits flat under the racks.
Run the oven empty at 200°C / 400°F for 15 minutes before the next real bake if you are unsure any powder remains. If there is no acrid smell at the end of that cycle, you are done. For a routine clean that means your oven goes back into service in well under an hour.
Common Mistakes When You Clean an Oven with Baking Soda
Almost every complaint I have seen about this method traces back to one of eight mistakes. They are easy to fix.
- Cleaning a warm oven. Wet paste on a hot surface steams, streaks and can crack glass. Cool it fully, or heat the oven afterwards with the door open rather than during.
- Pre-mixing vinegar and baking soda in a bowl. This is the most repeated error online. The two neutralize each other into a solution with very little grease-cutting power left. Keep them separate and use vinegar only as a spray on dry soda.
- Making the paste too runny. Water runs to the lowest point, which is the door channel and the bottom element recess, and that is exactly where you do not want a wet alkaline film.
- Wiping the paste off after fifteen minutes on a bad oven. Dwell time is the active ingredient. Twenty minutes handles a light oven, eight to twelve hours handles a neglected one. Pick the recipe that matches the soil.
- Using metal tools. Metal scrapers, razor blades and wire wool scratch enamel and stainless steel permanently. Plastic only.
- Coating the heating elements or the fan cover. Paste on a bare element traps moisture against a part that reaches 500°C or more, and paste on a fan cover blocks air movement. Keep it clear.
- Leaving dry powder behind. The chalky film that survives the wipe is what causes the acrid smell and light smoke on the next bake. Wipe twice, and run a 15-minute empty burn-off to confirm.
- Waiting a year between cleans. Grease does not sit still and neither does the smell. A monthly 30-minute paste job is far easier than a yearly one, and it keeps the oven efficient rather than merely presentable. Long gaps between cleans are also why restaurant kitchens post inspection standards at all; what to look for in a clean restaurant kitchen is the same principle at a much larger scale.
One more caution for anyone cleaning near a cooktop: the oven is not the only hot surface in the zone, and a paste bowl next to a lit burner is an accident waiting to happen. If you are working over a gas range with the burners running, keep the bowl well clear and read our kitchen safety tips for cooking with hot oil first.
Frequently Asked Questions
Does baking soda really clean a greasy oven?
It does, for grease and baked-on food, though it will not repair glass that has been etched by heat. Baking soda is mildly alkaline, so it neutralizes acidic grease and loosens it from the enamel, and its fine crystals act as a mild abrasive on dried residue. Give it real dwell time, 15 to 20 minutes on a light oven or 8 to 12 hours on a bad one, and it does the work of far harsher products with no fumes and nothing to rinse out.
Can I mix baking soda and vinegar to clean my oven?
Not in a bowl. Vinegar is an acid and baking soda is a base, so combined they produce carbon dioxide gas and a mild salt solution. The fizz looks dramatic and is worth doing on the oven surface, but a pre-mixed bowl has lost most of its grease-cutting power before you ever spread it. Spread the paste first, let it dry, then spray vinegar on the dry soda for the foaming finish pass.
How long should baking soda sit on oven grease?
Fifteen to twenty minutes for a lightly soiled oven that you wipe after, and 8 to 12 hours overnight for a heavily soiled one. The paste should dry to a chalky crust that flakes away in sheets. If it is still wet and smearing when you check, it needs more time, not more scrubbing. Mist it lightly with water if it hardens before the grease underneath has lifted.
Can I use baking soda on an oven’s heating elements?
Keep it off them. Baking soda itself will not damage an element, but the paste is wet, and moisture trapped against a heating element or its terminal is an electrical hazard and can cause uneven cooking once it bakes on. Apply paste to the oven floor and walls and leave a couple of inches of clearance around bare coils, temperature probes and gas ports. If your oven has a self-cleaning liner, check the manual before using any abrasive on it.
How do I remove baked-on grease that does not come off?
Go heavier, not harder. Use roughly a pound of baking soda with 2 tablespoons of water and a tablespoon of coarse salt, spread it thick, and leave it overnight with the door closed. The salt makes the paste grittier and gives it more bite without chemicals. Rinse nothing, just scrape and wipe thoroughly. Very black grease that survives two passes is usually bonded to a heating element and will not shift without a commercial product or the self-clean cycle.
How often should I clean my oven with baking soda?
Every month for an oven used most days, and every two or three months if you cook lightly. Wipe up spills as soon as the oven is cool, because sugar and dairy bake onto enamel fast and darken with every subsequent bake. Run the oven empty at 200C for 15 minutes after any clean to confirm no powder remains. Skip it entirely if you run the self-clean cycle, but not more often than that cycle is rated for.
Conclusion
To clean an oven with baking soda, you need a bowl, a plastic scraper, a damp cloth and about half an hour. Cool the oven completely, pull out the racks and lay them on a towel, spread a thin layer of stiff baking soda paste over the greasy floor, walls and door seal while keeping it clear of heating elements and gas ports, then leave it 15 to 20 minutes for a light oven or overnight for a bad one.
Scrape the dried crust off with plastic, wipe every trace of the powder away, and run the oven empty at 200°C for 15 minutes to be certain nothing is left to smoke. Do the same again next month and you will never need a caustic oven cleaner again.