
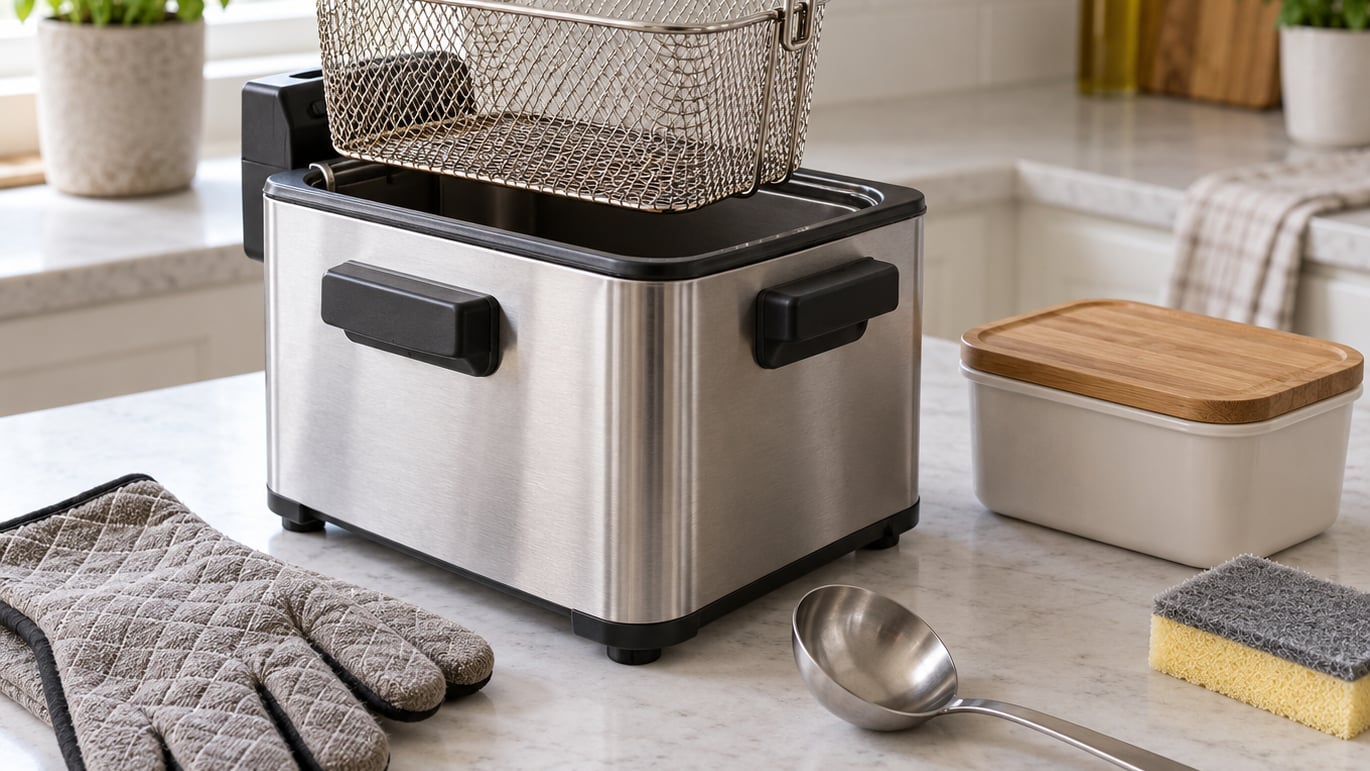
How to clean a deep fryer comes down to three things: let the oil cool completely, never pour it down the drain, and never let water touch hot oil. Once the unit is cold, the job takes 30 to 45 minutes with a soft sponge, a plastic putty knife and a fryer-safe detergent.
The short answer to the question everybody asks first — can you put water in a deep fryer to clean it? — is yes, but only cold water in a completely cold, empty fryer, brought up to a simmer by the fryer itself. That procedure is called a boil-out, and it is the single most effective way to lift carbonised grease. Splash water into hot oil and the result is a violent steam eruption that puts you in the emergency room.
If you have an air fryer instead, that is a different appliance with different cleaning rules. How to make fries in an air fryer crispy every time covers that side. This guide is about fry pots, countertop electric fryers and commercial vats that hold real oil.
What You Need
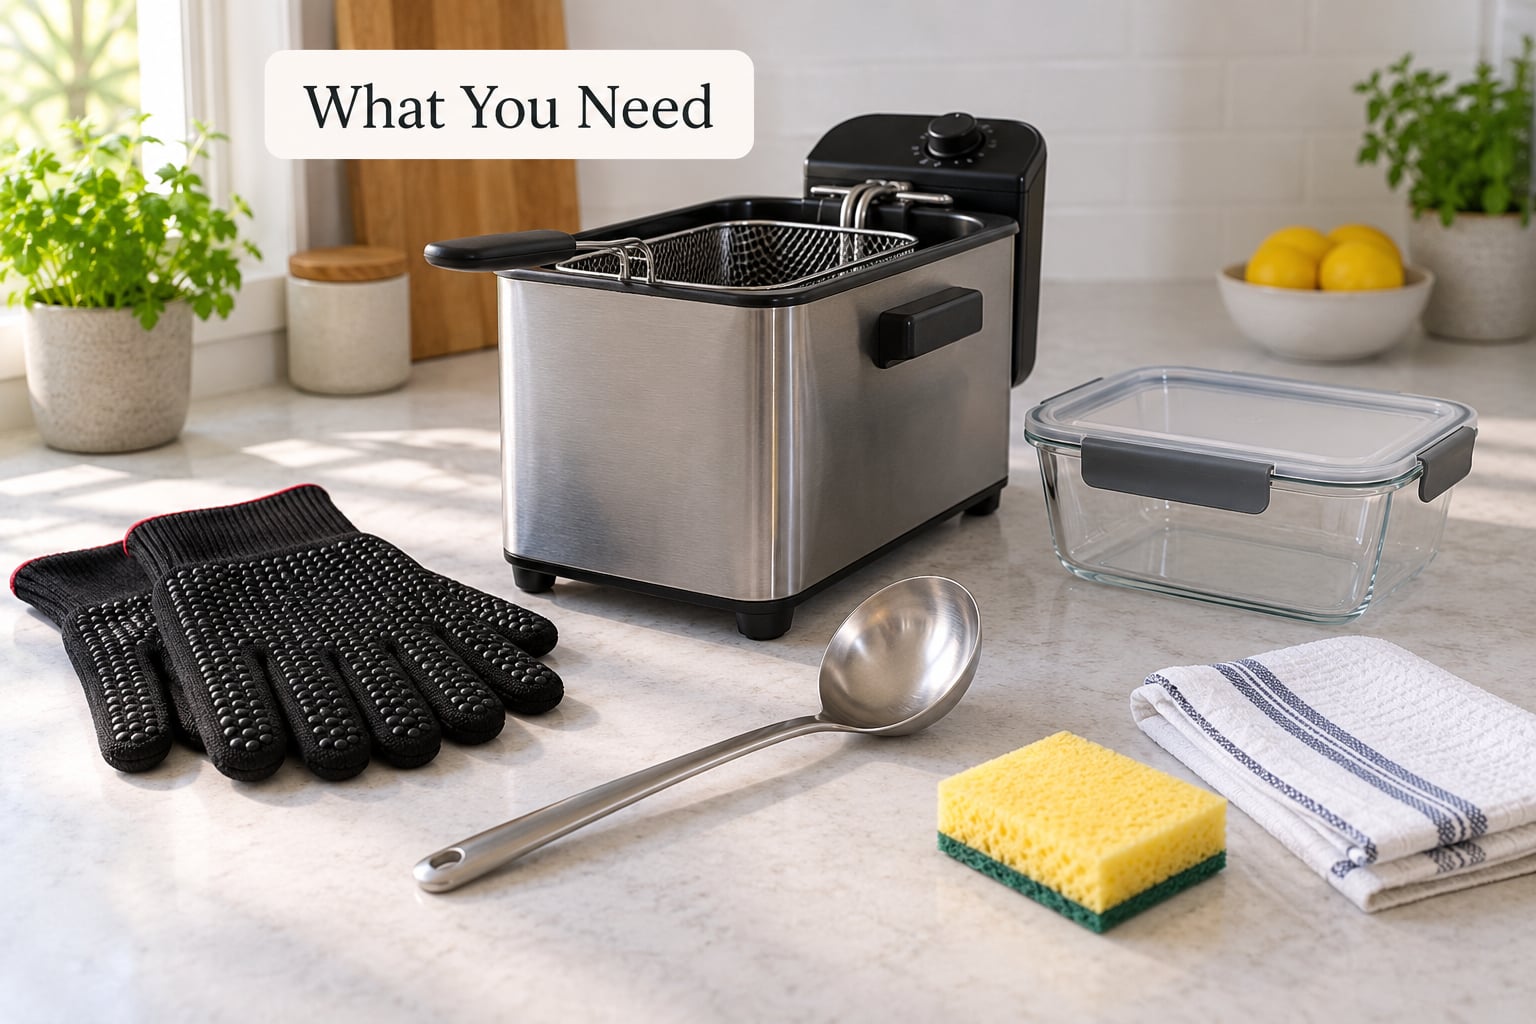
Gather everything before you unplug anything. Halfway through a clean with no spare container means hot oil with nowhere to go.
- The fryer manual. Every manufacturer has its own cooling time, detergent type and cleaning limits. This is the one item you genuinely cannot skip.
- Heat-resistant gloves and a clear area around the fryer, even when the oil feels cool to you.
- A long-handled ladle or a fryer oil siphon for draining.
- Two sturdy containers. One for oil you are keeping, one for oil you are discarding.
- Fryer-safe detergent — a non-caustic fryer cleaner or high-alkaline boil-out product. Dish soap works for removable parts but is not the right thing in the vat.
- A soft brush, nylon sponge or plastic putty knife. No steel wool, no scouring pads.
- Baking soda, warm soapy water and a damp cloth for residue and the exterior.
What dissolves fryer grease depends on the soil. Fresh grease film lifts with warm soapy water. Carbonised grease — the hard black layer above the oil line — needs heat plus an alkaline detergent, which is exactly what the boil-out provides. A paste of baking soda and a little dish soap handles the patches that survive both.
Skip the abrasive powders on bare stainless if you can. Bar Keepers Friend is the usual compromise, and on non-stick or cast iron baskets you want nothing abrasive at all.
How to Clean a Deep Fryer Step-by-Step
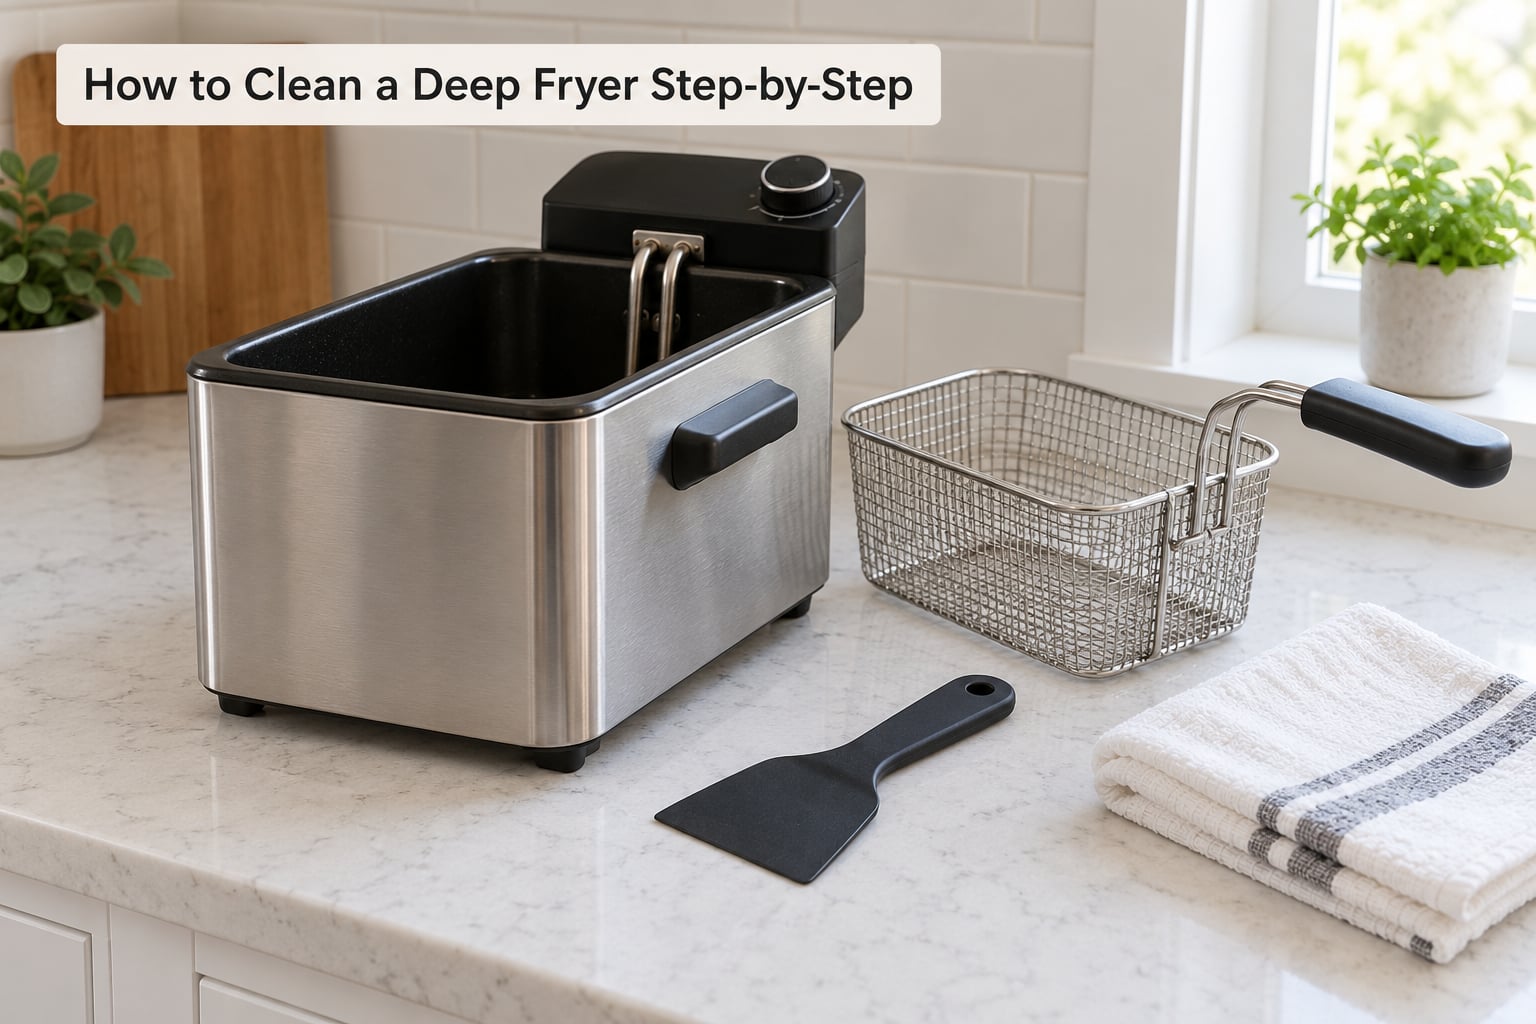
Work through these seven steps in order. Skipping the drying checkpoint in step 6 is how people end up with an eruption on their first batch.
1. Unplug the Fryer and Let It Cool Completely
Switch it off, unplug it at the wall, and wait. Oil, the heating element, the basket and the exterior all need to be fully cool to the touch, and many manuals specify a minimum cooling period of 30 minutes or more. Check yours rather than guessing.
How you can tell it worked: you can hold your hand near the oil surface without flinching and the basket handles are cool on both sides. If any faint warm-air smell remains, ventilate the room before you start.
2. Drain and Filter the Oil Safely
With the fryer cold, ladle or siphon the oil into a heat-safe container, leaving the sediment at the bottom of the vat wherever you can. If your manual allows oil reuse, strain it through a fine mesh filter or several layers of cheesecloth into a clean container.
Never pour fryer oil down the drain. It solidifies in the pipe and is a main cause of sewer blockages. Never pour it into a garbage bag or an ordinary bin either, and never leave it in a clear plastic bottle on the counter.
How you can tell it worked: the vat bottom is bare metal with no sludge left, and you have a lidded container for every drop you drained.
3. Remove the Basket and Removable Parts
Lift out the basket, the utensil rack, the lid and any clips or screens that come free. Handle the basket by its handle and support the base with your other hand, because a loaded basket is heavier than it looks.
Sort the parts into two piles: what you wash by hand and what the manual says is dishwasher-safe. Do not immerse the fryer body, the temperature probe or a fixed heating element unless the manual explicitly says so. Many electric countertop fryers have sealed heating elements that stay put forever, and that is normal.
4. Wash Removable Parts with Warm, Soapy Water
Fill a sink or basin with warm water and dish soap, then soak the basket for 10 minutes. Work the softened residue with a soft sponge or nylon brush, rinse thoroughly, and dry completely.
For stubborn patches, make a paste of baking soda and a drop of dish soap and let it sit for 20 minutes before scrubbing with a nylon brush or an old toothbrush. This is the method that keeps basket steel from pitting and rusting.
How you can tell it worked: no dark film comes off on the sponge and the metal reads as metal, not grey. Avoid steel wool, abrasive pads and sudden temperature swings — hot water onto a cold basket can warp it.
5. Clean the Oil Reservoir and Heating Area
Wipe out loose crumbs and cooled sediment from the bottom of the vat and out of the corners, where it collects in the cold zone under the element. Then do the boil-out.
For the boil-out, with the fryer cold and empty, pour in cold water to the minimum oil line, add the fryer-safe detergent at the dose printed on its label, then switch the fryer on and let the water come to a simmer. Hold it there for 15 to 20 minutes, switch off, and let it cool again before you empty it. Never add water to oil, and never pour boiling water you made yourself into a fryer that is switched off but still warm.
If the element lifts out on your model, pull it straight up once the unit is cold and soak it in hot soapy water, then work it gently with a nylon brush. A green or brown haze on a copper-coloured element is oxidation, not dirt, and wiping it too hard will strip the coating.
Scrub the sides above the fill line separately. The boil-out only reaches the chamber that holds oil, so the vertical walls and the outside of the fryer need their own pass. On a commercial vat, this is the part that keeps kitchen standards inspectors and health inspections happy — what to look for in a clean restaurant kitchen covers the rest of the checklist.
How you can tell it worked: cooled water runs clear when you drain it, and bare stainless is visible under where the carbon used to be.
6. Wipe and Dry the Fryer
Rinse the vat with clean water. If you used a strong alkaline cleaner, wipe it down with a solution of half white vinegar and half water to neutralise the residue, then rinse once more. Line cookers running this weekly say the vinegar soak will lift stains that survive a nightly degreaser clean.
Wipe the exterior, the control panel and the rim with a damp cloth, keeping liquid away from vents and electrical openings. Then let everything air dry, including the basket, the element recess and the drain.
How you can tell it worked: you can run a dry cloth inside the vat and it comes away clean and completely dry. Any moisture left in there erupts the moment hot oil goes in.
7. Reassemble, Dispose of Oil Correctly and Test the Fryer
Reinstall the basket, rack and any removable element, and confirm nothing rattles or sits loose. Take discarded oil to a household hazardous waste site or a used cooking oil collection point rather than the bin or the drain, and seal the container with its lid on.
Before the first real batch, run the fryer empty for a few minutes with the vent open and watch for smoke, moisture or a burning smell. Then start with a small test batch at a lower temperature. A fryer that still smokes or will not heat after a clean has usually got a dry element socket, a saturated vat or a tripped high-limit reset — stop and check the manual rather than repeating the clean.
Common Mistakes
Almost every fryer problem traces back to one of these. The fix is usually quick; the repair is not.
- Cleaning while hot. The number one cause of serious fryer burns. Wait for the full cooling period in the manual.
- Pouring oil down the drain. It congeals in the pipe and blocks it. Filter it for reuse or take it to a collection point.
- Steel wool or scouring pads on stainless. They scratch, and scratches pit over time. Use a nylon brush or a plastic putty knife.
- Submerging the fryer body. Water in the element housing, the probe or the control base means a dead fryer or a shock risk. Wash the removable parts, wipe the rest.
- Reassembling damp parts. Water under hot oil causes a violent spatter. Air-dry everything and check with a dry cloth.
- Storing oil in a flimsy container. A soft bottle or an open can near heat is a spill waiting to happen. Use lidded, heat-safe containers.
- Skipping the manual. Boil-out temperatures, detergent doses and cooling times differ by model. If your fryer has a fixed element, the manual is the only thing that tells you whether you can remove it.
Home countertop fryers need a full deep clean every month or two, more often if you fry breaded food daily. Commercial vats get a cold wipe-down and degreaser scrub at every close, a part-clean weekly, and a boil-out weekly or on every oil change. The rest of the reset — counters, stovetops, splatter cleanup — is in how to clean a kitchen after frying.
Frequently Asked Questions
How often should I clean a deep fryer?
For a home countertop fryer, wipe down the basket and basket rim after every use, and run a full boil-out every month or two. Change the oil after roughly 6 to 8 uses frying vegetables or 2 to 4 uses frying breaded food, since breading cooks off into the oil faster. Commercial vat fryers need a cold degreaser scrub at every close, a part-clean weekly, and a boil-out weekly or at every oil change. Follow your manual if it specifies a stricter interval.
Can I pour old fryer oil down the drain?
No. Fryer oil solidifies inside the pipe as it cools, and it sticks to the walls of the sewer line, which is one of the main causes of blocked kitchen drains. Filter it through a fine mesh strainer or cheesecloth if you plan to reuse it, and store it sealed in a heat-safe container away from heat and light. Otherwise take it to a household hazardous waste site or a used cooking oil collection point. Never put it in a garbage bag or an open bin.
What is the best way to remove sticky residue from a deep fryer?
Soften it first, then scrub it. For removable parts, soak the basket in warm soapy water for 10 minutes, then work the residue with a soft sponge or nylon brush. For carbonised grease inside the vat, run a boil-out: cold water to the minimum oil line, fryer-safe detergent at the label dose, simmer for 15 to 20 minutes, then cool and empty. A baking soda and dish soap paste left on for 20 minutes handles the patches that survive both.
Can I put the entire deep fryer in the dishwasher?
No. Never submerge the fryer body, the control panel, the heating element housing or the temperature probe. Water in those parts means a fryer that will not heat, a corroded connection or a shock risk. Only the basket, lid, rack and any parts your manual labels dishwasher-safe belong in the machine. Wash the vat by hand with warm soapy water or a boil-out, then wipe it dry before refilling it with oil.
Is baking soda safe for cleaning a deep fryer?
Yes, baking soda is safe and it is gentle enough for non-stick coatings and cast iron. Mix it with a drop of dish soap into a thick paste, spread it on cooled grease, leave it for 20 minutes, then scrub with a nylon brush or an old toothbrush. Rinse well and dry completely. It is less effective than a boil-out on heavy carbonised grease, so use it as the second pass rather than the first.
Conclusion
The first thing to do, every single time, is unplug the deep fryer and let it cool completely. Nothing else matters if the oil is still hot.
After that, work the order: drain and filter the oil into a proper container, wash the removable parts on their own, boil out the vat, scrub the walls above the fill line, then dry everything until a cloth comes away clean. Check the manufacturer’s manual for cooling times and detergent doses, dispose of used oil at a collection point rather than the drain, and only reassemble parts that are bone dry.