
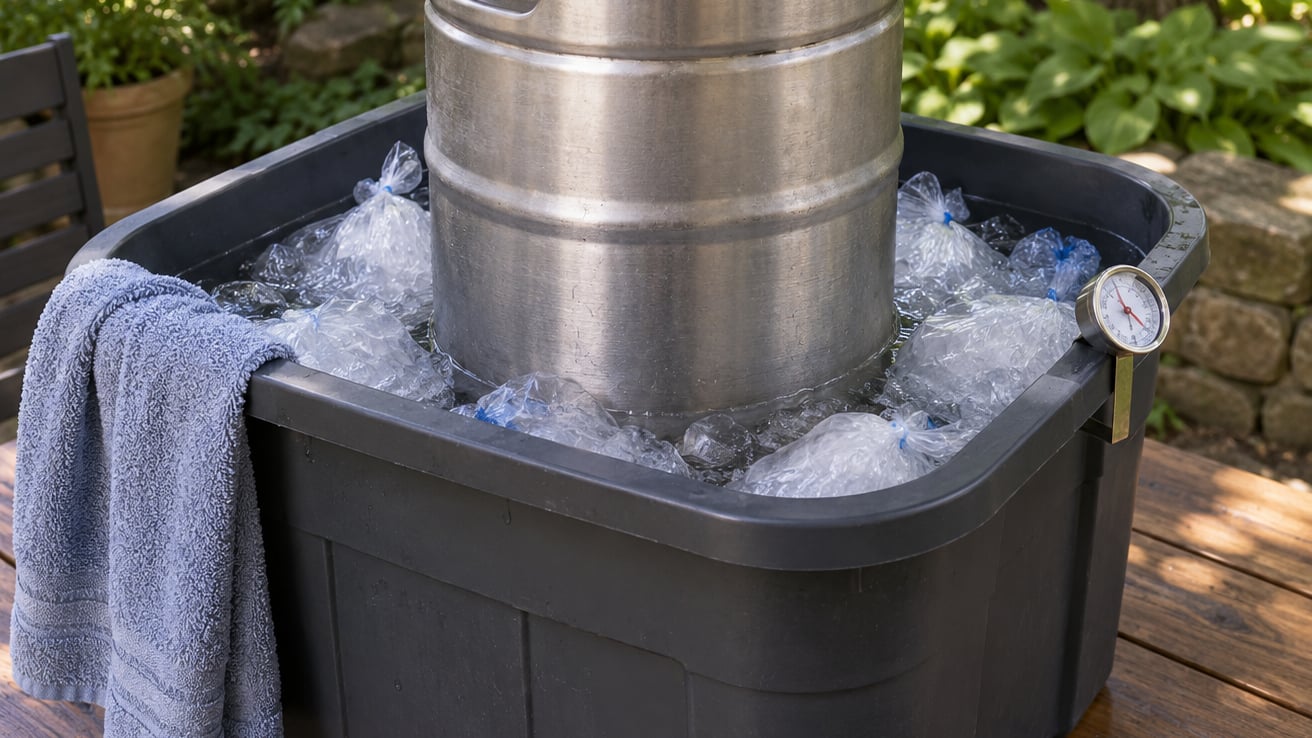
Stand the keg upright in a tub or cooler, bury it in bagged ice, and add water until the ice is surrounded. That ice-water bath is the whole answer, and it holds most lagers and ales in the high 30s all afternoon without a single watt of electricity.
It works because water moves heat far faster than air does. Ice alone touching a keg only pulls heat from one small contact patch, while ice sitting in water touches the entire steel shell. Expect the bath to hold near 34 to 38F, which is the range most beer is meant to be poured at.
The whole job takes about 15 minutes of setup, plus however long your keg needs to reach temperature. Pre-chilling matters far more than any cooling trick, since a warm keg that warms two degrees can take a day to recover.
What You Need
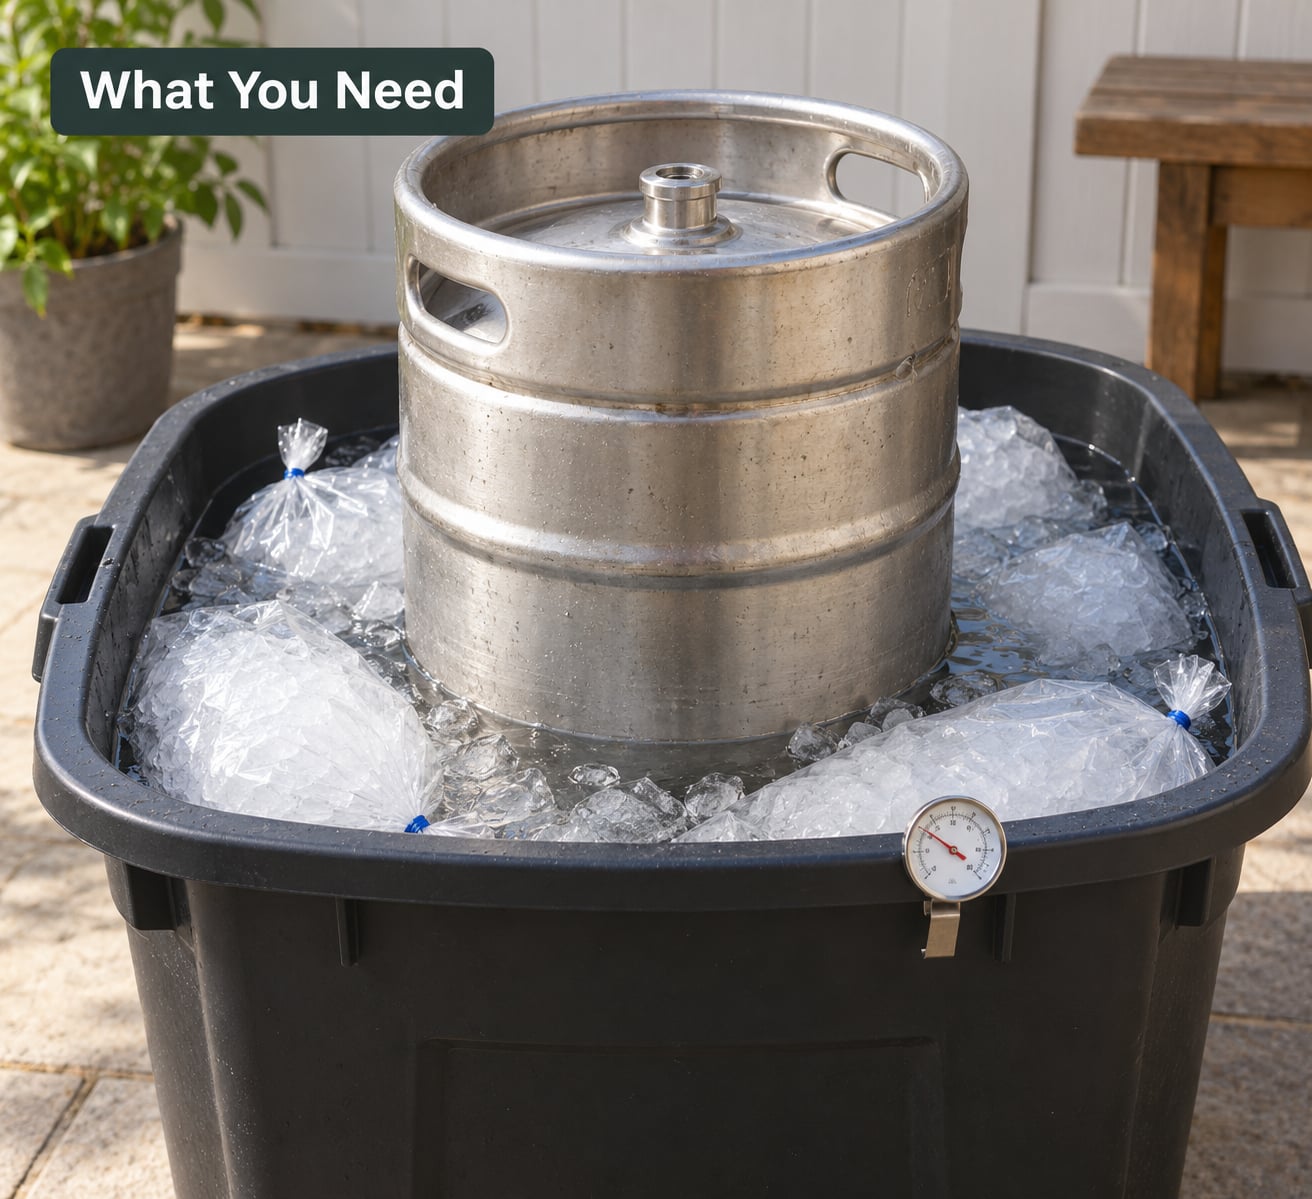
A container with a little more room than the keg. A standard half-barrel is roughly 16 inches wide and 23 inches tall, so a tall kitchen trash can, a large storage tote, or a 60-quart ice chest all work. Homebrew Talk regulars run corny kegs in exactly these containers, and a 60-quart chest fits two five-gallon kegs wedged side by side.
Bagged ice, plus enough clean water to fill the gaps. Dry ice is a separate tool and I will not get into it here, since it accelerates cooling well past what most beer wants.
An independent refrigerator thermometer. This is the single most useful item on the list, because touch tells you almost nothing about a steel keg.
An old towel or blanket for shading the tub, and a plan for meltwater. A container that cannot drain will eventually overflow across your table.
One note before you start: there is no single correct temperature. Lagers and pale ales want to be colder, around 34 to 38F, while stouts, sours, and Belgian ales are usually better in the low to mid 40s. Pick your target first, then watch for it.
Step-by-Step: How to Keep a Keg Cold Without a Fridge
1. Choose an Ice-Water Bath Setup
Put the container somewhere level, in shade, as close to where you will tap as possible. Moving a pressurized keg around is how you end up with agitated beer and a foamy first pour, so decide the final position before the keg goes in.
Fit the coupler and any electric or CO2 components above the rim so nothing but the keg body sits in the water. If the coupler is down at keg height, seal it well and expect to manage the hose out of the bath.
Test the fit: the keg should sit centered with a couple of inches of space on every side for the bath to circulate. A test of success is simple. If you cannot fit a hand and a layer of ice between the keg and the wall, the container is too small and the ice contact will be patchy.
2. Add Ice and Water Before Inserting the Keg
Fill the container about halfway with bagged ice first. Then set the keg in the middle, standing upright. Add clean cool water until the ice is surrounded, aiming to cover roughly two-thirds to three-quarters of the keg body.
That water layer is the point. Loose ice conducts heat better than a solid ice-only pile, so the two together pull warmth from every square inch of steel rather than from the bottom ring. The Brewers Association guidance that circulates through most homebrew circles lands on the same target: 38F.
If the keg needs faster cooling, add salt. Homebrewers on the forums land on about a cup of salt per 5 gallons of bath water, and a few handfuls in a full trash can works. Salt lowers the freezing point of the water, so the bath drops below 32F and keeps pulling heat out. It also makes a mess, so put a towel down first.
Test of success: ice should still be visibly present and slushy, not floating as neat cubes in clear water. If you can see through the bath, add more ice.
3. Let the Keg Chill and Check Its Temperature
Now wait. A keg that started at room temperature needs several hours in a well-built bath to reach serving temperature, and most people underestimate this badly. A keg stored warm overnight and dropped into a bath in the morning can still be above 45F at lunchtime.
Clip the thermometer to the keg wall or the tub rim and check every 30 to 60 minutes. If the bath water is holding 34 to 38F and the keg has had a few hours, you are there. If the bath itself is climbing, the ice budget is too small.
Warm beer also tells you things beyond flavor. It pours foamy because warmer CO2 pressure drops gas out of solution less efficiently, and it goes flat faster because the carbonation escapes at the headspace. Both are the reason a serving-temperature target beats a guess.
Test of success: the thermometer reads your style target, and the first pour off a brief tap-off comes out flat and clear rather than all foam.
4. Keep the Bath Cold and the Keg Stable
Kegs float and tip, which is the most common complaint from people running their first ice bath. Weight the keg down with a cinder block, a bag of sand, or a couple of sealed jugs of water, and keep the weight off the spear and the coupler.
Check the bath every hour or so. Top up with ice and a little cool water when the ice disappears. If you see meltwater rising near the rim, scoop some out or siphon it, because a floating keg sitting in half a tub of water is exactly the failure you are trying to avoid.
In direct sun, drape the towel or blanket over the top and sides. Evaporation off damp fabric pulls heat out of the air around the tub, and it does more work in dry heat than in humid weather, where the air is already saturated.
Test of success: ice is still present in the bath and the water reads several degrees below the temperature of the air around the container. Those two facts together mean the bath is working.
5. Serve Gradually and Respond to Warming
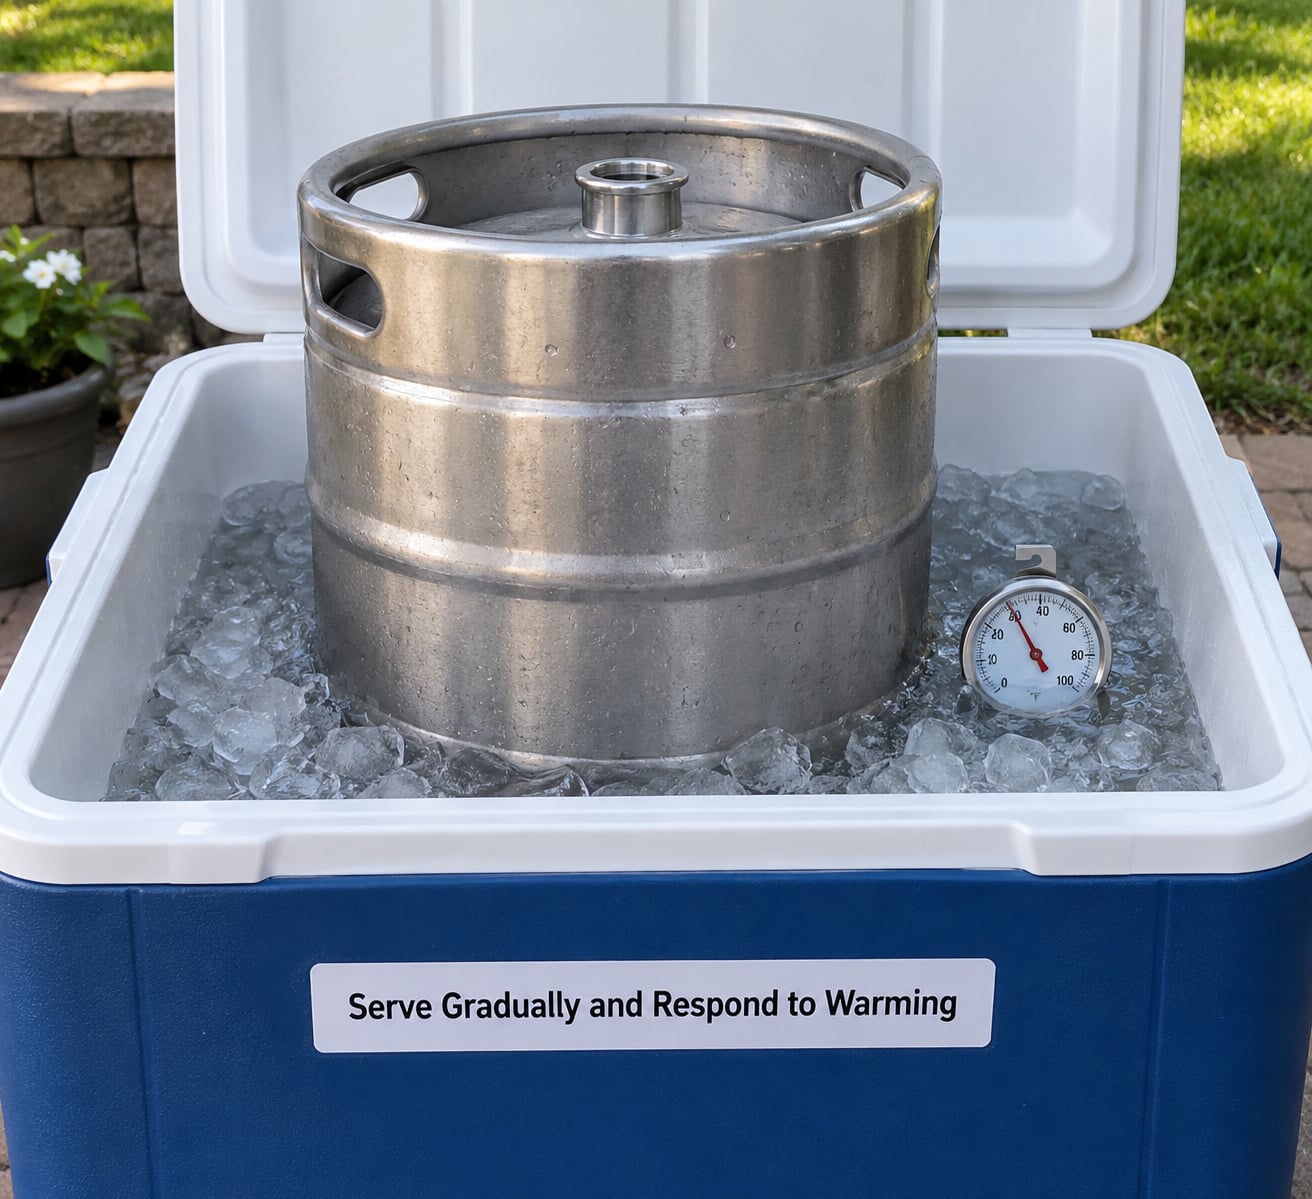
Pour slowly and let the tap run a quarter-second before you start filling a glass. If the foam head keeps growing past an inch, the beer is above temperature or the line is too warm, so add ice around the keg rather than inside it. Ice dropped into the keg dilutes the beer and makes the pour hard to handle.
Do not tap the keg repeatedly. Every pull lets a little pressure escape and lets warm air into the headspace, and that is how a cold keg becomes a warm one faster than the ice can fight it.
Give yourself a threshold. If the bath water reaches 45F, add ice before anyone notices, and move the tub into shade or indoors if the air temperature is climbing. By the time the beer tastes warm to a guest, the bath has usually been failing for an hour.
Test of success: glasses at the end of the first hour look identical to glasses at the end of the fifth. That is the whole game.
Common Mistakes
Ice with no water. This is the number one failure and it is easy to miss, because a tub packed solid with ice feels like the cold option. Ice alone has poor contact with the keg, so it drops the bath temperature far less than an equal amount of slushy ice and water.
Overfilling the tub. Leave headroom. Water expands when it freezes, and a container filled to the brim has no room for the bath to work once the ice settles.
Submerging the whole keg. Keeping the coupler above the bath line makes the setup far easier to serve from. If the coupler must sit low, check it for leaks before you walk away.
Freezing the beer. An uninsulated bath in a hard frost can drop a keg below its freezing point and burst it, and frozen beer tastes wrong long after it thaws. A working bath holds around 34F, well above freezing. Adding salt pushes it further, so use restraint there.
Shaking or dropping a pressurized keg. Moving it more than the setup requires stirs the beer, and agitated beer pours foam, goes cloudy, and tastes off. Set the tub where you want it and leave the keg alone.
Leaving it in direct sun. Sun loads the tub with heat faster than the ice can pull it out. Shade first, evaporation second.
Judging temperature by touch. A steel wall feels cold long before the liquid inside is at temperature, and it feels warm when the middle is still cold. Use a thermometer and stop guessing.
Pouring too fast. Fast pours foam, and foamed beer is wasted beer. Slow the pour and give the glass a moment to settle before you judge the head.
One more thing that trips people up: warm lines cause the same foamy pour as warm beer, even when the keg is properly chilled. A long beer line running through hot air will warm the beer inside it. Keeping the line short and shaded fixes a surprising share of foam problems.
If you are hosting in hot weather and the beer is only one part of a long cooking day, how to keep a kitchen cool while cooking in summer covers the same idea for your stove and your house.
Frequently Asked Questions
How long does it take to chill a warm keg in an ice bath?
A room-temperature half-barrel needs roughly 6 to 12 hours in a good ice-water bath to reach the high 30s, and a full day is a safer target if you can manage it. A keg that started at fridge temperature needs only 30 to 60 minutes to settle into the bath. This is why pre-chilling overnight in a home fridge with the shelves pulled out is the step people repeat most often.
How much ice and water do I need for one keg?
For a standard half-barrel, plan on about 60 to 80 pounds of ice, which is roughly four to five 20-pound bags, and enough water to cover two-thirds to three-quarters of the keg body. A sixth-barrel or sixtel needs about 20 pounds, and a five-gallon corny keg about 15 to 20. Buy more than you think, since running out at hour three is the most common complaint.
Can I add salt to the ice bath around a keg?
Yes, and it is a useful trick when you need a faster drop. Homebrewers settle on about a cup of salt per 5 gallons of bath water. Salt lowers the freezing point of the water so the bath can drop below 32F, which pulls heat faster and holds colder longer. The tradeoffs are a messy table and a bath that can run colder than some delicate beer wants, so use it in moderation.
How long can a keg stay cold in a cooler without a fridge?
A pre-chilled half-barrel in a well-built ice-water bath holds serving temperature for most of an 8 to 10 hour day if you keep the bath replenished. A keg that started warm may only stay acceptable for three or four hours. Unopened commercial beer is shelf stable, so the risk is pouring quality rather than safety, though any keg that has already been tapped will start losing carbonation once air gets in.
Does an ice-water bath work for sixtels and mini kegs?
It works better, because there is less liquid to chill and a much better ice-to-beer ratio. Smaller kegs also need less ice, so a fifth of the ice buys the same duration. A five-gallon Homer bucket or a medium tote is usually a better fit than a large trash can, since too much empty space wastes ice. Many people freeze plastic water bottles in advance to use as reusable cold mass.
Conclusion: Start With an Ice-Water Bath
If you take one thing from this guide, do the simple version. Set the keg upright in a container, surround it with ice and water, and check the temperature with a thermometer instead of your hand. Everything else is refinement.
Pre-chill ahead of time whenever you can, keep the bath replenished through the day, and pick a target that suits the beer rather than aiming at a single number for everything. That is enough to pour cold beer without a fridge.