
Grease comes off kitchen cabinets with warm water and a few drops of degreasing dish soap, applied with a wrung-out microfiber cloth and worked from the top down. Most doors clean up in under an hour once you match the cleaner to the finish. The whole job takes 45 to 90 minutes for a full kitchen, it is beginner-level work, and there is one caution that matters more than any other: test whatever cleaner you use on a hidden spot first.
The finish decides everything. A laminate door can handle a baking soda scrub that would dull a satin-painted one, and a strong alkaline degreaser will strip the sealant on sealed wood, which is how cabinets end up looking worse than when you started. Start gentle and work up only if the soap water leaves grease behind.
Table of Contents
- What You Need
- Step-by-Step: How to Degrease Kitchen Cabinets
- Common Mistakes
- Frequently Asked Questions
- How do I remove sticky grease from kitchen cabinets without damaging the paint?
- What is the safest degreaser for kitchen cabinets?
- Can I use baking soda or vinegar on painted kitchen cabinets?
- How do I remove a greasy smell from wooden kitchen cabinets?
- How often should kitchen cabinet doors be degreased?
- Conclusion
What You Need
Most kitchens already have everything you need. Grab these before you start so you are not stopping mid-job with a greasy cloth in one hand.
- A degreasing dish soap — the kind that leaves a white film in hard water is fine; it means surfactants are doing their job.
- Three microfiber cloths — one for soapy water, one for the clean rinse, one dry for buffing. Mixing these up is what causes sticky cabinets.
- A soft-bristled brush or an old toothbrush for hinges, pulls, knobs and shaker-style door edges.
- A bowl and a soft sponge or cloth for mixing.
- Optional: baking soda, distilled white vinegar, or a kitchen-labeled degreaser for baked-on grease.
- Drop cloth or plastic sheeting to protect counters, floors and the wall behind the door swing.
Here is the matching that saves people from damaged finishes. Match the cleaner to the front, not to the grease.
| Cabinet front | How it usually feels | Start with | Skip |
|---|---|---|---|
| Painted or lacquered | Smooth, uniform, slight sheen | Warm water and dish soap | Vinegar, baking soda scrub, melamine foam |
| Sealed or stained wood | Visible grain or open pores | Warm water and dish soap | Soaking, steam, olive oil, strong alkaline products |
| Laminate or veneer | Flat, printed pattern, no grain | Dish soap, then baking soda paste for film | Abrasive powders, steel wool |
| Glass or mirrored inset | Hard, reflective, cool | Dish soap on a damp cloth, never sprayed directly | Spraying liquid near the edge, paper towels on glass |
| Metal or lacquered hardware | Cold, hard, sometimes textured | Diluted vinegar solution on a toothbrush | Chlorine bleach on any coated metal |
Test in the least visible spot you can find — the back edge of a door near the hinge, or the side panel facing a wall. Dampen the cloth with your cleaner, dab a small area about the size of a coin, and wait 15 minutes. If the color, sheen or texture shifts at all, you have your answer before you touch a whole door.
Step-by-Step: How to Degrease Kitchen Cabinets
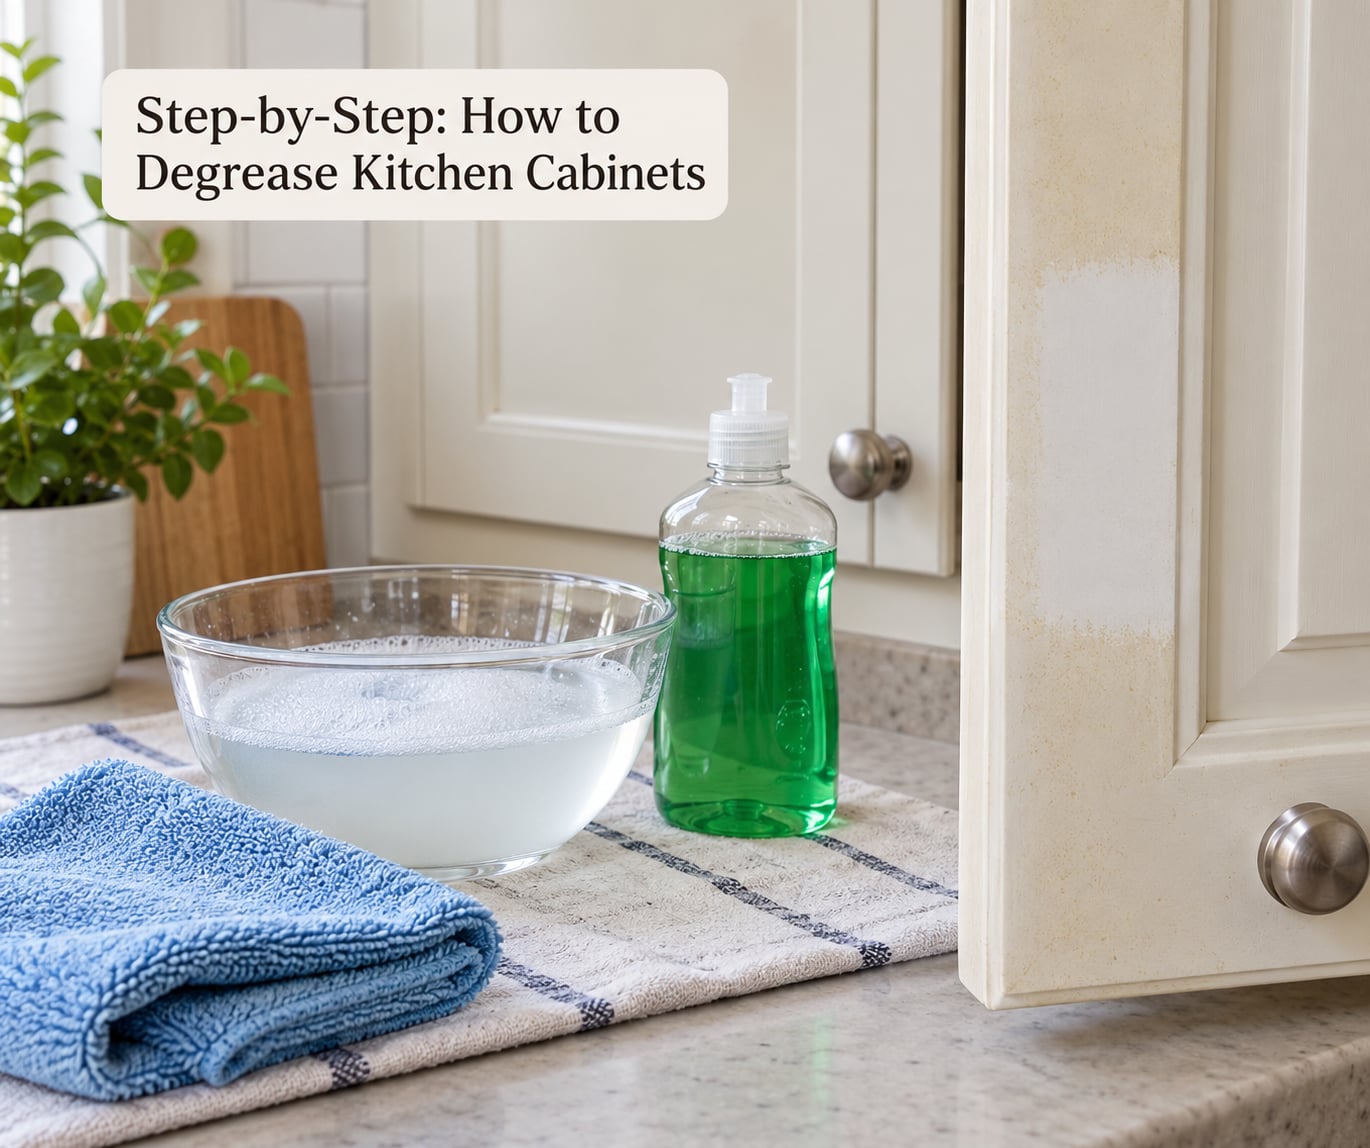
Read all five steps once, then follow them in order. The order matters more than the products, because most failed cabinet cleanings are sequencing failures rather than the wrong cleaner.
1. Identify the cabinet finish and patch-test the cleaner
Run a fingernail lightly across an inconspicuous spot. If the surface feels like painted drywall, it is painted or lacquered. If you can see grain and the surface absorbs a drop of water in a few seconds, it is bare or stained wood. If the pattern has no depth and the edge looks like a printed layer, it is laminate.
Patch-test whatever cleaner you plan to use, including plain soapy water if the cabinets are painted. Wait the full 15 minutes. A patch test that only takes 30 seconds tells you nothing, because most finishes do not react instantly.
2. Remove items and protect the kitchen
Pull everything out of the drawers and cabinets, including shelf liner. Cover the counters, the floor and the wall behind the doors with a drop cloth, because damp cloth edges drip and that is where warping starts.
Wipe the fronts once with a dry paper towel to lift loose surface grease before any liquid goes on. Dirt on top of grease turns into a slurry, and you end up pushing it around instead of removing it. Crack a window or run the range hood fan, and never have two cleaners open at the same time.
3. Wash the cabinet fronts with mild soapy water
This is the gentlest method and the right first move on any finish. Put a few drops of dish soap in a bowl of warm water and stir it. Do not add more soap hoping for more cleaning power — extra soap is the single biggest cause of sticky cabinets later.
Soak your microfiber cloth in the bowl, then wring it out until it is damp and dripping stops. Wipe in short strokes following the grain or the length of the door, starting at the top and working down so you are not pushing grease into clean areas below.
Loosen stubborn grease with the soft side of a sponge, keeping the surface only damp. Never let water sit on a seam, an edge or the back of a door, and never let a wet cloth sit in a shaker groove.
4. Degrease kitchen cabinets with baking soda, vinegar or a labeled degreaser
If soap water was not enough, escalate one step at a time. These three options are genuinely different, and the finish decides which one you use.
- Baking soda paste — mix one part baking soda with one part warm water to a thick paste. Apply with a soft cloth in short strokes, let it sit 5 minutes, then wipe. It works well on laminate and on glass inserts, and it will scuff satin paint, so keep it off painted doors.
- Distilled white vinegar solution — mix one part distilled white vinegar with three parts water, apply to a cloth rather than the door, and never combine it with bleach or ammonia. Use it on glass, metal hardware and laminate only. Acid dulls paint and etches unsealed wood, and it can leave dark tannin marks on raw oak and pine.
- A kitchen-labeled degreaser — the only sensible choice for years of baked-on grease above the range. Follow the label dwell time, open the window, and keep the product off painted and sealed wood unless the label says the finish is safe. Work one door at a time so you are not cleaning over a wet, sticky lower door.
For a homemade batch, mix one cup distilled white vinegar with a quarter cup of liquid castile soap in a large measuring jug first, then dilute with warm water and pour it into a spray bottle. Add water slowly, since soap and vinegar foam hard and overflow small bottles. That mixture is a good fit for laminate and metal, and a poor one for painted or sealed wood.
5. Remove residue, dry, and inspect the finish
Every method ends the same way. Take a second clean microfiber cloth, wet it with plain water, wring it out, and wipe the door until the cloth comes away without a film. That second pass is what removes soap residue, and skipping it is why so many people say their cabinets stayed sticky right after a careful clean.
Dry immediately with the third dry cloth, then again a few minutes later. Open the doors and leave them ajar for an hour. Walk the room looking for a dull patch, a squeaky-feeling swipe or a spot where the sheen changed, and go back over it with a clean damp cloth.
Use the old toothbrush on hardware, hinge cups and shaker grooves, where grease collects out of reach of a flat cloth. Then wipe the surfaces people forget: the tops of the upper cabinets, the side panels beside the range, the narrow gap above the cooktop, and the toe kicks. If the smell lingers after the grease is gone, our guide to getting grease smell out of a kitchen covers the vent and filter side of it.
Add a protective treatment only if the cabinet maker says so. Some oil-based cabinet finishes and some warranty agreements are voided by an unsolicited oil or polish.
Common Mistakes
Nearly every problem I get asked about comes down to one of these. Each has a simple fix.
- The cloth is too wet. A dripping cloth drives water into seams and edges, which is how wood swells and paint fails. Fix: wring the cloth until dripping stops, and work on the face of the door rather than the edge.
- Skipping the patch test. The failure shows up a week later as dull paint. Fix: 15 minutes on a hidden spot with the exact product you plan to use.
- Mixing cleaners. Bleach plus vinegar makes chlorine gas, and bleach plus ammonia makes a gas that injures lungs, even in a well-ventilated room. Fix: one cleaner at a time, and rinse the cloth between products.
- Too much dish soap. The extra suds have nowhere to go but onto the surface. Fix: a few drops per bowl, and a full rinse cloth afterwards.
- Scrubbing glossy or distressed finishes in circles. Circular strokes leave visible swirl marks under raking light. Fix: straight strokes with the grain, and soft hands on anything satin or gloss.
- Stopping at the face of the door. Grease films collect on edges, hinge rails, and the panel above the range. Fix: give those areas a deliberate pass with the toothbrush.
- Using strong alkaline cleaner repeatedly on wood. It strips the finish in three or four uses and dulls the color permanently. Fix: save commercial degreaser for baked-on grease, and use it sparingly.
- Skipping the rinse cloth. This is the sticky cabinet problem. Fix: always finish with a plain damp cloth, then a dry one.
The cheapest prevention is not a stronger product. If you fry often, wipe the range gap and cabinet sides with a damp soapy cloth right after cooking instead of letting it harden for a week. Our step-by-step on cleaning a kitchen after frying covers the rest of the wipe-down.
Frequently Asked Questions
How do I remove sticky grease from kitchen cabinets without damaging the paint?
Warm water with a few drops of dish soap, applied with a wrung-out microfiber cloth, lifts sticky grease without touching paint. Work top-down in short strokes and finish with a clean damp cloth so no soap film remains. If grease has hardened into a tar-like film, use a soft sponge instead of a cloth and take your time. Skip baking soda, vinegar and melamine foam on painted doors, since all three will dull the finish.
What is the safest degreaser for kitchen cabinets?
Warm water and a small amount of degreasing dish soap is the safest option for almost every finish, because it is mild, rinses clean and costs very little. A pH-neutral cleaner in the 6 to 8 range is the next safest step up for heavy buildup. Anything labeled for grease on stove tops or oven racks can be alkaline or strongly acidic, so check that the label names painted, sealed or wood surfaces before using it.
Can I use baking soda or vinegar on painted kitchen cabinets?
Baking soda is mildly abrasive, so it can scuff satin or semi-gloss paint, and vinegar is acidic enough to dull it and leave dark marks on raw wood. Both are fine on laminate and on glass inserts. On painted doors, stick to dish soap and water, test a hidden spot first, and dry the door promptly. If the doors are peeling or already worn, cleaning will not restore them and refinishing is the only real fix.
How do I remove a greasy smell from wooden kitchen cabinets?
The smell is usually trapped grease rather than the wood itself. Remove the source first: pull out every item, then degrease the interiors, back panels, drawer boxes and hinges, not just the doors. Leave the cabinets open with a bowl of baking soda or activated charcoal inside for a few days. Check the range filter and hood duct, since a greasy filter will re-odor the whole kitchen no matter how clean the cabinets are.
How often should kitchen cabinet doors be degreased?
Wipe the doors and hardware with a damp soapy cloth about once a week, more often if you fry often or cook with lots of steam. Do a full degreasing pass every three months, including interiors and the gap beside the range. If a door above the stove has a visible film or a sticky patch, clean it now rather than waiting for the quarterly round. Grease that sits for months hardens and turns much tougher to remove.
Conclusion
Start by identifying your cabinet finish and patch-testing warm water with a few drops of dish soap on a hidden edge. That single method handles the majority of grease on most kitchens. Escalate to baking soda on laminate, vinegar on glass and hardware, or a labeled kitchen degreaser only when soap water leaves something behind. Whatever you use, keep the cloth damp rather than wet, never mix cleaners, and finish every door with a clean damp cloth and a dry buff. If you are aiming for the standard a clean commercial kitchen is held to, that same discipline is what gets you there.