
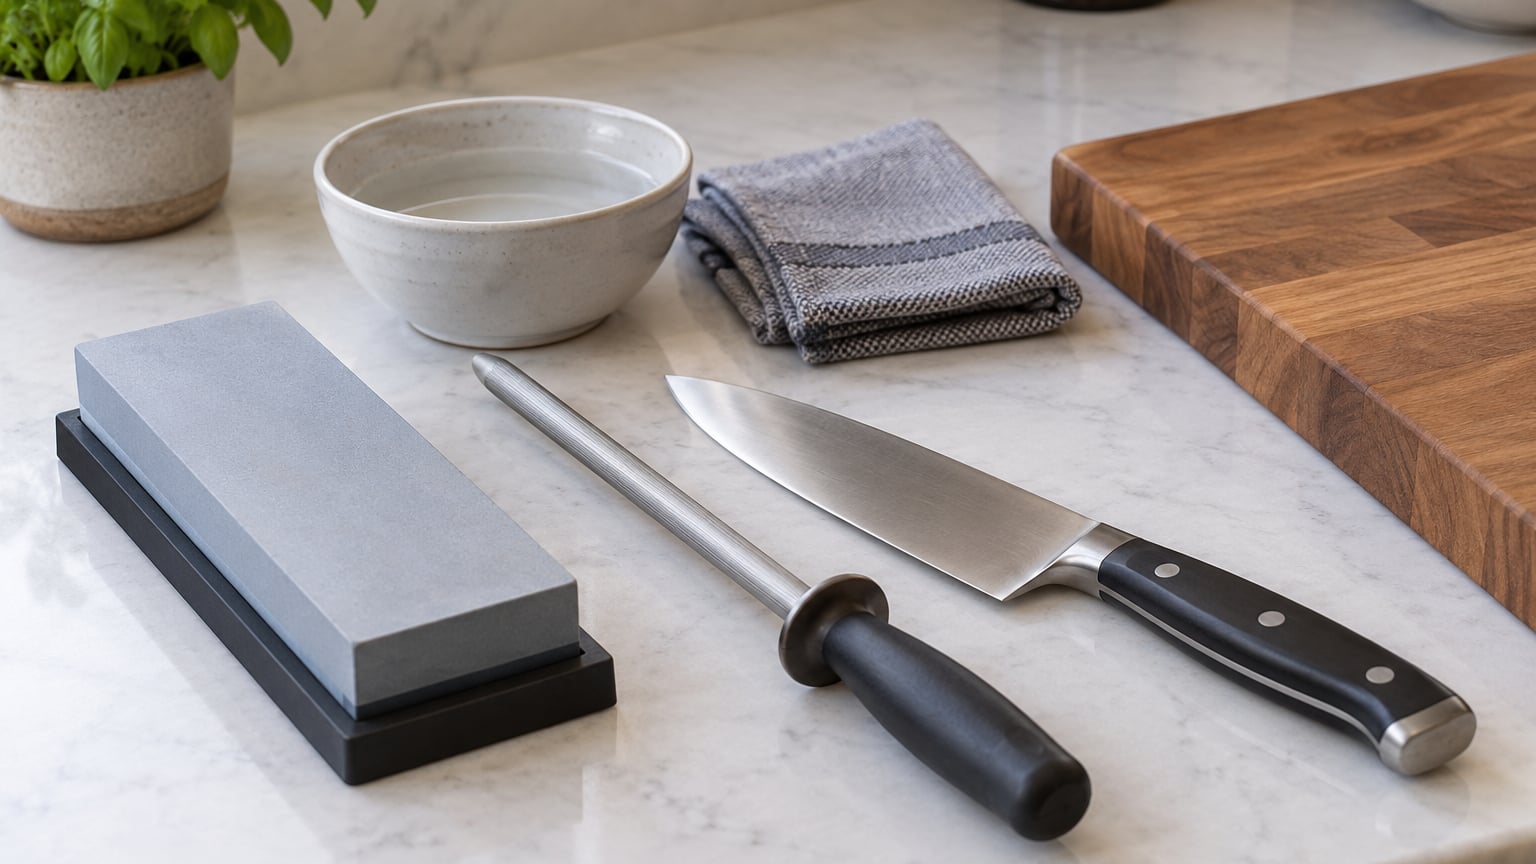
A dull knife does not cut, it saws and slips. To sharpen one, you grind fresh steel into both sides of the edge at a steady 15-20 degree angle until the two faces meet in a fine point, then refine it with finer grit. A whetstone takes 10 to 15 minutes per knife. Slow it down and the biggest risk is your thumb, so read the safety notes before you start.
I keep two tools within arm’s reach of the sink: a 1000 grit waterstone and a honing rod. The rod keeps an edge honest between sessions, the stone resets it when the rod stops helping. Everything below is what a home cook actually needs, with the fiddly bits trimmed.
What You Need
Three things cover almost every home kitchen, and only one of them is complicated to buy. Start with a stone, add a rod, and keep a damp towel nearby for your hands and the stone’s surface.
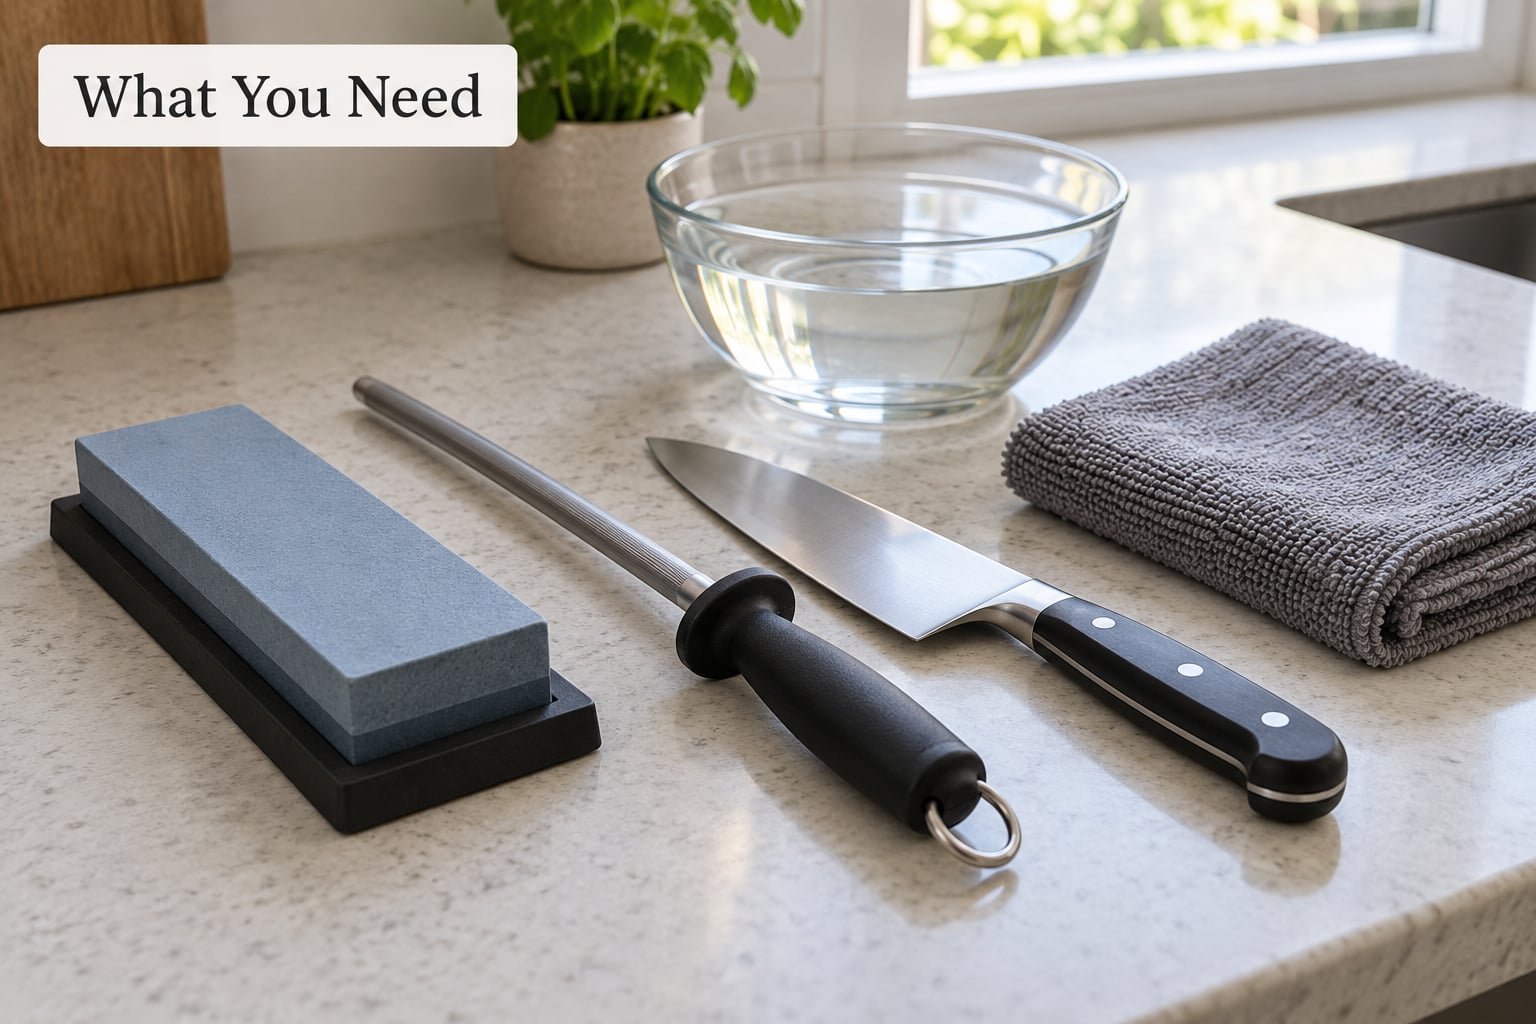
- A whetstone with a coarse and a fine side. A 400/1000 grit combination stone covers everything from a neglected edge to routine work. Water stones need soaking for 5 to 10 minutes; oil stones need a few drops of oil instead, never water.
- A honing rod. A plain steel rod straightens a rolled edge. Ceramic and diamond-coated rods cut more slowly but polish as they go.
- A damp folded towel. It stops the stone sliding and gives you a non-slip base. A rubber dish mat or a wet paper towel under the stone works just as well.
- A bowl of water and a paper towel. For keeping the stone wet and drying the blade the moment you finish.
- A decent cutting board. Glass, marble and slate will dull an edge in a single session. End grain wood or a good composite board is worth the swap.
You do not need a whole rack of stones to start. Plenty of beginners get a usable edge from 300 grit sandpaper laid over a mousepad, which costs almost nothing and teaches you the feel of a consistent angle.
If you cook with oil in a hot pan, keep the knife work station clear of it and follow our kitchen safety tips for cooking with hot oil so sharpening and frying never happen at the same time.
Step-by-Step: How to Sharpen a Kitchen Knife with a Whetstone
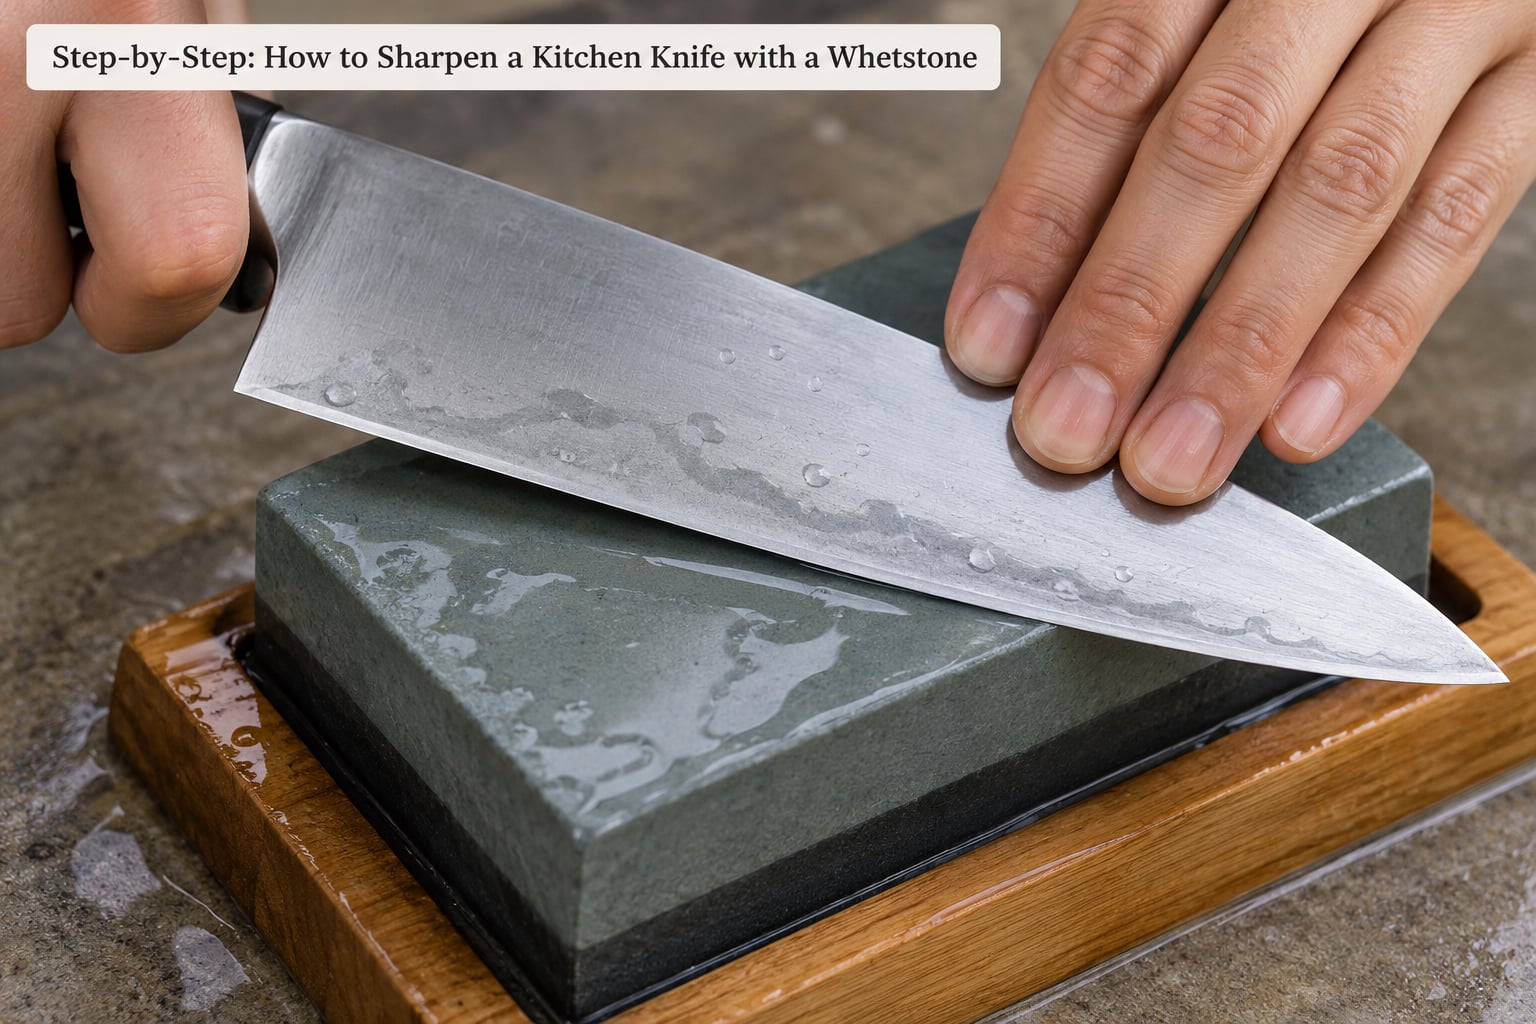
Soak the stone for 5 to 10 minutes, wet the blade, and sharpen each side at a steady 15-20 degree angle, moving to the finer grit side only once you have a full burr on the first. A complete session takes 10 to 15 minutes on a 400/1000 grit combination stone.
Step 1: Set Up Your Whetstone Safely
Put the coarse side up, add water until the surface looks wet and slightly glossy, and let it sit. The stone should feel cool and slippery, not dry and slick.
Wrap a damp towel around the base and set it on a non-slip surface, then add a few drops of water on top. If the stone creeps while you work, you are going to lose your angle, so stop and fix the base before going further.
Check your knife before you start. A straightedge or another knife held flat against the blade should show light along the whole length. If daylight appears in the middle, the blade has a wobble and needs professional straightening before freehand sharpening.
Step 2: Establish the Sharpening Angle
Hold the blade against the stone at roughly 15 to 20 degrees per side. You cannot eyeball this well, so use one of three tricks.
For a visual gauge, lay the knife on the stone on its side and check the gap between the blade face and the stone surface. A 15 degree angle leaves a gap about the width of a dime at the spine. Marking the edge with a black Sharpie and lightly running the blade across the stone works even better, since the marker shows you exactly which part of the edge is touching.
Angled sharpening systems with a fixed guide remove the guessing entirely. They are slower and they can create a hollow bevel on a Japanese knife, but for a first attempt on a German chef’s knife they are the least frustrating route.
Step 3: Sharpen One Side at a Time
Work with the edge trailing, push the blade forward and slightly across the stone, lift at the end, reset. Start at the base of the blade near the bolster, use light pressure, and travel to just short of the tip.
Pressure is where most beginners lose the edge. Push hard and you grind a fast bevel in seconds that takes months to fix. Let the stone do the cutting, keep your grip loose, and let the knife’s own weight work through the stroke.
Watch the tip as you go. Rising all the way to the very point on every stroke rounds it off, and a rounded tip will never pierce an onion skin cleanly. Lift the knife slightly at the last half inch, or sharpen the tip deliberately with a few careful strokes.
Every few strokes, wipe the stone clean. Grey slurry that turns to paste slows the cut, and lifting the paste away shows you whether a burr, a wire of loose metal, has formed along the edge. You want a burr on one side only before you flip. No burr means your angle is too steep or your stroke is too light.
Once the burr runs the full length of the edge, switch sides and repeat. Go duller-to-finer rather than finer-to-duller: 400 to 1000 gives a cleaner result than 1000 to 400 because the coarse grit has an easier job.
Step 4: Finish and Test the Edge
Remove the burr by taking two or three light strokes on the fine side, then two or three on a folded newspaper or a piece of denim to knock the wire edge off. A stropping compound on a leather paddle does the same job and polishes the edge at the same time.
Test it on a sheet of paper torn from the top edge. If it slices cleanly through several inches without tearing, you have a burr-free edge. A ripe tomato or a thumb across the skin is the fastest kitchen check.
A 400/1000 grit stone leaves an edge that is plenty sharp but a bit toothy, which suits meat and vegetables. Add a finer stone, around 3000 to 8000 grit, or strop on leather when you want a clean slice on soft produce.
How to Use a Honing Rod Correctly
Honing straightens an edge that has rolled over from use, and it removes almost no metal. It is weekly maintenance, not a rescue job, so use it on a knife that is already reasonably sharp.
Hold the rod at a shallow angle in your non-dominant hand, heel down and tip up, with the tip resting in your palm. Bring the knife in at roughly 20 degrees, with the tip meeting the tip of the rod.
Use light strokes with the edge trailing, moving from heel to tip and back down to the heel. Three strokes per side, then switch sides, and keep repeating until you feel the burr disappear under your fingertip. Going from heel to tip every single time grinds the tip into a curve.
Clean the rod with a dishcloth after use, especially a ceramic or diamond one, because metal grit left in the grooves will nick the knife’s edge the next time you hone.
What honing will not do is put steel back. Once a blade needs more than a few minutes on the rod, the apex itself is worn away and only a stone will fix it.
Common Mistakes That Ruin a Knife Edge
Almost every ruined edge traces back to one of five habits, and every one of them has a simple fix. Here is what goes wrong and what to change.
- Guessing the angle. Too steep gives you a toothy 25-30 degree edge that dulls fast. Fix: mark the edge with a Sharpie or use a fixed-angle guide until the angle feels automatic.
- Heavy pressure. Pressing hard removes far more steel than the job needs and creates a deep grind you cannot undo. Fix: use bare hand weight and let the strokes run slow.
- Sharpening instead of honing. Running a knife through a full stone session every week is how a good blade goes thin. Fix: rod it weekly, stone it only when the paper test fails.
- Rounding the tip. Every full stroke over the point leaves the tip blunt. Fix: lift slightly for the last half inch and check the tip against a fingertip after finishing.
- Leaving a wire edge. A burr that never gets removed feels razor sharp for a minute, then folds and the knife seems to lose its edge overnight. Fix: two light finishing strokes, then a strop or a fold of newspaper.
A sixth one catches nearly everyone: cutting on glass or stone boards. No amount of sharpening survives a granite counter. If your knife dulls within two sessions, the board is the culprit, not your technique.
Electric sharpeners sit in this list too. They are fast and they work, but the wheels remove a substantial amount of steel every pass, and several models leave a slightly convex edge that slices less cleanly than a hand-finished one.
How to Keep a Kitchen Knife Sharp
Most of the work is in the wash-up, not at the stone. A short routine keeps a good edge for months instead of weeks.
Wash knives by hand in warm, soapy water, then dry them immediately with a towel. Dishwashers hit blades with abrasive detergent and knock them against other cutlery, and the single most common cause of fast edge loss is a knife going into the dishwasher.
Keep high-carbon and stainless knives out of standing water or the sink for hours, and store them on a magnetic strip, in a knife block with wide slots, or in a sheath. A loose knife rattling around a drawer dulls both edges in a week.
Build the routine that fits how much you cook. If you use a knife daily, hone before you start and once at the end of the week. Stone it when the paper test fails or every few months of heavy use. Cutting on glass or marble ruins an edge just as fast as a week of soaking wood boards.
Sharpen your knife before big cooking sessions rather than during them. A sharp blade through a big batch of onions is faster and safer than one that wanders halfway through, and if you work through a long fry, keep the kitchen clean-up steps for after frying separate from knife work so nothing gets sharpened near a hot pan.
If you run a kitchen rather than cook in one, edge discipline is part of the standard, not a bonus. Our notes on what to look for in a clean restaurant kitchen cover the rest of the day’s habits.
Frequently Asked Questions
How do you manually sharpen a knife?
Soak a waterstone for 5 to 10 minutes, wet it on the surface, and set it on a damp towel so it cannot slip. Hold the blade at 15-20 degrees per side and use slow, light strokes with the edge trailing, starting at the base and lifting slightly before the tip. Once you feel a burr along the whole edge, flip sides and repeat, then finish on the fine side.
What are the most common knife sharpening mistakes?
The big four are guessing the angle, pressing too hard, using a stone when you only needed a rod, and leaving a wire edge unfinished. Rounding the tip by running every stroke over the point is the fifth. Each has the same fix: mark the edge with a Sharpie, use bare hand weight, hone weekly, stone only when the paper test fails, and strop at the end.
What do professional chefs use to sharpen their knives?
Most working kitchens run a two-stage setup: a honing steel at the station for fast touch-ups between prep and service, and a whetstone set aside for a proper edge at the start or end of a shift. Higher-end kitchens add a belt or wheel grinder for reprofiling badly damaged edges, then always finish by hand on a fine stone or leather strop.
How long does it take to sharpen a knife?
On a 400/1000 grit combination stone, expect 10 to 15 minutes for a standard chef’s knife that is dull but not damaged. A quick honing session takes two minutes. Reprofiling an edge that has never been sharpened properly, or dealing with chips and deep rust, is a longer job of 30 minutes or more and often better left to a professional.
How often should I sharpen kitchen knives?
Hone a well-used knife weekly, or every few prep sessions, which takes only a couple of minutes. Sharpen on a stone every few months for daily cooking, or as soon as the paper test stops giving a clean slice. Cutting on glass or marble ruins an edge in days, so frequency matters far less than the board you work on.
How do you sharpen a serrated or ceramic knife?
Serrated knives need a triangular or diamond rod, not a flat stone. Hold the knife vertically against the rod and pull it down the face of each tooth, keeping the blade upright so you do not flatten the scallops, and work from the base of the serration to the tip. Ceramic is different again, it needs diamond abrasive specifically, and a stone or steel rod will barely touch it.
Start Here Tonight
Soak a stone, set it on a damp towel, and do fifteen careful strokes on one side of a dull knife. Check for a burr under your fingertip, flip, repeat, then finish on the fine grit and strop. That is the whole job, and the paper test will tell you straight away whether it worked.