
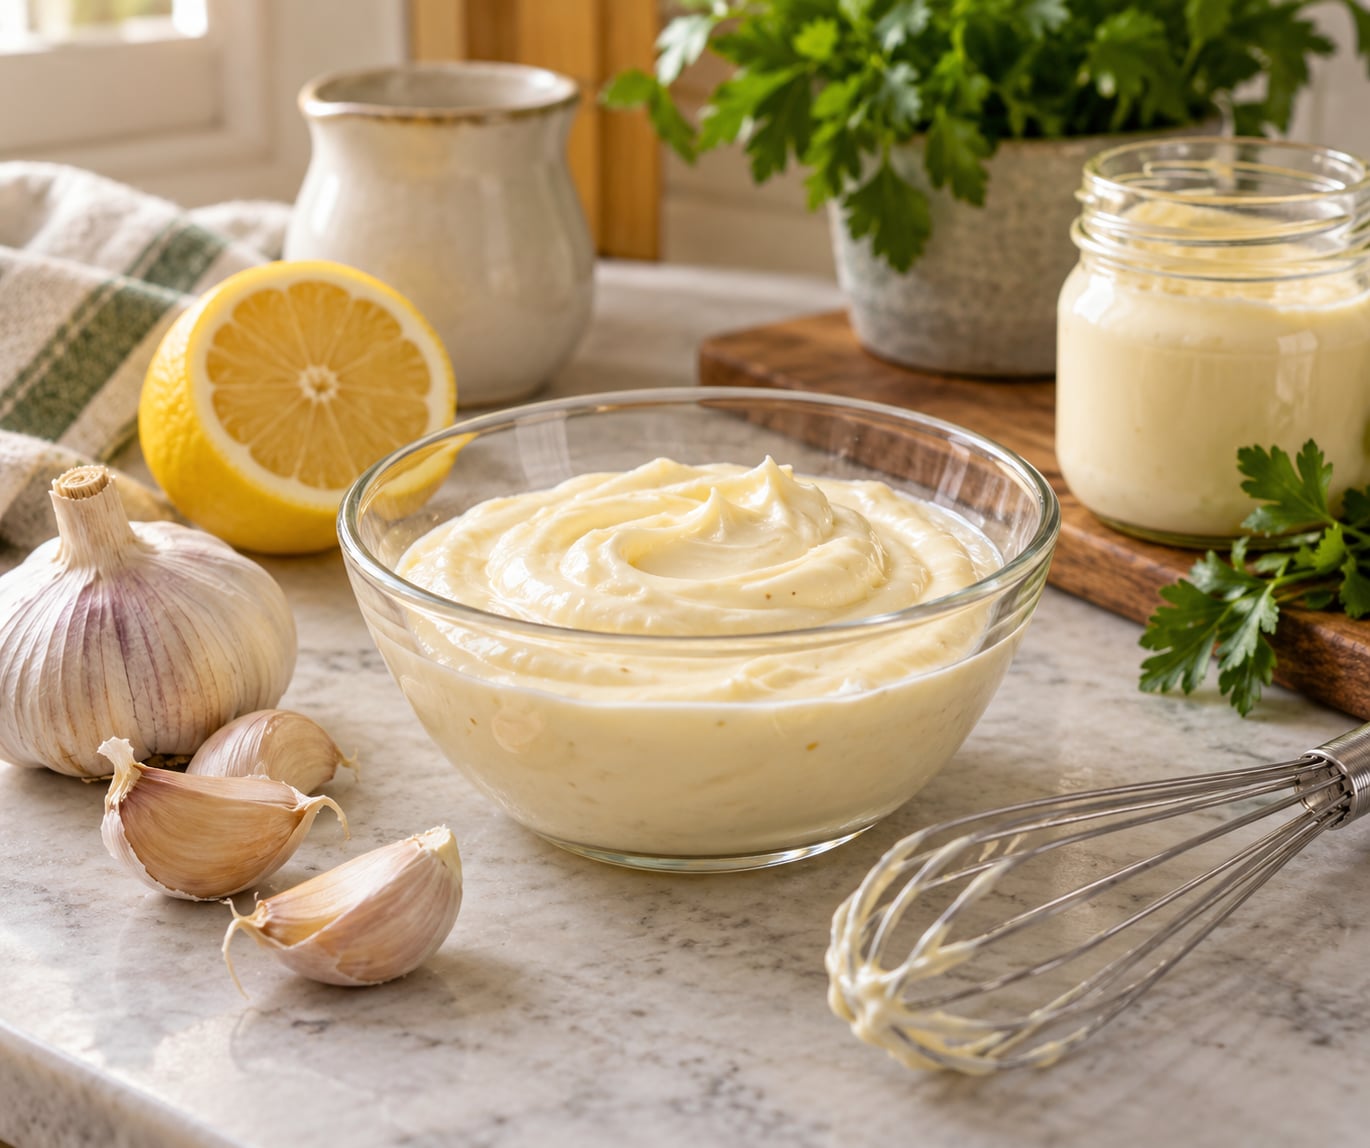
Garlic aioli is a thick, creamy garlic sauce made by emulsifying garlic with oil, usually with egg yolk, mayonnaise, or both, plus lemon juice and salt. The mayonnaise method takes about five minutes and tastes like the stuff restaurants serve with fries and burgers, while the traditional version uses only egg yolk and oil whisked into a stable emulsion. Both start with the same job: taming raw garlic so the sauce tastes rounded rather than harsh.
Learn how to make garlic aioli at home below, with two methods, the mistakes that ruin most first attempts, and how to fix a sauce that splits.
Table of Contents
- What You Need
- Step-by-Step
- Common Mistakes
- Tips for Using Garlic Aioli
- Frequently Asked Questions
- What is the best oil to use for garlic aioli at home?
- Can I make garlic aioli without egg yolks?
- How do I fix garlic aioli that has broken or separated?
- How long does homemade garlic aioli keep in the refrigerator?
- Can I make garlic aioli ahead of time for burgers?
- How can I make garlic aioli thicker or thinner?
- Conclusion
What You Need
For the five-minute mayonnaise method:
- 3/4 cup full-fat mayonnaise
- 3 to 5 cloves fresh garlic
- 1 tablespoon lemon juice
- 1/2 teaspoon Dijon mustard (optional)
- 1/2 teaspoon kosher salt, plus more to taste
- Freshly ground black pepper
Full-fat mayonnaise is the one that matters here. Reduced-fat versions have less fat to carry the flavor and often turn thin and weepy within an hour, so they are a poor base for a dip.
For the traditional method, swap the mayonnaise for 2 egg yolks and add about 3/4 cup of oil. Neutral oil such as grapeseed, canola, or avocado gives a clean taste, while extra-virgin olive oil gives a deeper, peppery finish. A traditional batch is egg yolk, whisked oil, lemon, salt, and pepper, and going all-in on olive oil at that volume is where most people go wrong: it turns bitter and grassy. Use pasteurized eggs if you plan to serve it to anyone who is squeamish about raw yolk.
You also need a bowl, a whisk or fork, and either a microplane, garlic press, or knife. A small food processor works too and gives the smoothest paste of the lot.
Step-by-Step
How to Make Garlic Aioli at Home: Whisk the Base
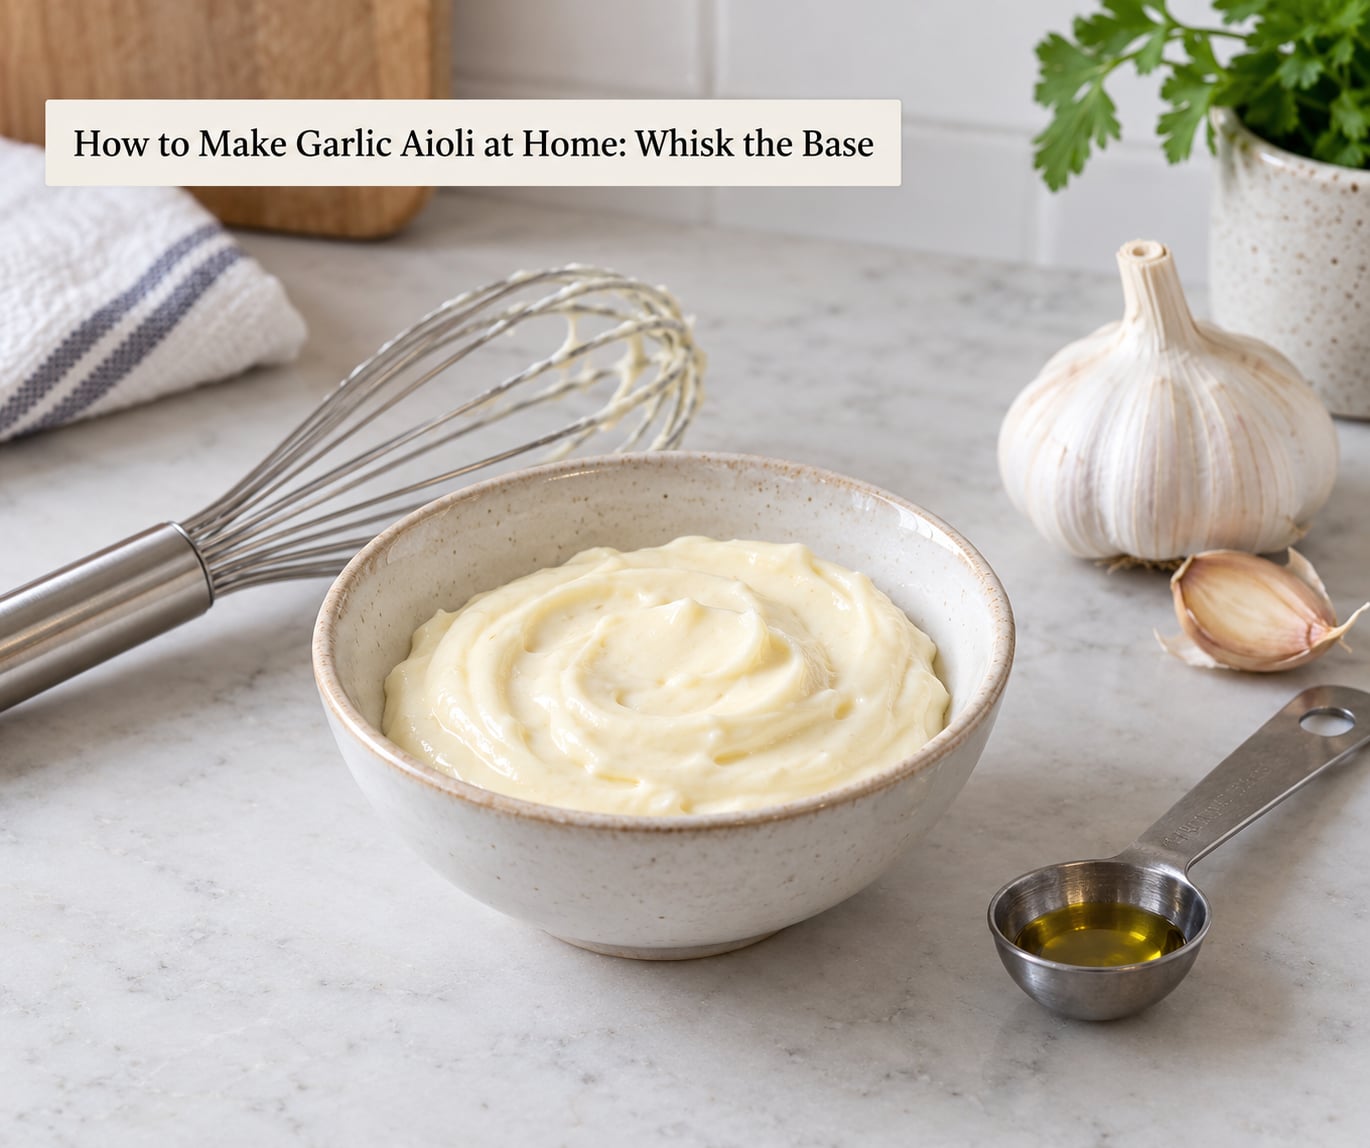
How you cut the garlic decides how the sauce tastes and feels. Grated garlic melts into the mayonnaise and disappears, which is the cleanest bite. Minced garlic leaves visible pieces, and pressed garlic gives the most raw, aggressive heat.
The reason is chemistry. Whole cloves contain sulfur compounds that only convert when the cell walls are broken, so crushing and grating releases more of the pungent allicin than a gentle chop does. A mortar and pestle with a pinch of coarse salt, used to grind rather than bash, gives the strongest flavor and the smoothest paste. I use the microplane most weeks because it needs no cleanup and I can watch the intensity as I go.
Stir the garlic into the lemon juice and Dijon, then let it sit for 10 to 15 minutes. That rest is the trick most recipes skip. The acid draws out the garlic’s sharpness so it mellows into something round, and the mustard rounds the edge again. You will notice the smell change from aggressive to almost sweet.
For the mayonnaise method, fold the mayo in a few spoonfuls at a time until the mixture is uniform. For the traditional method, put the yolk in a bowl with the mustard, a pinch of salt, and half the lemon juice. It is ready when it looks like thick paint, not when it looks smooth.
Whisking the mayo base until no lumps of garlic remain means it is done.
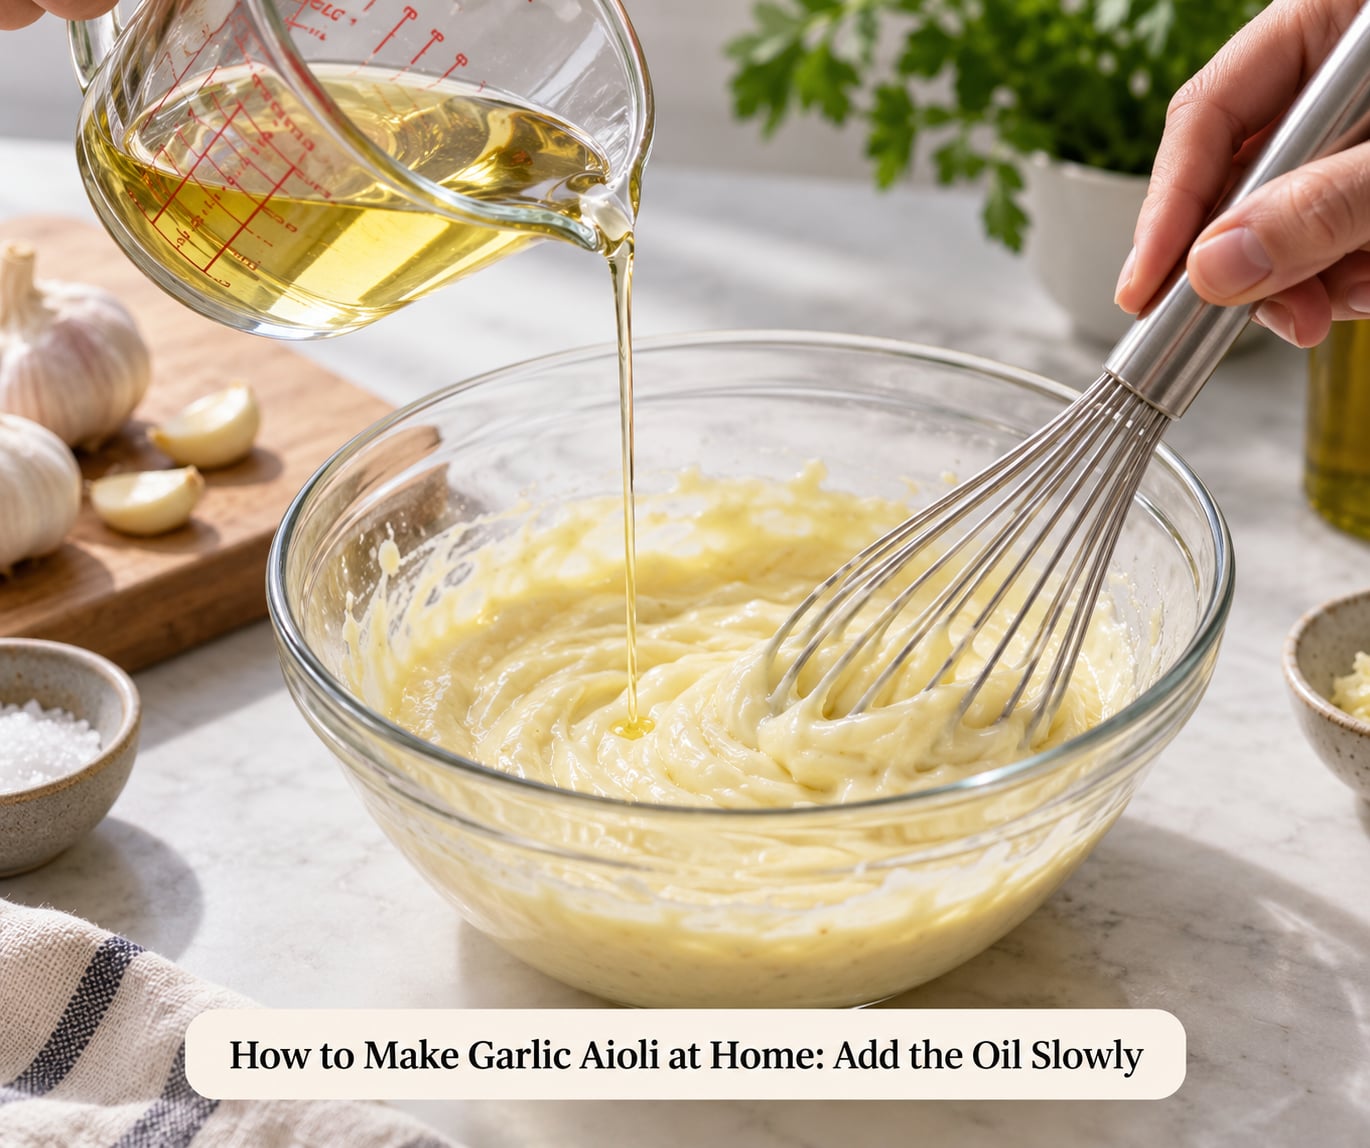
How to Make Garlic Aioli at Home: Add the Oil Slowly
The mayonnaise is already an emulsion, so it needs almost no help. Fold in the rest of the mayo in thirds, cutting through the center with a spatula each time, and stop while it is still slightly loose. Aioli that stiffens in the fridge loses the pourable, restaurant texture that people expect.
The traditional method is the harder one. Egg yolk contains lecithin, an emulsifier that coats each droplet of oil so the mixture holds together instead of splitting. Start whisking steadily and trickle oil into the center of the bowl, no faster than the whisk can absorb it. A thin ribbon about the width of a pencil lead is the pace most people should aim for.
It will look thin and loose for the first several additions, and that is normal. Around the middle of the oil, the mixture suddenly pulls together and turns pale and creamy. If you dump the oil in fast, the yolk cannot coat the droplets and you get a greasy, split sauce with yellow streaks of raw egg floating in it.
If the sauce loosens past that stage, stop for a moment and whisk in a spoonful of cold water. Water is not in the recipe, but it re-loosens the emulsion enough that you can add more oil and keep going.
A thick, glossy sauce that holds a soft peak when you lift the whisk is the finish line.
Season and Adjust the Garlic Aioli
Taste before you add salt. Commercial mayos carry their own sodium, so a homemade batch with 1/2 teaspoon of added kosher salt often needs nothing more.
From there, adjust one thing at a time. A squeeze more of lemon cuts the richness and lifts fried food, while a drop of white vinegar or red wine vinegar adds sharpness with less of the sourness lemon brings. More salt flattens a bland sauce; more black pepper warms it without adding heat.
Too thick means you over-folded or used a very absorbent mayonnaise. Beat in a spoonful of water rather than more lemon, since extra acid makes the garlic taste sharper. Too thin means you need more body, and a teaspoon of mayo stirred through will do it without changing the flavor.
Then let it rest. Ten minutes before serving, thirty if you have the time. The harshness that hits your tongue straight off the whisk settles into the fat and the sauce tastes rounder and more cohesive.
Common Mistakes
The emulsion broke and you can see yellow oil on top. This happens when oil hits the yolk faster than the whisk can disperse it. Fix it by whisking a tablespoon of cold water into the broken mixture until it pulls together back to a loose cream, then slowly re-add the oil. Two or three passes will rescue almost any split sauce.
The garlic is sharp enough to sting. Raw allicin peaks in the first minutes of mixing and then fades. Let the finished sauce stand for 15 to 30 minutes in the fridge, and add a little extra lemon juice to soften the bite. Roasting the garlic first, at 400°F for 35 to 40 minutes wrapped in foil, changes the character completely: sweet and caramelized with no heat at all.
The sauce is watery and runs off the food. You probably added too much liquid, or your reduced-fat mayo let go. Extra mayo is the fastest fix. The mayo version can also tighten up after chilling, so if it was thin when you poured it, give it 20 minutes in the fridge before judging it.
The sauce is stiff and gluey. Too much of a thick, low-acid mayonnaise and no rest to soften it. Loosen with cold water a teaspoon at a time. A couple of drops of lemon also helps, since acid thins the emulsion slightly.
It tastes flat. Almost always missing salt. Add it in quarter-teaspoon increments, tasting each time, rather than one big scoop.
You used garlic powder instead of fresh. It works, but a quarter teaspoon is a reasonable stand-in for two cloves. Garlic powder lacks the allicin that fresh crushed garlic generates, so the sauce reads as sweet and savory rather than genuinely garlicky.
Tips for Using Garlic Aioli
Store it in an airtight container in the refrigerator for up to 4 days. That number is deliberately conservative because both bases are spoilage risks: raw garlic grows mold and bacteria as it sits, and traditional aioli contains uncooked egg. For the same reason, use pasteurized eggs for the traditional method, and if you make the mayo version with commercial mayo and no raw egg, you are still safer off keeping it cold.
Never leave it on a counter longer than two hours, and use a clean spoon every time you dip. If it smells sour or vinegary beyond the lemon, or you see gray or green tint at the surface, throw it out rather than tasting it.
Make it ahead without worry. A batch made up to a day ahead actually improves, because the garlic flavor marries with the fat overnight. If it thickens while chilling, beat in a splash of cold water before serving.
Dip it in house steak fries, spread it on a burger instead of plain mayo, or spoon it over grilled chicken and wings. For the bun, garlic butter on burger buns pairs well with a thinner drizzle of aioli on the patty, though keep one sauce per burger so the bun is not soggy. If you want a fuller burger topping bar, our five-minute burger sauce takes about the same effort and takes different seasoning.
Other good pairings: roasted potatoes, shrimp, fish and chips, raw vegetable sticks, grilled bread, and any dish of fried food you have lying around. Aioli is a dip first, a spread second.
Once you have the base down, vary it with one addition rather than five. Roasted garlic for sweetness, smoked paprika for warmth, chipotle in adobo for smoke and heat, a tablespoon of chopped parsley or chives for freshness, or two finely chopped Kalamata olives for a salty, briny version that goes especially well with lamb and grilled bread.
Frequently Asked Questions
What is the best oil to use for garlic aioli at home?
Neutral oils like grapeseed, canola, or avocado give the cleanest garlic flavor, letting the cloves speak for themselves. Extra-virgin olive oil works too and adds a peppery, fruity depth that some people prefer, but at a full three-quarter cup it can taste bitter and grassy. A common compromise is half olive oil and half neutral oil. For the mayonnaise method, you barely need any oil at all, since the mayo already supplies the fat.
Can I make garlic aioli without egg yolks?
Yes, and most people should start there. The mayonnaise method contains no egg at all when you use a store-bought mayo, which makes it faster and more forgiving than a hand-whisked emulsion. Traditional allioli goes even further, using only garlic and oil emulsified on the garlic itself, which is the classic Mediterranean preparation. Egg yolk does give a looser, silkier result because its lecithin holds more oil in suspension, so it is worth trying if you want the lightest possible texture.
How do I fix garlic aioli that has broken or separated?
Whisk a tablespoon of cold water into the broken sauce while stirring briskly. If it pulls back together into a loose cream, add the remaining oil in a slow drizzle with the whisk running. Repeat the water step if it splits again. You usually need two or three passes. A spoonful of cold water mixed into the yolk of a fresh egg also works as a rescue base if the sauce has separated badly, since you are rebuilding the emulsion from scratch.
How long does homemade garlic aioli keep in the refrigerator?
Keep it in an airtight container in the coldest part of your refrigerator and use it within 4 days. Fresh garlic is the limiting ingredient, since crushed cloves grow mold and bacteria as they sit, and the traditional version also carries raw egg. Do not leave it out for more than two hours at a time, and always use a clean spoon. If the batch was made only from commercial mayonnaise and lemon, it still needs refrigeration, since neither is shelf stable.
Can I make garlic aioli ahead of time for burgers?
Make it the day before, and you will get a better sauce. Overnight in the fridge, the raw garlic flavor settles into the fat and the sharp edge fades, which is exactly what you want on a burger. Seal the container and refrigerate right away, then take out only the amount you need for serving and put the rest straight back. If it stiffened overnight, beat in a spoonful of cold water before spreading it on the bun.
How can I make garlic aioli thicker or thinner?
Thicken it by stirring in a teaspoon of mayonnaise, which adds body without changing the flavor noticeably. Loosen it with cold water, a teaspoon at a time, rather than with more lemon, since extra acid makes the garlic taste sharper. Remember that a sauce straight out of the bowl looks thinner than the same sauce after 20 minutes in the fridge, so chill it before you decide it needs adjusting.
Conclusion
Start with the mayonnaise method: five cloves grated into lemon juice and Dijon, a ten-minute rest, then fold in three-quarters cup of full-fat mayo and season with salt. That alone gives you a sauce that tastes better than most jars and takes less time than boiling water.
When you are ready to go further, build the same base with an egg yolk and stream the oil in a thin drizzle while you whisk. Slow oil is the whole technique. Everything else is seasoning and rest time.