
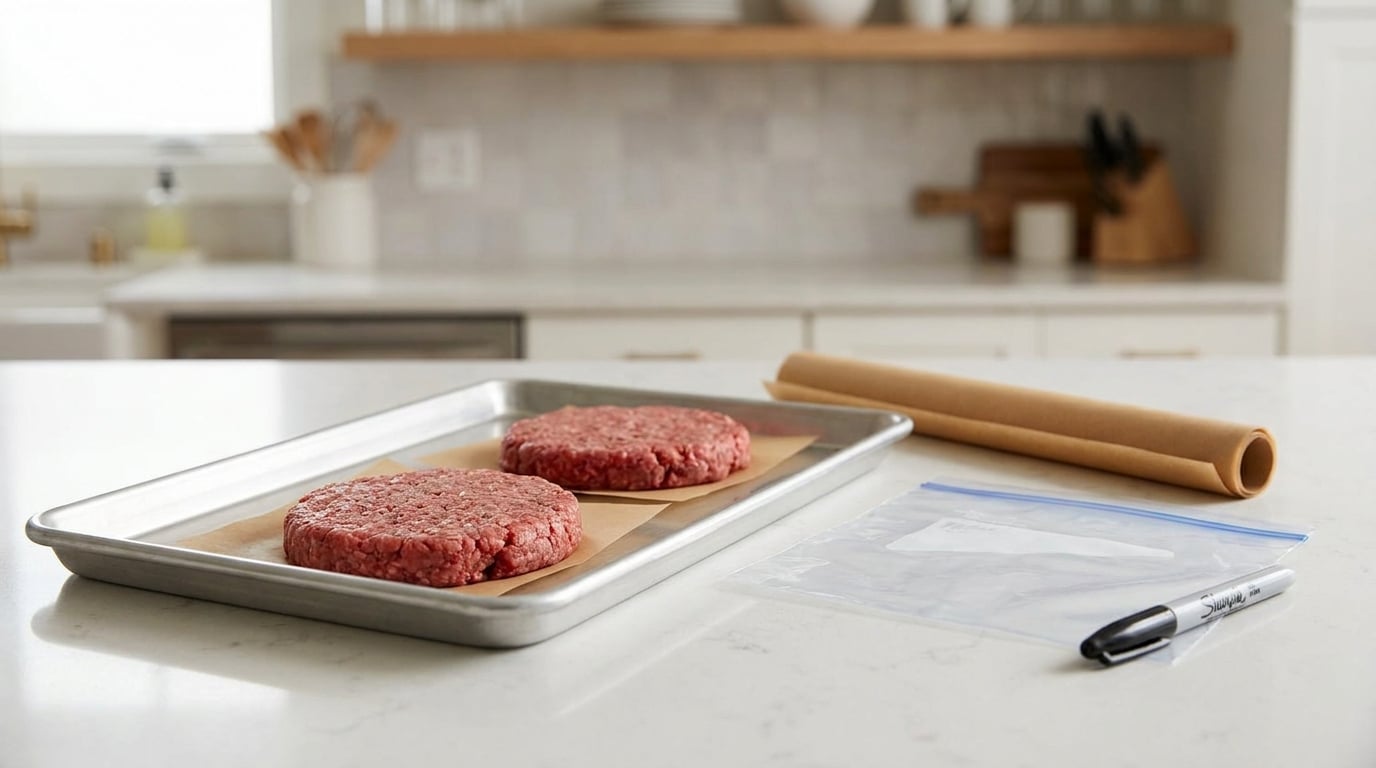
Freezer burn on burger patties comes down to one thing: air. To freeze burger patties without freezer burn, form the patties, flash freeze them on a tray until solid, separate the layers with parchment paper, then seal them in a bag or wrap with as little air as possible. The meat keeps its moisture and stays tender for months. The whole job takes about 20 minutes of active time, plus however long the tray needs to sit in the freezer.
I do a version of this every few weeks, because buying ground beef in bulk is far cheaper per pound than buying a few patties at a time. The batches I wrap properly come out of the freezer tasting like they went in. The ones I tossed into a bag in a hurry come out dry and grey around the edges, and I still find a few of those in the back of the drawer six months later.
Below is the process I use, plus what to put between the patties, how long they actually keep, and how to thaw them without wrecking the texture.
Table of Contents
- What You Need to Freeze Burger Patties Without Freezer Burn
- Step-by-Step
- How to freeze burger patties without freezer burn, step by step
- Step 1: Form the patties and press them gently
- Step 2: Season now or season later
- Step 3: Flash freeze the patties on a tray
- Step 4: What to put between hamburger patties when freezing
- Step 5: Wrap, seal out the air and label the bag
- Step 6: Store flat and cook from frozen
- Common Mistakes That Cause Freezer Burn
- Frequently Asked Questions
- Conclusion
What You Need to Freeze Burger Patties Without Freezer Burn
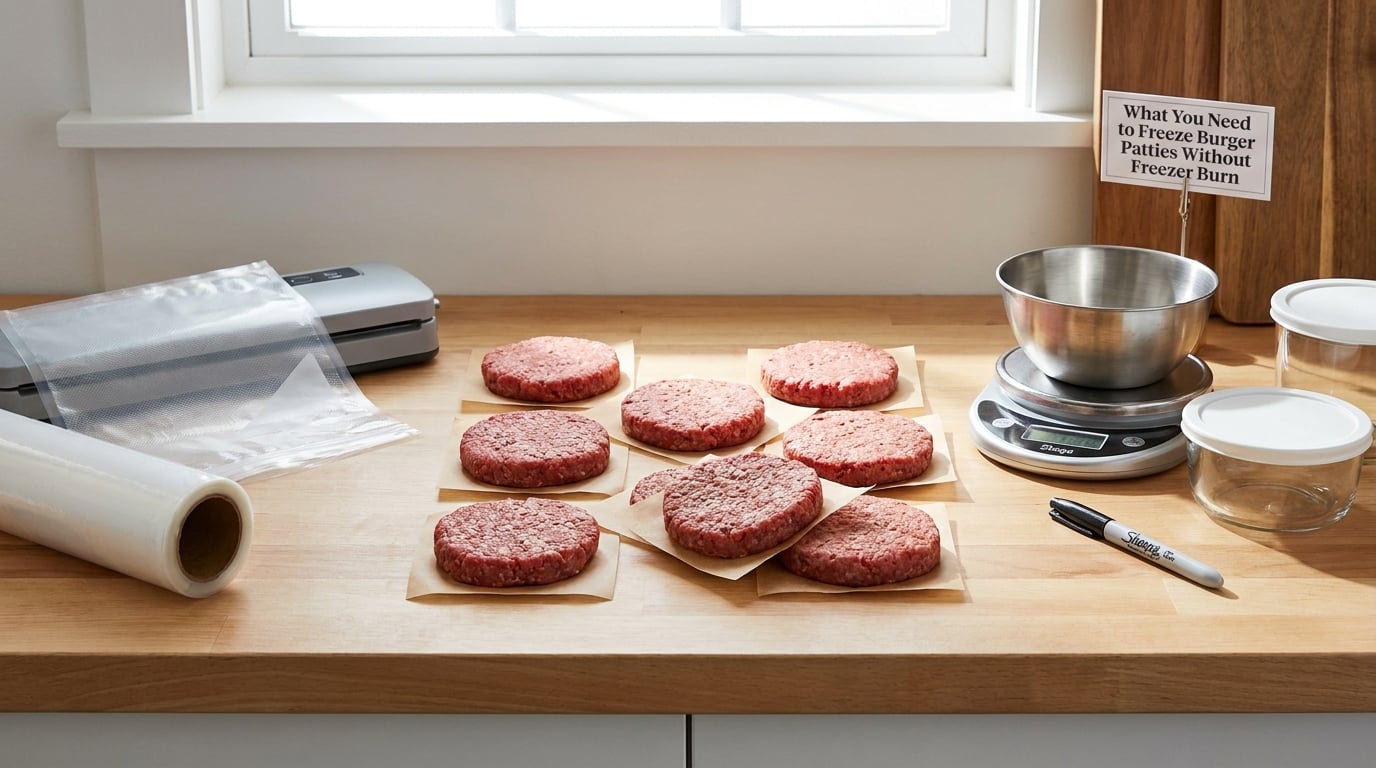
You need very little. The sealing method matters more than any single tool, so if you only own two things, make them parchment paper and a box of freezer bags.
Essential
- A rimmed baking sheet or flat tray for flash freezing. Something that fits flat in your freezer without the edges catching on a shelf.
- Parchment paper to separate the patties so they never freeze into one solid brick.
- Freezer bags or freezer-safe plastic wrap to seal the finished stack. Heavy-duty bags are worth the extra few cents if you have them.
- A permanent marker and a pen for labels.
Helpful, not required
- A vacuum sealer for longer storage. It removes more air than a zip bag, which slows how fast moisture escapes.
- Freezer paper or butcher paper as a second outer layer, especially if your freezer is a frost-free model.
- A small food scale if you portion by weight rather than by eye. Even patties cook evenly, and 4 to 6 ounce patties are a good default.
- Tongs or a spatula for moving frozen patties without tearing their edges.
Skip the aluminium foil debate for the inside of the package. A chef discussion on ChefTalk notes that a wet sheet of plastic wrap pressed onto the patty surface creates a glaze seal, the same ice barrier that commercial frozen foods get coated in, and it does that job better than foil.
Step-by-Step
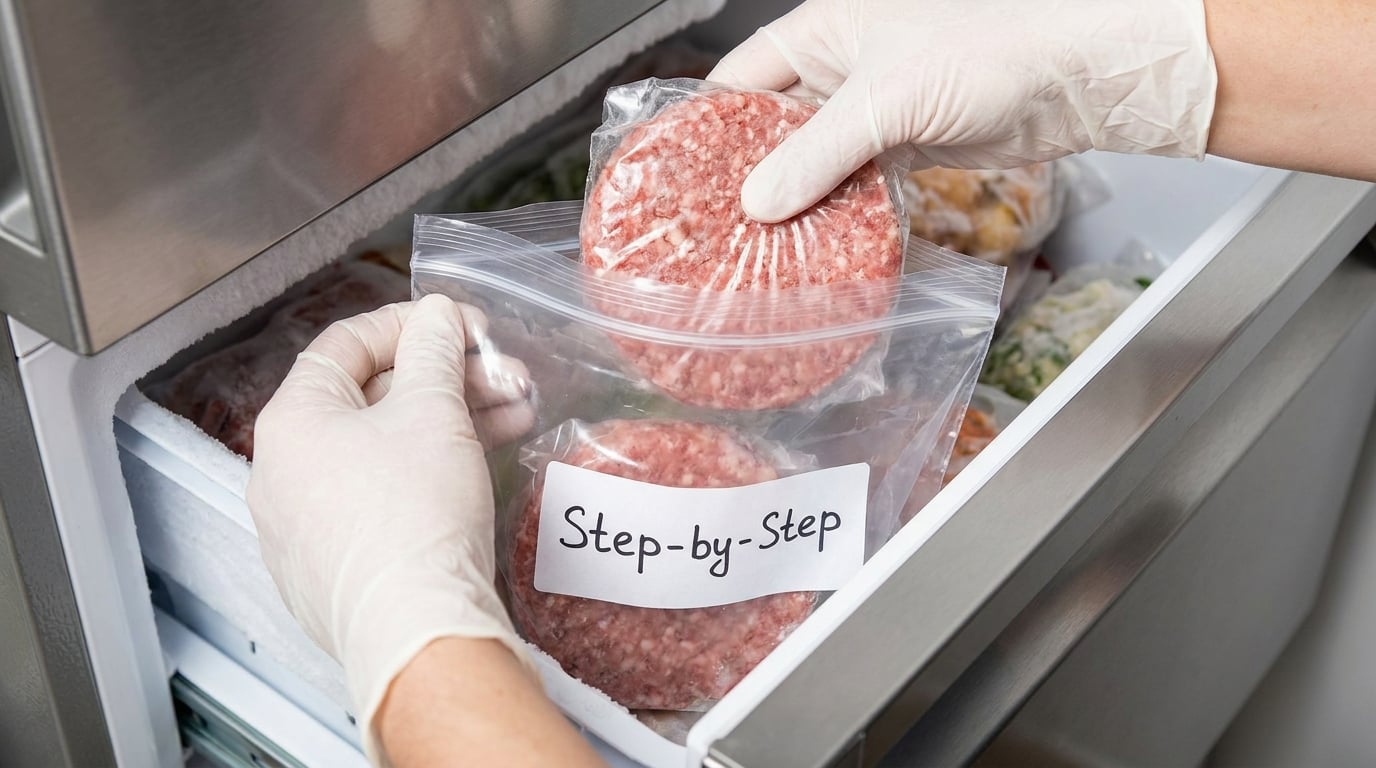
How to freeze burger patties without freezer burn, step by step
Read it once through before you start: form, chill, separate, seal, label, store flat. Six steps, and the last three are where freezer burn gets prevented.
Step 1: Form the patties and press them gently
Shape the meat into even patties, roughly 4 to 6 ounces and about a half inch thick. Thinner patties freeze and thaw fast but dry out quicker; very thick ones freeze fine but take a long time to cook through from frozen.
Handle the meat gently and press just enough to hold its shape. Home cooks on cooking forums point out that packing the meat down hard makes patties go pasty and dense once they cook. If the mixture sticks to your hands, dampen them slightly with cold water.
Step 2: Season now or season later
Salt pulls moisture out of meat, and that moisture has to go somewhere. If you season patties hours before freezing, you will find a puddle of liquid in the bag when you pull them out. Two good options work well:
- Season only lightly with pepper and other non-salt seasonings before freezing, then add salt at cook time.
- Season fully and freeze the patties within about 15 minutes of forming them, so the salt has no time to draw out much water.
Whichever you pick, blot the surfaces dry with a paper towel before they go near the tray.
Step 3: Flash freeze the patties on a tray
Line a rimmed baking sheet with parchment, lay the patties on it in a single layer with a little space between them, and put the sheet in the freezer uncovered for 45 to 60 minutes. They are done when they are hard to the touch and no longer bend when you lift one with a spatula.
This is the step people skip, and skipping it is why a bag of patties turns into one frozen clump you have to prise apart with a knife. Freezing them in a single layer first lets heat escape fast, so the ice crystals stay small and the patties thaw evenly later.
Step 4: What to put between hamburger patties when freezing
Put a sheet of parchment paper between each patty, right to the edges. Parchment is the better choice here because wax paper sticks to raw meat and then tears off a patch of surface when you pull it away. Parchment slides off cleanly, even after months frozen.
Do not wrap each patty individually in plastic unless you have a reason. Ten individual wraps create ten chances for a leak and take a long time. The efficient setup is a stack separated by paper, wrapped once as a block, and sealed once.
Step 5: Wrap, seal out the air and label the bag
Stack the frozen patties into one block, sandwiched with parchment. Press gently to squeeze out trapped air, then do one of the following:
- Bag it: slide the stack into a freezer bag, press the extra air out with your hands as you seal the zip across, then lay the bag flat on the counter and press it with a flat hand to push out remaining air.
- Wrap it: wrap the block tightly in plastic wrap or freezer paper, twisting the ends, then place it in a second bag or a layer of foil for extra protection.
- Vacuum seal it: if you own a sealer, this pulls the most air out and holds up best in a frost-free freezer.
Label the package while the meat is still in front of you, not after it is buried. Write the contents, the number of patties, and the date. A shallow basket or a bin at eye level makes old batches easy to find first, which matters more than it sounds.
You will know the seal worked when the package looks shrunken and tight with no loose air puffs, and the patties come out solid and pale rather than blotchy grey or brown.
Step 6: Store flat and cook from frozen
Keep the packages lying flat in the coldest part of the freezer, and put heavier items underneath so nothing presses on the patties. A chest freezer is gentler on stored meat than a frost-free upright, because there is no defrost cycle pulling moisture out of the food.
Cook patties straight from frozen on a hot griddle or in a skillet with a lid, about 4 minutes a side for a half inch patty, and confirm the internal temperature reaches 160°F before serving. Reheating an already cooked patty needs 165°F.
Common Mistakes That Cause Freezer Burn
Freezer burn is dehydration and oxidation. When air reaches the surface of frozen meat, moisture moves from the meat into that air and the exposed surface turns dry, pale and dull. It is safe to eat, but the texture suffers. These are the usual causes and what to do about each.
Leaving air inside the bag
A zip bag sealed full of air is barely better than no bag. Press the air out with your hands as you close it, then lie the sealed bag flat and press along the surface. If the bag looks puffy, it still has air in it.
Wrapping loosely
Loose plastic wrap or a floppy bag shifts around in the freezer, and movement opens gaps. Wrap snugly, push out what air you can, and double bag anything going into a frost-free freezer for more than a couple of months. Home cooks also report that vacuum bags that seem to hold a seal at first can slowly lose vacuum over months, so check old stock every so often.
Freezing wet or blotted surfaces
Surface ice crystals turn into freezer burn later, and raw patties also carry bacteria that survive freezing. Pat the meat dry before it goes on the tray, and keep the total time in the temperature danger zone of 40°F to 140°F as short as possible.
Packing too many patties into one bag
An overstuffed bag is hard to seal airtight and takes longer to cool through, so the centre patties sit warm while the outside ones freeze. A dozen patties per package works well, or one family meal’s worth, labelled with the count.
Skipping the flash freeze
Patties dropped straight into a bag freeze into a solid block with large ice crystals, and thawing splits the surface open. Give them the 45 to 60 minutes on a tray first.
Storing cooked patties loose
Cooked burgers that go in unprotected or in a thin bag dry out faster than raw ones, because cooking has already drawn out some fat and moisture. Cool them on a rack, wrap tightly, and use them within two to three months for best quality.
Five extra tips that keep a batch in good shape
- Freeze a block instead. One home cook reported that freezing ground beef in one and two pound bricks, scored into portion lines, held moisture better than separate patties, because there is far less surface area exposed to air.
- Add a little liquid. A splash of broth or a spoon of tomato sauce in the bag keeps the surface from drying out and works well if the patties are destined for chili or sloppy joes.
- Grind it yourself when you can. Meat ground from chuck in your own freezer tends to come out with a better texture after thawing than pre-ground supermarket beef, which may have already been frozen once before sale.
- Thaw slow, not warm. Move the package to the refrigerator the night before. Cold water works too, sealed in its packaging, changing the water every 30 minutes.
- Rescue slightly burned patties. If a patty is only a bit dry, press it into a bun with sauce and cook it, and the moisture from the sauce and bun covers the problem.
Frequently Asked Questions
Can I freeze raw burger patties without seasoning them?
Yes, and it is the safest option if you plan to season at cook time. Unseasoned patties release no moisture from salt, so nothing collects in the bag. Season with pepper and other non-salt spices before freezing if you like, then add salt once the patty hits the pan. If you do season fully, freeze within about 15 minutes of forming so the salt has minimal time to pull water out.
How long do burger patties stay in the freezer?
Raw ground beef patties keep their best quality for three to four months, and cooked patties for about two to three months. Frozen at 0°F they stay safe indefinitely, but ice crystals keep growing and the texture turns pasty and dry long before that. Frozen burger meat that has been thawed and refrozen should be cooked within a couple of days.
Should I freeze cooked or raw burger patties?
Raw is the better choice when you can. Freezing raw means the patties cook only once, and raw meat has not already lost moisture to cooking. Freeze cooked patties for cooked leftovers, quick weeknight sandwiches or chili, but cool them on a rack first and wrap them tightly, since cooked surfaces lose water faster.
How should I thaw frozen burger patties safely?
Move the sealed package to the refrigerator the night before and thaw it there, or put it in a bowl of cold water and change the water every 30 minutes. Never thaw patties on the counter, where the outside sits in the 40°F to 140°F danger zone while the centre is still frozen. You can also cook them straight from frozen, which is the safest and fastest option.
Does vacuum sealing completely prevent freezer burn?
No. Vacuum sealing removes most of the air and slows how fast moisture escapes, so patties usually stay in good shape much longer, but it is not a guarantee. The seal can weaken over months, thin or porous wrap can let air back in, and a frost-free freezer still cycles dry air through the compartment. Combine vacuum sealing with a flash freeze and parchment separation for the best results.
Conclusion
Start with the patty you are forming right now: pat the surface dry, lay it on a parchment-lined tray, and give it a full hour in the freezer before you package anything. Then separate the stack with parchment, press the air out of the bag with the flat of your hand, seal it, and label it with the date and the number of patties.
That sealed, dated, flat package is the storage method that does the work. Stacked tightly with as little air as possible and thawed in the refrigerator, patties keep their texture for three to four months instead of going dry and grey in a few weeks.