
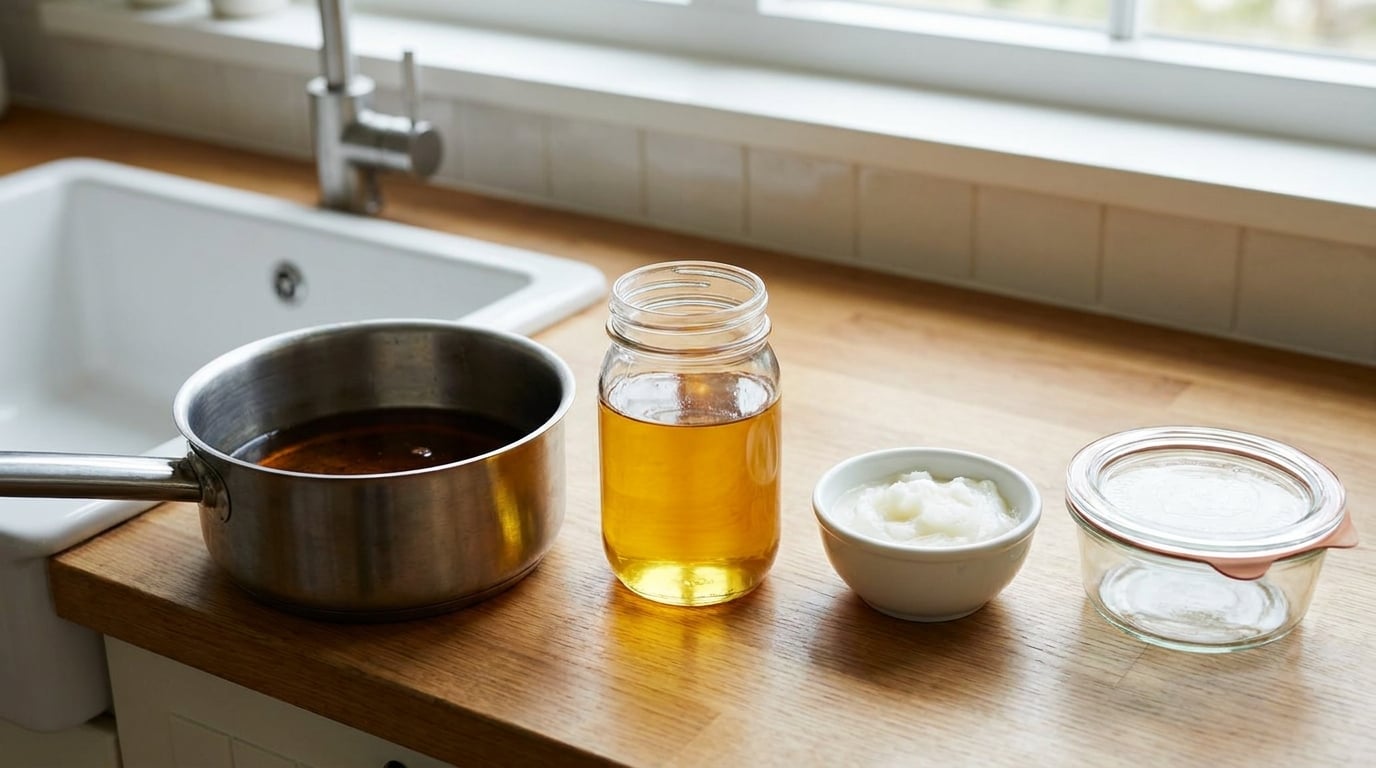
To dispose of used cooking oil at home, let it cool until it thickens or solidifies, scoop or pour it into a leakproof container, seal it, and put it in your household trash. If you want to keep it, strain it and store it cold instead. Either way, it never goes down the sink.
That is the whole answer, and it takes about an hour of waiting plus five minutes of work. Most people overthink this, usually because they have read three different articles that each say something different. Small amounts of solidified oil in the regular bin are fine. Liquid oil going down a drain is what causes the real problems.
Here is the short version before the detail:
- Let the oil cool in the pan until it is thick, cloudy or solid, or pour it into a heat-safe container and wait.
- Decide whether you want to reuse it. Smell it first; discard it if it smells burnt, nutty or stale.
- Strain it through a fine-mesh strainer or coffee filter into a clean, airtight jar if you are saving it.
- Otherwise, mix in an absorbent to speed things up, seal it in a container or bag, and put it in the trash.
For anything larger than a cup or two, or if you fry weekly, look into a collection point near you rather than the trash. More on that below.
Worth knowing why the drain rule is so absolute. Sewer systems call the problem FOG, short for fats, oils and grease, and they treat it as a genuine infrastructure issue rather than a homeowner inconvenience. Oil rides along the pipe, cools, and sticks to the walls, where it collects food solids, soap residue and wipes until the passage narrows. In municipal lines that mass congeals into what’s known as a fatberg, and clearing one is expensive, unpleasant work that your utility passes on to the homes on that stretch of pipe. That is why so many sewer authorities have FOG programs in place, and why oil that reaches a treatment plant is a problem the whole system has to absorb.
Pouring it outside is not a workaround either. Oil that lands on soil or in a storm drain coats surfaces, blocks water from soaking in, and harms insects, birds and other wildlife that depend on it. In many places it is simply illegal.
What You Need
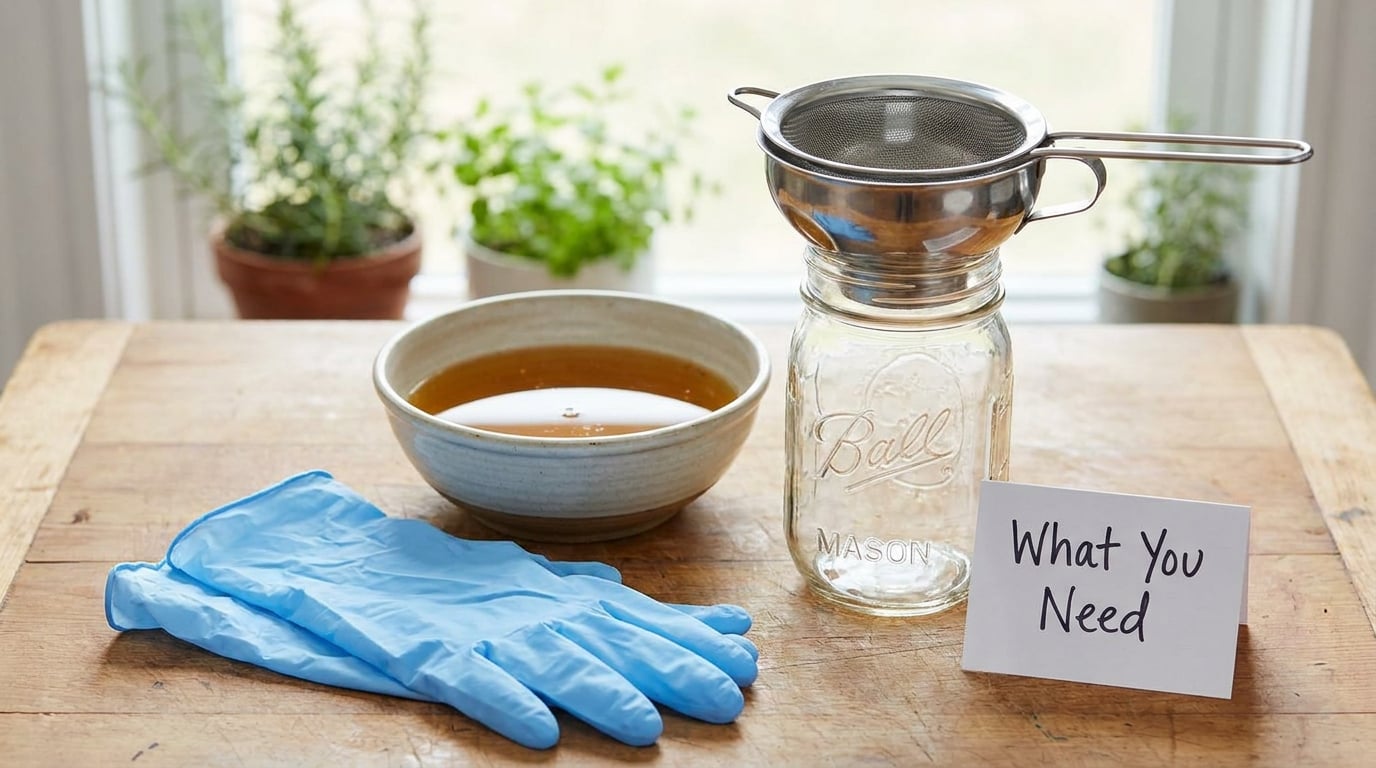
You need very little. A heat-safe container, a funnel, a strainer, gloves, and somewhere cool to put the oil while it cools.
- A heat-safe container. A heavy saucepan, a stainless pot, or the same glass jar you will store it in. Avoid thin plastic and avoid anything you would not put near a hot stove. Leave headspace, because oil expands slightly as it cools.
- A funnel. A cheap silicone funnel makes pouring into a narrow jar mouth far less likely to end on the counter.
- A fine-mesh strainer or a coffee filter. This is only needed if you plan to reuse the oil, but it is the step people most often skip and then regret.
- An airtight jar or bottle for storage. A glass mason jar, an old olive oil bottle cleaned out, or any screw-top container that seals properly.
- Gloves and a splatter guard. Not decoration. Used oil reheated to solidifying temperature throws hot droplets, and forum users who work with oil regularly treat this as a real burn risk.
- An absorbent. Baking soda, cornstarch, or dry cat litter, if you want the oil to thicken faster.
- Access to a collection point, if you are dealing with more than a cup or two and want it recycled rather than trashed.
The container matters more than anything else here. A clean, sturdy, heat-resistant container that is large enough to prevent overflow is the difference between a tidy ten-minute job and an oil slick across your stovetop.
Step-by-Step
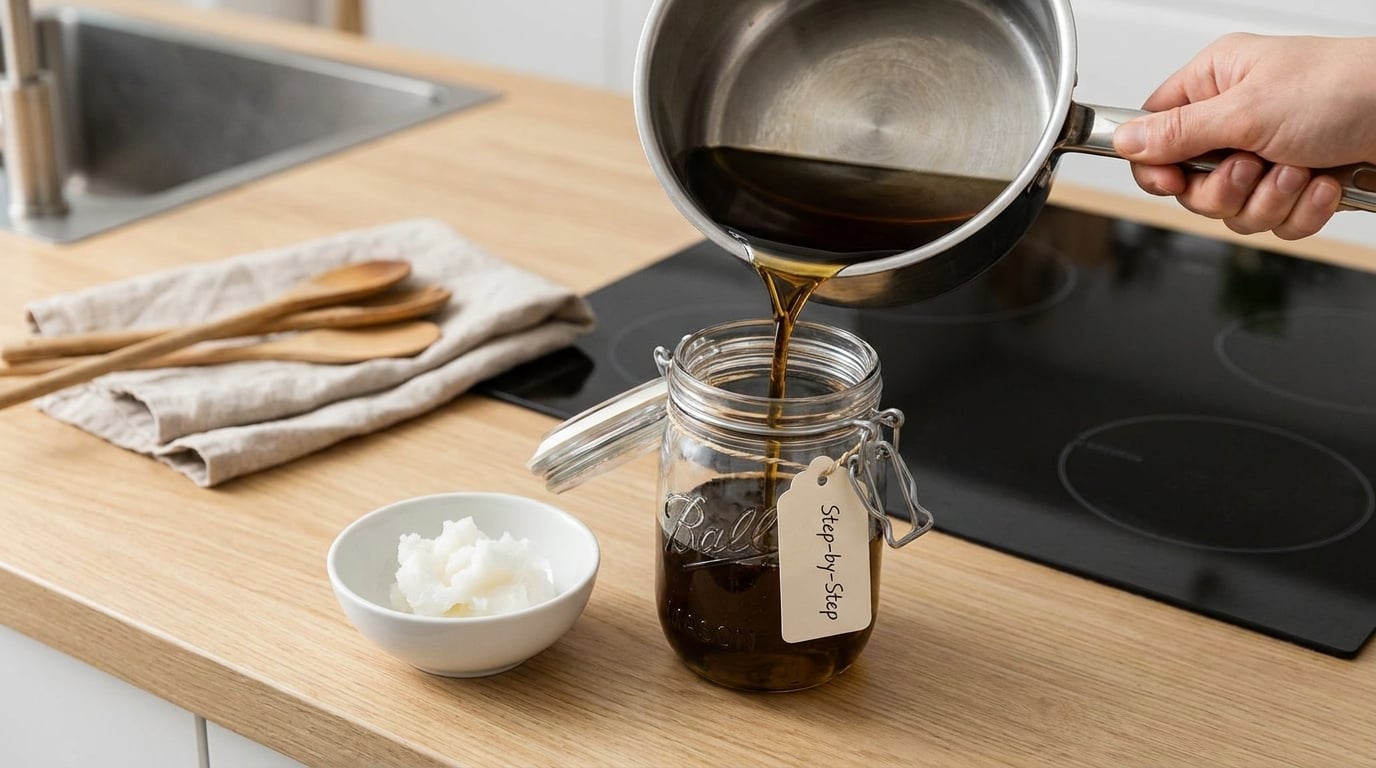
1. Let the Used Cooking Oil Cool Completely
Cool it until it is no longer hot enough to move, which usually takes one to two hours at room temperature, or about 20 minutes in the freezer once it has stopped steaming.
You know it is ready when it has thickened, turned cloudy, or turned into a soft paste you can tilt a spoon through. Cool oil does not need to be rock solid. Thick is enough to stop it running.
Never pour hot oil into a plastic container, and never pour water into hot oil. Both cause violent splattering. Leave the oil where nobody can bump it, away from children, pets, drafts, and anything lit. Never carry a hot pan of oil across a room, and never leave it unattended on a stove. If you want to speed things up, set the pot in an ice bath or a sink full of cold water rather than adding ice directly to the oil.
2. Decide Whether to Reuse It
Reuse it if it still smells neutral, looks clear, and you cooked something with a moderate smoke point, such as chicken, potatoes, or vegetables.
Do not reuse it if it smokes noticeably earlier in the pan than it used to, if it has darkened a lot, or if it smells rancid, nutty, stale, or vaguely burnt. That smell means the oil has broken down past the point where it tastes good or cooks evenly. Discard oil that had food fall into it and sat at room temperature for hours, and discard anything you cannot identify.
Some fats are easier to save than others. Bacon grease and other animal fats strain well and are popular for cooking eggs, and they still go through the same cooling and storage steps as any oil. Olive and avocado oils tolerate a second use reasonably well but oxidize faster, so use them soon and smell them first. Oils strained after frying heavily breaded or battered food carry crumbs and coating particles that spoil the batch quickly, and I would send those straight to disposal. Deep green herb-infused oils, and any oil with visible water sitting underneath it, are also disposal candidates rather than a second dinner.
Home cooks on cooking forums treat the smell test as the deciding factor, and honestly it is the only reliable one at home. There is no home test for how many times oil has been fried. As a rough guide, most people reuse a batch two or three times when the food is not heavily breaded and never more than a handful of times total.
3. Strain and Store It Properly
Pour the cooled oil through a fine-mesh strainer lined with a paper towel or a coffee filter, into a clean jar. This is what keeps the smell and the crumbs out of your next batch.
Label the jar with the type of oil and the approximate date using masking tape and a marker. Refrigerate it and use it within a few weeks for the best quality. Freezing is the better option if you will not touch it for a month; frozen oil keeps considerably longer, and you can scoop out what you need.
How long it actually stays good depends on the oil and how it was stored, not on a fixed calendar. Olive and avocado oil oxidize faster than a high-smoke-point vegetable oil. If you are unsure, smell it again before cooking with it.
A useful pattern from home cooks: pour the used oil into a disposable container, bin that container, then reuse the emptied jug as the vessel for the next round. It keeps one container in rotation instead of a stack of sticky jars by the sink.
4. Find a Recycling or Disposal Option
Used cooking oil can be collected and processed into biodiesel and other fuels, but availability is entirely local, so check before you plan a trip.
Search your city or county name plus “used cooking oil collection.” Public works departments, sanitation services, and some solid waste authorities run drop-off points or periodic collection events, and a small number of grease collection companies and rendering services accept household quantities for free. Confirm three things before you go: whether they accept household oil at all, whether they accept containers or want oil poured into theirs, and whether there is a minimum volume.
One common mix-up worth naming: used motor oil drop-off sites at auto parts stores do not take cooking oil. That confusion sends people looking in the wrong place.
Living in an apartment or a condo with no yard is the most common version of this problem, and the one local rules are strictest about. Your realistic options are the trash method above, a collection point that accepts household quantities, or producing less oil in the first place. Some buildings keep a shared bin for cooking oil near the loading area, and building management will know whether yours does, so ask before you improvise. A container left in a hallway or a shared bin chute is the fastest way to turn a disposal question into a complaint, and posts about neighbours dumping oil outside run hot for that reason. Keep the container inside your own kitchen until you are ready to put it in the bin, and never in the chute.
Do not assume ordinary curbside recycling takes it. Most curbside programs are designed for clean, dry containers, and a bottle with a slick of oil in the bottom is contamination. Unless your local service specifically accepts it, keep oil out of the recycling bin.
5. Dispose of the Remaining Oil Safely
For the trash, the goal is a container that cannot leak. Work the oil into a solid or paste, seal it, and give it a second layer of protection.
Sprinkle about 2 tablespoons of baking soda over each cup of oil and stir. It thickens within a minute or two into a paste you can scrape into a jar or squeeze into a bag. Cat litter, cornstarch, or a commercial oil solidifier powder work the same way; commercial powder is the fastest, and the trade-off is that it is meant to go into hot oil, which is the splatter risk people flag most.
Put the thickened oil into a leakproof container with a lid, or directly into a heavy-duty bag tied shut. Then put that inside a second bag, or place it in a small box inside the bin. Cold oil in a sealed container will not behave like liquid water, and the double layer is what people who have had a ruptured bag in the garage describe as the difference.
A useful rule of thumb for the household trash is a cup or two per week. That much, solidified and sealed, is generally fine. Bigger amounts, or a deep fryer’s worth, belong in a collection program rather than a city bin.
If you cannot get to a collection point, the next safest step is your local sanitation guidance. Never pour it into a drain, toilet, garbage disposal, storm drain, yard, or compost bin. Pouring boiling water after the oil does not fix it; the water just carries a greasy film further down the line and adds a scald risk.
One case worth separating: the oily water and bits at the bottom of a frying pan. Let it cool, then strain out the solids, pour the liquid into a container with a lid, and treat it as you would the oil. It goes in the same container, never down the sink, even if it looks like mostly water.
Common Mistakes
These are the errors that cause leaks, clogs, burns, or an argument with your building manager.
- Pouring oil down the kitchen sink. It coats the pipe instead of washing away, congeals as it cools, and combines with wipes and food solids into a blockage. Fix: nothing goes down the sink, ever, not in small amounts.
- Using the garbage disposal. The blades chop nothing useful and the motor just forces grease into the trap. Fix: treat the disposal as off-limits for oil.
- Flushing with boiling water. A widespread myth with a burn risk attached. Fix: skip it entirely.
- Binning liquid oil without setting it. A sealed bottle of liquid oil in a truck or bin is a leak waiting for the next heavy rain. Fix: solidify first, bag second, bin third.
- Storing oil in a random plastic bottle or a drink bottle. Some plastics get soft or leach into oil, and a drink bottle in the fridge invites an accident. Fix: use a jar or the original oil bottle, sealed, labelled, and refrigerated.
- Ignoring oil that has gone off. Rancid oil keeps its smell and compounds and makes food taste bad. Fix: smell before reuse, and skip reuse entirely if you have doubts.
- Mixing oil with paint, solvents, or other hazardous waste. That combination can be picked up by a household hazardous-waste program, which is exactly what those facilities cannot take. Fix: keep waste streams separate.
- Pouring it outside or into a storm drain. It is both illegal in many places and genuinely harmful: it smothers soil, coats waterways, and harms animals and insects. Fix: the bin or a collection point.
- Composting it. Vegetable oil is not a compostable input. It clogs the pile and interferes with the microbial process. Fix: keep it out of the compost bin.
If you have already poured oil down a sink, stop using that drain for a few hours, then run hot tap water for a few minutes while the grease is still soft, followed by a dish soap flush. If the drain is already slow, stop and call a plumber rather than reaching for a chemical cleaner, which generates heat and can break a pipe.
For burns, spills, fires, pests and clogs, the routine is simple. Cool first, seal second, and never carry an open container of oil across a room. Store and dispose where a pet or a child cannot reach it, since cooking oil is attractive to both. And keep it out of the drain, which is the only mistake here that reliably costs real money.
Frequently Asked Questions
Can I pour used cooking oil down the drain?
No. Cooking oil coats the inside of pipes instead of washing away, and as it cools it congeals and combines with food particles and wipes to form a blockage known as a fatberg. It can clog your own plumbing, cause a sewage backup, and damage municipal sewer lines that your utility has to clear at your expense. Put the oil in a container, let it solidify, and put it in the trash instead.
How long can used cooking oil be stored for reuse?
For the best quality, use refrigerated oil within a few weeks, and freeze anything you will not touch for a month. Smell it before cooking with it: neutral means it is fine, while a nutty, stale, or burnt smell means the oil has broken down and should be discarded. Storage time matters less than storage conditions, so keep the jar sealed, labelled, and cold.
Can I put cooking oil in my regular recycling bin?
Usually not. Most curbside programs are built for clean, dry containers, and a bottle with oil in the bottom counts as contamination that can send the whole load to landfill. A few local services do accept used cooking oil through a separate collection stream, often for biodiesel. Check your local recycling or sanitation authority before assuming either answer, because the rule is entirely local.
How can I tell if used cooking oil is still good?
Use your nose and your eyes. It should look clear or only slightly cloudy and smell neutral. Signs it has gone off include a nutty, stale, or burnt smell, darkening, thickening beyond what you would expect, and smoking earlier in the pan than a fresh oil would. If any of those show up, do not try to mask the taste; strain it into the trash instead.
What should I do with a large amount of used cooking oil?
Skip the household trash and look for a collection point. Search your city or county name with used cooking oil collection, since public works departments, sanitation services, and some rendering or grease companies accept household quantities and turn them into biodiesel and other fuels. Confirm they take household oil, whether they need it poured into their containers, and whether there is a minimum volume before you go.
How to Dispose of Used Cooking Oil Safely
Start by letting the oil cool until it thickens. That single step is what keeps everything else tidy, and it takes about an hour of waiting you can spend doing something else.
Then decide. If it smells neutral and you fry often, strain it into a labelled jar, refrigerate or freeze it, and use it within a few weeks. If it smells off, is contaminated, or you simply do not want to store it, mix in about 2 tablespoons of baking soda per cup, scoop it into a sealed container or bag, double-bag it, and put it in the trash. A cup or two a week is fine that way. Anything bigger goes to a collection point, which you can find by searching your city name with used cooking oil collection.
The rule that never bends: no used cooking oil in a sink, a garbage disposal, a toilet, a storm drain, a yard, or a compost bin. Everything else on this list is a preference. That one is the whole point of the article.