
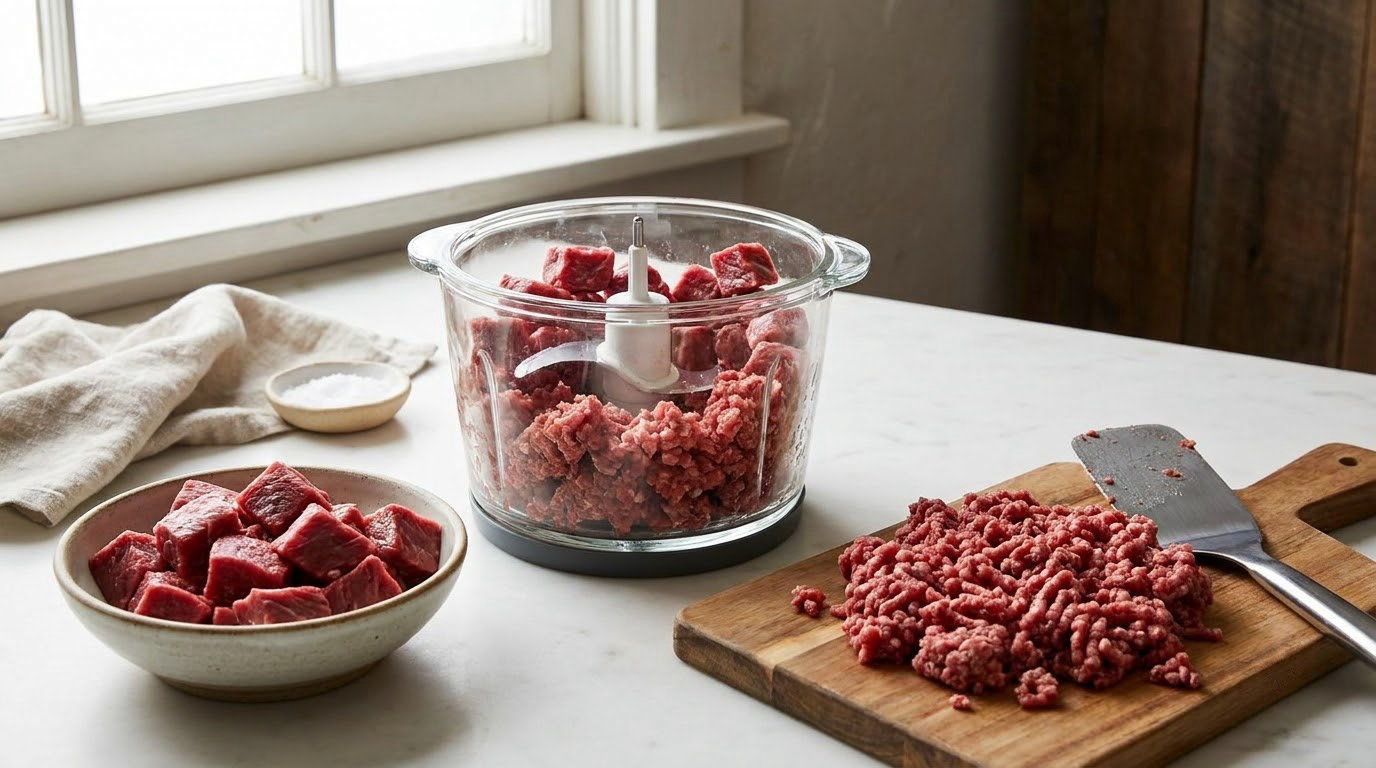
You can grind beef in a food processor and get a proper coarse grind for burgers, sausage, and chili, without owning a standalone meat grinder. Learning how to grind beef with a food processor is mostly about temperature and restraint: cold 1-inch cubes, batches of about half a pound, and 1-second pulses instead of letting the motor run.
From trimming to freezer, budget about 20 minutes of prep and 10 minutes at the machine. The tricky part is knowing when to stop, and the honest answer is earlier than most people expect.
Home cooks have argued about this technique for years, and the disagreements are real. Freezing first, blade choice, and batch size all get debated. Below is the version that actually produces an even grind, plus what to do when the meat turns to paste.
Table of Contents
- What You Need
- How to Grind Beef with a Food Processor: Step-by-Step
- Common Mistakes
- Frequently Asked Questions
- Can a food processor grind beef for burgers?
- What is the best food processor blade for grinding beef?
- How much fat should ground beef have for burgers?
- Should I grind beef in one batch or use short pulses?
- How do I keep ground beef from becoming paste-like?
- How long can ground beef stay in the refrigerator?
- Conclusion
What You Need
A food processor with a metal S-blade, a sharp chef’s knife, a cutting board, a baking sheet or plate, and a freezer. That is the whole kit. A second bowl is useful if you are grinding more than about three pounds, because you can rotate a cold bowl in and a warm one out.
For the processor itself, three features matter more than the wattage on the box. A strong motor that does not bog down when the bowl is loaded, a bowl large enough to hold meat without packing it to the top, and a removable metal blade that is not plastic. A mini processor works for a pound or two but gets tiring on anything larger, and a dull blade is worse than no blade at all because it crushes rather than cuts.
For the beef, chuck roast is the standard starting point because it carries both flavor and the right amount of fat. Brisket works well, sirloin gives a leaner burger, and short rib adds richness. Aim for roughly 80/20 meat to fat, which is the benchmark most burger recipes are built around. Buy a little extra lean if your butcher will cut you a clean sheet of fat to blend in.
- Chuck roast — the default. Runs 80/20 on its own, grinds evenly, and takes seasoning well.
- Brisket — leaner and more flavorful. Great on its own, or trimmed hard and blended with a fattier piece.
- Sirloin — lean and mild. Better mixed with fat trimmings than used alone, or the burgers come out dry.
- Short rib — rich and forgiving. It carries a lot of fat, so blend it with lean chuck rather than using it straight.
- Beef trimmings — the piece most people skip. Firm white fat mixed in at the cube stage fixes a lean batch before it happens.
One more item that costs nothing: a box of coarse salt and a clean towel. You will want both within reach at the end, and the towel catches the smears that end up on the underside of the lid.
How to Grind Beef with a Food Processor: Step-by-Step
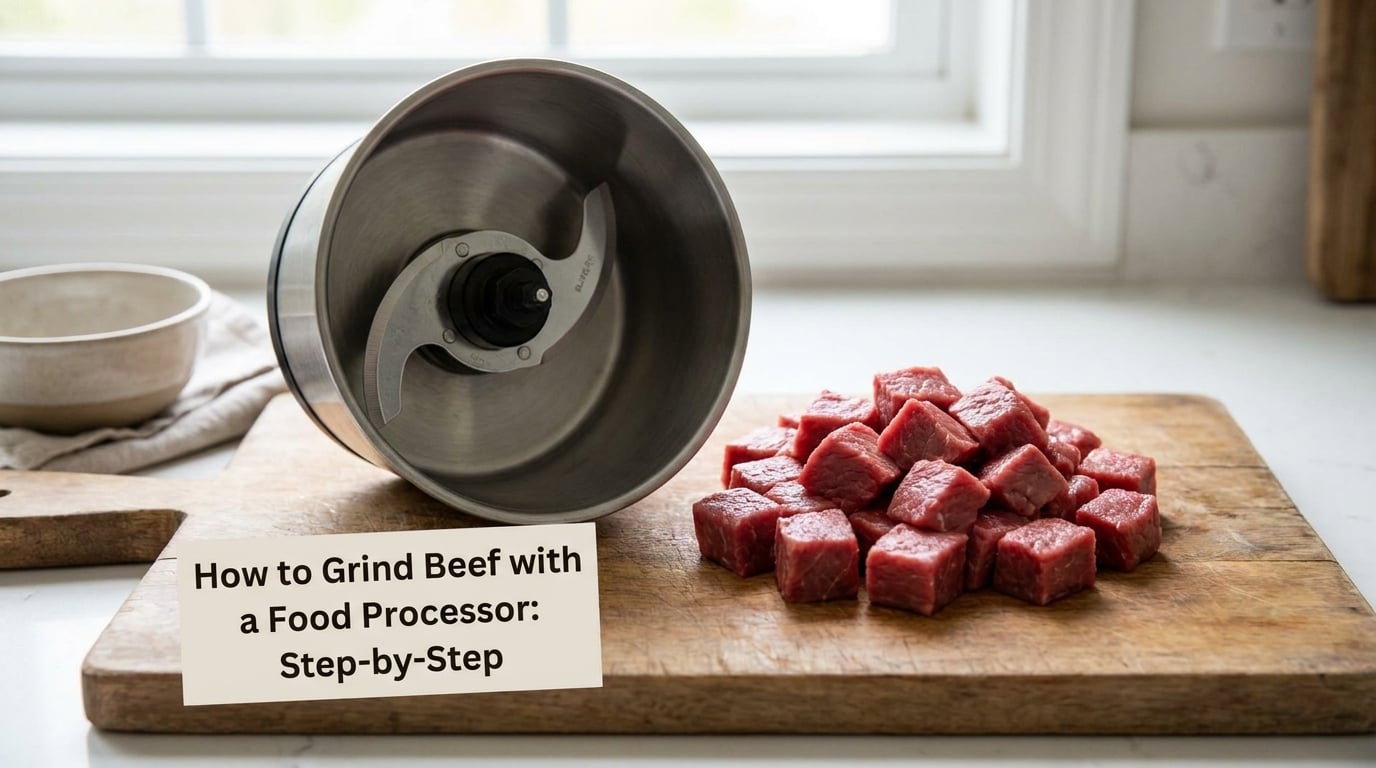
Follow the order below and the grind comes out even. Skipping the chill is the single mistake that ruins the result, because warm fat smears under the blade instead of breaking into clean granules.
Step 1: Chill and Trim the Beef
Trim the beef before it goes anywhere near the machine. Pull off silver skin, loose gristle, and the thick seam that runs through a chuck roast, because connective tissue wraps around the blade shaft and dulls the edge fast. Experienced cooks keep it simple: do not grind up the chuck seam, and leave out any fat that is soft and squishy. Solid white fat is the good fat.
Then chill the meat for 15 to 30 minutes in the freezer, spread on a tray so it firms evenly rather than freezing in one solid block. This keeps the fat cold, and cold fat stays in discrete pieces instead of melting into a paste. Some people go a step further and chill the processor bowl and blade as well, which matters more than most guides admit.
How cold is cold enough? Firm to the touch but bendable. If the cubes are rock hard or frosted over, that is too far, and we will get to why in a moment.
Step 2: Cut the Beef Into Processor-Sized Pieces
Cut the trimmed beef into rough 1-inch cubes. The size is approximate, and the whole method comes down to a single line: 1-inch cubes, half the bowl, about eight one-second pulses.
Even sizing is the point, not precision. A batch with one-inch pieces and one three-inch chunks will grind unevenly, because the small pieces turn to granules before the large ones have broken down, and the large ones release their fat later. Uneven fat distribution is what makes one bite taste great and the next taste dry.
Leave the bowl no more than half full. Overcrowding forces the meat to compact against itself, which starves the blade and turns cutting into pounding.
Step 3: Grind in Short Pulses
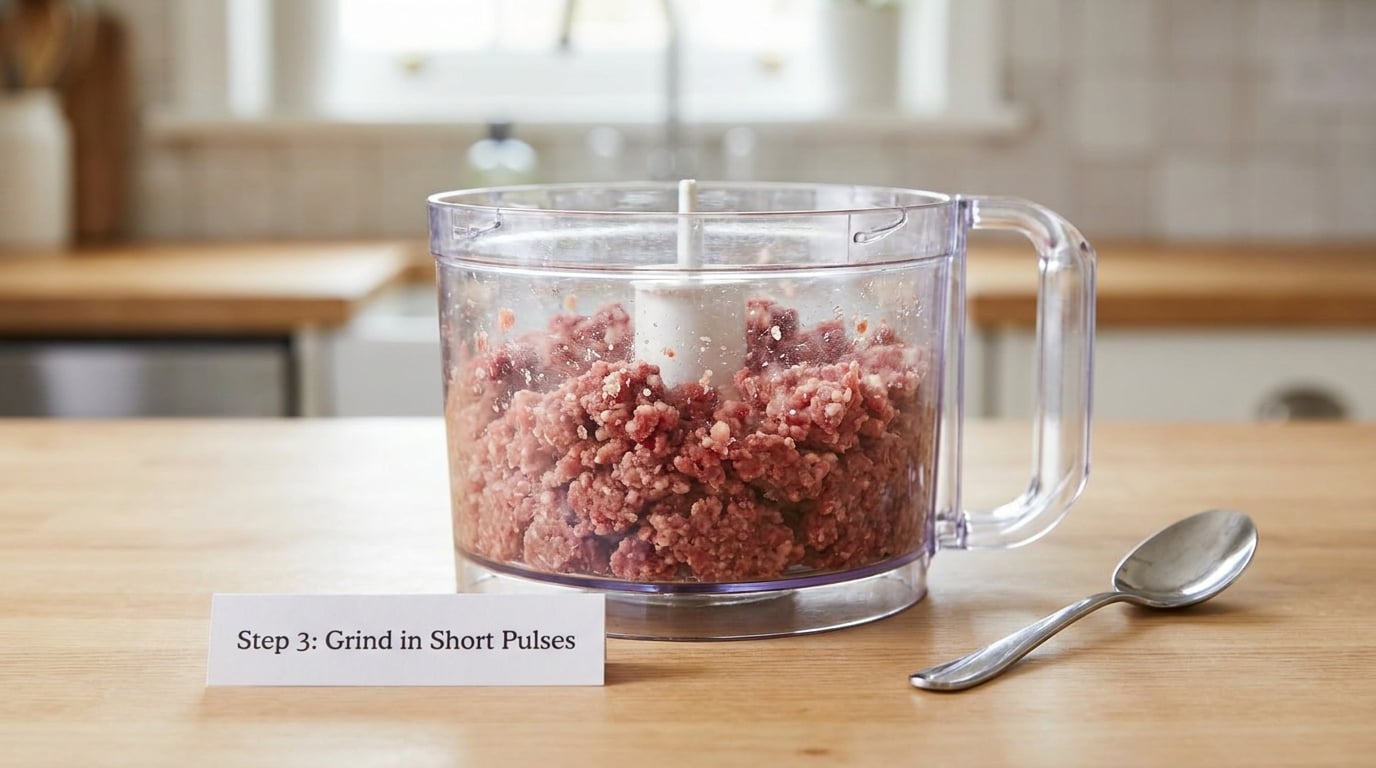
Load the bowl, seat the lid, and pulse. One second on, one second off, roughly 8 to 10 pulses for a half-pound batch. Count them if you have to; the instinct to keep going is the problem.
Continuous blending is what turns meat into paste. The blade is not a mixer, and the difference shows up in the texture: a coarse grind has distinct granules you can still pick apart with a fingertip, while paste smears and stays smeared. Stop at the moment the meat looks rice-like, which is the benchmark nearly every experienced cook uses, and then stop.
Between pulses, look through the feed tube. The bowl should still have visible chunks after four or five pulses. If it does not, you loaded too much or your meat was too warm.
Step 4: Check the Grind and Adjust
Dump the ground beef onto a clean tray and spread it out. Look for three things: granules rather than paste, fat distributed through the meat rather than sitting in wet pools, and no long strands of connective tissue hiding in the mix. A bit of variation between batches is normal.
Only reprocess a batch if it is genuinely too coarse, and never reprocess a batch that is too fine. Once a batch has gone pastey you cannot grind it back, so the correction is to use it for bolognese or meatloaf, where the softer texture is invisible.
If your first batch looks lean and dry, add a handful of cold fat trimmings to the next one. Blending a fatty portion with a lean portion at the cube stage is easier than trying to correct texture after grinding.
Step 5: Store or Cook the Ground Beef Safely
Get the finished grind refrigerated within two hours, sooner if your kitchen is warm. Keep it in its original tray or a sealed container on the bottom shelf, and use it within 3 to 4 days. For longer storage, portion it into balls or flat freezer bags, press out the air, label it with the date, and freeze.
Freezer bags laid flat are the practical choice for portions, since they stack and thaw fast. Nobody wants to chip a knife through a frozen block six months from now.
Cook ground beef to an internal temperature of 160°F. Use an instant-read thermometer in the thickest part of the patty, not a guess from color or time on the grill.
Common Mistakes
Every failure with a food processor grind traces back to one of a handful of things. Here is what goes wrong and what to change.
The meat is too warm. Warm beef melts at the blade edge, and melted fat becomes a lubricant that smears everything into a uniform paste. Chill the meat 15 to 30 minutes and chill the bowl if you have time.
You ran the motor continuously. The blade crushes what it cannot cut, and sustained contact generates friction heat. Pulse in 1-second bursts and count to 10 before you evaluate.
The bowl was more than half full. Crowded meat packs down, the blade stalls, and the motor strains. Work in half-pound batches and swap the finished grind for a chilled bowl as you go.
You froze it too long. This is the mistake nobody warns you about. Semi-frozen meat does not grind well in a food processor: it turns stringy, wraps around the blade, and the usual suggestion is to try a slicing disc instead. Hard-frozen cubes shave the blade edge and produce long strands. Fifteen to thirty minutes is the useful window; a solid frozen block is not.
You left silver skin and the chuck seam in. Connective tissue wraps the shaft, dulls the blade, and pulls the meat into strings around the hub. Trim it before cubing, not after.
Cleanup got skipped. Raw meat residue in the bowl gasket will smell for days. Wash the bowl, blade, lid, and feed tube with hot soapy water right after the last batch, and let the gasket dry completely before reassembling.
One more piece of honesty: grinding your own is slower and messier than buying a tray of pre-ground beef, and for a single weeknight burger the trade-off is not worth it. It pays off when you are doing a cookout for a dozen people, or when you want a specific fat ratio that no store carries.
Frequently Asked Questions
Can a food processor grind beef for burgers?
Yes. A food processor with a metal S-blade produces a proper coarse grind for burgers, sausage, meatballs, and chili, as long as the meat is cold, cubed to about 1 inch, and processed in short pulses. The texture is slightly less uniform than a dedicated meat grinder, but most cooks cannot tell the difference once the meat is seasoned and formed into patties.
What is the best food processor blade for grinding beef?
The metal S-blade, also called the chopping blade, is the right tool. It cuts in two directions as it spins, which breaks meat into granules rather than pressing it. A plastic blade lacks the edge and weight to do the job. The slicing disc is sometimes suggested for semi-frozen meat, but it tends to shave the meat rather than grind it.
How much fat should ground beef have for burgers?
Aim for roughly 80/20 meat to fat by weight. That ratio keeps a burger juicy without making it fall apart, and it is the standard most burger recipes are written against. Chuck roast usually lands close on its own. If your meat is leaner, blend in a portion of firm white fat trimmings before grinding rather than adding fat after.
Should I grind beef in one batch or use short pulses?
Use short pulses, and keep the bowl no more than half full. One second on, one second off, roughly 8 to 10 pulses for a half-pound batch. Running the motor continuously lets the blade crush instead of cut and generates friction heat, which is what produces a paste-like texture. Work in batches so every one of them gets the same short treatment.
How do I keep ground beef from becoming paste-like?
Keep the meat cold and stop early. Chill the cubes 15 to 30 minutes, pulse rather than run, and stop as soon as the meat looks rice-like with distinct granules. Once fat smears, the texture cannot be recovered by pulsing again, so check the bowl every few pulses through the feed tube instead of guessing at the end.
How long can ground beef stay in the refrigerator?
Use it within 3 to 4 days of grinding, kept sealed on the bottom shelf and refrigerated within two hours of processing. For anything longer, portion the grind into balls or flat freezer bags, press out the air, label with the date, and freeze. Cook ground beef to an internal temperature of 160F before serving.
Conclusion
Start with cold beef, trimmed of silver skin and seam, cut into 1-inch cubes and chilled for 15 to 30 minutes. Load half a pound, pulse one second on and one second off about eight to ten times, and stop while the meat still looks rice-like. That single stopping decision separates a coarse, juicy grind from paste, and it takes no extra work at all.
If your first attempt disappoints, the fat was probably warm or you pulsed too long. Both are easy to correct on the next batch, and once you have dialed in the timing for your own processor, you will never reach for a store-bought tray again.