
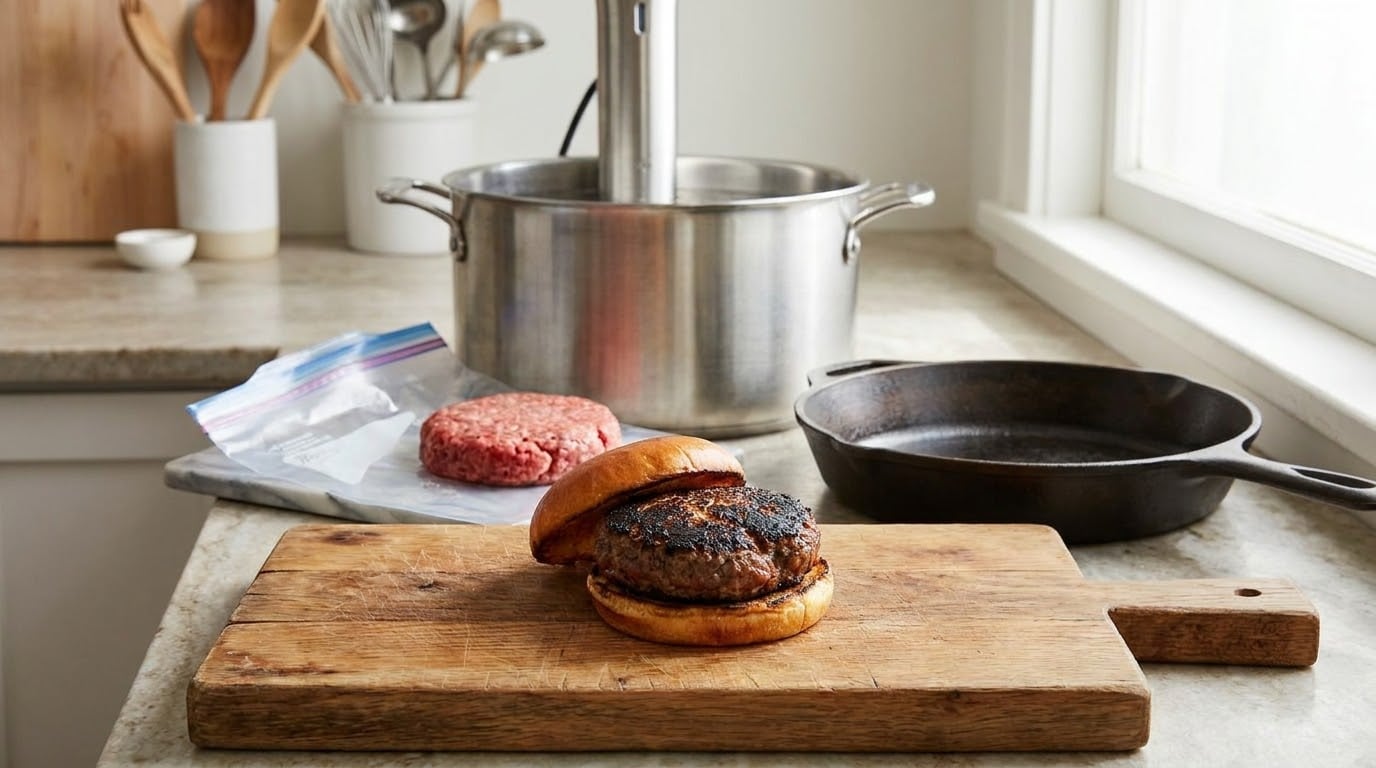
Sous vide burgers cook ground beef in a sealed bag in a temperature-controlled water bath until every patty hits the same internal heat, then get a 45-to-60-second sear in a screaming-hot cast iron skillet for crust. Cook 6-to-8 ounce patties about 1 inch thick for 45 to 60 minutes at 135F (57C) for medium-rare or 138F (59C) for medium.
The whole point of the method is control. A grill gives you a dark crust and a raw or overcooked middle, and the window between the two is narrower than most people think. An immersion circulator holds the water at one number, so the patty cooks edge to edge and stops there.
It is also the easiest burger method for a group. Everyone gets the doneness they want by cooking separate bags at separate temperatures, and the food waits without falling apart. The whole thing takes about an hour with hands-on time closer to fifteen minutes.
What You Need
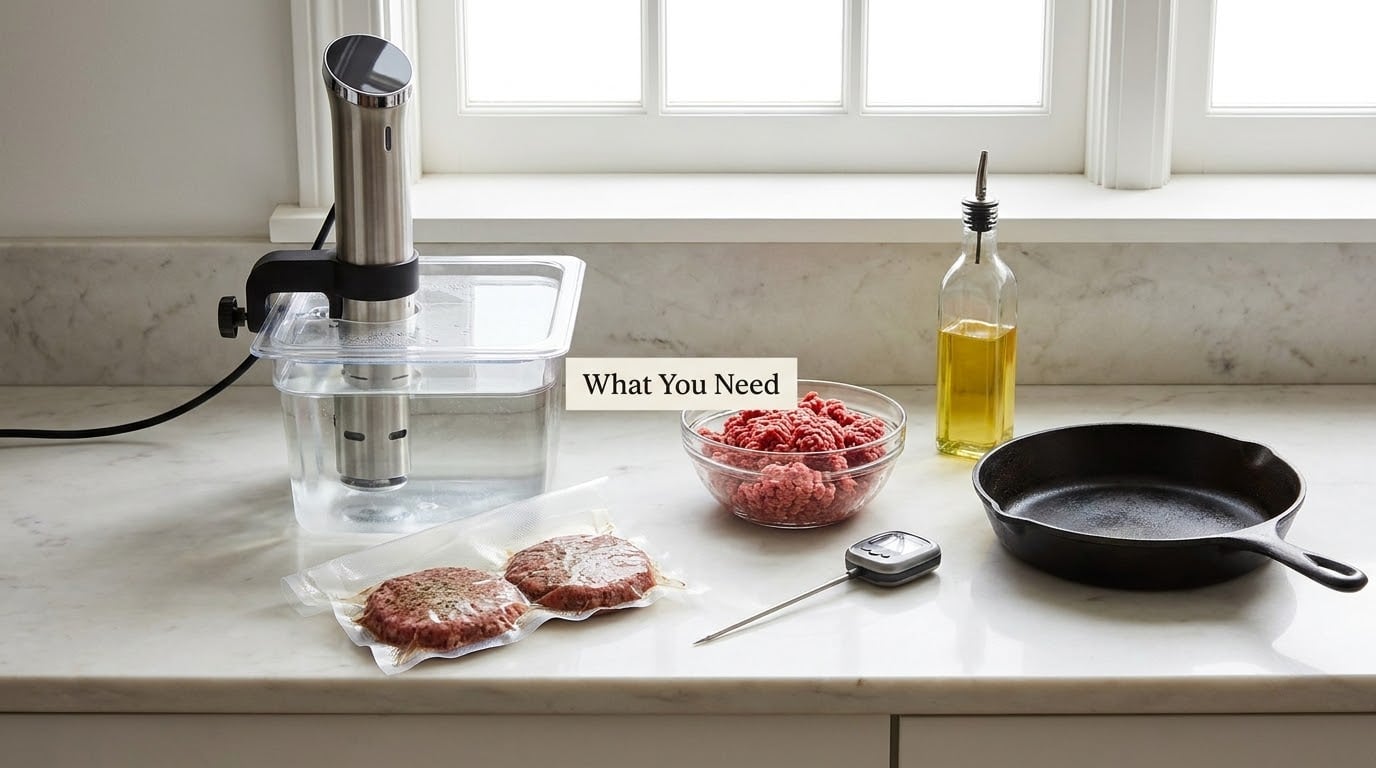
You need a water bath, a way to seal the patties, a finishing pan, and beef with enough fat to stay juicy. A ring mold and a scale are the two tools that make the biggest difference, and both are cheap.
- The bath. An immersion circulator is ideal, but a pot of water held at a steady simmer with a tightly fitted lid works fine for a first attempt. A basic stick circulator keeps temperature far more accurately than guessing at a stove dial.
- Sealing options. A freezer-safe zip-top bag with the water displacement method is all you need, and most cooks prefer it. A vacuum sealer is convenient for batches, but it squeezes the patty into a dense puck.
- A thermometer. An instant-read probe is worth having for the bath. A leave-in probe in the patty is nice for confirming your circulator is honest.
- Beef. Ground chuck or a chuck and brisket blend at 80/20 gives a juicy burger that still holds its shape. Leaner 90/10 loses what made sous vide worth doing.
- Portioning tools. A 6-inch ring mold and a kitchen scale. Even weight matters more than anything else, because a 5-ounce patty and a 9-ounce patty in the same bag finish at different times.
- The finish. A cast iron skillet or a grill, a high smoke point oil, butter, salt and pepper, and a toasted bun.
Skip fancy blends at first. Get one decent 80/20 chuck grind, weigh it, and learn how it behaves before you start experimenting with blends and stuffings. If consistency is the thing you are chasing, this is worth reading next: how restaurants keep burgers consistent every time.
Step-by-Step: How to Sous Vide Burgers
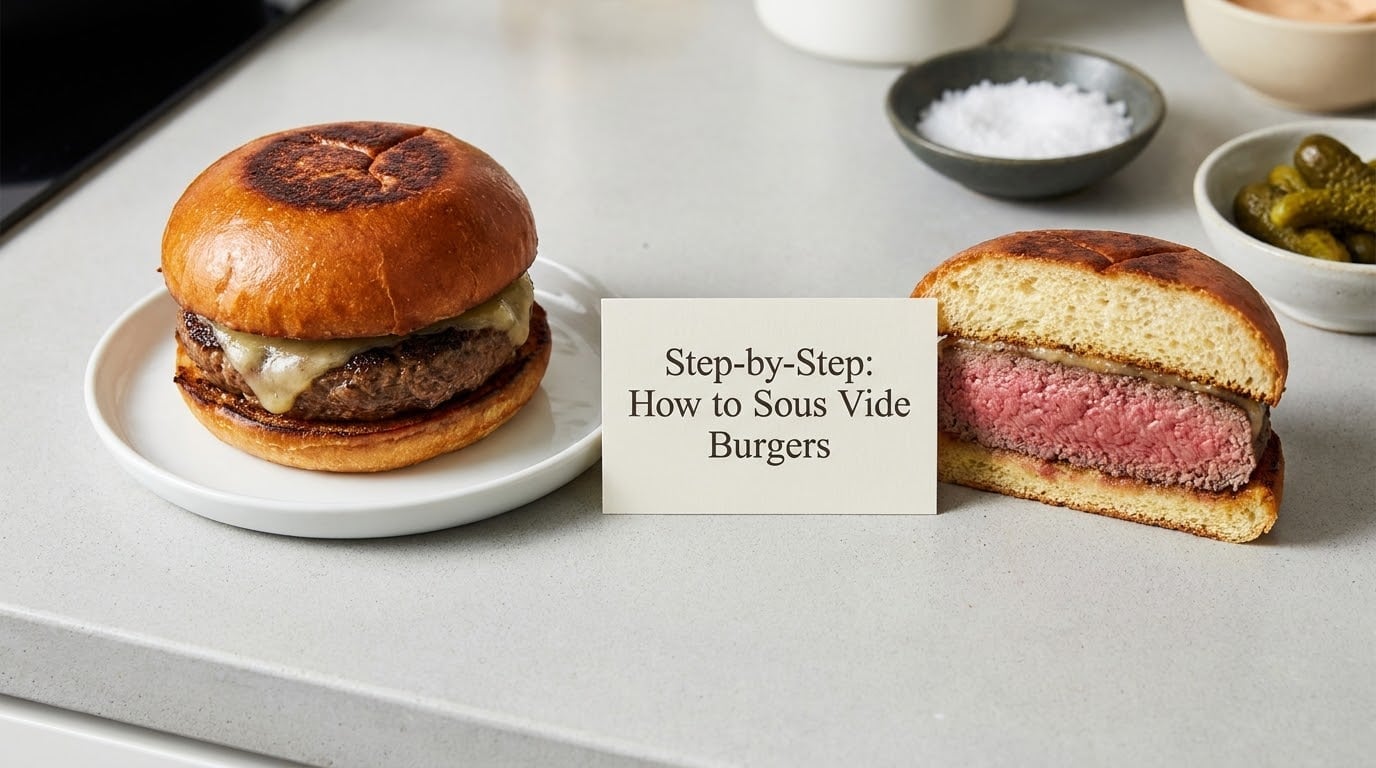
The method splits into three blocks: prepare and bag, cook in the bath, then dry and sear. Do the first block calmly and the rest takes ten minutes.
Step 1: Form the patties
Make a ball first, then flatten it. That pushes out air that would otherwise escape in the water and leave the patty ragged. Press it in the ring mold to about 1 inch thick and 5.5 inches wide, a little wider than your bun, because the patty shrinks during the sear and a burger narrower than the bun looks cheap and falls apart when you pick it up.
Handle the beef as little as possible. Work it hard and you break down the fat and protein into a bouncier, denser texture, which is the single most common complaint about sous vide burgers. The patty should look a little rough, not smooth and springy.
Step 2: Season the surface
Salt and pepper the outside right before the patty goes in the bag. Seasoning the raw meat only on the surface is right for sous vide because liquid cannot escape a sealed bag, so anything mixed in stays concentrated and salty. A coarse grind of black pepper and a pinch of garlic salt is enough; a heavy rub burns in the skillet during the sear.
If you want Montreal steak seasoning, use a light hand. Twice what feels right on a steak is too much on a patty that has already been sitting in seasoned liquid.
Step 3: Seal without a vacuum sealer
Put the patty in a freezer-safe zip-top bag, press out the air, add a spoonful of water, then zip it shut. That is the water displacement method, and the trapped water keeps the meat buoyant so it floats instead of pressing against the plastic, which is where a grey band around the edge comes from. Squeeze the last of the air out first, since air is what makes a bag float upside down and touch the seal.
Leave a little slack. A vacuum-sealed patty cooks into a dense disc, which is why so many people go back to zip-top bags after trying the sealer once. Do not pack multiple patties tightly together either; leave a finger’s width between them so water circulates.
Step 4: Cook in the water bath
Heat the circulator to your target, lower the bag in, and let it float free. Set the timer for 45 to 60 minutes for a 1-inch patty. Thicker patties at 1.5 inches need closer to 90 minutes, and thin patties under three-quarters of an inch are done in about 30.
You have a wide margin here. Ground beef can hold in the bath for 2 to 3 hours without turning to anything unpleasant, so if guests are late you simply leave the bag in the water. Many people cook a whole batch Saturday morning and finish burgers all weekend.
Step 5: Dry and chill
Take the bag out and refrigerate or freeze the sealed patties for 20 to 30 minutes, or dunk them in an ice bath. The surface is wet and grey right out of the bath, and a wet patty steams instead of searing. Patting it dry and chilling it gives you a deep crust instead of a pale one.
This step is optional but it is the cheapest improvement on the whole page. Cook the patties ahead, chill them, then sear at the last minute while the buns toast.
Choose the Right Temperature
When you how to sous vide burgers, the target number does more work than anything else you do afterward. Published temperatures range from 126F to 158F, and none of those cooks are wrong, because they are answering different questions. Lower numbers give you a softer, more tender result that some people read as beefy and others read as mushy. Higher numbers give you the firm, springy texture most people call a burger. Here is the map:
| Temperature | Doneness | Time | Result |
|---|---|---|---|
| 130F (54C) | Very rare | 45-60 min | Soft and loose, closer to steak tartare than burger |
| 134-136F (57-58C) | Medium-rare | 45-60 min | Juicy with a tender center; my starting point |
| 137-138F (58-61C) | Medium | 45-60 min | Firmer, holds shape, closest to a grilled burger |
| 140F (60C) | Medium-well | 45-60 min | Drier, noticeably bouncier texture |
| 160F (71C) | USDA minimum for ground beef | 45-60 min | Firm and fully cooked, no pink at the center |
Start at 135F and adjust from there. My rule is that anything under 133F stops tasting like a burger, and 137F is where I land when I want the texture of a backyard burger with the consistency of a sous vide one. The 5-6-7 rule people pass around applies to grilling and resting, not to sous vide, where the bath already does the work of holding temperature.
On safety, 145F is the whole-muscle guideline for intact cuts like steak. Ground beef is ground meat, and the USDA minimum internal temperature for it is 160F. Cooking below that for an hour is a deliberate risk preference, and it is worth knowing that a 45-minute hold at 135F is not the same as a two-hour hold. If you are cooking for anyone pregnant, elderly or immunocompromised, cook to 160F.
How to Sear Without Overcooking
Searing is fast, and fast is the point. Get the cast iron skillet or a grill grate hotter than feels reasonable, add a thin layer of high smoke point oil, and wait until it shimmers. Too much oil and the patty fries; too little and it steams.
Lay the dry patty down and leave it alone for 45 to 60 seconds per side. Resist pressing it with a spatula, which squeezes out juice. You want a dark mahogany crust with a defined edge, not grill-mark stripes that stop halfway across.
Butter goes in for the last fifteen seconds of the second side, tipped into the pan so it foams against the crust. Add cheese at that moment too, cover for thirty seconds, and it melts while the patty rests. Remember that the sear carries heat inward, so a patty pulled at 135F will land closer to 138F on the plate.
Toast the bun in the same pan after the patty comes out. A soggy bun is the most common complaint after a great patty, and thirty seconds in the rendered fat fixes it. Salt the top bun lightly, add the patty, and serve immediately.
Common Mistakes
Almost every sous vide burger problem traces back to one of five things: the patty, the bag, the temperature, the water, or the sear timing. Work down this list and you will usually find the cause in under a minute.
- The patty came out dense and rubbery. You overworked the beef while forming it, or you vacuum sealed it into a compressed puck. Form a ball before flattening, handle it gently, and use zip-top bags with water displacement instead.
- The texture is mealy and soft. The bath was too cool for too long. Raise the target by 2F and shorten the cook to 45 minutes. Below 133F the patty loses the density that reads as burger.
- A grey ring around the edge. The patty pressed against the bag or the water was moving poorly around it. Add more water, leave slack in the bag, and keep the patties from touching each other.
- The bag opened or leaked in the bath. The zip was not fully closed or the patty poked the seam. Use a freezer-grade bag, fill it with water, and double-check the seal before it goes in.
- No crust, grey outside. The patty went into the pan wet and warm. Chill or ice-bath it, pat it dry with paper towels, and make sure the oil is actually hot before the patty lands.
- The burger falls apart when served. The patty was too thin, the bun was cold, or you moved it too soon. Keep patties about 1 inch thick and wider than the bun, toast the bun, and let the seared patty rest two minutes before assembly.
- Water got into the bag. A small leak dilutes the bath and drops the temperature. Squeeze out the air, add water to displace it, and never open a bag over the pot.
One more note on make-ahead cooking, since it is where sous vide really separates from the grill. Cooked patties keep three to four days in the fridge sealed in their bags and about three months in the freezer. Reheat in a 125F (52C) water bath for 20 to 30 minutes, then sear again, which gives you a second crust instead of a reheated one. If you are building a batch plan, how to make burgers for meal prep covers the rest of the workflow.
Frequently Asked Questions
How long do you sous vide burger patties?
Plan on 45 to 60 minutes for a 1-inch patty at 135F to 138F. Thicker patties at 1.5 inches need about 90 minutes, and anything under three-quarters of an inch finishes in roughly 30. Ground beef holds well, so you can leave patties in the bath for 2 to 3 hours without ruining them, which makes it the most forgiving meat to cook this way.
Is 145 degrees safe for burgers?
No, not for a burger. 145F is the USDA minimum for whole muscle, meaning intact cuts like steak. Ground beef is ground meat and has to reach 160F. Many cooks deliberately run lower, around 135F to 138F, and accept the trade for a more tender center. If anyone eating is pregnant, elderly or immunocompromised, cook to 160F.
Do you need a vacuum sealer for sous vide burgers?
You do not. A freezer-grade zip-top bag and the water displacement method work as well or better for patties. Fill the bag with water after squeezing out the air, and the patty floats instead of pressing against the plastic, which also prevents a grey ring. A vacuum sealer compresses ground beef into a dense puck, and that density is the most reported complaint about sous vide burgers.
Can you sous vide frozen burger patties?
Yes, and it works well. Freeze the formed and seasoned patties flat until solid, then bag them frozen and add 15 to 20 minutes to the cook time. A common trick among home cooks is to freeze patties in a ring mold so they hold their shape during sealing and cooking. Sear straight from the bag without thawing, after drying the surface.
What is the 5 6 7 rule for burgers?
It is a grilling rule of thumb: cook a burger 5 minutes on the first side, flip, cook 6 minutes, flip again, then rest it 7 minutes. It assumes direct heat on a grill and does not apply to sous vide, where the water bath already controls the internal temperature. With sous vide you are looking at 45 to 60 minutes in the bath and a two-minute rest after searing.
How do you reheat sous vide burgers?
Warm them gently in a water bath at 125F for 20 to 30 minutes rather than using a microwave, which dries the edge out. Then sear again in a hot pan for about 30 seconds per side to bring back the crust. Properly cooked patties keep three to four days refrigerated in their sealed bags and about three months frozen.
Conclusion
Start with 135F for 45 to 60 minutes, weigh your patties so they are all the same size, seal them in zip-top bags with water displacement, and finish with a dry patty in a smoking-hot cast iron skillet for 45 to 60 seconds a side. That is the whole method. Once you have one batch down, adjust the temperature by 2 degrees at a time until the texture is exactly what you like.
Once you have the burger dialed in, the fun part is what goes with it. A few rules for that are in how to pair beer with burgers.