
To clean a garbage disposal, switch the power off at the wall or breaker, scrub the rubber splash guard with dish soap and an old toothbrush, scrape out debris with tongs, then flush with baking soda, vinegar and cold water. The whole job takes about 20 minutes. Never put your hands or fingers inside the chamber.
The smell almost never comes from the blades. It comes from a thin film of grease, food particles and bacterial biofilm stuck to the impeller, the drain rim and the underside of those rubber flaps. If you wipe the sink and the odor comes back a day later, a scrub is overdue.
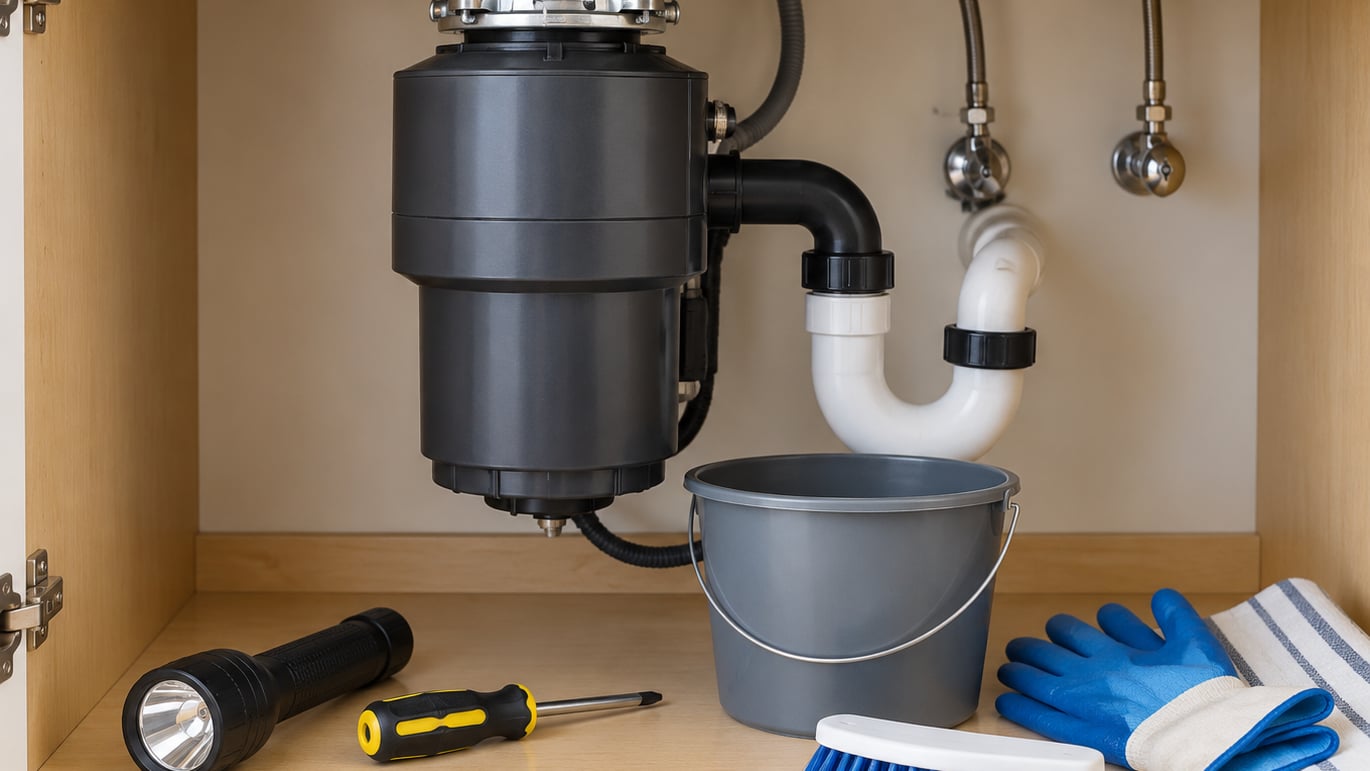
I have a small caddy under the sink with a hex key, an old toothbrush and a bottle of distilled white vinegar in it permanently. Grabbing everything at once takes a minute, and the whole clean gets done in one sitting rather than three half-attempts over a week. If you cook a lot of oil or butter, it is worth pairing this routine with our guide to cleaning a kitchen after frying.
Updated for 2026. If any step below tells you to do something differently from your model’s manual, follow the manual.
Table of Contents
- What You Need
- How to Clean a Garbage Disposal Step by Step
- Common Mistakes
- Frequently Asked Questions
- Can I use baking soda and vinegar to clean a garbage disposal?
- Is boiling water safe for cleaning a garbage disposal?
- What should I not put in a garbage disposal?
- Can I use bleach or drain cleaner in a garbage disposal?
- How often should I clean my garbage disposal?
- When should I call a plumber instead of cleaning the disposal myself?
- Conclusion
What You Need
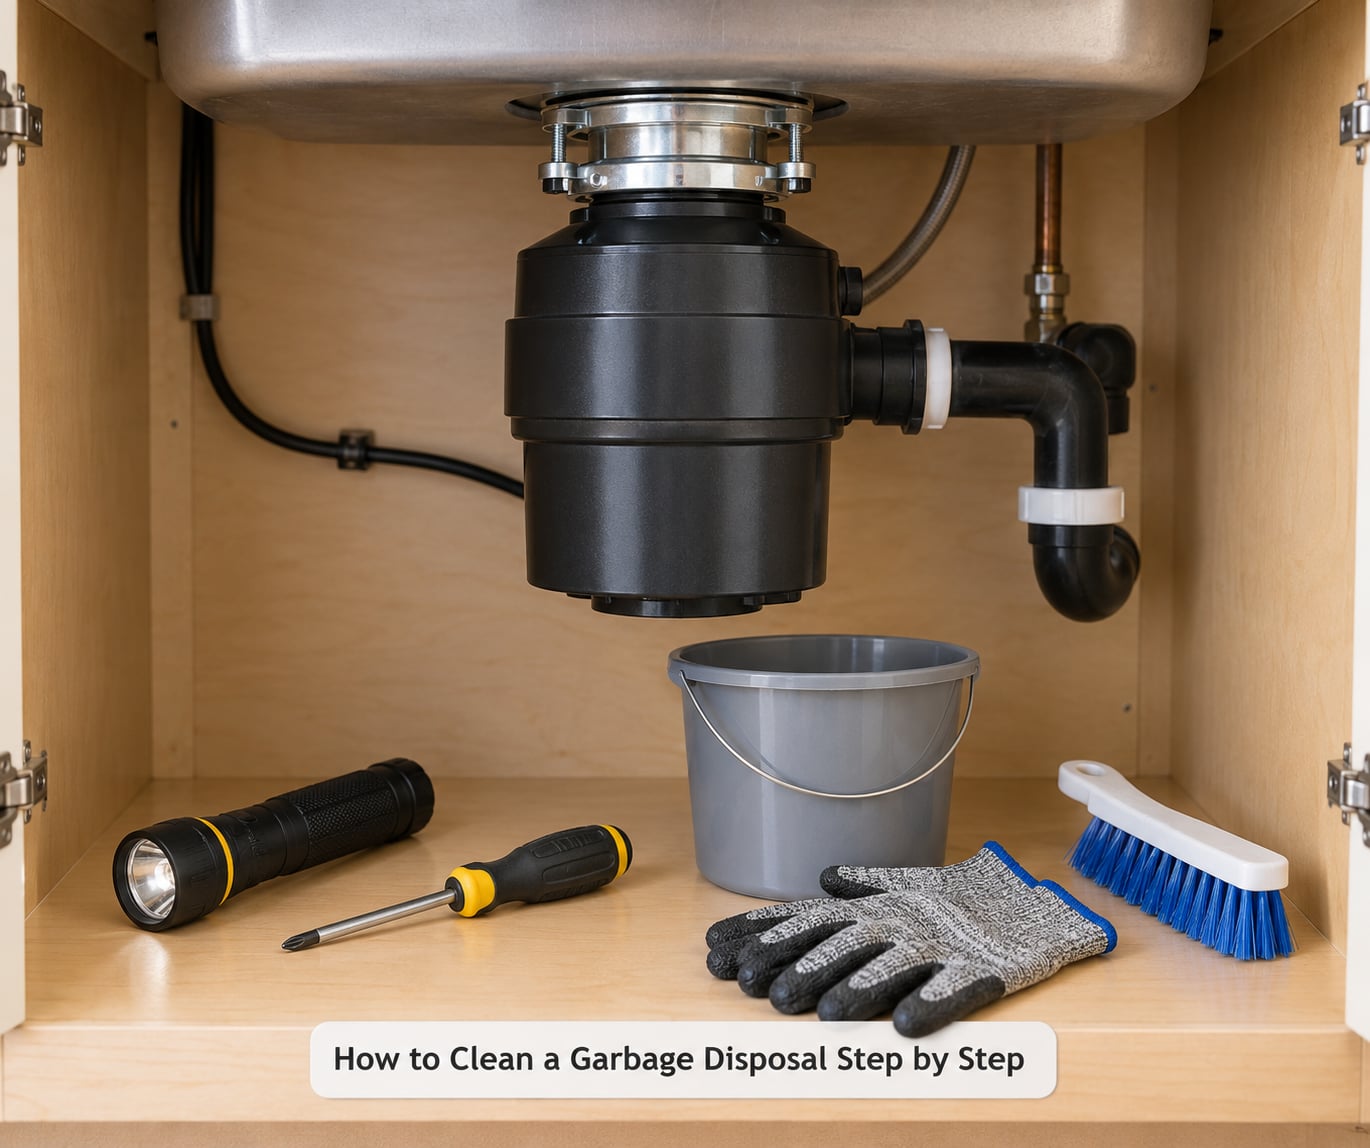
None of this is expensive or hard to find, and most of it is already in a junk drawer. Set it out before you start, because you cannot safely go looking for a screwdriver once the drain is open.
- Cut-resistant gloves. Not optional if you plan to reach near the drain with tongs. Regular dish gloves get slimy and slip.
- Flashlight. The chamber is dark and the motor housing blocks most of the light.
- Phillips screwdriver. For the splash guard on most batch-feed and continuous-feed units.
- Hex key or nut driver. Usually supplied with the unit and stored in a plastic bag inside the sink cabinet.
- Stiff brush or old toothbrush. The toothbrush is for the splash guard flaps; the stiff brush is for the blades and rim.
- Flat-tip tongs or a drain grabber tool. For lifting out debris without touching it.
- Small bucket. For water and for catching what you pull out.
- Dish soap. Regular liquid dish soap cuts grease better than anything else you own.
- Baking soda, about half a cup.
- Distilled white vinegar, one cup. Clear vinegar only, so nothing stains the sink or chamber.
- Ice cubes. About six to ten, from the freezer.
How to Clean a Garbage Disposal Step by Step
1. Turn Off the Disposal and Protect Your Hands
Switch the disposal off at the wall switch or breaker box first, not just with the button on the sink. That button only controls the motor for the moment you press it, and a jam or a wet hand can bring the blades back while you are leaning over the drain.
Then fill the sink with warm water, put the stopper in place and let it drain. If the unit drains slowly, bail the water into the bucket instead of forcing it down. Put your gloves on now, before your hands are anywhere near the drain.
If your model has a batch-feed cover rather than a flange, note where the screws sit before you start. You will want them back in the same spot later.
2. Check for and Remove a Jam
A hum that stops without grinding usually means something is resting on the blades. Do not press the reset button and hope. Look down the drain with the flashlight first and see whether you can spot the object.
If the disposal has its own hex key, insert it into the socket at the bottom of the chamber and turn it the same direction the blades spin, back and forth, until the obstruction frees. If the tool is not there, a 1/4-inch nut driver or a socket wrench will often fit the same hole.
Never reach in to feel for it. If you cannot see the object and it does not come free with the tool, the unit has to come out from underneath. That is plumber territory, not a Saturday-morning project.
3. Remove Food and Debris from the Drain
With the power still off, use the tongs to lift out anything sitting in the chamber: onion skins, meat scraps, bottle caps, twist ties. Work from the edges inward so you can see what you are grabbing. Put it straight in the bucket.
Scrape the sink strainer or stopper separately with a sponge and dish soap, then rinse it. Food trapped in the strainer sits right on top of the splash guard and keeps the whole area damp, which is exactly what bacteria want.
Some items should never go down a disposal at all: fibrous foods like celery, corn husks and asparagus ends, potato peels, eggshells, coffee grounds, nut shells, and anything greasy such as bacon grease or cooking oil. They wrap around the impeller or congeal into a paste.
4. Scrub the Blades and Splash Guard
Pull the splash guard off. On most units it lifts straight up; on others you back out the screws holding it to the flange first. Take it to the sink and scrub both faces of the rubber flaps with warm soapy water and the old toothbrush, paying attention to the hinges where black gunk collects.
Back at the sink, dip the stiff brush in soapy water and scrub the blades, the drain rim and the inside walls of the chamber as far as your arm reaches. Watch for the small black disc at the bottom of the chamber and scrub around its edge; that is the underside of the impeller, and it is usually where the thickest layer sits.
Keep the brush and the screwdriver well clear of the drain opening. Anything you drop in there can end up under a blade, and the fix for that is removing the unit.
5. Deodorize the Disposal
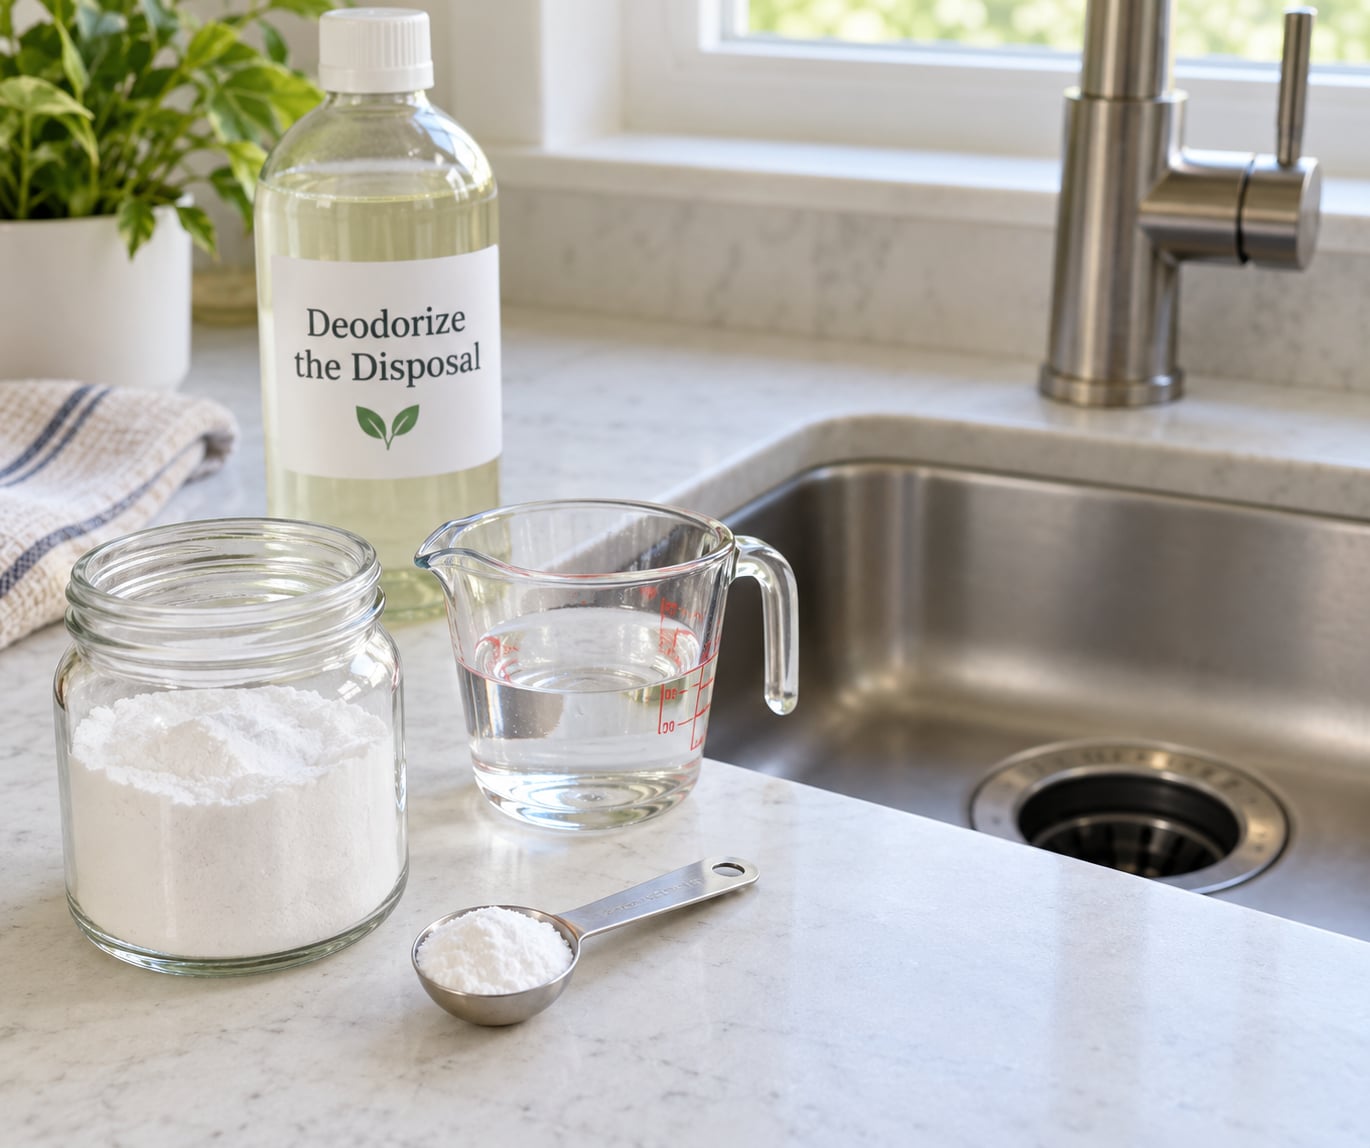
Sprinkle about half a cup of baking soda over the drain, then pour one cup of distilled white vinegar down on top of it. It will foam hard for a minute or two, and that fizzing is carbon dioxide lifting residue off the metal. Leave it alone for about 10 minutes.
While it sits, scrub the clean splash guard one more time and wipe down the sink flange. Rinse the guard, set it aside to dry, and pour cold water down the drain to flush the mixture. It smells sharp for a few minutes after, then it goes quiet.
Use vinegar for a deep clean, not as a daily habit. It is mildly acidic and will shorten the life of the rubber gasket and the rubber flaps if you pour it down every single day. Once a month for a smell problem is plenty.
Skip bleach, ammonia products and acid drain cleaner. They can pit the metal, degrade the seals and, worse, they can create dangerous gas if they ever mix with each other or with a vinegar residue.
6. Rinse the Drain and Run the Disposal
Turn the cold tap on full and let it run for a minute with the unit off, washing everything toward the drain line. With the water still running, restore power at the wall switch and press the button.
Listen. A steady motor hum that drops away when the food is gone is normal. A slow tick-tick-tick, a hum with no spin, or a smell of burning means stop and switch it off again.
Watch the drain while it runs. Any water weeping from the flange, the pipes or the dishwasher connection is a leak, and it needs a plumber, not more scrubbing.
7. Reset the Disposal and Maintain It
On a unit with a thermal protector, the small red or black button on the bottom of the motor resets the breaker once the motor has cooled. Hold it for a few seconds, wait five minutes, then run the unit again with cold water before putting anything in it.
Reinstall the splash guard and screw it back to the flange, then soak the stopper and any drain cover in hot soapy water. While it is out, use the damp toothbrush to wipe the sink rim, which is the part of the sink most people never clean.
Build the habit around it: cold water running every time you use the unit, a brush and a drop of soap every couple of weeks, and the baking soda and vinegar treatment once a month or any time a smell appears. Most units last 10 to 15 years, and the ones that die early are usually the ones that ran dry.
Common Mistakes
Almost every call-out and every failed deep clean traces back to one of these. Each one has a simple fix and a habit that prevents it.
Reaching into the chamber with your hands. The blades stay powered until you restore power at the wall, and a spoon or fork can bend or snap. Fix: switch off at the breaker, wear cut-resistant gloves, and use long tongs. Habit: treat the countertop button as a start button, never as an off switch.
Pouring boiling water down the drain. Boiling water is great for a kettle, but repeated heat warps the plastic chamber and softens the rubber gasket, and it can crack a cold porcelain sink. Fix: warm tap water is plenty. Habit: run cold water while the unit runs.
Sending grease and oil down the drain. Liquid fat congeals in the trap and on the impeller, which is the main cause of permanent odor. Fix: wipe grease into a jar or wipe, then run cold water. Habit: keep a can of empties by the sink.
Trusting the wall switch alone. Some switches only cut power to the countertop button, and some units are hardwired. Fix: check the breaker box as well, and confirm the unit is silent before you open the drain. Habit: make the breaker trip your first move every time.
Ignoring a small leak. A weeping seal under the flange turns into a cabinet full of water. Fix: dry the area, run the unit briefly with cold water, and check again. Habit: glance under the sink when you pull out cleaning supplies.
Dropping a brush, screwdriver or nut driver into the chamber. It will end up under a blade and stop the unit cold. Fix: keep tools on a dry towel beside the sink, never on the drain edge. Habit: lay tools out before you start, as in the list above.
Mixing bleach with another cleaner. Bleach plus vinegar or bleach plus an ammonia-based product can release toxic gas, and the residue left behind can damage the gasket. Fix: pick one method per cleaning session and rinse the drain well. Habit: never pour bleach and vinegar down the same drain within the same hour.
Using a drain cleaner in the unit. Caustic drain cleaner dissolves the seal and can etch the chamber, and it does nothing for a jam that needs the hex key. Fix: use the tool. Habit: if a clog resists two attempts, stop.
Skipping the routine and cleaning only when it stinks. By the time there is a smell, the biofilm is already thick. Fix: a two-minute brush and soap every couple of weeks. Habit: the same habits that show up in our checklist for a clean restaurant kitchen apply at home, just at a smaller scale.
Frequently Asked Questions
Can I use baking soda and vinegar to clean a garbage disposal?
Yes, and it is the safest deep-clean method for most units. Sprinkle half a cup of baking soda down the drain, pour one cup of distilled white vinegar over it, and let it sit about 10 minutes before flushing with cold water. The fizz loosens grease and food residue from the blades and rim. Use it monthly rather than daily, since frequent vinegar exposure wears down the rubber gasket.
Is boiling water safe for cleaning a garbage disposal?
It is not worth the risk. Repeated boiling water can warp the plastic chamber, soften the rubber gasket, and crack a cold porcelain sink through thermal shock. Warm tap water combined with dish soap cleans grease just as well. Run cold water whenever the unit runs, since cold water also carries the ground food down the line instead of leaving it to dry on the blades.
What should I not put in a garbage disposal?
Keep fibrous and stringy foods out: celery, asparagus ends, corn husks, potato peels, bean stalks, and onion strings. Also avoid eggshells, coffee grounds, nut shells, large meat bones, and any grease or oil, which congeal into paste on the impeller. Feed food in small batches with cold water running, and send large scraps to the compost or trash instead.
Can I use bleach or drain cleaner in a garbage disposal?
Neither is a good idea. Bleach and other cleaners can pit the metal and, if they mix with vinegar or an ammonia product, release toxic gas. Caustic drain cleaner dissolves the seal and does nothing about a jam that needs the hex key. Stick to dish soap, baking soda, and vinegar, and never combine two different cleaners in the same drain.
How often should I clean my garbage disposal?
Run cold water every single time you use the unit, and brush the blades and rim with dish soap about every two weeks. Do the baking soda and vinegar deodorizing once a month, or any time an odor shows up. Clean the sink stopper and drain cover on the same schedule. If you cook several meals a day, a weekly brush takes five minutes and prevents most problems.
When should I call a plumber instead of cleaning the disposal myself?
Call someone when the unit hums but will not spin after one reset and one attempt with the hex key, when it will not drain at all, or when you see water leaking from the flange or the dishwasher connection. A burnt smell, a tripped breaker that will not hold, or an object lodged under the blades that you cannot see also means stop. Disposal work involves electricity and plumbing, so safety comes first.
Conclusion
Switch the power off at the breaker before anything else. That single step is what turns an unpleasant chore into a safe one, and it is the part most guides leave out.
After that, the work is short: scrub the splash guard and blades with soapy water, flush with baking soda and vinegar, run cold water, then grind a handful of ice cubes to knock loose whatever is left. Do the brush and soap every couple of weeks and the deodorizing once a month, and the smell, the fruit flies and the jams mostly take care of themselves.