
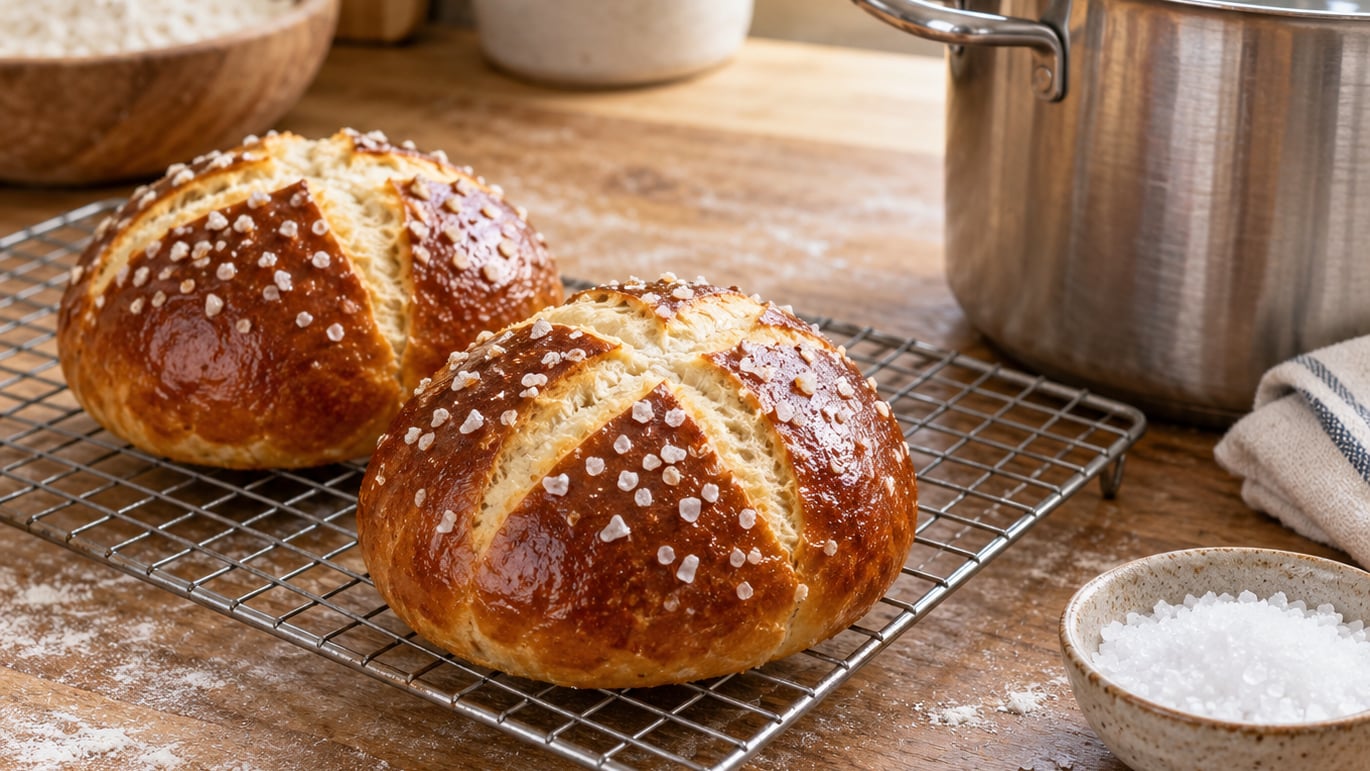
How to make pretzel buns at home comes down to one technique that separates a real pretzel bun from a plain dinner roll: a short boil in a baking soda bath right before the oven. That alkaline dip is what gives you the glossy dark brown crust, the snap that holds a burger together, and a soft, bread-like center. The whole job takes a little over two hours from start to finish, and most of that is waiting on dough.
The dough itself is an enriched yeast dough, closer to a burger bun recipe than a cracker, which is why these work so well as hamburger buns. If you have never baked bread before, this is a forgiving place to start, because the shaping is the only step that rewards practice. Our guide to burger buns from scratch covers the same shaping basics if you want the primer first.
What You Need
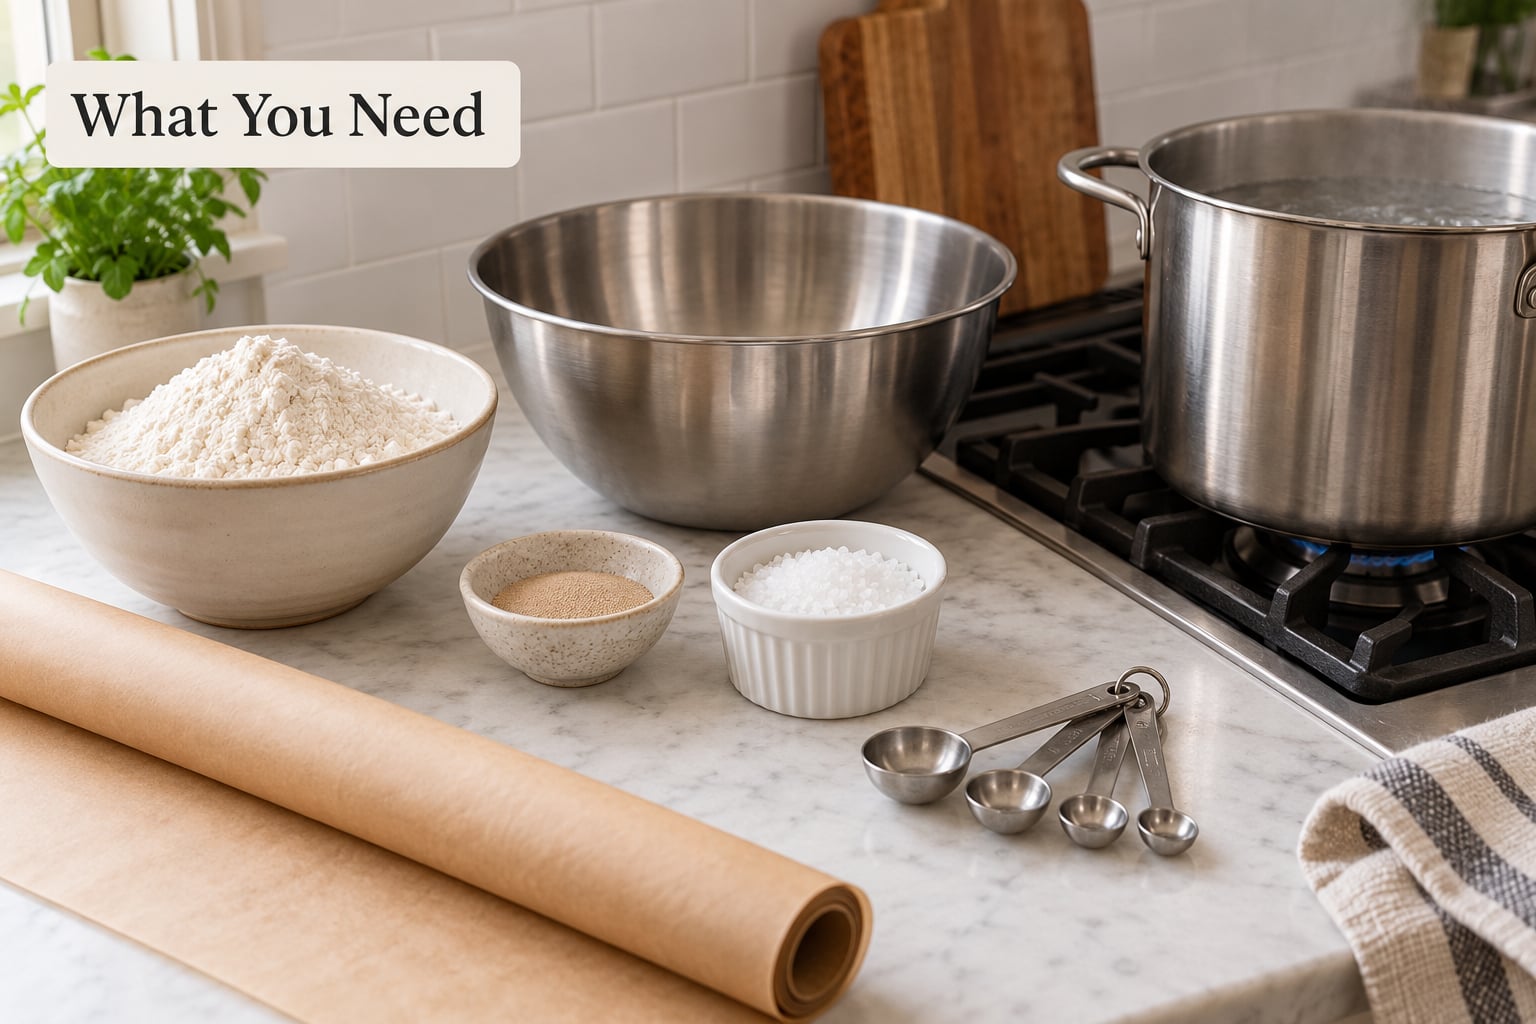
Dough (makes 10 buns at 100 g each)
- 480 g (4 cups) bread flour, spooned and leveled, plus extra for dusting
- 7 g (2 teaspoons) instant yeast, or 2 1/4 teaspoons active dry yeast
- 50 g (1/4 cup) brown sugar
- 8 g (1 1/4 teaspoons) fine salt
- 355 ml (1 1/2 cups) water, between 100 and 110°F (38 and 43°C)
- 30 g (2 tablespoons) melted butter or neutral oil
- 1 teaspoon baking powder, optional, for a softer and less chewy crumb
Bath and finish
- 1.9 L (8 cups) water for the baking soda bath
- 120 g (1/2 cup) baking soda
- Coarse sea salt or pretzel salt for the tops
- 1 egg beaten with 1 tablespoon water for the egg wash
Equipment
A tall pot with straight sides, a baking sheet lined with parchment paper or a silicone mat, a dough scraper, a bench scraper, a razor blade or sharp paring knife for scoring, and a small brush for the egg wash. A scale makes dividing the dough even, and an instant-read thermometer tells you when the buns are actually done rather than guessing from color.
Budget about 30 minutes of hands-on time and two to two and a half hours total, including two rises and a 15-minute rest after boiling. Difficulty is easy to moderate. If you have a stand mixer with a dough hook, use it for the mix, then finish by hand.
One note on flour: bread flour gives you more chew and a better pretzel flavor, and it holds structure during the boil. All-purpose flour works and gives a slightly lighter, more tender center, which some people prefer in a burger bun. Whole wheat will be denser, so drop the water by a tablespoon or two if you use it.
How to Make Pretzel Buns Step by Step
Here is the timing at a glance, so you can see the whole shape of the process before you start. Two rises of 45 to 60 minutes each, a 15-minute rest after boiling, and a 9 to 12 minute bake add up to roughly two and a half hours from the first splash of water to cooled buns.
Activate the yeast and mix the dough
Warm the water in the microwave for 30 seconds and check it on your wrist. It should feel comfortably warm, not hot. If it is hotter than 110°F (43°C) you will kill the yeast, and if it is cooler than 100°F (38°C) the dough will be slow to start.
Sprinkle the yeast and the sugar over the water and stir once. Wait 5 to 10 minutes until a foamy layer forms on the surface. That foam is the yeast waking up, and if it never appears your yeast is old or the water was too hot. Meanwhile, stir the baking powder (if using) into the flour with the salt.
Add the flour mixture to the yeast water and stir with a sturdy spoon until no dry flour is left. The dough will look shaggy and rough. Pour in the melted butter or oil and mix until the dough starts to come together. If you are using active dry yeast instead of instant, let it sit in the water the full 10 minutes before mixing.
Knead, rest, and divide the dough
Turn the dough onto a lightly floured counter and knead for 8 to 10 minutes. Push with the heel of your hand, fold, quarter turn, repeat. The dough should go from tacky to smooth and elastic, and a small piece stretched between your fingers should stretch thin enough to see light through it before it tears. That is the windowpane test, and it is the only reliable way to know the gluten is developed enough for a chewy crust.
Round the dough into a ball, cover it with a damp towel or plastic wrap, and let it rest for 10 minutes. The rest relaxes the gluten you just developed, which makes dividing and shaping much easier on your hands.
Punch the dough down and weigh it. Divide into 10 pieces of 90 to 100 g for standard buns, 70 to 75 g for slider buns, or 120 to 125 g if you want long sub-style sandwich buns. Weighing each piece rather than eyeballing it is what keeps the buns baking evenly, since a small one in the oven finishes long before a large one does.
How to make pretzel buns rise before baking
Shape each piece into a tight ball by cupping your hands and rolling it along the counter, then pull the ball firmly against the work surface to tighten the skin. That final tug matters more than the rolling. A taut outer skin holds the bun’s shape through the boil, and a slack piece spreads into a flat, wide disk that merges with its neighbors on the sheet.
Arrange the buns on the baking sheet with about 2 inches (5 cm) between them. They will rise and swell in the oven, and anything touching turns into one blob. If your sheet is small, use two sheets rather than crowding.
Cover and let the shaped buns proof until roughly doubled in size, 45 to 60 minutes at room temperature, or 20 to 25 minutes in an oven set to 200°F (95°C). Readiness is visual and tactile: the bun should look full and slightly domed, feel puffy and filled with air when you poke it gently, and spring back slowly. Test one. If the dent stays, keep waiting. If the bun is already ballooning at 20 minutes, your kitchen is warm and the dough is further along than the clock suggests.
Boil the buns in a baking soda bath
Fill your pot about two-thirds full with 1.9 L (8 cups) of water and 120 g (1/2 cup) of baking soda. Bring it to a full rolling boil and set a bowl of water nearby, because this bath is genuinely dangerous: it is a strong alkaline solution that can burn skin, and steam adds to the risk. Long sleeves, closed shoes, and a clear path between pot and sink are not fussiness.
Lower one or two shaped buns at a time with a slotted spoon. Boil for 20 to 30 seconds, turn them with the spoon, then 20 to 30 seconds more. Resist going longer. Beyond about a minute the surface takes on a soapy, metallic taste that no amount of baking hides. Batches of two or three keep the temperature from dropping, and if the boil slows to a lazy simmer, wait for it to come back before adding more.
Lift the buns out one at a time, let each one drip over the pot for a few seconds, and space them on a fresh sheet or directly on the baking sheet. The buns look lumpy and wrinkly right now and will smooth out as they finish baking. That is normal.
The reason the bath works is chemistry, not magic. Baking soda raises the pH of the water to around 11. The alkaline surface gelatinizes the outer layer of starch, and the Maillard browning that happens in the oven runs far faster at that pH. You get the dark mahogany color, the glossy skin, the firm chew, and dough that has already set enough to hold its shape. Skip the bath and you have a soft dinner roll that spreads, browns slowly, and tastes like bread.
Score, salt, bake, and cool the buns
Let the boiled buns rest 10 to 15 minutes. They are still cooking from the inside, and they firm up enough in that time to take a clean score without deflating.
With a razor blade or very sharp knife, cut a single slash about a quarter inch (6 mm) deep across the top of each bun at a slight angle. A deep cut splits the bun open in the oven, and a shallow one barely opens. If you want the look from a German bakery, cut a shallow X instead.
Brush the tops with the beaten egg for a shinier finish, then sprinkle coarse salt generously. If you skip the egg wash, the crust still browns and the salt still sticks, so it is purely cosmetic.
Bake at 425°F (220°C) for 9 to 12 minutes, until the tops are deep brown rather than tan and the bottoms are firm. Pull one and check the center with your thermometer: 190°F (88°C) means the crumb is fully set and the starch has finished gelatinizing. Pale golden buns mean the bath was too weak or the oven was not hot enough, not that they need another 4 minutes.
Cool on a wire rack for at least 20 minutes. Cutting into a hot bun compresses the crumb and makes it gummy, and the residual steam finishes setting the crust as it cools. Buns are best the same day, and slicing a warm one is the single most common way to end up with a disappointing pretzel bun.
Common Mistakes and How to Fix Them
The buns spread flat and merge into one another. Almost always spacing, proofing, or shaping. Leave 2 inches (5 cm) between buns, use two sheets instead of crowding one, and make sure the final proof ran until the buns were doubled and puffy. During shaping, pull each ball against the counter to tighten the skin. Slack dough has no tension to hold it up.
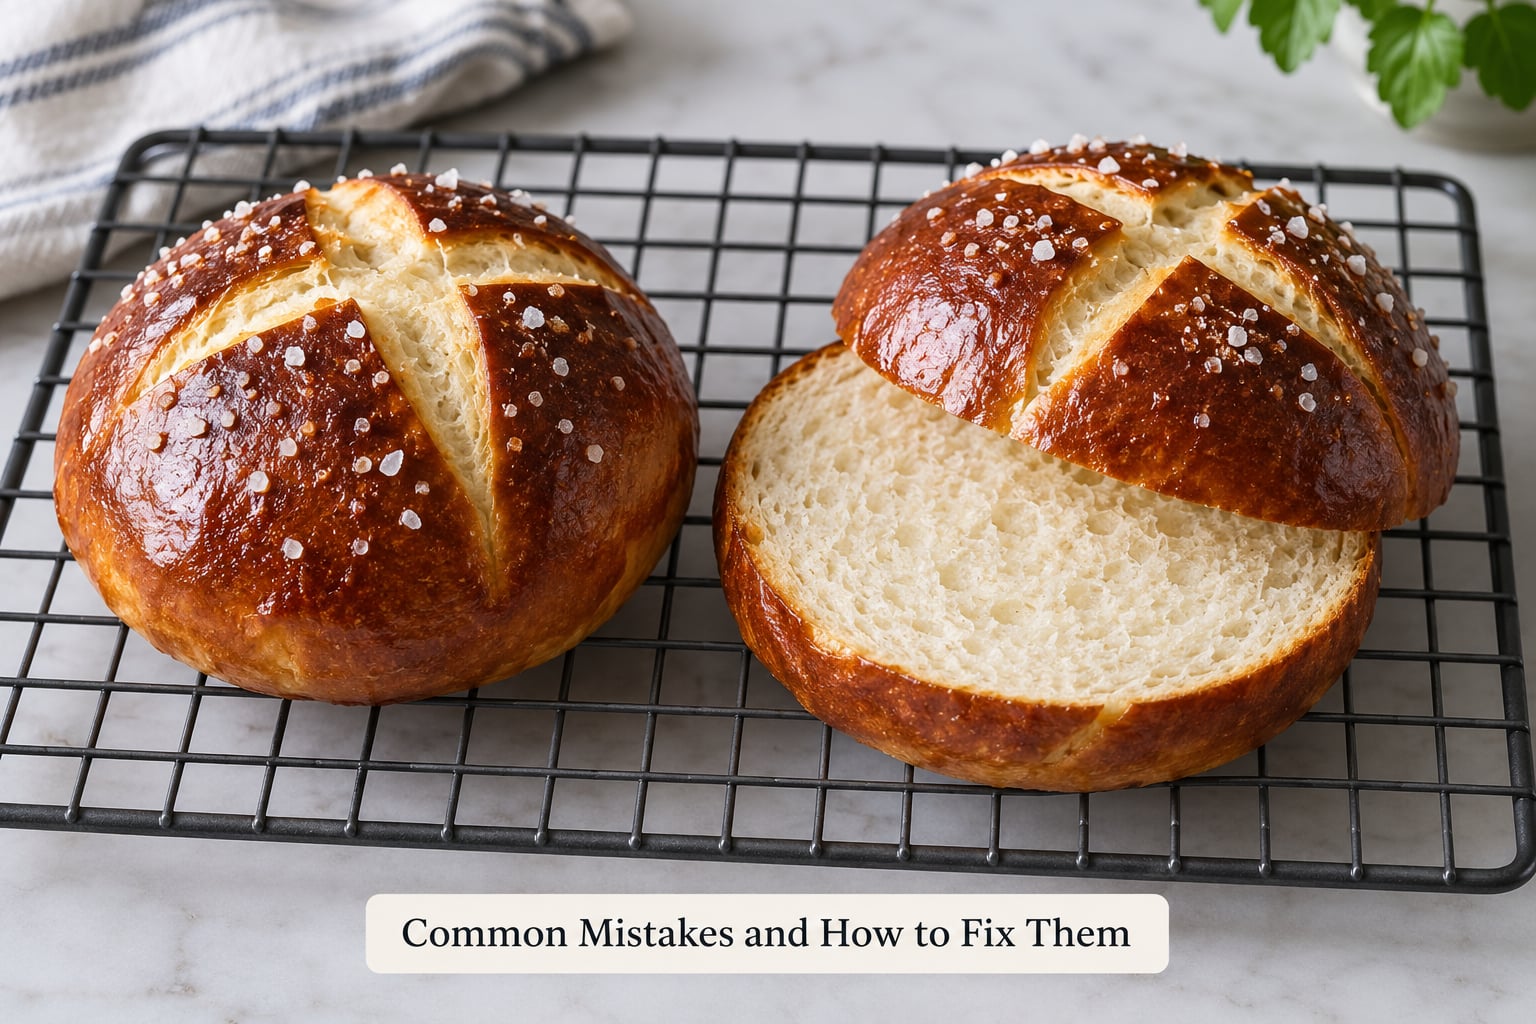
The crust is pale or washed out. Your bath was too weak, the buns sat too long after boiling, or the oven was cool. Measure the baking soda rather than spooning it, and hit the 425°F (220°C) mark. For a darker crust without food-grade lye, spread 1/2 cup (120 g) of baking soda on a sheet and bake it at 350°F (175°C) for an hour first. The concentrated soda gives a stronger bath, a deeper color, and a more distinct pretzel flavor.
The crust tastes metallic or soapy. You boiled too long. Cap the total bath time at about 60 seconds per bun, and keep the pot at a rolling boil. A bun that has absorbed a lot of alkaline water carries that taste straight through the crust.
The crumb is dense and heavy. Underproofed dough, or not enough kneading. Run the windowpane test before shaping. If the dough tears instead of stretching thin, knead it another 3 to 5 minutes. And if the shaped buns sat somewhere cold on the counter while you waited, their yeast slowed down, so give them more time rather than rushing the oven.
The center is gummy. Usually sliced while hot, or pulled from the oven a shade early. Bake to 190°F (88°C) inside and cool at least 20 minutes before cutting.
The crust is tough rather than chewy. Your flour was whole wheat, or you over-proofed and the gluten has broken down. Stick to bread flour or all-purpose, and watch the dough rather than the clock.
The salt dissolves and the buns go soggy overnight. The fix is what you do after baking. Let the buns cool completely with no salt on top, then add coarse salt right before serving, or store them unsalted in a sealed container and salt each bun as it comes out of the freezer. Salt applied before baking draws moisture out of the crumb and leaves you with a tough, wrinkled bun the next day.
Buns stuck to the pan. Standard parchment paper can grip dough. Use a silicone baking mat, or grease the sheet and add a light dusting of semolina or coarse cornmeal before the buns go down.
Uneven baking across the sheet. The oven is hot at one end and cool at the other, which is true of nearly every home oven. Rotate the sheet halfway through the bake, and do not stack two pans on two racks, which blocks airflow on both.
To serve, split the buns and toast the cut sides in a dry skillet for a minute, then butter them. Melted garlic butter from our garlic butter for burger buns recipe is worth the extra two minutes. These are sturdy enough for thick smash burgers, bratwurst with sauerkraut, pulled pork, or hot dogs, and the 75 g version makes good sliders for a party.
For make-ahead work, shaped buns can be refrigerated on a covered sheet for up to two days and boiled straight from the fridge, adding a minute or two to the bake. Baked buns cool completely, get wrapped individually in plastic or a freezer bag, and keep about three months frozen. Reheat them at 350°F (175°C) for 5 to 10 minutes, or refresh the crust at 425°F (220°C) for 3 to 5 minutes.
Frequently Asked Questions
Can I make pretzel buns without baking soda?
Yes, but they become soft dinner rolls rather than pretzel buns. Without the alkaline bath the surface keeps an acidic pH, so browning is slow, the skin stays pale and matte, and the buns spread more in the oven. You will still get a good yeasted bun, just none of the chew, gloss, or pretzel flavor. If the bath is the only step you want to skip, brush the shaped buns with plain water instead.
Why are my pretzel buns pale after baking?
Three things cause a pale crust: a weak bath, a cool oven, or buns that dried out waiting to be baked. Measure 1/2 cup (120 g) of baking soda per 8 cups of water, keep it at a full rolling boil, and bake at 425°F (220°C). For the darkest color without lye, bake the baking soda alone at 350°F (175°C) for an hour first, then use it in the bath. Extra time in a cool oven will not fix it.
Do pretzel buns need to rise again after boiling?
Not a second full rise. They need a 10 to 15 minute rest so the crumb finishes setting and the surface firms up enough to take a clean score. During that rest the buns are still cooking from the inside out, and they expand slightly, which is why the boiled dough looks wrinkly and then smooths out in the oven. If you boil them and bake them immediately, the tops often tear or deflate instead of opening along the score.
How long do homemade pretzel buns stay fresh?
Best on the day they are baked, and still very good two days later. For longer storage, keep them in an airtight container at room temperature for up to three to four days, which softens the crust a little. Skip the refrigerator, since the starchs go stale faster when they are chilled. The single most useful habit is salting after baking rather than before, because salt applied ahead pulls moisture out of the crumb.
Can I freeze pretzel buns after baking?
Yes, and they freeze well for about three months. Cool the buns completely, wrap each one individually, then freeze them in a bag or box. Reheat straight from frozen at 350°F (175°C) for 5 to 10 minutes, wrapped in foil for the first few minutes so they do not dry out. You can also freeze shaped, boiled buns before baking and bake them from frozen at 425°F (220°C), adding 2 to 3 minutes to the bake time.
Conclusion
How to make pretzel buns boils down to three things you cannot rush: a well-developed dough, a real final rise, and a 20 to 30 second dip in a boiling baking soda bath on each side. Everything after that is a nine-minute bake. Start by weighing your flour and getting the water temperature right, because that is where a first batch goes wrong most often. Once you have the timing, the same dough shape works for sliders, sub-length sandwich buns, and straight burger buns on a Saturday afternoon.