
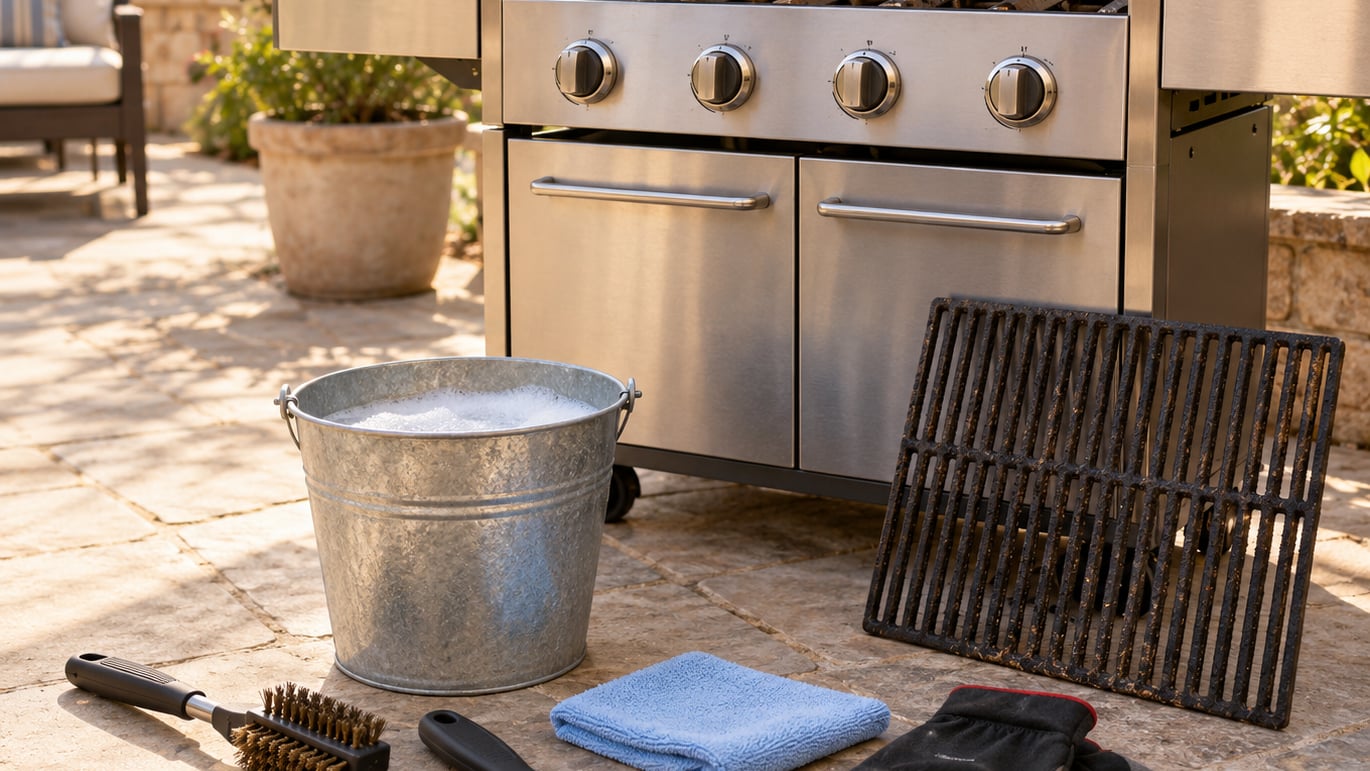
How to clean a gas grill comes down to four things: burn off the leftovers at high heat, shut the gas off, scrub the grates and the inside, then empty the grease tray and re-oil the grates. The whole deep clean takes 45 to 90 minutes and needs nothing more exotic than a grill brush, a bucket and dish soap. Most people only ever need to do it once or twice a year, but a two-minute routine after every cook keeps the buildup from ever becoming a problem.
Grease under the burners is not just a flavor problem. It causes flare-ups, uneven heating, faster rust on the grates, and it can ignite on its own during a burn-off if there is a lot of it sitting in the cookbox. That last part is the reason a few owners who cook 100 times a year treat the season opener with real care.
What You Need Before You Start
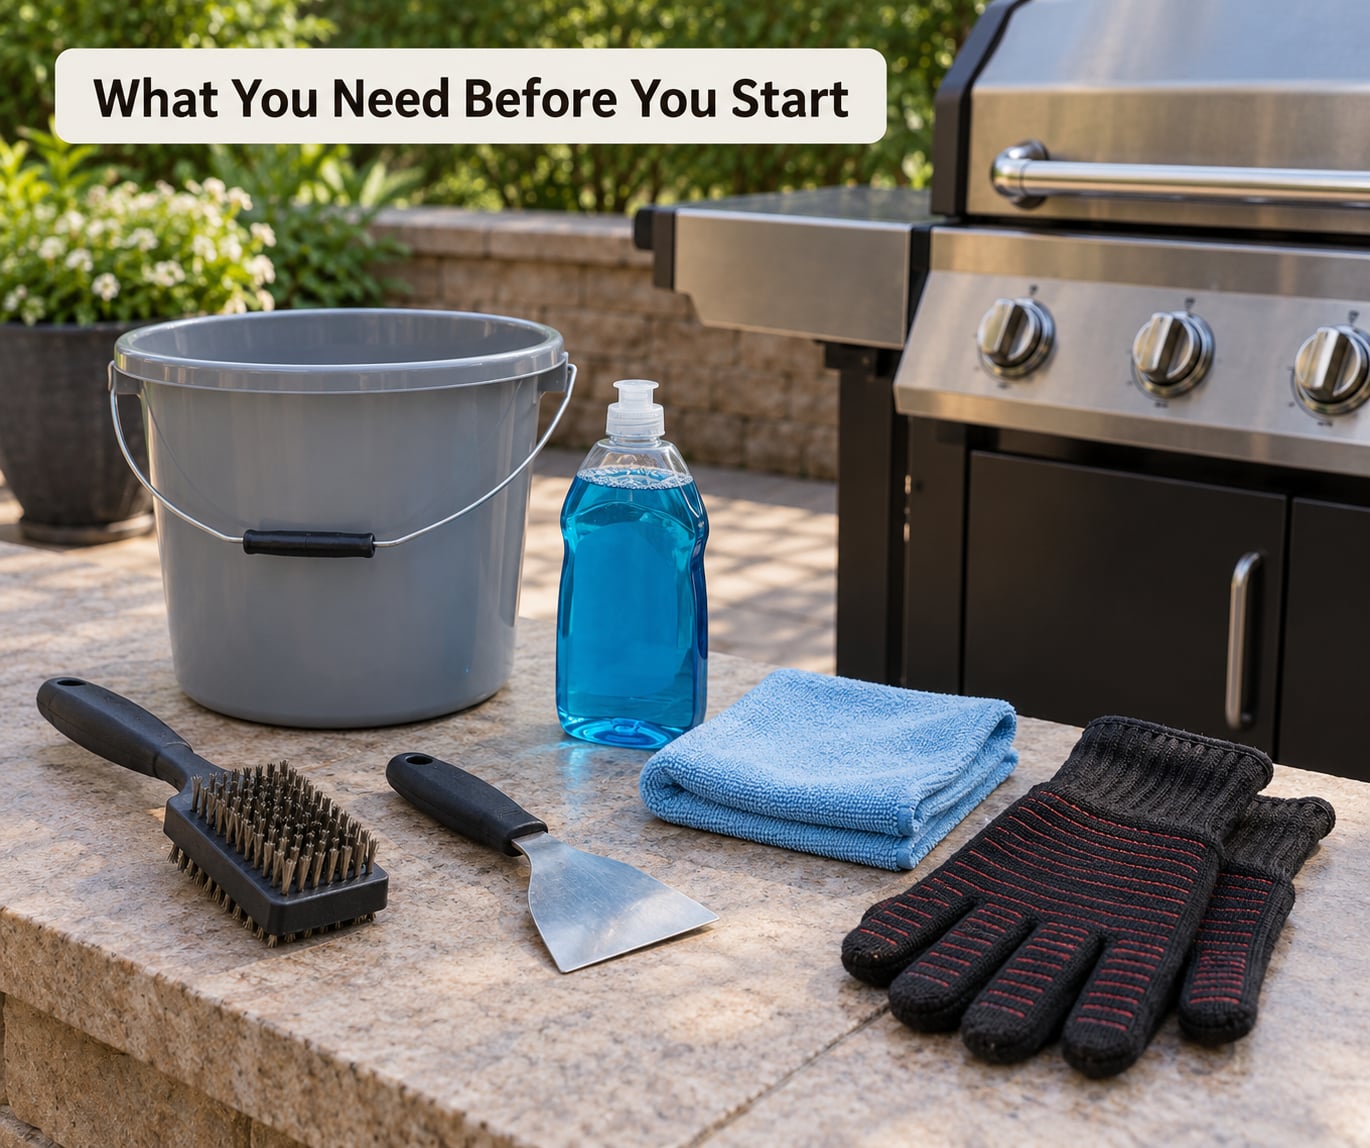
Three things do most of the work: a stiff brass or stainless grill brush, a bucket of warm water with a squirt of dish soap, and a plastic putty knife or scraper for hardened carbon. Grab a microfiber cloth and a pair of heat-resistant gloves too, since the lid and exterior stay hot a lot longer than you would guess.
Everything else depends on the state of your grill. A nylon-bristle brush matters if your grates are porcelain-coated, because wire will scar them. A soft-bristle toothbrush is the right tool for burner ports. A can of compressed air helps clear debris you cannot reach, and a stiff nylon wheel or griddle stone is gentler than a wire wheel on stainless surfaces.
A degreaser is useful on flavorizer bars and the grease tray, but skip it on anything you eat food off unless you rinse that part thoroughly afterward. Aerosol cooking sprays are the one thing to stay away from entirely, because the film they leave keeps food from browning properly. Read the manufacturer’s manual too, since some grates are marked no-clean and some igniters are sealed units you should not get wet.
Step-by-Step: How to Clean a Gas Grill
1. Turn Off the Gas and Let the Grill Cool
Close the tank valve or shut off the gas line, then turn every burner to off. Wait until the lid, grates and exterior are cool enough to touch by hand before you touch anything with a brush or water. Do not move a connected propane tank while it is hot, and never light a burner to burn off debris while the lid is open.
When the grill has not been cleaned in months, scrape out the big chunks of carbon and grease from under the burners before the burn-off. Otherwise that grease can ignite and burn uncontrolled, which is the one genuinely risky moment in this whole process.
2. Protect the Grill and Set Up a Bucket
Slide a bucket or a wash tub under the grease drain so whatever comes down has somewhere to go. Take off the side tables, warming rack and any tool hooks you can remove, since those wash separately. Cover or drape anything the manufacturer says to keep dry, which usually means the igniter, the gas line fittings and any electrical housing.
Work on a patio or driveway with a hose nearby, not on grass. Old grease that hits soil kills the patch underneath it, and mixed grease and cleaning solution is not something you want running into a storm drain.
3. Scrub the Cooking Grates
Set the grates aside and scrub them with the grill brush, working along the grain of the metal rather than across it. One long pass per bar removes far more carbon than three short frantic ones. For stubborn spots, brush on a paste of baking soda and white vinegar, leave it 20 to 30 minutes in a tub or a sealed bag, then scrub again.
Crumpled aluminum foil gripped in tongs works well when a bristle brush has shed and you have nothing left in it. Rinse the grates only if your manual allows it, then dry them completely before they go back in the grill. A clean, well-brushed grate is what makes a two-zone setup work, and it is worth reading how to set up two zone heat on a grill once the bars are bare.
4. Remove and Wash the Grease Tray
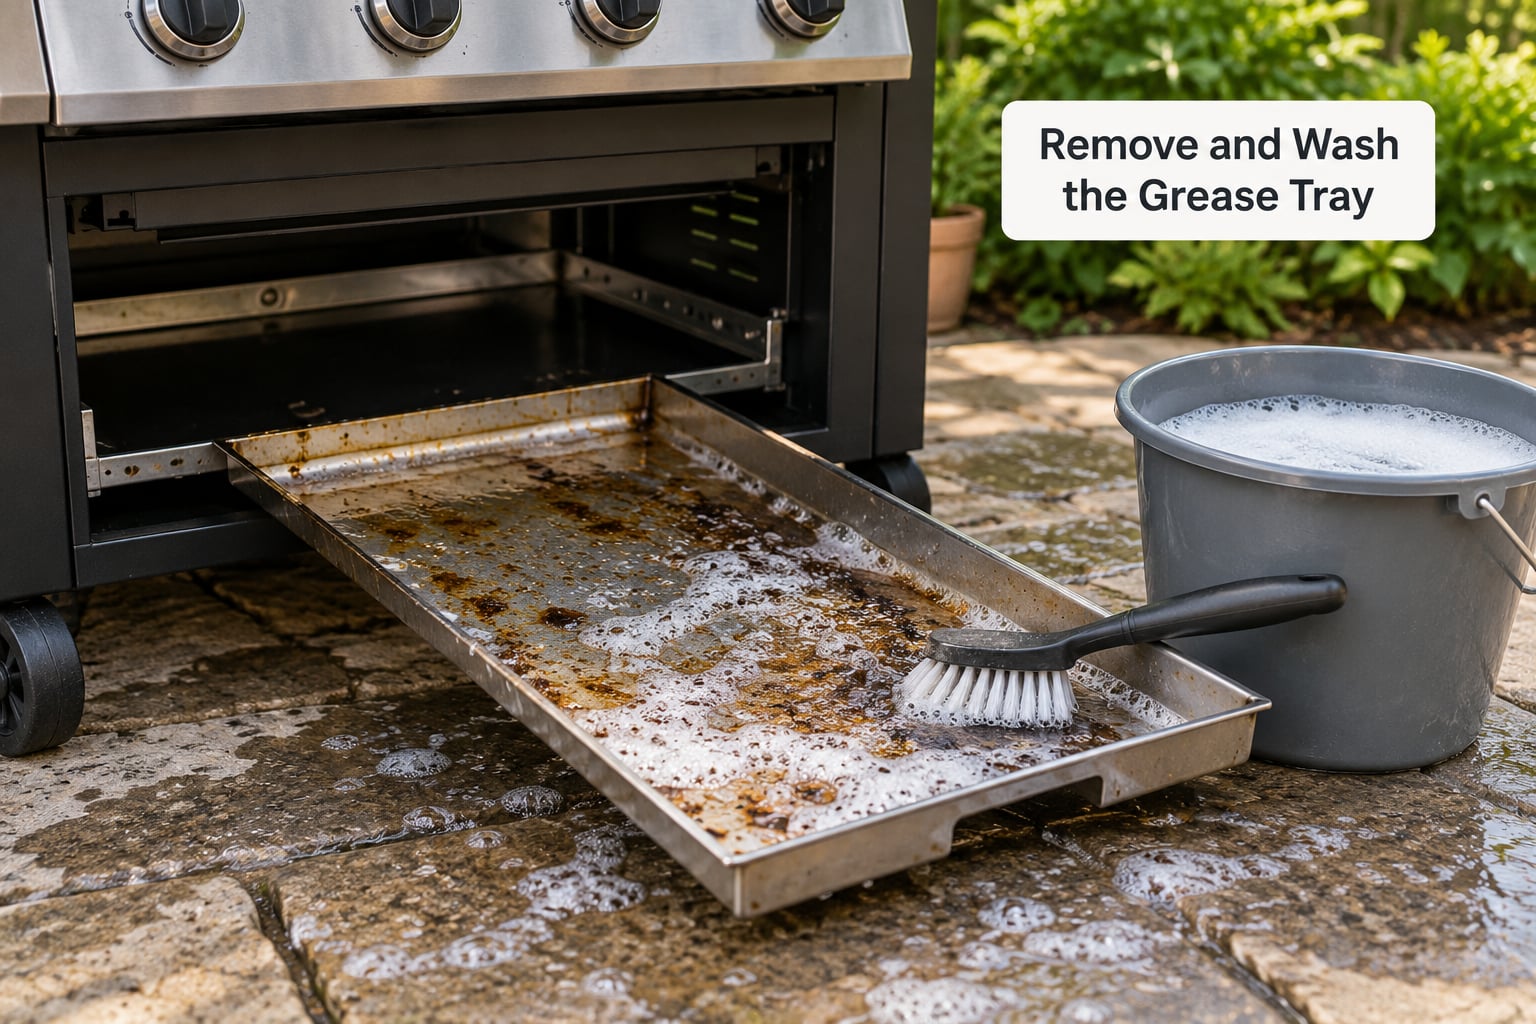
Empty the old grease into a sealed container and put it in the trash, never down a drain, a storm grate or onto the ground. Then wash the tray, drip pan or catch pan with hot soapy water, scrubbing any hardened layer off with the plastic scraper or a nylon brush. Rinse, let it dry, and fit a fresh pan liner if your grill uses one.
This is the dirtiest part of the whole grill and the one people skip. If you only have time for one thing on this list, make it this.
5. Clean the Interior and Flavorizer Bars
Wipe the lid, the interior walls and the cookbox with warm soapy water and a microfiber cloth. Scrape the flavorizer bars, the bars above the burners that spread heat across the food, with a putty knife and a stiff brush, then soak them if the carbon is thick.
Keep water away from burner tubes, ignition wires, the igniter and any no-clean area. Pick up loosened grease and ash with a brush or damp cloth and wipe it out rather than pushing it deeper into the firebox.
6. Check and Clear Burner Openings
Look at the burner ports with a flashlight and brush out loose debris with a soft brush. Compressed air blown in from the manifold end helps clear the tube. Never push a needle, paper clip or screwdriver into a port to widen it, because a larger port changes the gas mixture and can cause an uneven or sooty flame across the whole grill.
If the flame is uneven after a careful exterior clean and a port brush-out, stop and call the manufacturer’s service line or a gas-appliance technician. Same for any smell of sulfur or rotten eggs. An uneven flame after cleaning is a burner or regulator problem, not a scrubbing problem.
7. Clean the Exterior and Reassemble
For stainless panels, wipe with the grain using warm soapy water or a stainless steel cleaner, then buff dry with a microfiber cloth. Skip abrasive pads, which scratch the finish and make it show fingerprints. Painted or powder-coated surfaces just want warm soapy water and a dry cloth.
Put the grates and removable panels back, reconnect anything you moved, and let every part dry fully. A grate that goes back damp will rust again before you have cooked anything.
8. Re-Season and Test for Leaks
Coat the grates with a thin, even layer of high smoke point oil, working it into corners and along every bar. Wipe off the excess with a paper towel so nothing pools, then close the lid and burn the grates on high for about 15 minutes, or until the oil stops smoking. That layer is what keeps cast iron from rusting between seasons.
Before that first cook, follow the manufacturer’s leak-check procedure if you changed a gas connection. Smell for sulfur or rotten eggs, keep everyone away, and do not light the grill if you suspect a leak. Once it is burning, confirm the flames are steady and blue across all the ports. Grill on an even flame and burgers come out with the sear you wanted instead of a raw patch in the middle.
Common Mistakes to Avoid When You Clean a Gas Grill
Cleaning a hot grill is the most common mistake and the easiest to avoid. Water on hot steel warps the grates, brass brushes melt, and you end up with a steam burn. Let it cool completely every time.
Using a wire brush on porcelain-coated grates permanently scars the coating and strips the seasoning. Use a nylon or stainless bristle brush there, and expect less removal than you would from bare cast iron.
Enlarging burner ports with a nail or a drill bit feels helpful and is not. It throws off the gas-to-air ratio across the whole burner. Soft brush and compressed air only.
Pouring grease down the drain blocks it and is bad for the local water system. A sealed container in the trash, always.
Assuming a heavy grease load will just burn off cleanly. It can ignite and keep burning, which is why you scrape out the worst of it before the burn-off and stay nearby for the first few minutes.
And skipping the re-oiling step. Clean bare cast iron with no oil on it will be speckled with rust the next time you look at it.
Your Maintenance Schedule
After every cook: burners on high for 10 to 15 minutes with the lid closed, then a single brush pass once the grates cool. That is the whole routine.
Monthly: check the grease tray, empty it, and look at the burner ports with a flashlight. Wipe the exterior so salt and sweat do not sit on the stainless.
Twice a year, plus at the start of season: the full deep clean above, ending with the re-oil and burn-off. That is also the moment to check for rust and to read our guide to how to control flare ups on a grill, since most flare-ups start with a grease problem rather than a fat problem.
Frequently Asked Questions
How often should I clean a gas grill?
After every cook, run the burners on high for 10 to 15 minutes with the lid closed and brush the grates once they cool. Check and empty the grease tray monthly. A full deep clean takes 45 to 90 minutes and only needs doing once or twice a year, plus one before the first cook of the season. Grill owners who cook heavily, or who use sugary marinades often, should move that deep clean to every two or three months.
Can I use Dawn dish soap to clean my grill?
Yes, in small amounts diluted in warm water, for exterior panels and for grates that have been removed and rinsed thoroughly afterward. It is one of the fastest ways through thick grease on a tray or flavorizer bar. What to avoid is aerosol cooking spray and any cleaner that leaves a film, because a film on a food-contact surface stops food from browning. Never put soap into burner tubes, and rinse twice if you use it on grates.
Should you clean grill grates with a metal brush?
On cast iron and stainless grates, yes, a stiff brass or stainless brush is the right tool and it will not damage the metal. On porcelain-coated grates, never. Wire bristles permanently scar the coating and strip the seasoning, and the damage does not come back out. Use a nylon or stainless bristle brush on porcelain, work with a putty knife for carbon, and expect that material to fight you more than bare iron does.
Is it okay to grill on rusty grill grates?
Surface rust on grates is not a health hazard, and you do not need to replace them for it. Scrub the rust off with a wire brush or fine grit wet-dry sandpaper, rinse, air dry in the sun, then coat with a high smoke point oil before cooking. Replace a grate only when it is deeply pitted, flaking badly, or cracked. Rust on the grill body itself is a different job: sand it back and repaint with high-temperature grill paint.
Can you leave a gas grill outside all winter?
Yes, as long as it is covered and the cover is waterproof but breathable and fits snugly so wind cannot get under it. Every few weeks, lift the cover and check for trapped moisture, condensation and pests, since both start rust. Store the propane tank upright and outdoors, out of direct sun, and never bring it inside a garage or enclosed space. If the grill lives in a wet climate, running it briefly on high before you cover it dries the interior.
What does rubbing a potato on a grill do?
Not much, in the way people tell it. The starch does briefly slick the surface and can loosen light residue, but it smears across the grate rather than lifting anything, and it has to be scrubbed off later. A crumpled foil ball gripped in tongs will actually scrape carbon off, and a brass brush does it faster. The onion trick has the opposite problem: people report it leaving onion flavor on the next cook.
Start With the Two-Minute Routine
The best way to clean a gas grill is the way you keep it clean. Burners on high for 10 to 15 minutes after dinner, one brush pass, grease tray emptied once a month. Most grills go years between full deep cleans that way, and the burgers keep tasting like burgers instead of last month’s chicken marinade.
When you are ready for the next cook, our guide to how to grill burgers on a portable grill covers the small-space version of the same setup. In 2026, a clean grate and an even blue flame are the two things that matter most.