
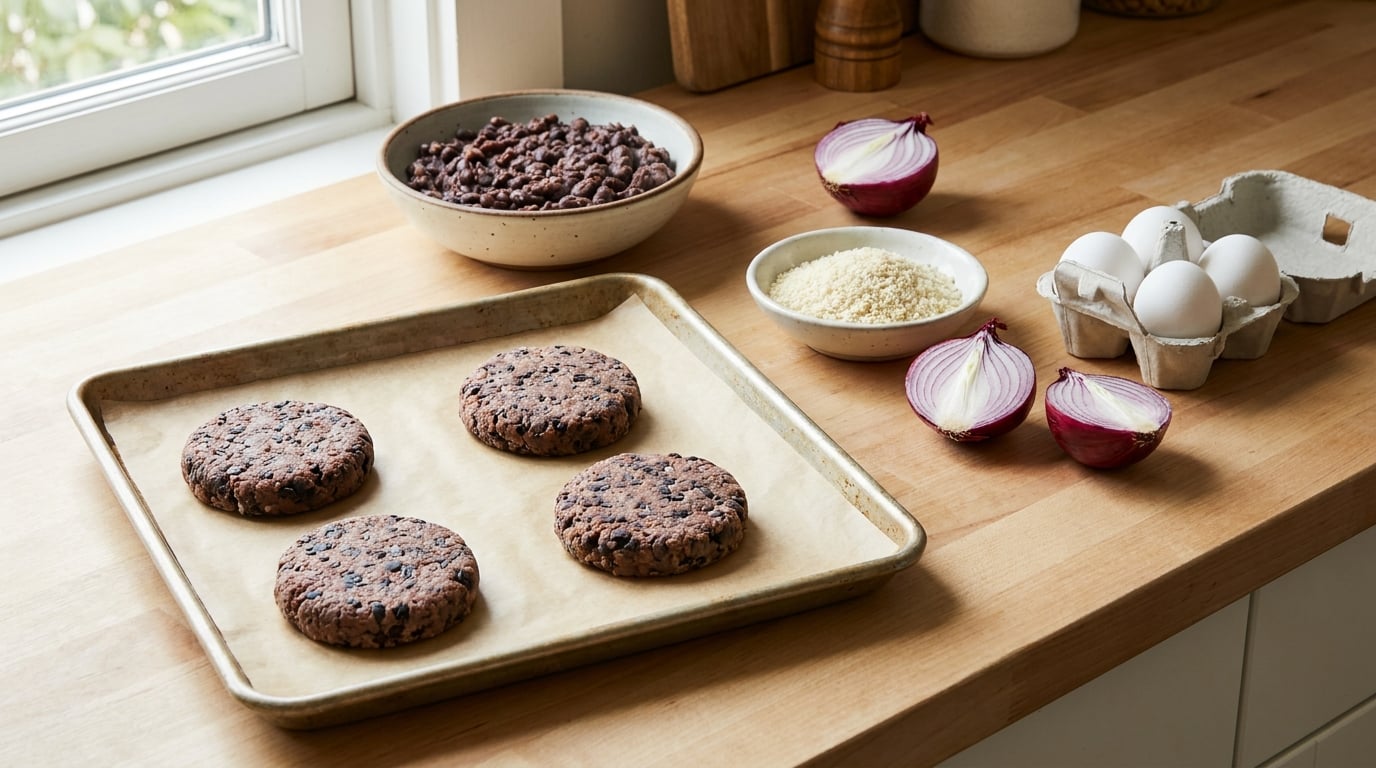
To make black bean burgers that hold together, you have to solve for water, not for beans. Drying the beans well, adding a real binder, mixing gently, pressing the patties firm, and chilling them for 20 to 30 minutes before heat does the job. The whole method takes about 50 minutes, and most of that is waiting.
A bean patty that crumbles on the spatula is almost never a shortage of beans. It is a shortage of structure. Black beans are more than 60 percent water, very low in fat, and contain no gluten, so there is no natural web holding the pieces together the way there is in a beef patty. Everything you add is doing work that the bean itself cannot do.
Here is the short version, and the rest of the guide explains each line of it.
- Dry the beans. Rinse, drain, and blot until no water pools in the bottom of the colander.
- Add a starchy binder. About 1/2 cup of panko, oat flour, or breadcrumbs per two 15 ounce cans, plus fat and an egg.
- Mash halfway. Leave half the beans whole so the patty has pieces in it, and mash only the rest.
- Press the patties hard and make them the same width as your bun. Veggie patties do not shrink while cooking.
- Chill 20 to 30 minutes. Fridge time lets the starch set, which is the single fix people report working most often.
Get the size of your patty right and most of the difficulty disappears. Here is exactly what goes in the bowl and what each ingredient is doing there.
Table of Contents
- What You Need
- Step-by-Step
- Common Mistakes
- Frequently Asked Questions
- What is the best binder for black bean burgers?
- How do you keep black bean patties from falling apart when you flip them?
- Can I make black bean burgers without an egg?
- Are gluten-free black bean burgers harder to hold together?
- Can I bake black bean burgers instead of frying them?
- Can I freeze black bean patties before cooking?
What You Need
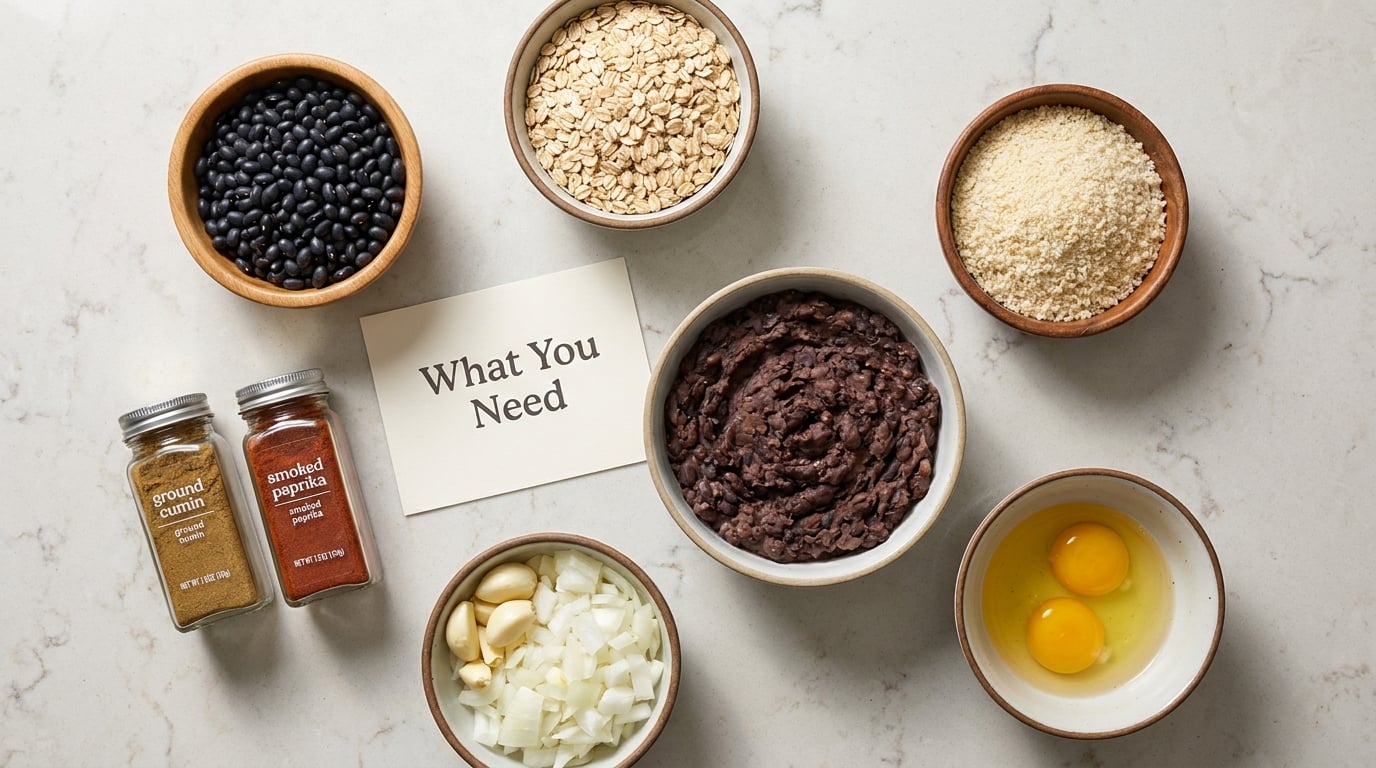
The quantities below make four patties, about 3/4 inch thick, from two 15 ounce cans of black beans. That is the size that fits a standard hamburger bun without overhang.
Essential ingredients
- Two 15 ounce cans black beans, drained and rinsed. Any kind works; no-salt-added is fine as long as you salt the mix yourself.
- 1/2 cup panko breadcrumbs for the base recipe. This is the binder doing the structural work.
- 1 large egg, plus 1 tablespoon of the egg white if you want extra holding power.
- 1 tablespoon olive oil or a neutral oil. Fat glues the dry particles; without it the patty cooks pale and crumbly.
- 1/4 cup finely grated onion. Grate it on a box grater and discard the liquid that collects underneath.
- 2 garlic cloves, minced.
- Salt and black pepper. The canned beans are already salted, so taste before adding more than you think you need.
Flavor, not structure
These change the burger but have almost no effect on whether it holds together, so add them to taste.
- 1 teaspoon ground cumin and 1 teaspoon smoked paprika
- 1 to 2 chipotle peppers in adobo, chopped, for smoke and a little tang
- 1 teaspoon Worcestershire sauce, or 1 teaspoon soy sauce for a gluten-free version
- 1/4 cup crumbled feta
- 1/3 cup roughly chopped roasted cashews, which bind nearly as well as breadcrumbs and keep the burger grain-free
- 1 tablespoon ketchup, which works as a binder as well as a flavor
Equipment
A wide skillet or a sheet pan, a potato masher or fork, a bowl, and a kitchen towel. A food processor is optional; pulsing about half the beans in it is faster than mashing but gives you less control, so I mash by hand.
Parchment paper is worth keeping on the counter. Laying the patties on parchment instead of a plate means you can lift them straight onto the hot pan without touching them at all, and handling them is the main way good patties get ruined.
Now the method itself. Each step below tells you what to look for so you can tell the mixture is ready before it ever reaches the pan.
Step-by-Step
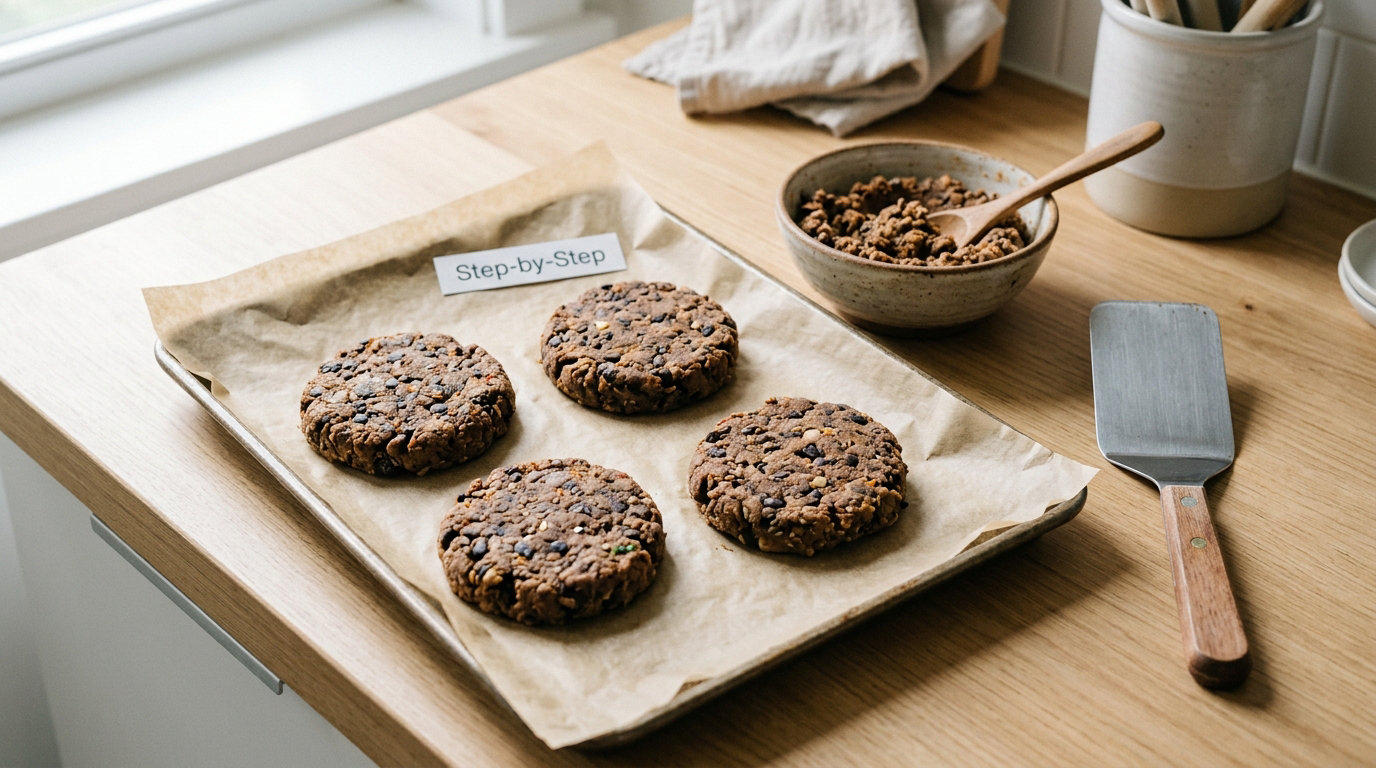
1. Drain and mash the beans thoroughly
Drain both cans and rinse the beans under cold water until the water runs clear. That rinses away up to a third of the sodium, which matters because you are about to add salt.
Tip the beans onto a towel-lined plate and blot the top dry. Spread them around so air hits every surface, then check the bottom of the plate for a puddle. Any liquid there means you are not done.
Put about half the beans in a bowl and leave them whole. Mash the rest with a potato masher or the back of a fork, pressing until about half of them break down. You want a mix of paste and intact beans, not a puree. The whole beans are what give the finished patty an interior instead of a uniform, floury crumb.
2. Add the binder and seasonings
Tip the mashed beans into a large bowl and add the whole beans, 1/2 cup panko, the egg, olive oil, grated onion, garlic, cumin, smoked paprika, and a good pinch of salt and pepper.
Mix until you see the panko disappear into the moist parts. Scrape the bottom of the bowl, because the wet bean paste settles there and a dry layer on top is the usual reason a patty cracks instead of holding.
At this point the mixture should look like thick cookie dough. It should hold a squeezed shape in your fist but still show whole beans on the surface.
3. Mix without overworking the mixture
Use a spatula and cut through the mixture, then fold. Sixty seconds to ninety seconds is plenty.
Here is the test. Scoop out a heaping tablespoon, squeeze it into a ball, and set it on the counter. If it keeps its shape without slumping into a puddle, you are done mixing. If it slumps, add a tablespoon of panko. If it cracks at the edges when you squeeze, add a tablespoon of water.
That last failure is the one people miss. Extra binder fixes a wet patty and creates a dry one, and a dry patty cracks into pieces when you try to flip it. A tablespoon of water costs nothing and brings a crumbly mix back.
Do not run the mixture through a food processor to smooth it out. Blending breaks down the beans further, releases starch, and the patties turn tough and bouncy rather than tender.
4. Shape uniform, compact patties
Divide the mixture into four equal portions. Weighing them helps; about 4 ounces each gives you patties that cook at the same rate.
Roll each portion into a ball, then press it flat on parchment with the palm of your hand. Press hard and keep pressing until it is about 3/4 inch thick and matches the width of your bun. Compact beats thick here. A thick patty is a patty that falls apart, because the outside sets before the inside binds.
Press a shallow indentation in the center with your thumb. Patties dome as they cook, and a flat center keeps the bun from riding up and lifting the top off.
Make the patties now and cook them within 30 minutes, or refrigerate them. Handling them repeatedly is the thing to avoid, so if you are cooking four, lay all four out at once rather than shaping and cooking one at a time.
5. Chill the patties before cooking
Put the parchment-lined tray in the fridge for 20 to 30 minutes, uncovered or loosely covered so nothing drips onto them.
Cold patties are firmer patties. The starch in the beans and in the panko has time to set, so the patty enters the pan already holding its own weight rather than depending on heat to hold it together. This is the most commonly reported fix for patties that fall apart, and it is the step most recipes skip.
Longer is fine too. If you are meal prepping, shape the patties, chill for 30 minutes, then freeze them on a parchment-lined tray until solid and move them to a bag. They keep for about three months and cook from frozen.
6. Cook until firm and heated through
Heat a cast iron skillet over medium heat and add a thin layer of oil. The oil should shimmer but not smoke. High heat is the enemy here, because the outside chars before the starch inside has set, and a charred crust is exactly the part that keeps a patty from releasing from the pan cleanly.
Place the patties on with a spatula, press the tops flat, and cook 5 to 6 minutes per side until you see dark contact marks. Do not flip early. When the patty is ready, the crust releases from the spatula on its own; if it sticks and tears, give it another minute.
| Method | Temperature | Time per side | Best for |
|---|---|---|---|
| Cast iron skillet | Medium, with oil | 5 to 6 minutes | The best crust and the most control |
| Grill, medium heat | Medium, oiled grates | 6 to 8 minutes | Smoky flavor, cook in batches |
| Oven | 400 F, sheet pan | 18 to 22 minutes total, flip at 10 | Several patties at once |
| Air fryer | 375 F, no spray | 7 to 9 minutes total, flip at 5 | Small batches and crisp edges |
For the oven and air fryer, pre-baking sets the patty so you can handle it later. Bake at 350 F for 20 minutes, then crisp under a hot broiler for 3 to 4 minutes. That is the trick that makes oven patties sturdy enough to stack.
A bean burger has no raw-meat temperature requirement, since everything in it is already cooked. What you are waiting for is the center reaching steaming hot and the patty feeling firm all the way through when you press the center with your finger.
7. Rest, serve, and store
Let the patties sit on the pan or the sheet for 3 to 5 minutes before moving them. The starch is still setting, and moving a patty immediately after it leaves the heat is how a good burger ends up in three pieces on the cutting board.
Use a wide, thin spatula and slide it fully under the patty. Lift it straight up rather than sliding it onto the bun from an angle, and if the bun is large, let the patty overhang the sides slightly rather than pushing it in.
Toppings that work well: melted cheese, grilled onion, avocado, shredded lettuce, tomato, pickles, and a sauce such as chipotle mayo or barbecue. Put the sauce on the bun, not the patty, so it does not soak into the crumb and loosen it.
Cooked black bean burgers keep in the fridge for three to four days in a sealed container, on a layer of parchment so the patties do not stick to each other. Reheat in a dry skillet for 2 minutes per side, or in a toaster oven at 350 F for 8 minutes, and skip the microwave, which makes them rubbery.
Raw patties freeze better than cooked ones. Lay them on a tray, freeze until solid, then bag them with parchment between layers.
Here is the full binder comparison and the troubleshooting table, so you can adjust a batch that is already mixed instead of starting over.
Common Mistakes
Two failure modes cause almost every disappointing black bean burger, and they sit on opposite ends of the scale. One is too wet and the other is too dry. Find out which one you have before you add anything.
| Symptom | Cause | Fix |
|---|---|---|
| Crumbles when you try to flip it | Beans were not dry, or the patty was too thick | Press firmer, make it thinner, and chill it 30 minutes. Add 1 tablespoon panko to the mix next time |
| Tears in half when lifted | Cooked too soon after shaping | Wait for the crust to release on its own before flipping; it should take a full 5 minutes |
| Falls apart moving to the bun | Undercooked inside, or handled too much | Finish the full time per side and use a wide spatula with a single straight lift |
| Mushy and watery in the middle | Excess moisture in the beans or the onion | Blot beans and grated onion, and dry-roast the beans 20 minutes at 400 F first |
| Cracks at the edges, feels chalky | Too much binder, not enough fat | Add a tablespoon of water and a tablespoon of olive oil; use breadcrumbs instead of flour next time |
| Sticks to the pan and tears | Pan too hot, or flipped too early | Lower to medium, add more oil, and wait for the crust to loosen |
| Wider than the bun and hangs over the edges | Patties were oversized | Shape to the width of the bun, and add water or more beans if the mix is stiff |
| Shrinks and curls while cooking | Heat too high, or the patty sat too long without a lid | Drop to medium and press the tops flat with a spatula right after it hits the pan |
The two rows people miss most are the watery middle and the chalky cracks. A mushy center usually traces back to onion that was chopped instead of grated, since chopped onion releases water into the mix as it cooks. Grating it and squeezing out the liquid fixes that in one step.
Roasting the beans before mashing is the deeper version of the same fix. Bake drained beans at 400 F for 20 minutes, then mash. That concentrates the starch, and starch is what sets into a firm structure when it hits the pan. The 20 minutes is a starting point rather than a rule, since longer can push them past dry, so pull them when they look matte rather than wet and shiny.
A word on the myths. More egg on its own does not fix a wet mix; it adds protein and liquid. More breadcrumbs on its own creates a dense, dry patty that cracks. Cooking longer does not help either, because structure is set by the mix and the chill, not by heat.
If you want a genuinely different structural solution, try the smash method. Roll the mixture into 2 ounce balls, put each on parchment, and press it flat with a spatula until it is thin and wide. Those thin patties have almost no leverage for falling apart, and they cook in about 4 minutes per side. They crisp like a smashed beef burger, which is the trade.
The commercial patty is a useful reference point. Frozen veggie burgers are firm because of ethylcellulose and pre-gelatinized starch, both of which are industrial binders you cannot replicate at home. A homemade patty will be softer than an Impossible or Beyond burger, and being honest about that keeps expectations in the right place.
Now the questions people ask most often about the method.
Frequently Asked Questions
What is the best binder for black bean burgers?
Oat flour and panko are the strongest everyday binders, at about 1/2 cup per two 15 ounce cans. Oats absorb water and add structure without needing an egg, which makes oat flour the easiest choice for vegan patties. Panko stays crisp and adds texture. Roasted cashews bind nearly as well and keep the burger grain-free. Mashed potato, cornstarch, and instant potato flakes also work, but they are heavier and softer.
How do you keep black bean patties from falling apart when you flip them?
Three things matter most. Pat the beans dry, press the patties firmly and keep them under 3/4 inch thick, and chill them for 20 to 30 minutes before cooking. On the pan, cook a full 5 to 6 minutes per side on medium heat and do not force the flip. When the patty is ready the crust releases from the spatula by itself, which is your cue that the inside has set enough to hold.
Can I make black bean burgers without an egg?
Yes. Swap the egg for a flax egg, which is 1 tablespoon ground flaxseed mixed with 3 tablespoons water and left to sit for 10 minutes. Follow it with 2 tablespoons of cornstarch or oat flour, since the flax egg alone is a weak binder. Some cooks go fully egg-free with instant potato flakes and a spoonful of cornstarch, and the patties set fine. Cooking time stays the same.
Are gluten-free black bean burgers harder to hold together?
They can be, because most standard binders are wheat based. Use oat flour, cornstarch, potato starch, or chopped roasted cashews instead of panko, and check that your oats are certified gluten free if cross contamination matters to you. Worcestershire sauce usually contains wheat, so use tamari or soy sauce. With a starch binder in place of breading, the patties are just as sturdy as the standard version.
Can I bake black bean burgers instead of frying them?
Yes, and baking is the easiest way to cook four at once. Set the patties on a parchment-lined sheet pan at 400 F and bake 18 to 22 minutes, flipping at the 10 minute mark. For a burger that will be stacked or moved, pre-bake at 350 F for 20 minutes to set the starch, then broil for 3 to 4 minutes to crisp the outside.
Can I freeze black bean patties before cooking?
Yes, and raw freezes better than cooked because the starch has not been heated and broken down yet. Shape the patties, chill them for 30 minutes, lay them on a tray in the freezer until solid, then move them to a bag with parchment between layers. They keep for about three months. Cook from frozen with an extra minute per side, since they need time for the center to heat through.
Start tonight by blotting your beans properly and measuring the binder instead of eyeballing it. Mash halfway, press the patties to the width of your bun, and give them half an hour in the fridge before they go anywhere near a hot pan. Those five things are the difference between a pile of bean crumbs and a burger you can pick up with two hands.