
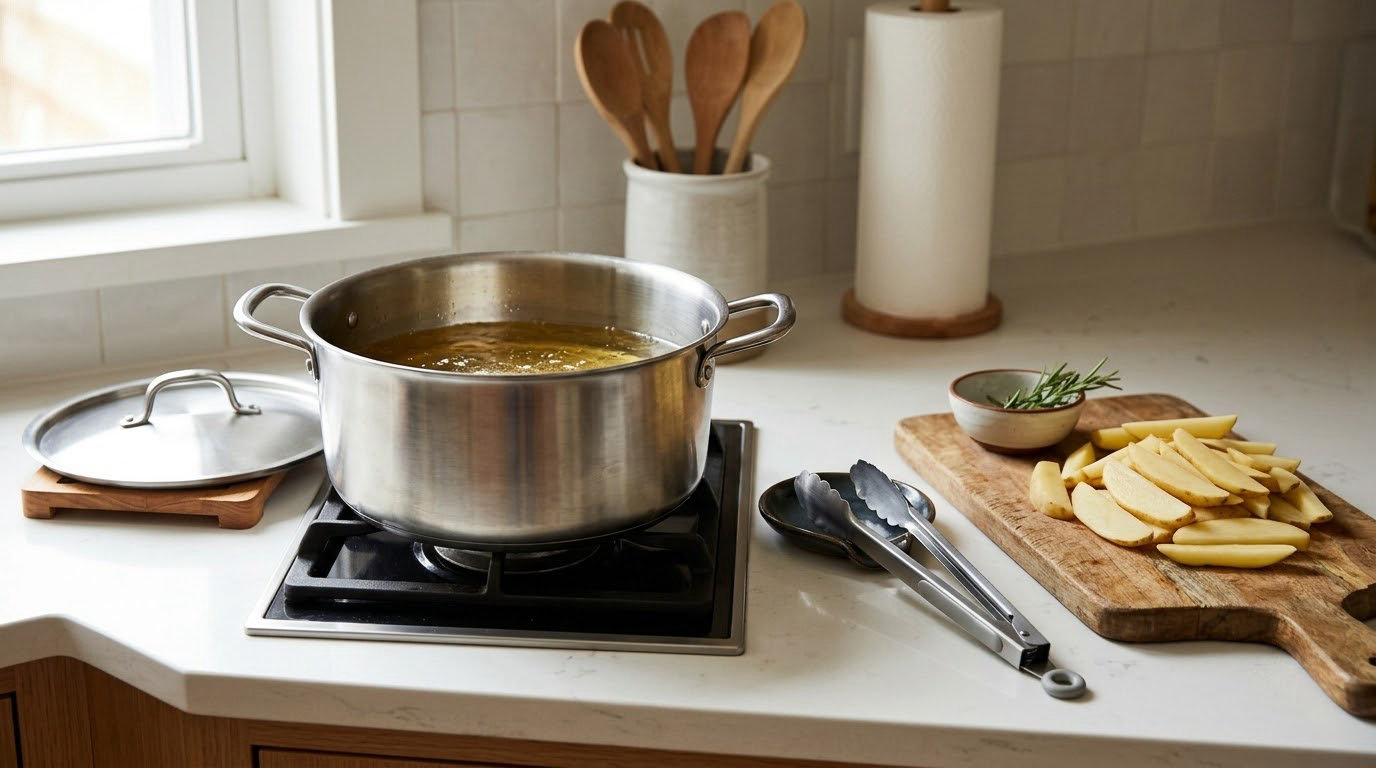
Hot oil is one of the most dangerous things in an ordinary kitchen. It heats faster than water, it hides dangerous temperatures, and the fire it starts can be out of control in under a minute.
These kitchen safety tips for cooking with hot oil are the habits that stop the three bad outcomes: splatter burns, smoke inhalation and grease fires. Cooking fires are the leading cause of home fires in the United States, and most fire injuries happen when people try to fight one themselves rather than stepping away and calling for help. Most of that is avoidable with a few habits you can set up before the oil ever gets hot.
A heads-up on what you’re about to set up: nothing here needs new equipment beyond a metal lid you probably already own. The hard part is doing the same six things every single time, including the boring ones.
Table of Contents
- Kitchen Safety Tips for Cooking With Hot Oil at a Glance
- 1. Choose the Right Oil for the Cooking Method
- 2. Keep the Oil Away From Water and Moisture
- 3. Use the Right Amount of Oil
- 4. Heat Oil Slowly and Watch the Temperature
- 5. Add Food Gradually Without Overloading the Pan
- 6. Use Dry, Long-Handled Utensils
- 7. Turn on the Range Hood and Control Smoke
- 8. Keep a Lid and Fire Extinguisher Nearby
- 9. Prevent Children and Pets From Reaching the Stove
- 10. Handle, Cool and Dispose of Hot Oil Safely
- First Aid for a Minor Hot Oil Burn
- Frequently Asked Questions
- Why is hot oil more dangerous than boiling water?
- What should I do if oil starts smoking on the stove?
- Can I put a lid over a small pan fire caused by oil?
- Is it safe to put frozen food directly into hot oil?
- How hot should oil be before frying chicken or fries?
- How should I dispose of cooking oil after frying?
- Conclusion: What to Do First
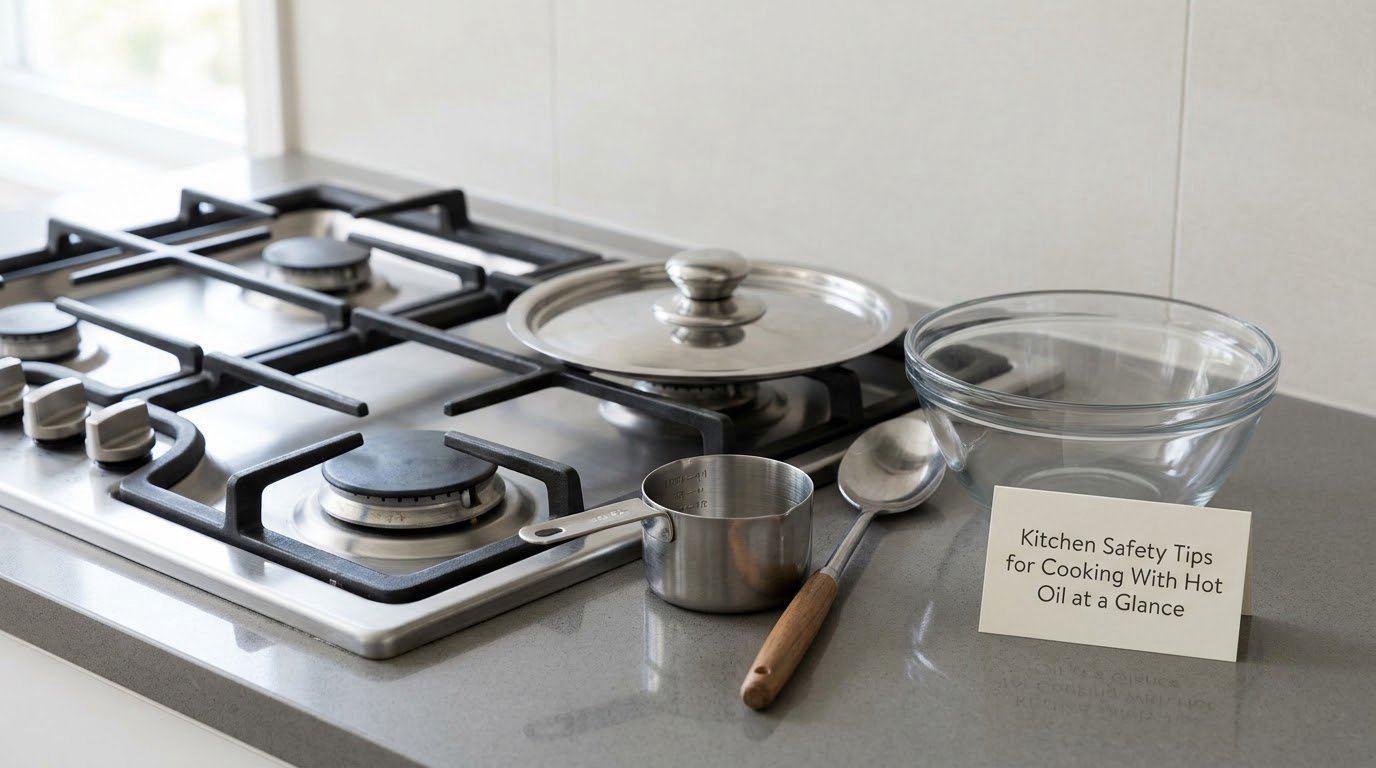
Kitchen Safety Tips for Cooking With Hot Oil at a Glance
| Tip | Main risk | Safest action | Quick example |
|---|---|---|---|
| Right oil | Oil past its smoke point ignites | Match the oil to the heat | Canola for 375F fries, olive oil for a medium-heat saute |
| Keep it dry | Explosive splatter | Dry food, dry utensils, dry towels | Pat frozen fries dry before they go in |
| Right amount of oil | Pan overflow | Cover the base, no more | A skillet filled a third deep for a batch of fries |
| Slow heat | Overheated oil smokes and burns | Medium heat, watch for smoke | Lower the flame when the oil stops shimmering |
| Add food gradually | Crowding drops temperature | Small batches, room for movement | One layer of fries, not a mound |
| Dry tools | Water hits oil, oil erupts | Metal spoon or tongs, fully dry | Wipe the condensation off a tong before lifting |
| Ventilation | Smoke sets off alarms, lingers | Range hood on high | Fan on before the oil warms |
| Lid within reach | No way to smother a fire | Metal lid and extinguisher close by | Lid resting on the counter, not in a cupboard |
| Keep people back | Knocked pan, wandering hands | Handles inward, kids out of the zone | Nobody in the kitchen while the oil is hot |
| Cool and dispose safely | Burns, drain fires | Turn off, cool, container, trash | Oil in a jar, foil can in the bin |
1. Choose the Right Oil for the Cooking Method
Choose an oil whose smoke point sits above the temperature you are actually cooking at. The smoke point is where an oil starts to break down and give off smoke, and pushing past it means the oil is degrading while you cook in it.
Flash point is a different number and it confuses a lot of people. Smoke point is when you see smoke. Flash point is the lower temperature at which the vapor above the oil will ignite if it meets a flame, which is exactly why a smoking pan can go up seconds after you walk away.
| Oil | Approx. smoke point | Good for | Not ideal for |
|---|---|---|---|
| Refined canola | 400F to 450F | Deep frying, high-heat searing | Nothing, it is the workhorse |
| Refined sunflower | around 440F | Frying, roasting | Low, unrefined versions |
| Peanut | around 450F | High-heat frying | Anyone with a peanut allergy in the room |
| Avocado | around 480F | Very high-heat searing | Budget, since it costs more |
| Extra virgin olive | 375F to 405F | Medium-heat sauteing, dressings | Deep frying at 375F, sustained high heat |
| Coconut | around 350F to 400F | Medium-heat cooking, baking | Deep frying |
| Butter | around 350F | Low and medium-heat pan cooking | Deep frying, where milk solids burn |
So is 450F too hot for olive oil? For refined olive oil, no. For extra virgin, yes, you are past its smoke point and the flavor turns from grassy to acrid. Olive oil is a good frying oil at around 350F, which is where most shallow frying happens anyway.
2. Keep the Oil Away From Water and Moisture
Water does not sink into hot oil. It sits on top, turns to steam instantly and expands roughly 1,700 times its liquid volume, throwing boiling oil across your kitchen. Every drop matters.
The most common version of this is frozen food, and it is worth slowing down for. A bag of fries straight from the freezer carries a glaze of ice on every piece, and dropping a full basket of them into 375F oil produces a wall of splatter that reaches the back of the stove.
Make a dry-before-oiling routine and it becomes automatic:
- Thaw frozen food in the fridge, not on the counter, and blot it dry with paper towel.
- Pat wet vegetables dry after washing. A salad spinner followed by a towel works well.
- Dry the meat, especially thin-cut chicken and fish, which weep water as they cook.
- Keep dish towels and oven mitts away from the burner. A damp towel that brushes the pan steam is enough.
- Wipe condensation off metal tongs and spoons before they go near the oil.
Fatty cuts are the sneakiest version of the same problem. As bacon renders, water boils out of the meat and drops into the hot pan all at once, which is why a crowded pan of bacon spits across the burner. Start it in a cold pan and let it come up slowly; we walk through that method in our guide to how to cook bacon for burgers evenly.
Cooks posting on home cooking forums describe the flare-up from a stray drip of water as a loud bang, a column of smoke and a pan that needs scrubbing for a week. All of it was preventable with a paper towel.
3. Use the Right Amount of Oil
More oil is not more flavor, it is a bigger pool of fuel sitting above your burner. For a skillet, filling past roughly a third of the pan’s depth raises the amount that can splash out and the amount that keeps burning after the burner is off.
Match the depth to the job:
- Sauteing needs a thin film, about a tablespoon, enough to keep food from sticking and not much more.
- Shallow frying, the method for fried eggs, pancakes and most vegetable frying, covers the base of the pan and comes partway up the sides.
- Deep frying means a fryer pot or a heavy pot filled a third to halfway, filled no more than halfway with oil, and kept well clear of the rim so the basket and food have room.
Also check the pan itself. Thin nonstick and lightweight pans are not built for deep frying and can warp or scorch at high heat. A heavy pot with straight sides and a handle that points away from you is a safer vessel for a big batch.
4. Heat Oil Slowly and Watch the Temperature
Most kitchen fires start from oil that got too hot, and it usually happened while nobody was looking. Heat on medium, not high, and stay in the room.
An instant-read thermometer gives you the only real answer, and it is the single most useful tool for cooking oil safety. Clip a clip-on thermometer to the side of the pot for a long fry, or hover an instant-read over the oil without touching the bottom.
Without a thermometer, use these cues:
- Oil shimmering across the whole surface is ready for most shallow frying.
- A wooden spoon held in the oil, with steady small bubbles climbing the wood, reads around 350F to 375F. The wooden spoon test is shared constantly on cooking forums and it is reliable to about 25 degrees.
- A piece of food should sizzle immediately and steadily. Silence means the oil is too cool, aggressive sputtering means it is too hot.
Visible smoke means stop now. Turn the burner down or off, move the pan to a cool burner if you can do it without carrying burning oil, and let it cool before you add food.
5. Add Food Gradually Without Overloading the Pan
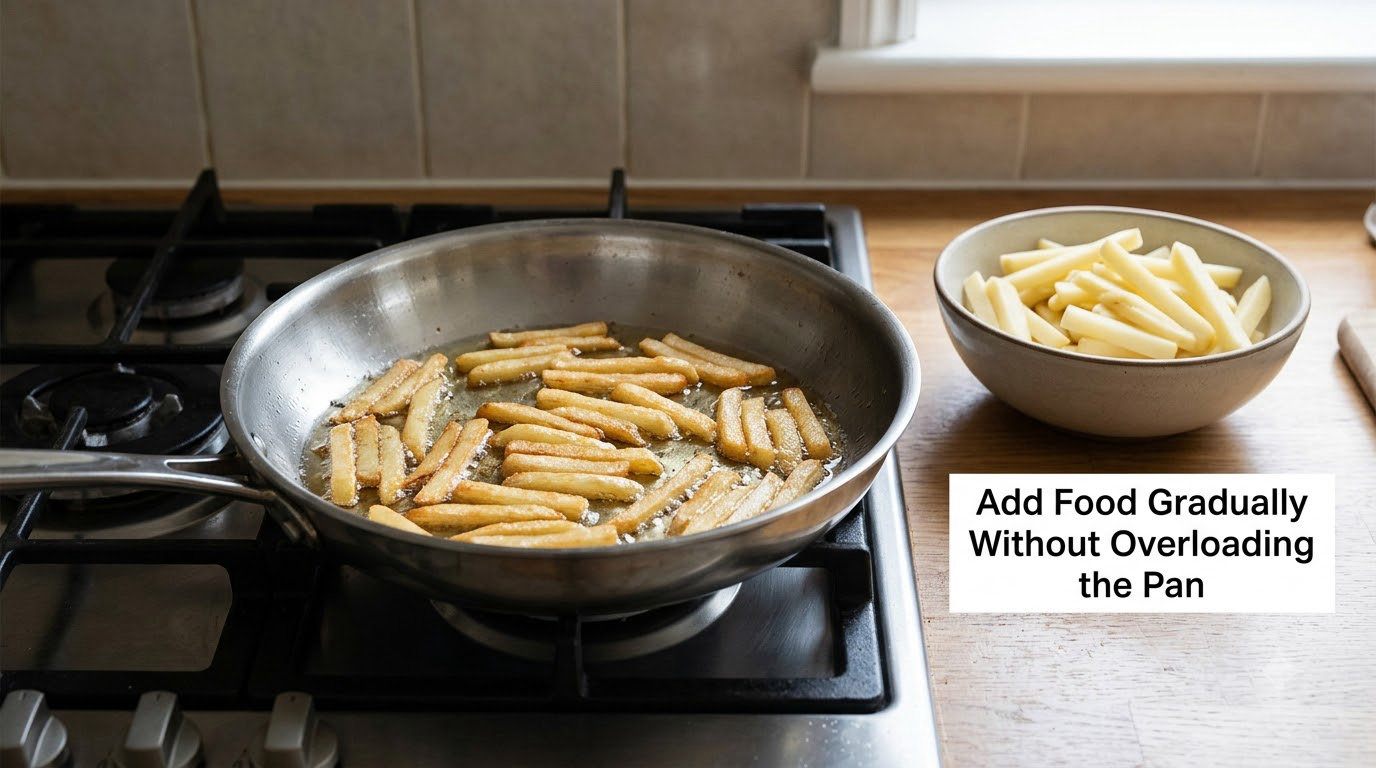
Crowding the pan is a temperature problem before it is a splatter problem. Food packed shoulder to shoulder drops the pan’s temperature fast, so the oil stops crisping and starts absorbing, while the trapped moisture in a packed pan turns to steam all at once under the food.
Give every piece contact with the oil. A useful rule for a home skillet is a single loose layer with the pieces not touching, which is usually eight to ten frozen fries, or two to three small chicken pieces depending on thickness.
Lower each piece away from you, gently, instead of dropping it from above. Cook in batches rather than reaching for a bigger pan, and keep the second batch on a dry plate rather than back in the freezer or a damp towel.
That batching rule is the same one that decides how many patties you can sear at once. If you want a seared outside and a juicy middle, our diner style cheeseburger method explains how to get there without crowding the pan, and our notes on how long to cook burgers on a gas grill cover the same discipline outdoors, where a flare-up is a lot easier to walk away from.
6. Use Dry, Long-Handled Utensils
A wooden spoon, a metal spoon or a pair of tongs is the right tool in hot oil. So is a splatter screen, which is the most commonly recommended piece of gear for anyone who fries more than once a week.
What to avoid: plastic spatulas that can soften near the pan, silicone that can hold heat longer than you expect, and anything wet. A pair of tongs straight from the rinse cycle carries a film of water that turns to steam the moment it meets the oil.
To lower food safely, slide a slotted spoon underneath it and rest the handle on the rim of the pan, letting the oil drain back into the pan. With tongs, lift straight up and hold still over the pan so any drip falls back in rather than onto the burner.
7. Turn on the Range Hood and Control Smoke
Switch the range hood to high before you start heating, not after the kitchen fills. Good ventilation moves smoke and oil vapor out instead of into your lungs, and it keeps your smoke alarm from going off at the worst moment.
On a gas range, ventilation matters even more. A wisp of smoke near a burner flame can flash straight back into the pan.
There is one case where a lid beats more heat: the oil is smoking and you are close to leaving the kitchen. Sliding the lid on and turning the burner off ends the heating and the smoke. If the pan is already on fire, the same lid is the correct response, which is why tip 8 keeps one within reach.
8. Keep a Lid and Fire Extinguisher Nearby
Set up your emergency equipment before you cook, not during the fire. You need a metal lid or a sheet pan large enough to cover the pan completely, and a kitchen fire extinguisher rated for grease fires, within easy reach of the stove but not so close that you have to reach through flames.
Before the pan goes on, check that the lid actually fits. A lid that leaves a two-inch gap around the edge will not smother anything.
What not to reach for, ever: water, a wet dish towel, flour, baking soda or sugar. Water and wet towels cause a violent steam explosion, and flour or sugar are combustible powders that can ignite and throw burning particles across the kitchen.
If you have no extinguisher and the fire is not immediately smothered by the lid, get everyone out, close the door behind you and call your local emergency number from outside. That is what the fire service would tell you to do.
9. Prevent Children and Pets From Reaching the Stove
Frying time is the worst moment for a curious toddler or a dog who smells food. Kids and pets should be out of the kitchen entirely while oil is heating or frying, not just kept away from the pan.
- Cook on a back burner when you can, so nothing is at the front edge waiting to be pulled.
- Turn pan handles inward and slightly back so a sleeve cannot catch them.
- Use burner knobs that require a firm twist or a lock, or cover unused burners.
- Keep a clear no-approach zone about three feet wide while frying, with no stools, no homework, no phone charger.
- Tie long hair back and avoid loose sleeves or flowing clothing over the burner.
Fire services are blunt about this one: a child near an active fryer, even an idle one, is the scenario behind a large share of the worst home frying incidents.
10. Handle, Cool and Dispose of Hot Oil Safely
Cooking is over before the job is done. Turning off the burner, waiting for the oil to cool and moving it safely is where a lot of burns actually happen, usually at the sink.
- Turn the burner fully off and confirm it is off, not just down.
- Leave the pan in place on a cool burner. Carrying a pan of hot oil across a room is how you get a burn on your foot.
- Wait until the oil is completely cool before you move or pour it. Ten minutes of nothing is cheaper than a week of bandages.
- Pour cooled oil into a heatproof container or a foil-lined can, and seal it.
- Put it in the regular trash. Never pour oil down the drain, where it solidifies in the pipe and can block the line for everyone.
Filtering cooled oil through a fine sieve or a paper coffee filter lets you reuse it a few times before it darkens, thickens and starts smoking early. Most home cooks get three or four uses out of a batch; when it goes past that, discard it.
What To Do If Hot Oil Catches Fire
Stay calm and work in this order. The first three actions take about five seconds and handle the large majority of pan fires.
- Turn off the heat. Kill the burner if you can reach it without leaning over the flames.
- Cover the pan. Slide the metal lid or sheet pan over the pan from the side, using oven mitts, and leave it in place. Do not lift it to check.
- Do not move the pan. Walking burning oil is how a pan fire becomes a room fire.
- Never use water. Not a splash, not a damp cloth, not flour, not baking soda.
- If it is not out, get out. Everyone leaves, close the door, call your local emergency number from outside and do not go back in.
For a fryer outside, follow the same order, and never set up a fryer in a garage, on a deck or under a carport. Fire services report nearly every outdoor fryer fire is the garage one.
First Aid for a Minor Hot Oil Burn
Oil carries heat deeper into skin than a splash of water does, so a small-looking spot can be a serious burn. Cool running water over the area for 10 to 20 minutes straight, as soon as it is safe to do so, and remove rings and tight clothing from the area before swelling starts.
Do not pop blisters, do not apply butter, oil or ice, and do not use adhesive dressings on a blistered burn. Cover a minor burn with clean non-stick dressing once it has cooled.
See a clinician or go to urgent care for anything on the face, hands or feet, for a burn larger than the size of a coin, for a burn that is white, brown or charred, or for any burn caused by oil that was hotter than boiling water. Get medical help straight away for any burn to a child or an older adult.
Frequently Asked Questions
Why is hot oil more dangerous than boiling water?
Oil heats far faster than water and stays hot after the flame is off, so it can be well above boiling temperature without looking any different. Water forms a steam blanket that limits the skin damage, while oil soaks in and keeps transferring heat. That is why an oil burn can look small and still be deep, and why the first aid is 10 to 20 minutes of cool running water.
What should I do if oil starts smoking on the stove?
Turn the burner down or off right away. If you can do it without carrying a pan of burning oil, slide a metal lid over the pan and leave it there, then move the pan to a cold burner only if the handle is cool and easy to grip. Let the oil cool fully before adding food. Smoking oil is past its smoke point and is the most common precursor to a kitchen fire.
Can I put a lid over a small pan fire caused by oil?
Yes. Sliding a metal lid or a sheet pan over the pan is the correct first response, and it is why tip 8 keeps one on the counter within reach. Put the lid on from the side, leave it in place, and do not lift it to see if the flames are out. Turn the burner off if you can reach it safely. Never move the pan, and never reach for water.
Is it safe to put frozen food directly into hot oil?
No. Frozen food carries ice that turns to steam the instant it hits hot oil, which is the single most common cause of violent splatter. Thaw in the refrigerator overnight, then blot the food completely dry with paper towel before it goes in. Add it slowly, in small batches, away from you. The same applies to any wet ingredient, including freshly washed vegetables and dripping meat.
How hot should oil be before frying chicken or fries?
Around 350F to 375F for most home frying. Check with an instant-read thermometer, or drop a small piece of food and listen for a lively but not violent sizzle. A wooden spoon held in the oil with steady bubbles climbing it reads close to 350F. Keep the heat at medium and adjust as you cook, since adding cold food drops the temperature and crowded pans cook pale instead of crisp.
How should I dispose of cooking oil after frying?
Let the oil cool completely, then pour it into a heatproof container or a foil-lined tin and seal it before putting it in the regular trash. Never pour oil down the drain, where it solidifies in the pipe and causes blockages. For a large amount, many areas accept used cooking oil at household hazardous waste drop-off sites, and some grocery stores collect it in the bin near the customer service desk.
Conclusion: What to Do First
Start with three things before the burner is lit. Put a fitted metal lid on the counter within arm’s reach, turn the range hood on high, and clear a three-foot zone around the stove of towels, loose sleeves and anything a kid or dog could grab.
From there, the habits do the rest: match the oil to the heat, dry everything before it goes in, keep the temperature in the right range with the lid and a thermometer on hand, and stay in the room. Review the ten kitchen safety tips for cooking with hot oil once, then let them run on habit.