
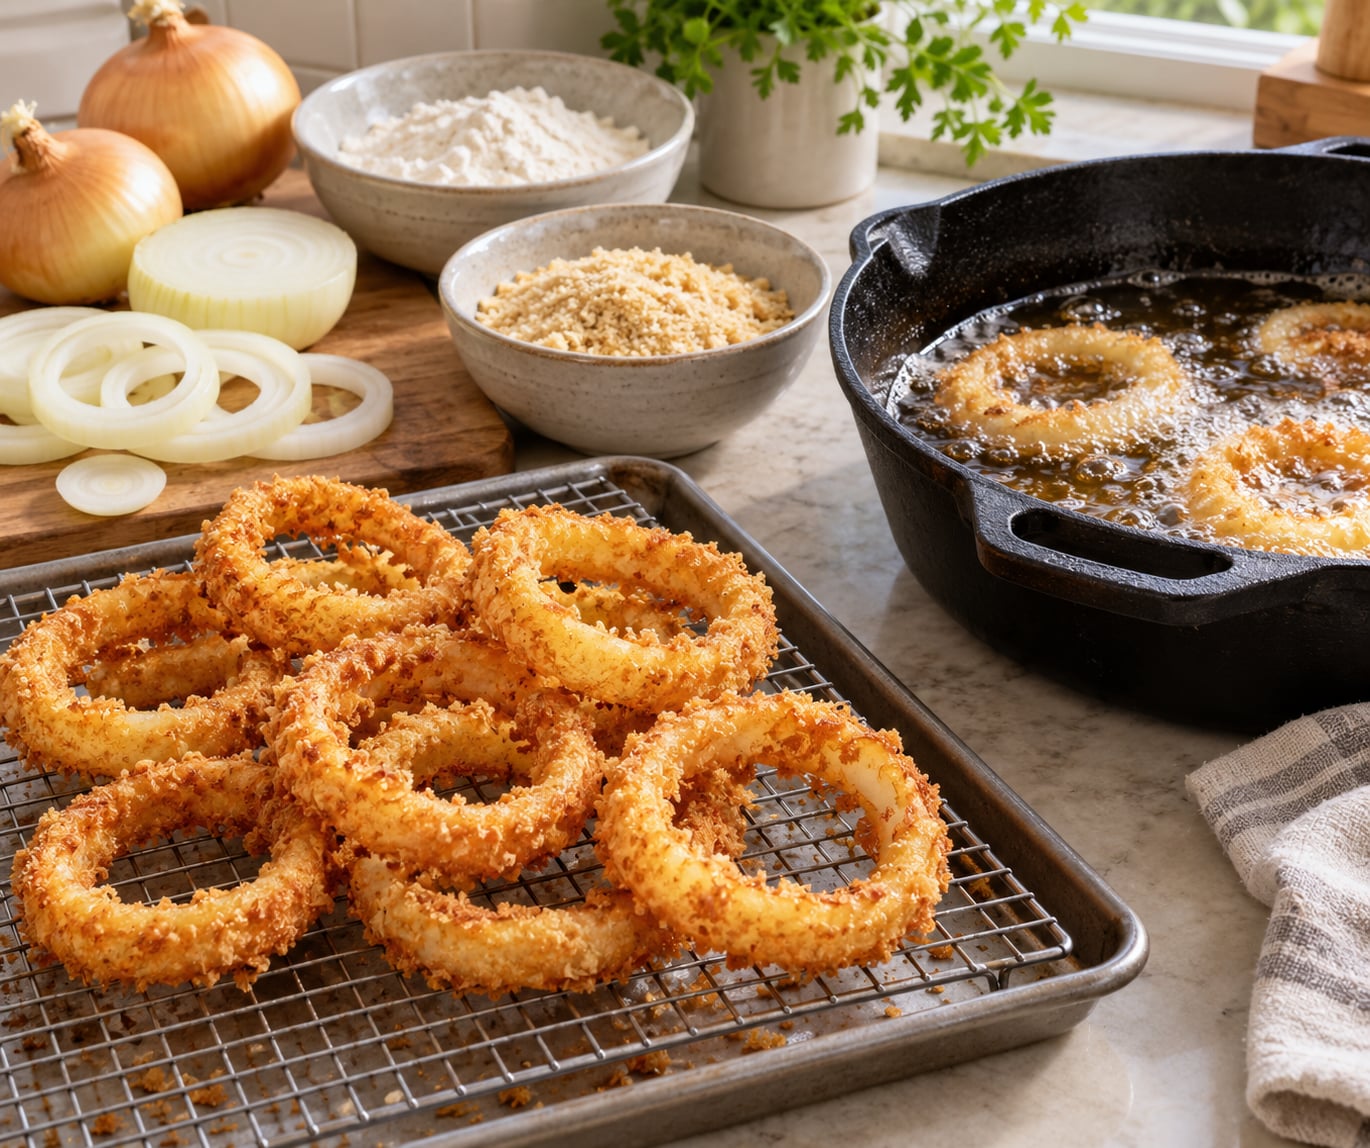
Restaurant onion rings come down to three things: bone-dry onions, a coating that has set, and oil held between 350°F and 375°F. Get all three right and you get a craggy, shattery shell instead of a soggy ring with a strip of batter sliding off it. Twenty minutes of prep, about three minutes of frying per batch, and you have the best side for a burger you will ever make outside a diner. Updated for 2026.
This is how I make onion rings at home, and it is deliberately plain: one large sweet onion, a batter with cornstarch in it, a heavy pot, and a thermometer. Skip any one of those and the rings will let you down.
What You Need
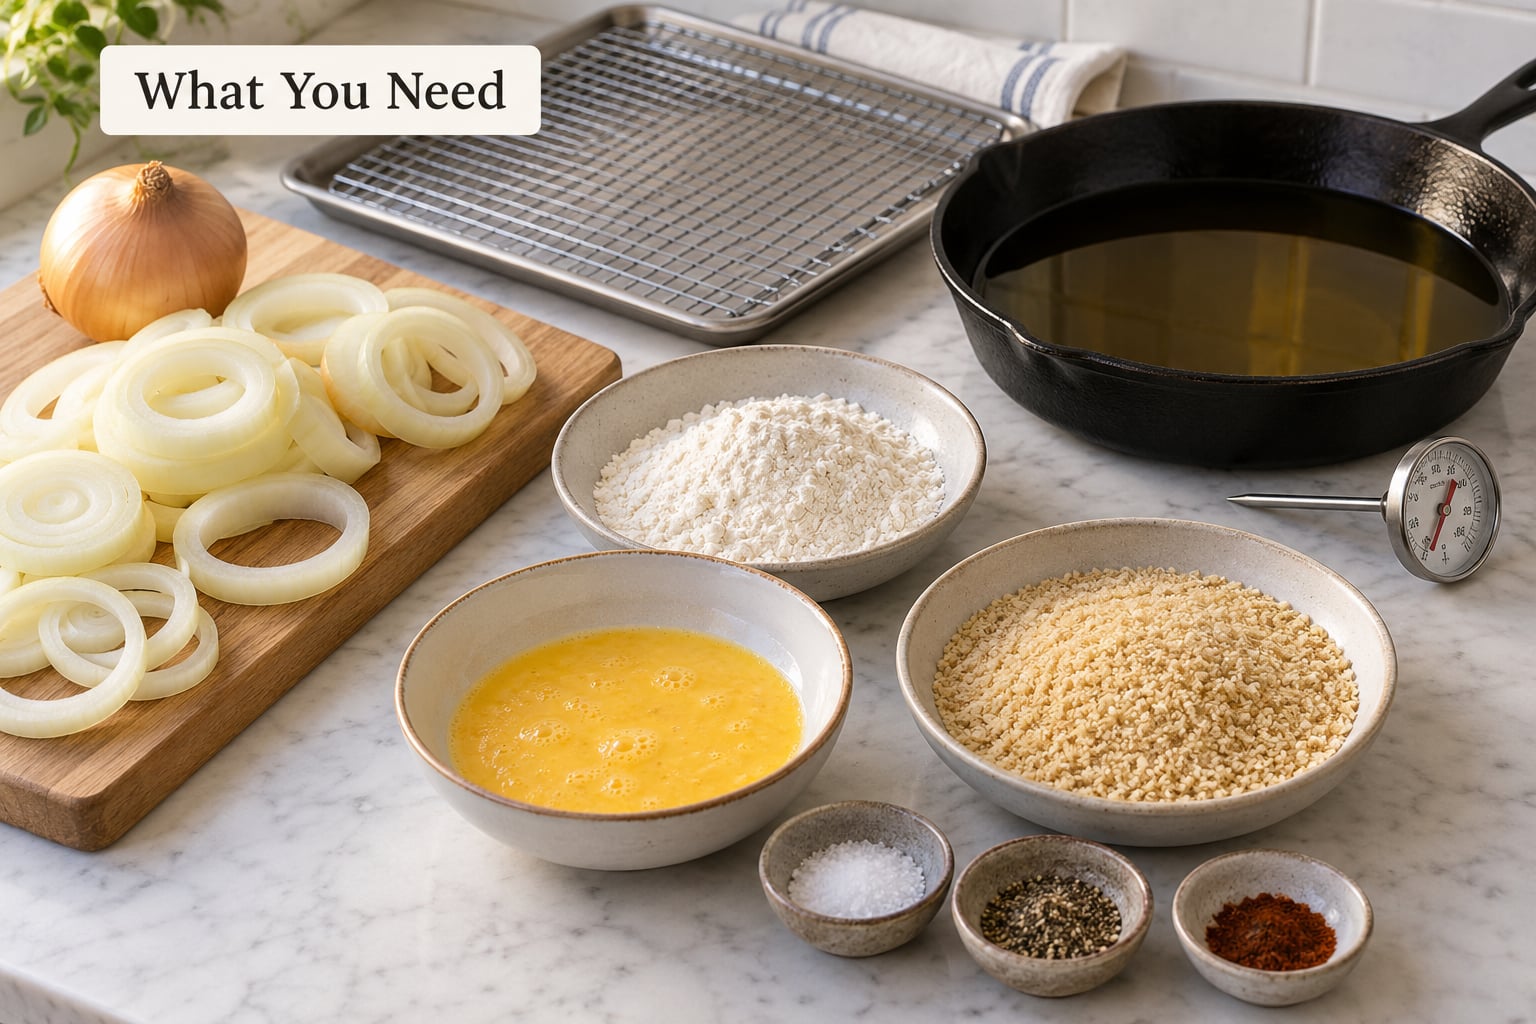
Ingredients
- Two large sweet or yellow onions (Vidalia, Walla Walla, or plain supermarket yellow) — one onion yields 8 to 12 rings
- 1 cup all-purpose flour (the base of the crust)
- 1/3 cup cornstarch (this is the crunch; skip it and the shell tastes bready, not crispy)
- 2 large eggs, plus 1/3 cup milk or buttermilk (the binder that makes flour and onion touch)
- 2 teaspoons baking powder, not baking soda (soda needs acid to activate and turns the crust soapy)
- 1 teaspoon salt, plus 1/2 teaspoon each garlic powder, smoked paprika, and black pepper (season harder than feels right; the onion drinks salt)
- Optional: 1 teaspoon cayenne or a pinch of creole seasoning
- 2 to 3 cups of oil for frying — canola, peanut, vegetable, or avocado. Avoid olive oil, which smokes long before it hits 375°F
Swap the milk for cold sparkling water and you get a lighter, tempura-style shell with visible bubbles. Use the water straight from the fridge and keep the batter cold.
Equipment
- A heavy pot, Dutch oven, or cast iron skillet at least 4 inches deep — thick walls hold heat so the temperature does not crash when you add the rings
- A deep-fry or instant-read thermometer. Guessing is the number one reason rings come out greasy
- A wire rack set over a sheet pan, for draining
- A spider strainer or slotted spoon, and three shallow bowls set up in a line: flour mix, batter, then the rack
Step-by-Step: How to Make Onion Rings at Home
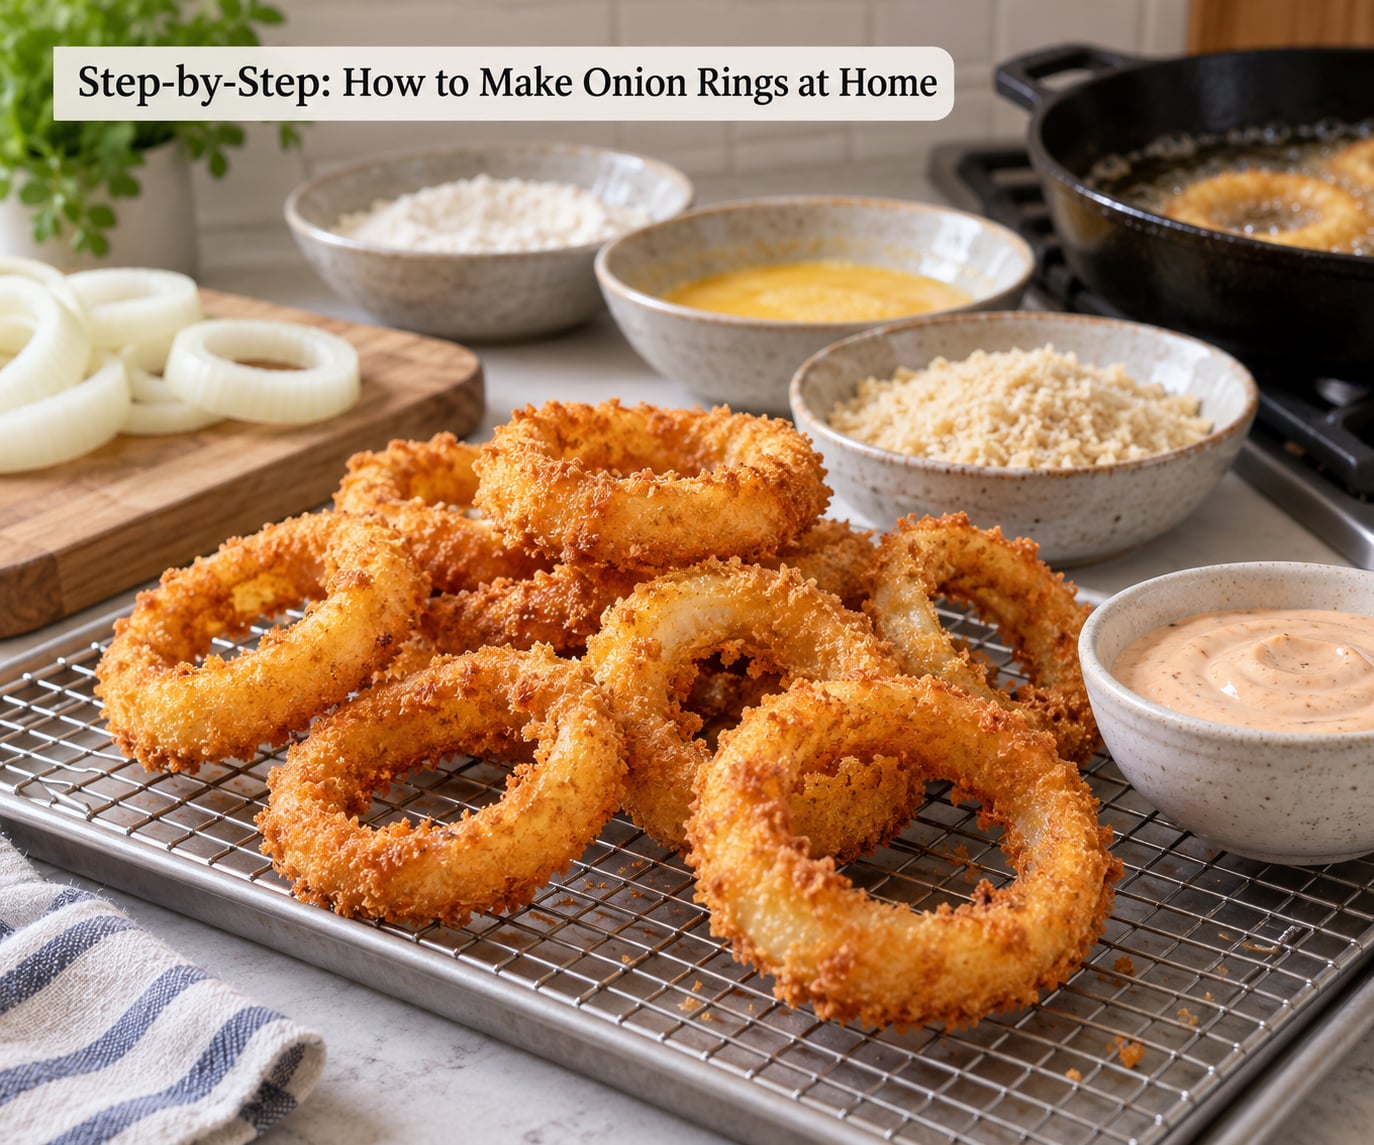
How to Choose and Prepare the Onions
1. Cut the rings at a quarter-inch, and pull the core out first. Halve each onion through the root, cut a quarter-inch slice off the root end, then cut straight down into even slices. The core is the hard bit in the middle; it keeps rings from separating cleanly and it never cooks through, so slice it away.
Separate the rings by hand rather than pushing them apart with a knife. Gentle hands keep the layers intact, and a ring that stays in one piece survives the fryer.
2. Get the moisture out. This is the step people skip, and it is the reason their coating slides off in the oil. Onion slices are wet, and wet onion plus wet batter plus hot oil means steam, which gets between the coating and the onion and peels it away.
Sprinkle the rings with the teaspoon of salt, spread them on a towel or a rack, and leave them for 15 to 20 minutes. Blot every ring with a clean paper towel until the surface feels dry to the touch. Home cooks on r/GifRecipes salt them uncovered and chill them for 30 minutes to an hour, which pulls more water out and firms up the slices. Rings that go in dry shrink less and hold their coating far better.
If you are using a red or white onion and find the raw bite harsh, soak the rings in cold water for 10 minutes, then dry them thoroughly. That leaches a little sulfur and takes the edge off.
Mix a Crisp Batter
3. Whisk the dry mix. Combine the flour, cornstarch, baking powder, and all the seasonings in a bowl and whisk until the color is even. Cornstarch is doing the real work here — it fries into a glassy shell rather than a soft crumb.
4. Add the wet ingredients cold, and do not overmix. Beat the eggs with the milk or cold sparkling water, then fold it into the dry mix. Stop while lumps remain. A lumpy batter is fine, and lumps are actually good — those rough spots are what crunch first. A smooth batter fries into a thin, brittle skin that slides off.
Thin it with a splash of milk or water if it falls off the spoon like thick paint. The test is a ribbon that leaves a visible trail on the surface for a second before disappearing.
Fry the Onion Rings in Small Batches
5. Heat the oil to 350-375°F. Fill the pot so the oil is about two inches deep and bring it to 360°F. If you have no thermometer, drop a teaspoon of batter in — it should hit the surface and bubble hard and immediately, not sink and sit. That test only gets you close, which is why cooks who care about consistent results buy a thermometer.
6. Coat and rest for 10 to 15 minutes. Dredge the dried rings in the seasoned flour, tap off the excess, dip into the batter, then back into the flour for a second coat. That flour-batter-flour sequence gives the thickest, crunchiest shell and is what most restaurants do.
Let the coated rings sit on the rack for 10 to 15 minutes before they go in. This rest is where the coating hydrates and sets. Rings fried immediately have soft breading that peels off; rings that rested stay glued through the oil.
7. Fry in batches of six to eight rings. That is the honest limit for a home pot. Crowding drops the oil temperature fast, the rings soak instead of fry, and you get greasy ones on the outside and raw on the inside.
Lower each ring in with a spider strainer and do not move it for two to three minutes. Flip once when the underside is deep golden, then fry one to two minutes more. They are done when the crust is uniformly golden brown and the interior of a thick ring is translucent rather than white.
Lift them out and let them drain on the wire rack for two minutes. Paper towels trap steam underneath and steam is what softens the bottom. If you are frying ahead, hold the finished batches in a 200°F oven on the rack, never stacked.
Which coating method should you use?
Wet batter only is the fastest: dip in batter, fry, done. The crust is smooth, light, and more fragile, so it works well for kids and for thin rings but it will not survive a make-ahead plan.
Flour, buttermilk, flour is the restaurant version and, for my money, the best of the three. The dry flour on the outside gives you a rough, shattery surface, and the buttermilk (or milk plus a squeeze of lemon) makes the layers adhere. Expect roughly five extra minutes of setup.
Flour, batter, panko breadcrumbs gives the loudest crunch and the most golden color, and it bakes well too. Let the wet batter drip for a full 30 seconds before it touches the breadcrumbs, or they clump into a wet paste. This is the version to use if you want onion rings that hold up next to a stack of double cheeseburgers made at home.
Common Mistakes
Most disappointing onion rings come from one of seven things. Each mistake has a specific fix, so work down the list until your rings come out right.
- The onions were wet. This is the most reported problem on cooking forums: the coating floats off in the oil. Salt the rings, leave them 20 minutes, and blot every one dry.
- The oil was too cool. Below 350°F the rings drink oil instead of cooking it away, which is exactly how you get a greasy finish. Use a thermometer and heat back up to temperature between every batch.
- You crowded the pot. Six to eight rings at a time. Adding more drops the temperature and lengthens the fry, and both push oil into the crust.
- You skipped the rest. Ten to 15 minutes on the rack lets the coating set. Without it, the breading is still loose powder when it hits the oil and washes off.
- The rings were different thicknesses. Small inner rings cook in a minute; thick outer rings need three. Fry them in separate batches or pull the small ones early.
- The batter was too thick or too thin. Thick batter clumps and burns; thin batter slides off. Aim for ribbon-pour consistency and leave lumps alone.
- You held them too long. Fried onion rings are best within the first 20 minutes. Holding in a 200°F oven is fine for an hour; a hot car dash is not.
How to reheat onion rings so they stay crisp
Never the microwave. It makes the crust leathery and the inside damp in about 45 seconds. Use the oven at 400°F for 10 to 15 minutes on the rack, no preheating needed, or an air fryer at 400°F for 5 to 7 minutes. A toaster oven does the same job in 8 to 10 minutes and is the fastest of the three for a small batch. Spread the rings in a single layer or they steam each other soft.
Where onion rings go, and what to dip them in
They are a side dish first: alongside a smash burger, a plate of how to make steak fries at home, or a hot dog with nothing on it. They also hold up as a game-day snack, which is when you should fry a double batch.
For sauces, stir 1/2 cup mayonnaise with 2 tablespoons ketchup and a splash of hot sauce for a quick house ketchup. Horseradish cream is 1/3 cup sour cream, 1 tablespoon prepared horseradish, and a pinch of salt. A three-ingredient honey mustard is 1/3 cup mustard, 2 tablespoons honey, and 1 teaspoon rice vinegar. All three mix in under a minute, and if you want the burger version, the homemade burger sauce works on the side too.
Leftover fried onion rings keep three days refrigerated in a single layer. For longer storage, freeze them fully cooked on a tray, then bag them; reheat from frozen at 400°F for about 15 minutes.
Frequently Asked Questions
Can I make onion rings without a deep fryer?
Yes. A 10-inch cast iron skillet or a 4-inch Dutch oven works because the heavy walls hold heat better than a thin pan. Fill it two inches deep with oil, keep the temperature between 350F and 375F, and fry six to eight rings at a time. If your oil temperature drops more than 15F when you add a batch, the pan is too full or too small.
Which onions are best for homemade onion rings?
Sweet yellow onions are the strongest choice because their flavor balances the coating, and thick slices separate cleanly. Vidalia, Walla Walla, Maui, and plain sweet yellow all work well. Red onions taste milder after a short soak and give a prettier ring, but they hold more water. Avoid very soft, thick sweet onions, which fall apart before the crust colors.
Why is my batter falling off my onion rings?
The onion is too wet, or the batter was too loose. Salt the cut rings, leave them uncovered for 20 minutes, then blot every surface dry before dredging. Rest the coated rings for 10 to 15 minutes so the coating hydrates and sets. Also check your batter thickness: it should pour in a slow ribbon, not run flat or fall off the spoon in blobs.
How do I keep onion rings crispy after frying?
Drain them on a wire rack rather than paper towels so steam escapes from underneath, then serve them right away. For short-term holding, spread them in a single layer on the rack in a 200F oven, and never stack them. They are at their crunchiest within about 20 minutes of leaving the oil, so plan to fry your last batch close to serving time.
Can I make onion rings in an air fryer or the oven?
You can, with an honest tradeoff. Air fry at 400F for 12 to 15 minutes, shaking the basket twice, after spraying the coated rings with a light oil. Bake at 425F for 17 to 20 minutes on parchment, flipping at the 10-minute mark and spraying both sides with oil. Both come out good and lighter, but neither matches the shattering crust you get from frying.
Start with two large sweet onions, salt them, and let them sit while you heat the oil. That is the whole method. Everything else on this page is a fix for something going wrong along the way.