
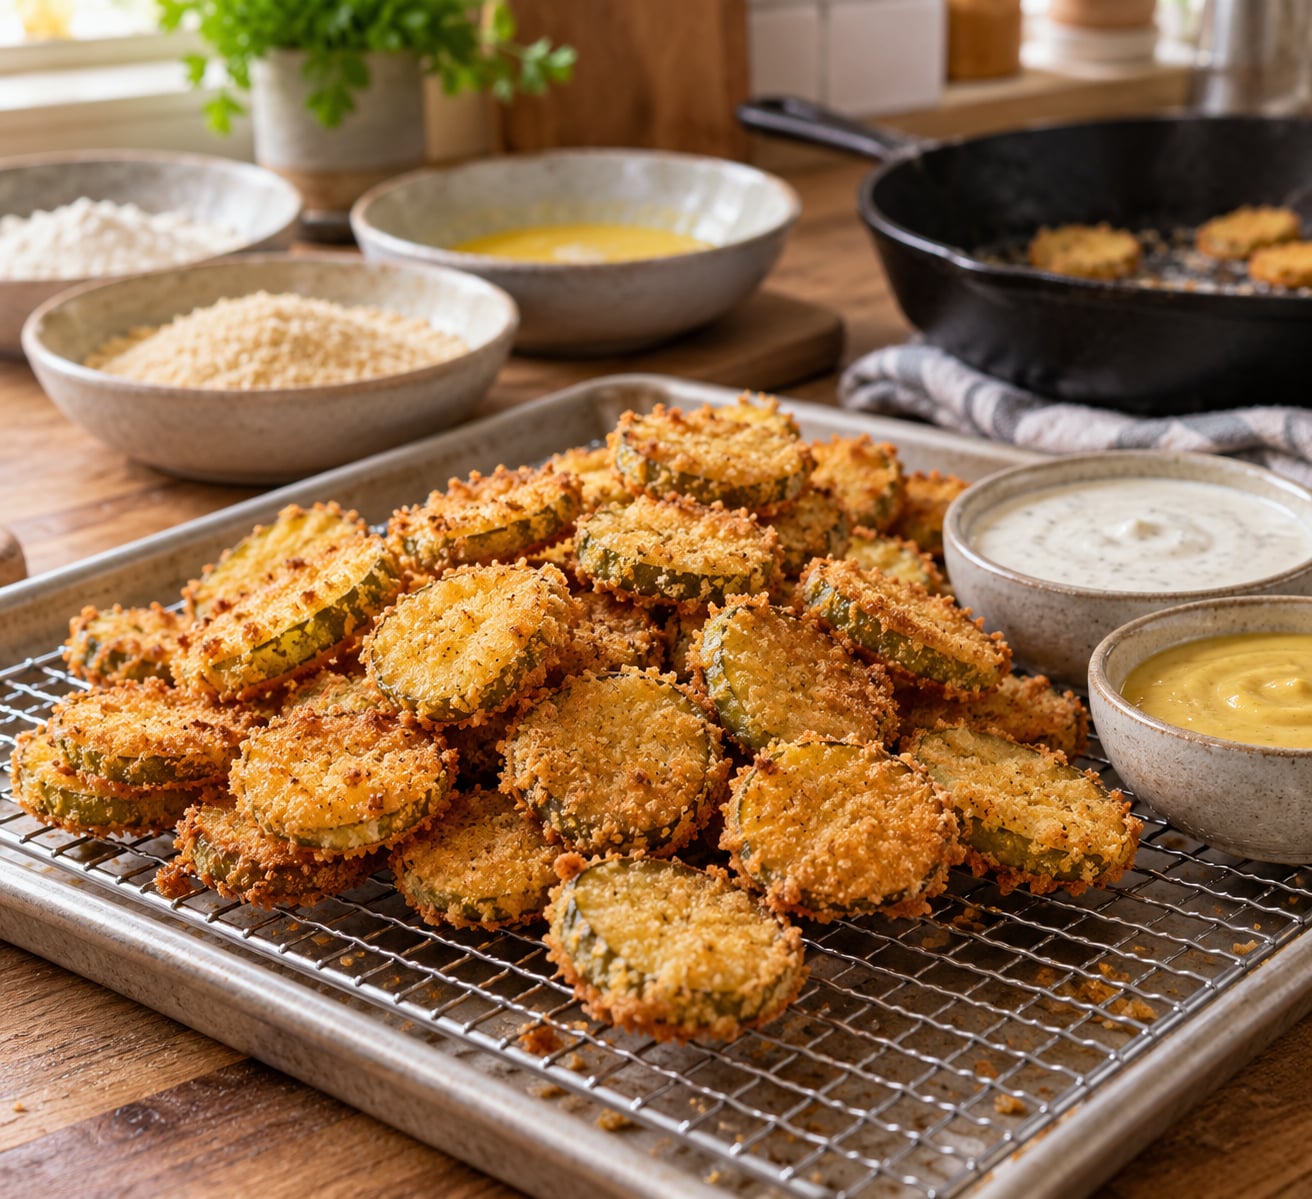
To make fried pickles, slice dill pickles thin, pat them completely dry, dredge them in seasoned flour, dip them in an egg-and-buttermilk binder, then coat with panko or breadcrumbs. Fry at 350-365°F for 2-4 minutes until golden brown and crisp. The whole batch takes about 30 minutes.
Fried pickles are dill pickle chips or spears wrapped in a seasoned shell, fried until the outside crunches and the middle stays cool and sour. That contrast is the whole point, and it is also the hard part: pickles are mostly water, so a careless coat steams instead of fries. Getting the drying, the coating order and the oil temperature right is what separates a restaurant plate from a soggy pile.
If you are building a burger spread, fried pickles sit well next to jalapeno poppers for burger night or a pile of crispy fried onions for burgers, since all three want the same shallow-fry discipline.
What You Need
This starter batch makes about 24 fried pickles and feeds three or four people as an appetizer. Prep is ten minutes, frying is another ten, and cleanup is easier than it sounds.
- Pickles: one 16-ounce jar dill pickle chips, or 4 to 6 whole kosher dill spears sliced into 1/4-inch rounds
- Dry coating: 1 cup all-purpose flour, 1 teaspoon garlic powder, 1 teaspoon paprika, 1/2 teaspoon kosher salt, 1/4 teaspoon cayenne pepper
- Wet binder: 1/2 cup buttermilk and 1 large egg, or 1/2 cup pickle brine plus water if you have no buttermilk
- Outer coating: 1 cup panko breadcrumbs or 1 cup plain breadcrumbs, plus a pinch of dried dill weed
- Frying oil: about 2 cups of peanut, canola or vegetable oil, enough for 2 to 3 inches of depth in your pot
For the equipment, a heavy Dutch oven or a deep skillet with high sides gives you even heat and a wall to catch splatter. A clip-on thermometer is worth more than it costs, though the no-thermometer test is simple. You also want three wide shallow bowls for the breading station, a slotted spoon, and a wire rack set over a sheet pan for draining.
Skip the paper towel plate as your only resting spot. Steam trapped under a pile is exactly what turns a good batch limp within a few minutes.
How to Make Fried Pickles Step by Step
The order below matters more than any single ingredient. Drying first, then flour, then wet binder, then crumbs, and only then the hot oil.
How to Make Fried Pickles Step 1: Slice and Dry the Pickles
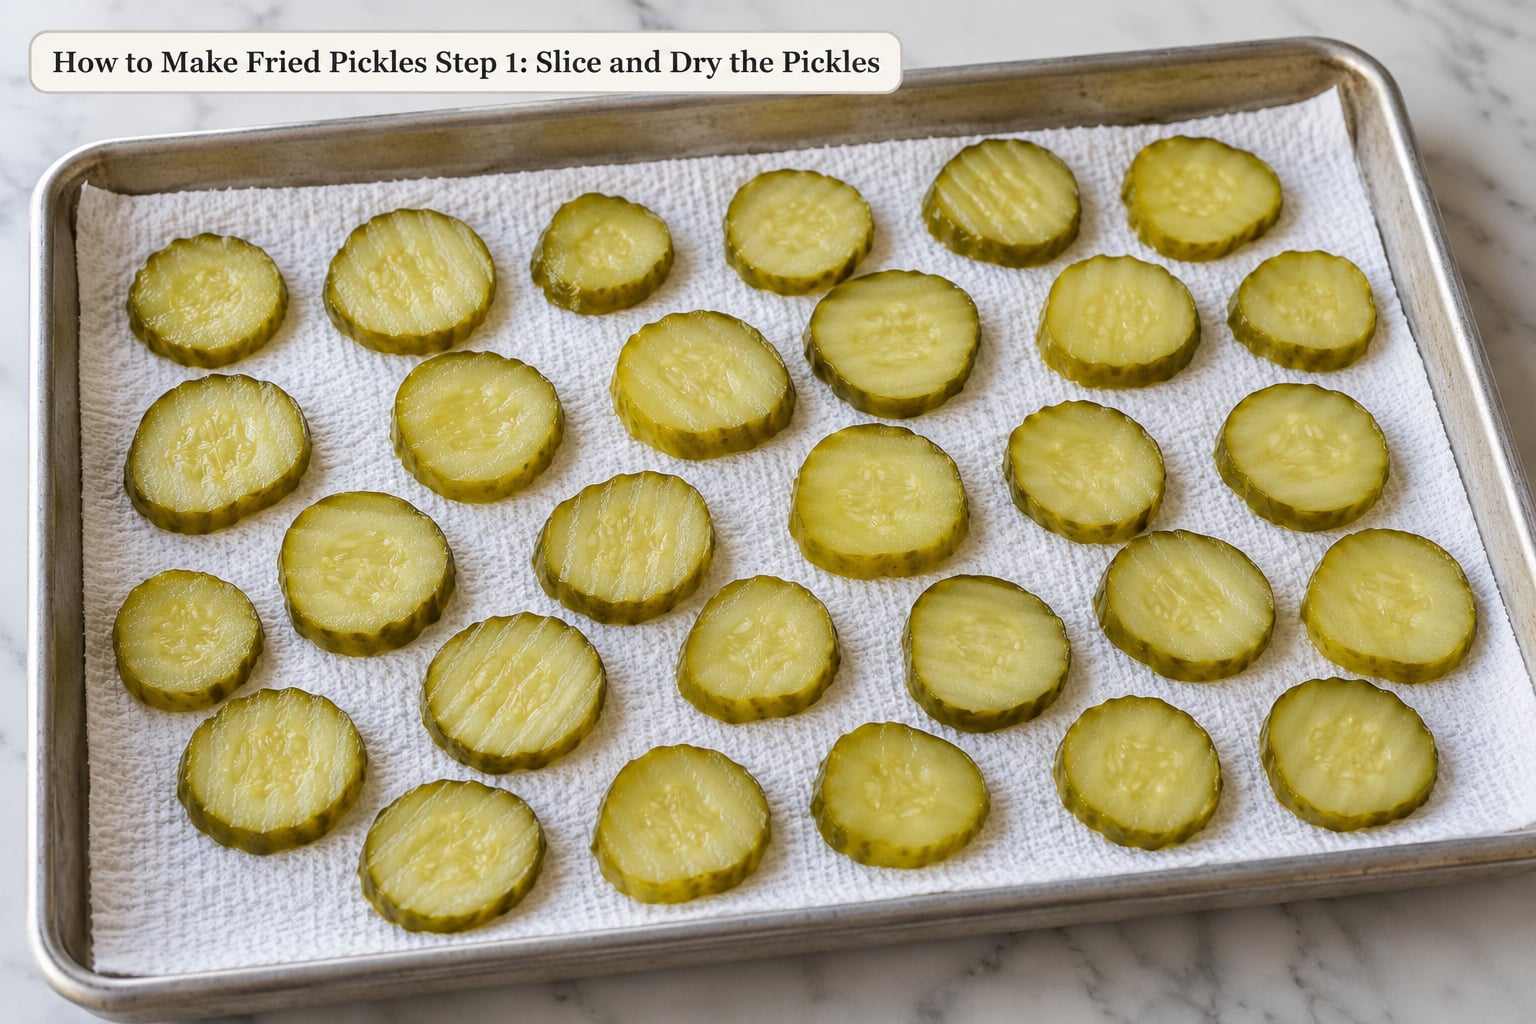
Slice chips thinner if they look thick, aiming for roughly 1/4 inch. Home cooks who cut whole kosher dills themselves often report thinner slices crisp better than pre-sliced chips, which tend to be uneven. If you prefer spears, cut them into 4- to 6-inch lengths so there is more surface area to crisp.
Lay the slices in a single layer on a clean towel or paper towels and blot the tops dry. Give them a few minutes. The brine on the surface is what makes breading slide off in the oil, and a wet pickle will steam before it browns.
You can tell they are dry enough when the slices look matte rather than glossy.
Step 2: Build the Flour, Egg, and Breadcrumb Layers
Set three shallow bowls on the counter in a row, in the order the pickle travels. First bowl: the flour with its seasonings stirred in. Second: the buttermilk beaten with the egg until smooth. Third: the panko with dried dill and a pinch of salt mixed through it.
Dredge a slice in flour and tap it so the excess falls away, then drop it into the wet bowl and turn it, then into the crumbs. Press the crumbs on with your fingertips so they adhere, and shake off the loose ones. The shake keeps the coating from turning thick and bread-like.
If you want a heavier shell, dip the slice a second time through wet and crumbs. That double dredge is the fix when breading will not stay on.
Step 3: Heat the Oil for Crispy Results
Pour the oil into the pot until it sits 2 to 3 inches deep and set it over medium-high heat. Wait for 350-365°F on the thermometer. Chips need the higher end at about 360-365°F, while thick spears can use the lower end at 350°F and a longer soak.
No thermometer? Drop a small pinch of flour into the oil. A steady, lively sizzle right away means the oil is hot enough. Weak bubbling or a lazy hiss means it is too cool, and the coating will soak up oil instead of crisping.
Keep the heat steady. If you need to adjust, nudge the burner rather than ladling cold oil in, which drops the temperature all at once.
Step 4: Fry Until Golden and Crisp
Lower each coated slice into the oil away from you, one at a time, so it does not spatter. Hold the basket or slotted spoon just under the surface for a second to stop it from tipping, then let go. Never drop a handful in at once.
Fry six to eight slices per batch so the oil temperature holds steady. Crowding is the fastest route to greasy pickles, since the oil drops and starts steaming the crumbs.
They are done when the crust is an even golden brown and the slice is firm to the touch, usually 2 to 4 minutes. Turn once at the halfway mark if you want even color. Spear halves take closer to 4 or 5 minutes. Pull them out the moment the color is right, since thin pickles go from golden to dark fast.
Step 5: Drain, Season, and Serve
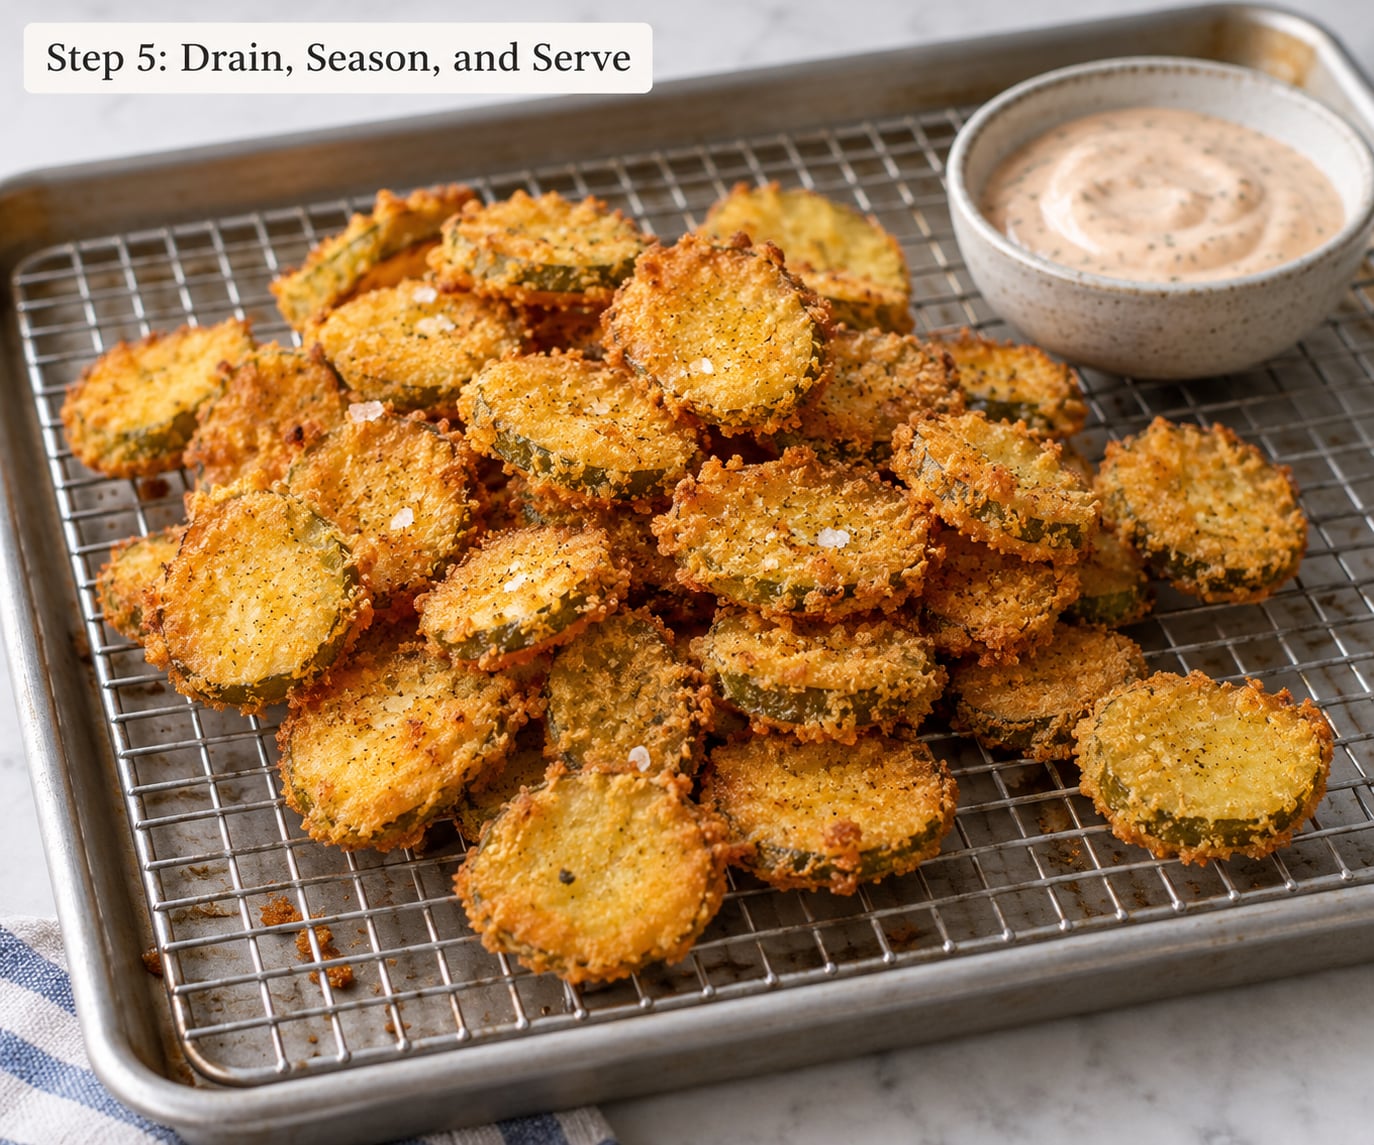
Lift each slice out with the slotted spoon and let it drip for a second over the pot, then move it to the wire rack. The rack keeps air moving underneath, so the underside stays crisp instead of steaming against itself.
Season while the pickles are still hot. A pinch of flaky salt, Old Bay, or a dusting of ranch seasoning goes on now while the oil is tacky enough to hold it.
Serve them in a single layer, not piled, and within a few minutes of frying. They belong on a burger with a thick sauce like brunch burgers with a fried egg and fried egg, or on their own with ranch and a stack of napkins.
Common Mistakes
Almost every disappointing batch traces back to one of four things. Here is what goes wrong and what to change.
Why Wet Pickles Make the Coating Fall Off
Surface brine is the single most repeated complaint in home cooking forums, and the cause is mechanical. Water on the pickle keeps the flour from wetting evenly, so there is nothing for the wet binder to grab and no dry surface for the crumbs to sit on. The crumbs float into the oil and you end up with a naked pickle and a pot full of floating crumbs.
Pat the slices dry, wait a few minutes, and check for gloss before dredging. Patting again after slicing helps more than adding heavier breading.
Why the Breading Looks Thick or Uneven
Too much flour and a heavy hand both produce a soft, pale shell. Pressing crumbs on hard creates patches with no crumb texture, and a crowded breading bowl means slices touching each other and picking up loose crumbs in clumps.
Tap each slice firmly after every stage, keep the bowls wide enough that slices lie flat, and use your fingertips rather than your palm. A thin, even coat fries faster and crunches louder.
Why the Oil Bubbles Weakly or the Pickles Burn
Weak bubbling means cool oil, and cool oil is why pickles come out oily and pale. It usually happens when the pot is too large for the burner, when the oil was heated too slowly, or when a first batch of ten slices dropped the temperature faster than you expected. Dark, scorched crust with a raw center points the other way, to oil above 375°F.
Give it a few more minutes to come up to temperature, then fry in smaller batches. Hold 350-365°F and adjust the heat between batches, not during one.
Why the Pickles Are Soft After Frying
Three habits ruin a good batch after it leaves the oil. Crowding the pot cools the oil. Stacking the pickles on a plate traps steam under the top layer. Serving them ten minutes late lets moisture migrate out of the crust.
Fry six to eight at a time, rest everything in one layer on a rack, and serve fast. A second rack for a double batch solves the stacking problem entirely.
Quick Tips for Better Fried Pickles
Slice thinner than feels right, since thin means more crunch per bite. Freeze the pickle slices for 30 to 60 minutes before coating for an extra-firm result, a technique home cooks credit for a better texture. Swap half the flour for cornstarch, or add a tablespoon of cornstarch to the flour, when you want the loudest crunch.
For seasoning swings, add dried dill to the crumbs, swap the cayenne for smoked paprika, or mix Creole seasoning into the flour. For sauces, ranch and honey mustard are the obvious two, and spicy mayo, garlic aioli, or hot honey over the top all work. Put the dips out before you fry so nobody is waiting on a cold pickle.
Frequently Asked Questions
Can I make fried pickles in an air fryer?
Yes. Set the air fryer to 400F and fry the fully coated pickles for 8 to 10 minutes, flipping at the halfway mark. Lay them in a single layer and do not crowd the basket, or they steam instead of crisping. The crust will be slightly lighter than deep fried, but close enough for a burger topping. Keep them on the rack, not in a closed container, or they go soft.
What is the best pickle for fried pickles?
Kosher dill chips are the standard. Slice them thinner than the jar does if you want maximum crunch, and drain them well. Spears work too, cut into 4- to 6-inch lengths and fried a little longer at the lower end of the temperature range. Sweet pickle slices fry fine but the sugar browns faster, so watch them closely and pull them early.
Should I use panko or regular breadcrumbs?
Panko gives the crunchiest shell because the coarse crumbs fry up before the pickle does. Regular breadcrumbs work and cost less, and they brown more quickly, so check them a beat earlier. Either one beats a flour-only dredge for staying power. If you use regular crumbs, mixing in a spoonful of cornstarch helps close up the softer spots.
How far ahead can I prepare the pickles for frying?
Slice and dry the pickles up to a day ahead and keep them covered in the refrigerator, then set up the breading station right before you cook. You can also coat them roughly two hours ahead and refrigerate them uncovered so the crumbs stay dry. Do not coat them the night before, or the crust softens before it ever meets the oil.
How should I store and reheat leftover fried pickles?
Let them cool completely, then store them in a single layer or loosely in an airtight container in the refrigerator for up to two days. Reheat on a wire rack at 400F for about 8 minutes, or in the air fryer for 5 to 6 minutes. Skip the microwave, which steams the crust and leaves it soft.
What dipping sauce goes best with fried pickles?
Ranch and honey mustard are the crowd favorites, mostly because they cut the salt and the fat. A spicy mayo with a dash of hot sauce, garlic aioli, or hot honey works well if you want something with more character. Anything thin and watery soaks into the crust, so serve sauces in small bowls for dipping rather than drizzling.
Conclusion
Start with the pickles, not the oil. Slice them thin, blot every surface until they look matte, set up the flour, egg and crumb bowls in a row, then bring the oil to 350-365°F and fry six to eight at a time. Rest them on a wire rack in one layer, season them hot, and serve them within minutes.