
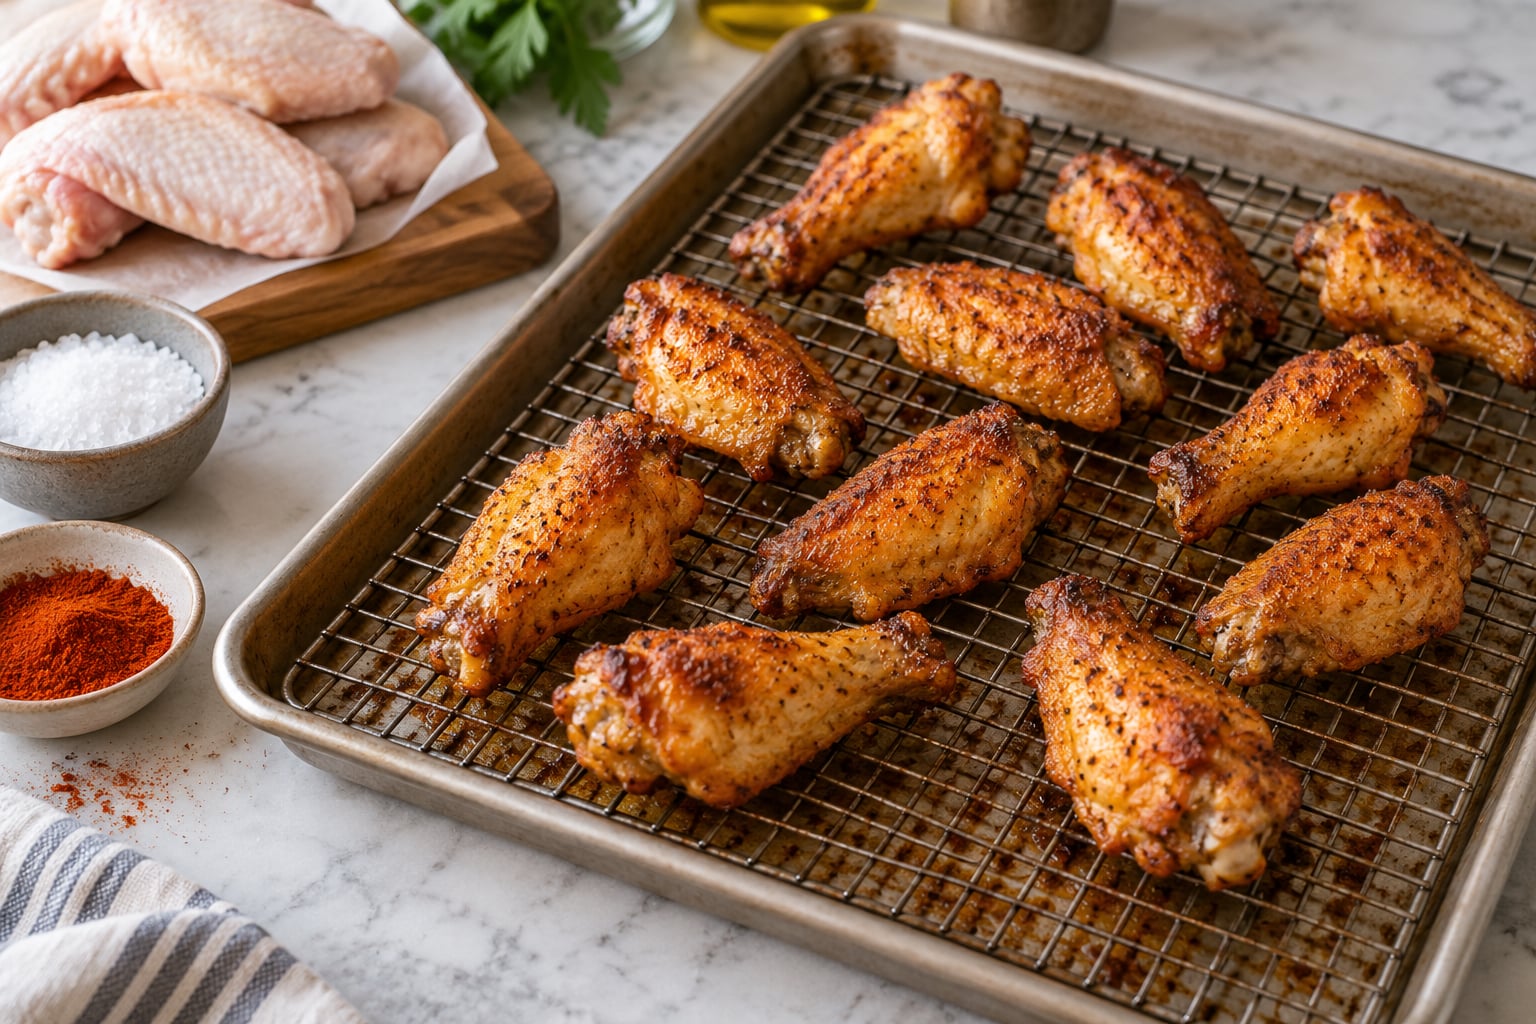
How to make crispy baked chicken wings without a fryer comes down to three things: bone-dry skin, hot air moving all around the wings, and enough heat to render the fat. Pat the wings dry, toss them with baking powder and salt, set them skin-side up on a wire rack, and bake at 425F for 45 to 50 minutes, then broil for a minute or two.
This is the method I use when a fryer feels like too much cleanup for a weeknight. Total hands-on time runs about 15 minutes, and the oven does the rest.
Table of Contents
- What You Need
- Step-by-Step: How to Make Crispy Baked Chicken Wings
- Common Mistakes and Tips
- Frequently Asked Questions
- What temperature should I bake chicken wings at for crispy skin?
- Should I add baking powder or cornstarch to baked wings?
- How long do baked wings take at 425F?
- How do I know when baked chicken wings are fully cooked?
- Can I reheat crispy baked wings without making them soggy?
- How do I keep baked wings crisp if I want to add sauce?
- Conclusion
What You Need
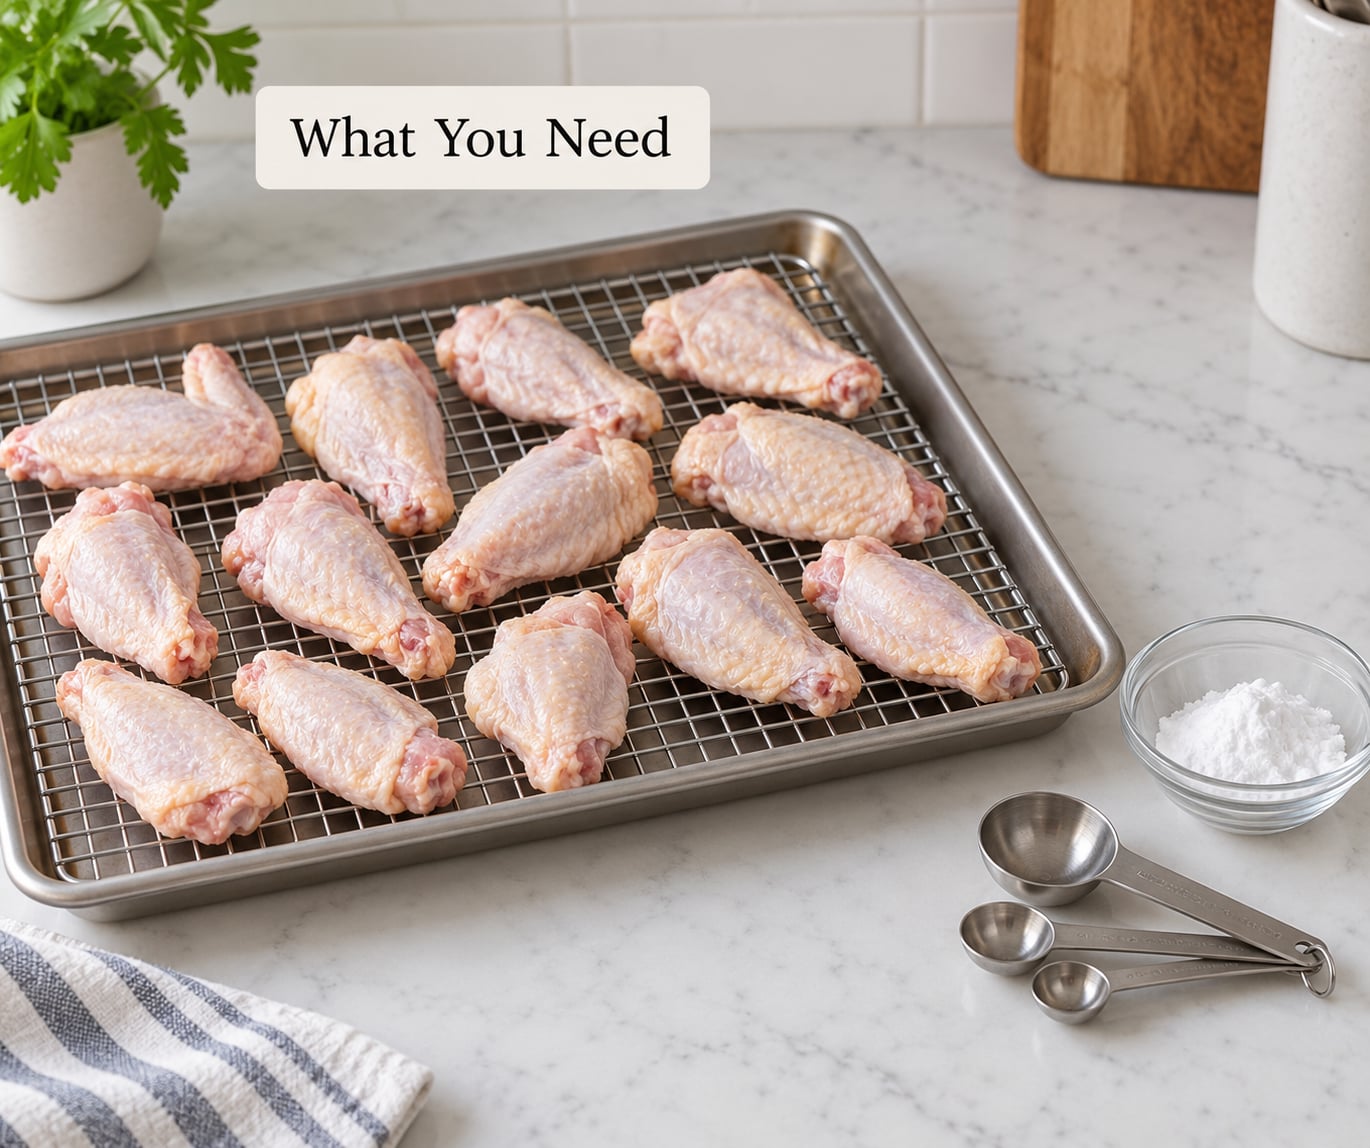
The setup is short, and almost every item is a pantry staple you probably own already.
- Chicken wings. Party wings (flats and drumettes) cook faster and more evenly than whole wings. A pound feeds two people as an appetizer.
- Aluminum-free baking powder. About 1 teaspoon per pound of wings. Regular baking powder can leave a metallic taste once the coating is hot.
- Kosher salt and black pepper, plus garlic powder, paprika or cayenne if you like heat.
- A rimmed baking sheet and a wire cooling rack that fits inside it. The rimmed sheet catches dripping fat, and the rack lifts the wings so hot air reaches the underside.
- Paper towels for drying, and tongs for turning.
- An instant-read thermometer. This is the one tool I would not skip. Color is a bad indicator on wings.
A wire rack is the piece people skip most, and it is the piece that decides whether the bottom side crisps or goes soft. If you do not own one, use a rimmed sheet with a little oil brushed on it, set the wings fatty-side down, and let them sit undisturbed. That is a workable substitute, not an equal one.
Parchment or foil lining works against you here. Both trap moisture under the wings, which is exactly what you are trying to avoid. Skip them, or line only the rimmed sheet underneath the rack.
Cornstarch is a useful stand-in when you are out of baking powder. See the steps below for how it fits into the coating.
Step-by-Step: How to Make Crispy Baked Chicken Wings
Step 1: Dry the Wings Thoroughly
Moisture is the enemy of crisp skin. Chicken wings hold a surprising amount of surface water straight from the package, and that water has to go somewhere. When it cannot escape, it turns to steam, and steamed skin stays soft and chewy no matter how long you bake.
Pat every wing dry with paper towels, then do it again with fresh towels. Pay attention to the flats, where liquid hides in the crease. Ten solid seconds of blotting makes a bigger difference than any ingredient you add afterward.
You can leave the tips on or pull them off. Tips crisp fastest because they are small and all skin, so many cooks save them for the last five minutes or let people nibble them cold while the rest bake.
If you have time, there is a better move than drying alone. Set the wings uncovered on a rack in the refrigerator for two hours or overnight, skin side up and uncovered. The skin loses surface moisture and the outer layer firms up slightly, and that is the single biggest upgrade people report on cooking forums. It costs nothing but fridge space and planning.
The wings are ready for seasoning when the skin feels taut and almost tacky rather than slick.
Step 2: Season for Crisp Skin
Here is the base formula I use for a pound of wings: 1 teaspoon aluminum-free baking powder, 1 teaspoon kosher salt, 1/2 teaspoon black pepper, 1/2 teaspoon garlic powder and 1/2 teaspoon paprika. The quantities scale linearly, so two pounds means two teaspoons of baking powder.
Each ingredient pulls its weight differently.
- Baking powder is alkaline. It raises the skin’s pH, which loosens the proteins at the surface so moisture escapes faster instead of staying trapped in leathery skin. That is the whole mechanism.
- Salt seasons the skin and pulls a little moisture out of it before baking. It is not optional.
- Paprika adds color and, more usefully, lets you see whether the coating is evenly distributed. Barely coated patches show up as pale spots.
- Cornstarch is optional but effective. It absorbs moisture and gives a craggier, crunchier shell. Toss 2 tablespoons of cornstarch in with the baking powder if you want more bite.
Toss everything in a large bowl, add the wings, and shake until every piece is lightly and evenly dusted. Then let them sit on the counter for 10 to 15 minutes. That rest lets the alkaline coating do its work on the skin before heat arrives.
Avoid baking soda on its own unless you know what you are doing. Plain baking soda is more alkaline than baking powder and, used heavily, leaves a soapy taste. A very light pinch mixed with cornstarch works fine. Baking powder is the safer single ingredient for a beginner.
Step 3: Arrange the Wings for Maximum Crispness
Heat the oven to 425F and let it run for a full 10 to 15 minutes before the wings go in. A cold or barely warm oven is the quiet reason many first attempts turn out pale and soft. Cooking on a preheated, fully heated rack and sheet gives the skin an instant set.
Set the wire rack inside the rimmed baking sheet, then arrange the wings skin-side up in a single layer with a finger’s width between each piece. Crowding is fatal: wings touching each other cook in each other’s moisture, and you get wings that steam on the bottom while browning on top.
One standard rimmed sheet comfortably holds about 12 to 14 wings. If you are cooking a larger batch, use a second pan on a lower rack. Crowding the pan is the most common reason oven wings disappoint.
Step 4: Bake Until the Skin Crisps at 425F
Bake at 425F for 45 to 50 minutes for party wings. Jumbo wings take longer, closer to 55 to 60 minutes. Use the thermometer, not the timer, as the final word.
At the 25-minute mark, pull the pan out and turn the wings with tongs so the other side faces the heat. That flip catches the underside while the fat is still rendering. Push the pan back in and keep baking.
If your oven has a convection setting, drop the temperature by 25F, to 400F, and check about 10 minutes early. The fan moves hot air faster, so wings dry out and brown quicker inside a convection oven.
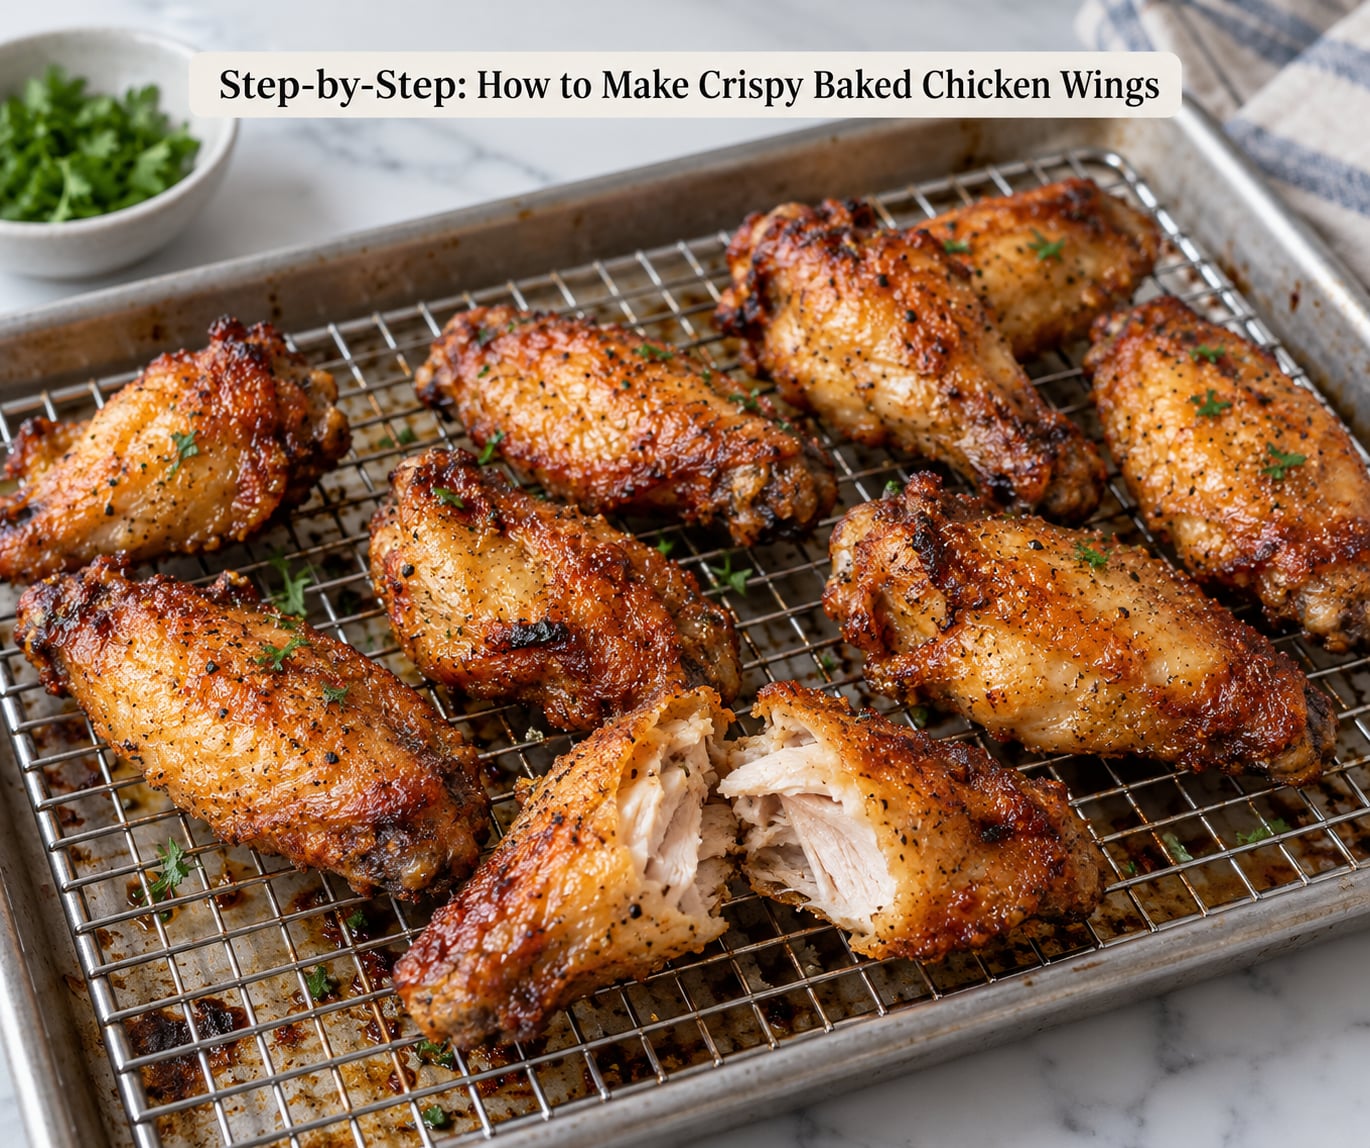
You are close when the skin is deep golden brown, dry to the touch, and has pulled back slightly from the bone at the thickest joints. Fat should have visibly rendered and collected on the sheet below.
For doneness, insert a thermometer into the thickest part of a wing without touching bone. Poultry is safe at 165F, and most wings are done somewhere in that range. For the best texture, cook to 170 to 175F, since extra time renders more fat and firms the skin. Going far past that dries the meat out.
Step 5: Broil for Extra Crispness
The broiler is what separates good oven wings from the ones people describe as genuinely shatteringly crisp. Move the rack to the top position, set the oven to broil, and put the wings in for 1 to 2 minutes. Watch them the entire time. At broiler temperatures, skin goes from golden to burnt in seconds.
Look for bubbling fat, audible crackling and skin that has gone from golden to a deeper brown. Pull them the moment you see that, since carryover heat keeps darkening them after they leave the heat.
If you do not have a broiler or you are nervous about it, finish the last 10 minutes with the oven door cracked open and the fan running, or use the convection setting on high. Less dramatic than broiling, still better than pulling the wings at pale.
Step 6: Add Sauce at the Right Time
Sauce is where crisp wings go to die. Any wet coating steams the skin, and the shell goes soft within minutes. The rule is simple: sauce goes on after the skin is fully crisp, and ideally right before serving.
For dry-rub wings, you are done. For tossed wings, warm the sauce first, then toss the wings a minute before they hit the table so the sauce is glossy but the skin still has crunch in the first bite or two.
For buffalo wings, melt a stick of butter, stir in hot sauce to taste, warm it for a minute, and toss. For honey garlic, warm butter with honey and a splash of soy. For barbecue, simmer the sauce until it thickens, since thin sauce slides off.
A third option works better than most people expect: serve dry wings with sauce in small bowls alongside. Celery sticks, carrot sticks and blue cheese dressing all belong on that table too. If you like the idea but want a shortcut, an air fryer gets there in half the time at a higher fan speed, and it uses the same coating. My air fryer fries that come out crispy every time follow the same dry-then-hot-air logic, so the two methods stack well on the same night.
Common Mistakes and Tips
Nearly every disappointing batch traces back to one of a handful of fixable problems.
The wings were not dry enough. Wet skin steams. Pat them twice, and give them the uncovered fridge rest if you have two hours to spare.
You crowded the pan. Wings that touch steam each other. Use one sheet per dozen or fewer, or rotate pans halfway through.
The oven was not hot enough. A barely preheated oven produces pale, soft skin. Preheat 425F for 15 minutes and put the wings on a hot rack inside a hot sheet.
You used regular baking powder. Some brands leave a metallic edge at roasting temperatures. Aluminum-free baking powder avoids it, and cornstarch works if you have none.
The underside went soft. This is the most repeated complaint on cooking forums, and the cause is always the same: fat and steam pooling under the wings. A wire rack fixes it. Without a rack, flip the wings fatty-side down for the first 20 minutes.
The skin stayed leathery. Too alkaline, too long, or both. Check your baking powder quantity, and pull the wings at 170 to 175F rather than baking until the meat falls off the bone.
Sauce went on too early. Toss at the last possible moment, or serve it on the side.
The two-piece wings browned unevenly. Flats and drumettes cook at different rates because of thickness. Flip at 25 minutes and pull whichever pieces are done first.
Wings stuck to the pan. Rub the rack with a little oil before arranging, and let the skin dry properly. Sticking tears the skin, and torn skin never crisps evenly.
Two habits make the biggest difference overall. Chill the wings uncovered in the fridge when you can, and cook a little past the safe minimum so more fat renders out. Everything else is fine-tuning.
Frequently Asked Questions
What temperature should I bake chicken wings at for crispy skin?
Bake at 425F for 45 to 50 minutes for party wings. Preheat the oven for a full 10 to 15 minutes first so the rack and sheet are already hot, which helps the skin set immediately. If your oven has convection, lower the temperature to 400F and start checking about 10 minutes early. Jumbo wings usually need 55 to 60 minutes.
Should I add baking powder or cornstarch to baked wings?
Both work, and they do different jobs. Baking powder raises the skin’s pH so the surface dries faster, which is what reduces leathery texture. Cornstarch absorbs moisture and adds a crunchier shell. For a beginner, use 1 teaspoon of aluminum-free baking powder per pound. Add 2 tablespoons of cornstarch to the same bowl if you want extra bite.
How long do baked wings take at 425F?
Party wings take 45 to 50 minutes at 425F, and jumbo wings take closer to 55 to 60 minutes. Turn them at the 25-minute mark so the underside catches heat while the fat renders. Use an instant-read thermometer in the thickest part: poultry is safe at 165F, and 170 to 175F gives noticeably better texture.
How do I know when baked chicken wings are fully cooked?
Check temperature first, not color. Insert an instant-read thermometer into the thickest part of the wing without touching bone. The USDA safe minimum internal temperature for poultry is 165F. For crisp skin, cook to 170 to 175F so more fat renders out. Visually, you also want deep golden brown skin that has pulled back slightly from the bone.
Can I reheat crispy baked wings without making them soggy?
Yes, and the oven is the right tool. Set the wings on a rack over a baking sheet at 375F for about 10 minutes, then broil for 60 to 90 seconds. The rack keeps rendered fat from soaking the underside. A microwave works but softens the skin, so finish with a few minutes in the oven or under the broiler. Add any sauce after reheating, never before.
How do I keep baked wings crisp if I want to add sauce?
Sauce after baking, as late as possible. Warm the sauce first, then toss the wings right before serving so the skin still crunches on the first bite. For a party, serve dry wings with small bowls of sauce, blue cheese dressing, celery and carrot sticks on the table. Some of the crispest wings I have made were never sauced at all.
Conclusion
Dry the wings, season them with a teaspoon of aluminum-free baking powder per pound, set them skin-side up on a wire rack with space between each piece, and bake at 425F until deep golden brown and 170 to 175F inside. Broil for a minute or two at the end, then add sauce only right before serving.
Low moisture, hot air and high heat are the whole recipe. Once you get those three right, oven wings stop being an apology for fried ones.
While the oven is already hot, it is also a good night for grilled vegetables for a burger night or sweet tea done properly on the side.