
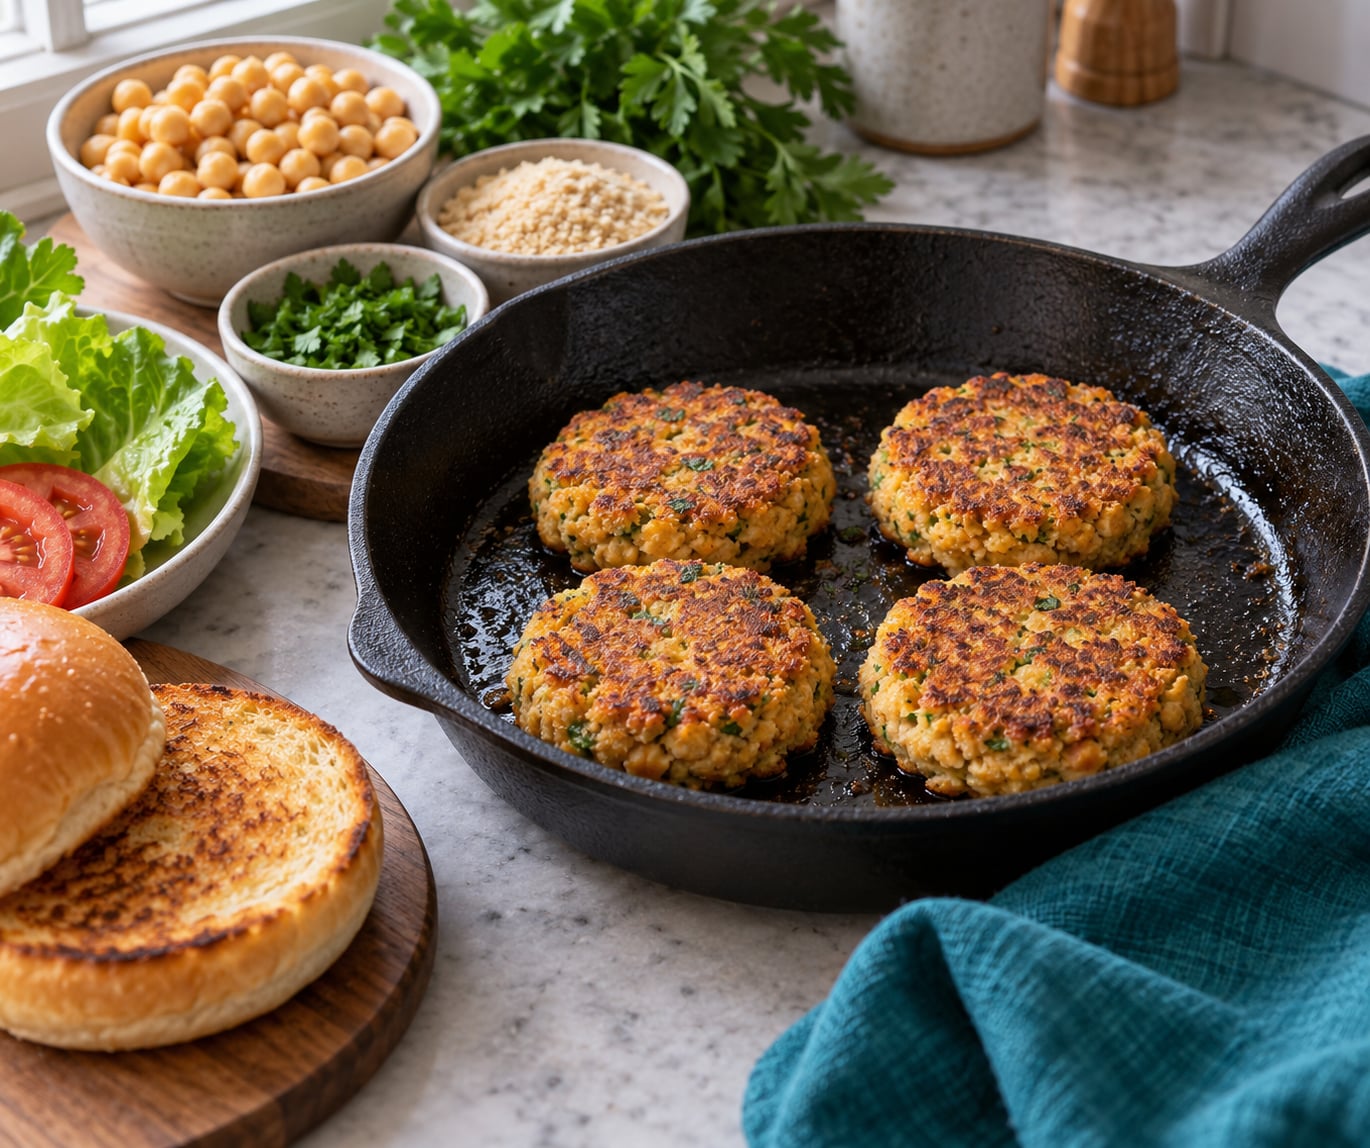
The secret to chickpea burgers that hold together is how far you mash the beans and how long you chill the patties before they hit heat. Mash two cans of chickpeas just until about half the pieces break, season aggressively, press four patties, and give them a full hour in the fridge. That is the whole method, and the burgers come out crisp outside, tender inside, and sturdy enough for a bun.
Most of the time I mess this up, it is one of two things: I overmix until the mixture turns to paste, or I skip the chill. Fix either one and the patties hold. The active time is about 30 minutes; the rest is waiting.
You do not need a food processor, a deep fryer, or a specialty ingredient. A bowl, a fork or a potato masher, and a cast iron skillet are enough. If you want a comparison of other homemade patties, how to make veggie burgers from scratch covers the bean-based versions, and how to make black bean burgers that hold together goes deeper on the same binding problem with a different bean. For the cleanest results, follow the plan below.
What You Need
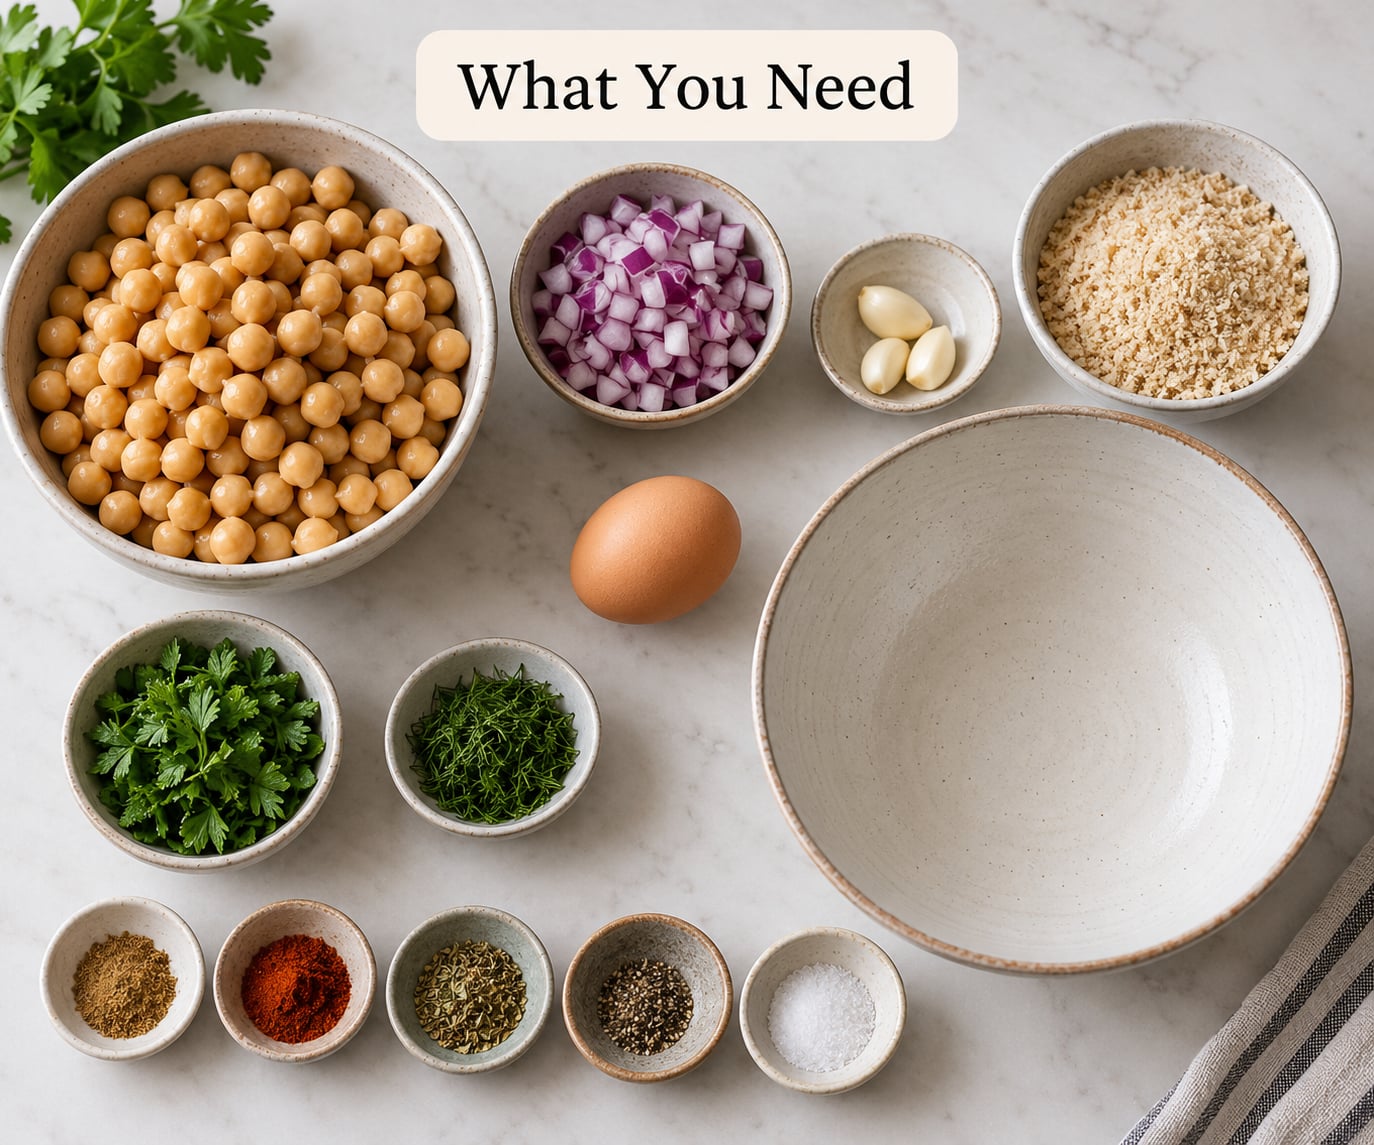
Four patties is the standard batch, and two 15-ounce cans of chickpeas give you about 1.5 cups drained plus enough solids to actually form a burger. Here is what goes in.
Base: two 15-ounce (425 g) cans chickpeas, drained and rinsed, plus 1/2 small red onion, finely chopped, and 2 garlic cloves, grated. One 15-ounce can works if you use extra binder.
Binder: 1/2 cup (60 g) panko or plain breadcrumbs, 1/4 cup (30 g) rolled oats, or one egg. See the binder table below for the ratios that matter.
Flavor: 1 teaspoon ground cumin, 1 teaspoon smoked paprika, 1/2 teaspoon chili flakes or chili powder, 1 tablespoon tomato paste, 1 tablespoon tamari or soy sauce, 2 teaspoons lemon juice, and a handful of flat-leaf parsley or cilantro. A tablespoon of nutritional yeast works in place of the tamari if you want more umami than salt.
Fat and acid: 1 tablespoon olive oil folded into the mixture, plus 2 tablespoons more for the pan. The acid matters more than people expect: lemon or vinegar keeps a chickpea patty from tasting flat after chilling.
Equipment: a large bowl, a fork or potato masher, a flat-bottomed glass or cup for stamping circles, a sheet pan lined with parchment, and a skillet or grill.
Every one of those items has a job. The binder gives the patty something to grip, the acid cuts the earthy bean flavor, the fat keeps the inside from turning to sawdust, and the mashed chickpeas supply the starch that sets into a firm shell once they cook. Canned chickpeas are fine, and they are what I use. They are already tender, so the only real job left is draining off the liquid and mashing before they go soggy.
Which binder should you use?
Pick one, not two. Two binders at full strength gives you a patty that tastes like filler and crumbles when you press it.
| Binder | Amount per 2 cans of chickpeas | Best for | Result |
|---|---|---|---|
| Panko or breadcrumbs | 1/2 cup (60 g) | Everyday patties, best crust | Light, very crisp, easiest to flip |
| Rolled oats | 1/4 cup (30 g), blended to a coarse flour | Gluten-free and vegan patties | Slightly denser, holds shape well |
| Flax egg | 1 tablespoon ground flaxseed plus 3 tablespoons water, gelled 5 minutes | Vegan patties with no grain | Moist, binds gently, browns well |
| Aquafaba | 3 tablespoons of the chickpea can liquid | Vegan and gluten-free | Elastic, the most forgiving binder |
| Whole egg | 1 large egg | Vegetarian patties with the best bite | Firm, moist, browns darkest |
For a vegan patty, flax egg is the one I reach for most. The ground flaxseed swells in water into a gel that wraps the chickpea starch and behaves like egg. Aquafaba is the sleeper option, because the liquid you have been pouring down the drain gells the same way and adds nothing but structure. Chickpea flour dusted on the shaping mat works as a top-up when a mixture still feels too wet to handle.
Step-by-Step: How to Make Chickpea Burgers
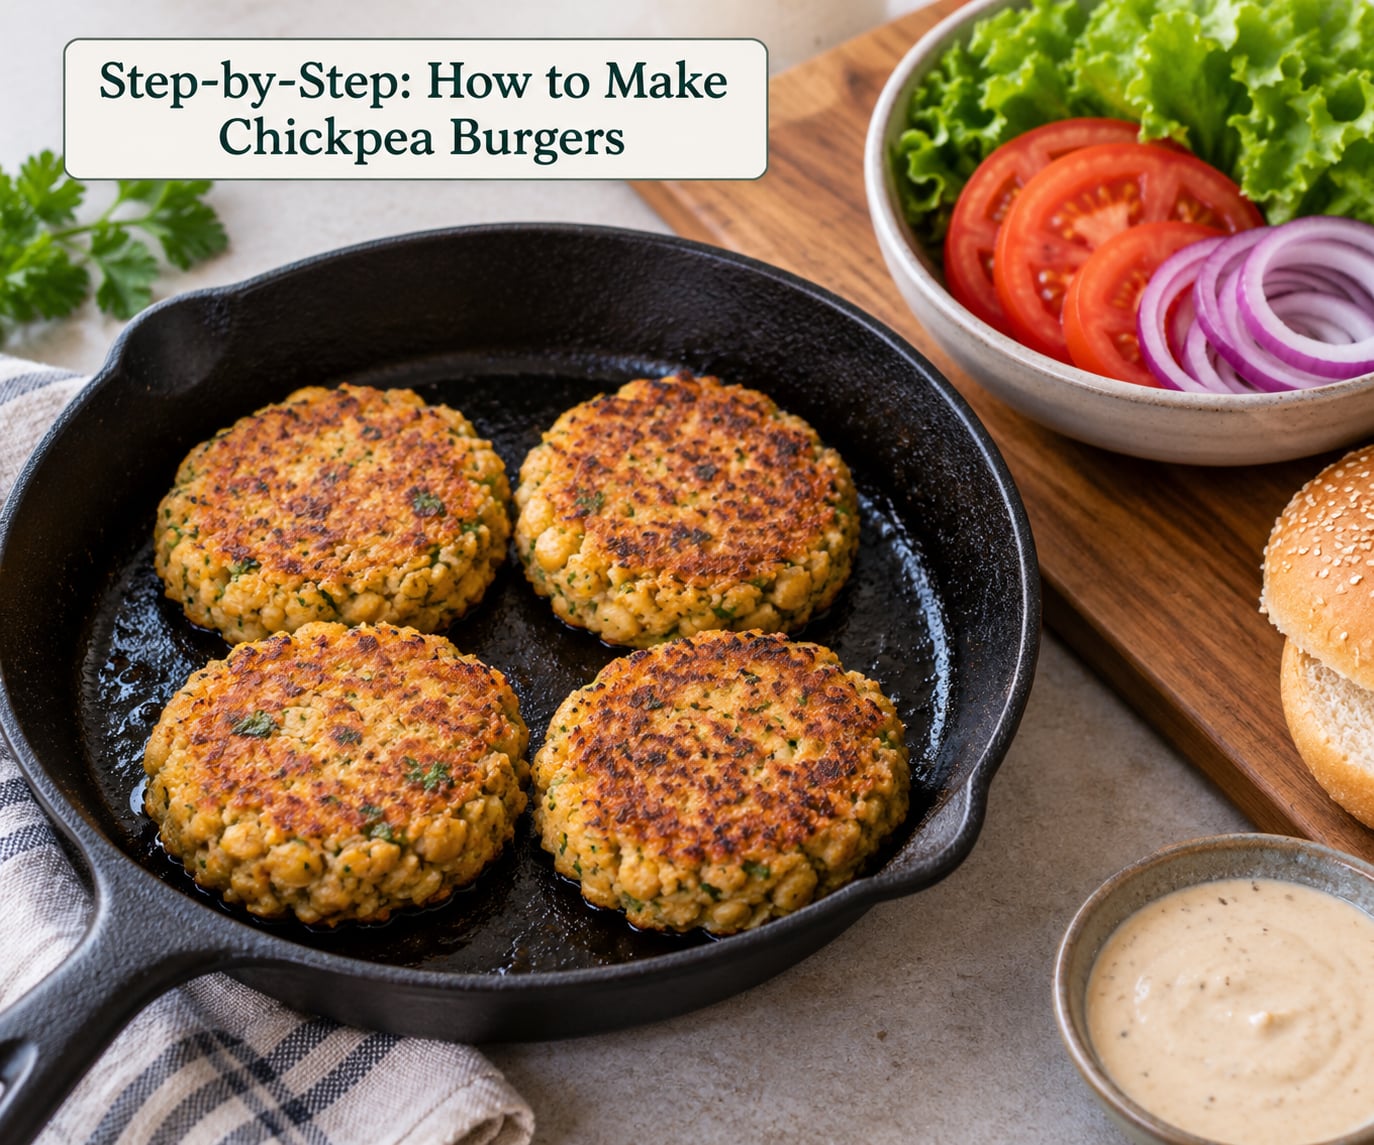
Follow these steps in order and the order is what keeps the patties intact. Prep first, mash light, mix short, press firm, chill long, then cook hot.
Step 1: Prepare the Chickpeas
Drain the chickpeas well and rinse them under cold water. Spread them on a towel and let them sit for ten minutes; surface moisture is the enemy of a patty that holds.
Now mash with a fork or a potato masher. Press down and scrape across the bowl about fifteen times, then stop. You want roughly half the chickpeas broken and the other half still whole and legible. Whole pieces are the structure, and a purée is what gives you a mushy burger that slumps on the bun. A quick pulse in a food processor does the same job in a few bursts, and two one-second pulses with a scrape between them is closer than blending for thirty seconds.
Step 2: Add the Seasoning and Binder
Add the onion, garlic, spices, tomato paste, tamari, and lemon juice to the chickpeas and fold with a spatula until the color is even. Fold in the binder next, using your hands, and stop the moment the mixture holds a squeeze.
Test it: scoop out a spoonful, squeeze, and it should keep its shape without crumbling or leaking. If it crumbles, add a tablespoon more breadcrumbs. If it leaks, add a tablespoon more binder. Overmixing is the more common error, and it turns a coarse, textured mixture into a dense brick, so a light hand goes further than more binder.
Let the mixture sit for five minutes. The starch in the chickpeas and any oats or flour you added need time to drink up moisture, and this rest makes the difference between a mixture that feels tacky and one that actually rolls into a patty.
Step 3: Form the Burger Patties
Dampen your hands and divide the mixture into four equal mounds. Rather than rolling balls and flattening them, press each mound flat with your palm and then correct the edges with the rim of a flat-bottomed glass or cup. That stamp is what gives you a burger shape instead of a blob.
Push firmly. You want a patty about three-quarters of an inch thick, compressed enough that it holds together when you pick it up. Press harder than feels natural, since the patty will loosen a little during cooking.
Cracks around the edge mean you pressed too gently or the mixture needed more binder. A moat of soft mixture squeezing out from the bottom means it was too wet, which is fixed with a spoonful of breadcrumbs and a five-minute rest. Make all four patties the same thickness, because a thin one cooks before a thick one and gives you a dry half of the batch.
Step 4: Chill or Rest the Patties
Set the patties on a parchment-lined sheet pan, cover them, and refrigerate for at least an hour. One hour is the point where the starch firms up enough to survive a flip, and two hours or overnight gives you the best structure. This is the step people skip, and it is the one I would keep if I could only keep one.
A 20-minute rest at room temperature is not a substitute. It cools the patties, which makes them firmer, but it does not set the starch the way cold does. If you need to move fast, a short stint in the freezer, about 15 minutes uncovered, gets you most of the benefit.
Step 5: Cook Until Golden and Heated Through
Heat 2 tablespoons of oil in a skillet over medium-high heat until it shimmers. Lay the patties down and press once with the back of a spatula, then leave them alone. The crust forms in the first two minutes of not touching them, and a patty you keep flipping never gets one.
Cook for 3 to 4 minutes a side, until the crust is deep golden and the patty feels firm when you press the top. Check that the center is hot all the way through, which it will be once the skillet is properly preheated, especially at three-quarters of an inch thick.
| Method | Temperature | Time | Notes |
|---|---|---|---|
| Skillet | Medium-high, 2 tablespoons oil | 3 to 4 minutes a side | Best crust, easiest method, cook 2 at a time |
| Oven | 425 F (220 C) | 18 to 20 minutes, flip at 10 | Light brush of oil keeps the tops from drying out |
| Grill | Medium-high, oiled grates | 4 to 5 minutes a side | Cook from frozen works better than thawed, no oil needed |
| Air fryer | 400 F (200 C) | 8 to 10 minutes, flip at 5 | Do not crowd the basket, leave 1 inch around each patty |
The oven is where patties go dry, and the fix is not more liquid in the bowl. It is a light coat of oil on the surface and a pan temperature that is not shy. For a burger you want to slice into, cook it through until the middle is steaming, not just browned on the outside.
On a grill, oil the grates rather than the patty, and press the patties firmly at the start. Those flattened patches are contact points, and they are what stops the patty from tearing into the grates. Frozen patties go on the grill straight from the freezer, which sounds wrong and works well because the cold keeps the patty rigid until the heat sets the outside.
Step 6: Serve with Burger-Style Toppings
Toast the bun in the burger fat from the pan, then build in this order: sauce on the bottom bun, patty, a thin slice of cheese if you want it, lettuce, tomato, and onion on top. The patty is the sturdy part of the burger, so the toppings should be the wet, crunchy, sharp contrast to it.
What works well: shredded lettuce, thin tomato slices, red onion shaved paper-thin with a splash of vinegar, pickled jalapenos, and crisp toppings like shredded cabbage or cucumber.
For sauces, mix a quarter cup of tahini with the juice of half a lemon, a tablespoon of water, and a pinch of salt until it loosens into something pourable. A mayo-based version with a teaspoon of harissa or sriracha takes thirty seconds and goes well with a charred patty. A mashed avocado with lime and cilantro keeps everything plant-based.
Skip heavy sauces on the patty itself. A chickpea patty is porous, so a heavy dressing soaks in and makes the crust soft within a minute of assembly.
Common Mistakes
The patties fall apart when you flip them. Almost always two causes: the mixture was overmixed into a paste, or the patties never chilled. Fix both next time and use less binder. Overcharring the outside while the center is cold makes them worse, so go medium-high rather than high.
The patties taste bland. Seasoning goes in before the chill, and an hour of refrigeration dulls flavor, so season harder than feels right. Tomato paste, tamari, and nutritional yeast add more depth than extra salt, and the lemon or vinegar you add at the mixing stage is what keeps a chickpea patty from tasting like a chickpea patty.
The inside is mushy or baby-food soft. You mashed too far. Chunks of chickpea are what create texture, so stop the fork when about half the beans are broken. A food processor blended continuously does the same damage in less time.
The patties are dry. Dry comes from too much binder, thin patties, and low oven heat. Keep the mix at three-quarters of an inch, add a tablespoon more binder only if the mixture genuinely will not hold, and cook at 425 F.
The patties shrink noticeably. Shrinking happens to nearly any patty as it cooks, and pressing out loose edges and using consistent thickness limits it. A gentle press with the spatula at the start also reduces the shrinkage.
They stick to the pan or grill. Oil the cooking surface before the patty goes on, wait for the oil to shimmer, and let each side sit untouched for the full cook time. Pressing a patty that has not formed a crust yet pulls the surface apart and glues it to the pan.
Too much moisture in the mixture. Rinsing helps, and so does drying the chickpeas on a towel for ten minutes. If the mixture is still wet, add breadcrumbs or oats a tablespoon at a time and rest it before forming the patties.
Frequently Asked Questions
What binder works best for chickpea burgers?
Breadcrumbs are the most reliable everyday binder: half a cup per two cans of chickpeas gives a crisp crust and makes patties easy to flip. For vegan patties, a flax egg made from 1 tablespoon ground flaxseed and 3 tablespoons water, gelled for 5 minutes, binds gently and keeps things moist. Aquafaba, about 3 tablespoons of the chickpea can liquid, is the most forgiving of the three. Pick one binder, not two, or the patty turns dense and crumbly.
Can I make chickpea burgers without eggs?
Yes, and most people should. Egg is optional rather than essential. Breadcrumbs, rolled oats, a flax egg, or aquafaba all do the same job, which is giving the mashed chickpea starch something to hold onto. Egg does give you a slightly firmer, darker-seared patty, so if you want that bite and eat eggs, use one. Otherwise the vegan versions are just as sturdy once the patties are chilled for a full hour.
Can chickpea burgers be baked instead of fried?
Bake them at 425 F for 18 to 20 minutes, flipping once at the 10 minute mark, and brush the tops lightly with oil so they do not dry out. A light coat of oil plus a properly hot oven is what prevents the rubbery texture people associate with baked patties. Skillet cooking gives you a better crust, so if you have the time, doing a quick sear on each side before transferring to the oven gets you both.
Why are my chickpea burgers falling apart?
Three things cause it, in order of likelihood. You overmixed the chickpeas into a paste instead of mashing them roughly halfway. You skipped or shortened the chill, and the patties need at least an hour cold to firm up. Or the pan was too hot, so the outside burned before the inside set. Fix the first two and the patties will hold through a flip on medium-high heat.
How do I keep chickpea burgers from becoming dry?
Do not add more liquid to the mixture, which is the usual instinct and the wrong move. Keep the patties three-quarters of an inch thick, use only as much binder as it takes to hold a squeeze, and add the one tablespoon of olive oil in the bowl. In the oven, brush the tops with oil and cook at 425 F rather than a lower temperature, and serve the patties with moist toppings like sauce, tomato, and avocado.
Can I freeze uncooked chickpea burgers?
Yes, and freezing raw patties is the best way to use them. After chilling, lay the patties on a lined sheet pan, freeze them flat until solid, then transfer to a bag or container with parchment between the layers. Cook from frozen on a skillet or grill, adding a couple of minutes per side, and there is no need to thaw first. Thawing leaves condensation on the surface, which is what makes a patty go soggy before it browns.
Where the stovetop sends you home with smoke filling the kitchen, how to make burgers on the stove without smoke is worth a read before you light the burner.
Conclusion
If you remember one thing from this guide, remember the mash. Stop when about half the chickpeas are broken, because the whole pieces are what make the patty sturdy rather than a spread. Then chill for a full hour, press each patty firmly with a glass to stamp the edges, and cook it on medium-high without touching it for the first two minutes. Get those three right and the rest of how to make chickpea burgers takes care of itself.